3D Printing for Beginners: The Complete Guide
Everything you need to start 3D printing: how printers work, choosing your first one, setup, slicing, first prints and the mistakes to avoid.
3D printing builds a physical object from a digital file by laying down plastic one thin layer at a time. To start, you need an FDM printer, a spool of PLA filament and free slicer software; most beginners get a good first print the same day the printer arrives.
This guide covers everything in the order you’ll need it: how printers work, choosing one, day-one setup, slicing, your first filament and prints, the mistakes to avoid, and a plan for your first week. Read it before your printer arrives, or jump to the section you’re stuck on.
Quick-start checklist
- Choose an FDM printer with automatic bed leveling and a flexible PEI plate.
- Buy one spool of PLA in a light colour.
- Install your printer maker’s slicer, or OrcaSlicer.
- Set the printer on a flat, stable surface and clean the plate with isopropyl alcohol.
- Level the bed and set the Z offset (or run the printer’s automatic calibration).
- Print the test file that came with the printer before anything else.
- Watch the first layer of every print. Most failures show up there.
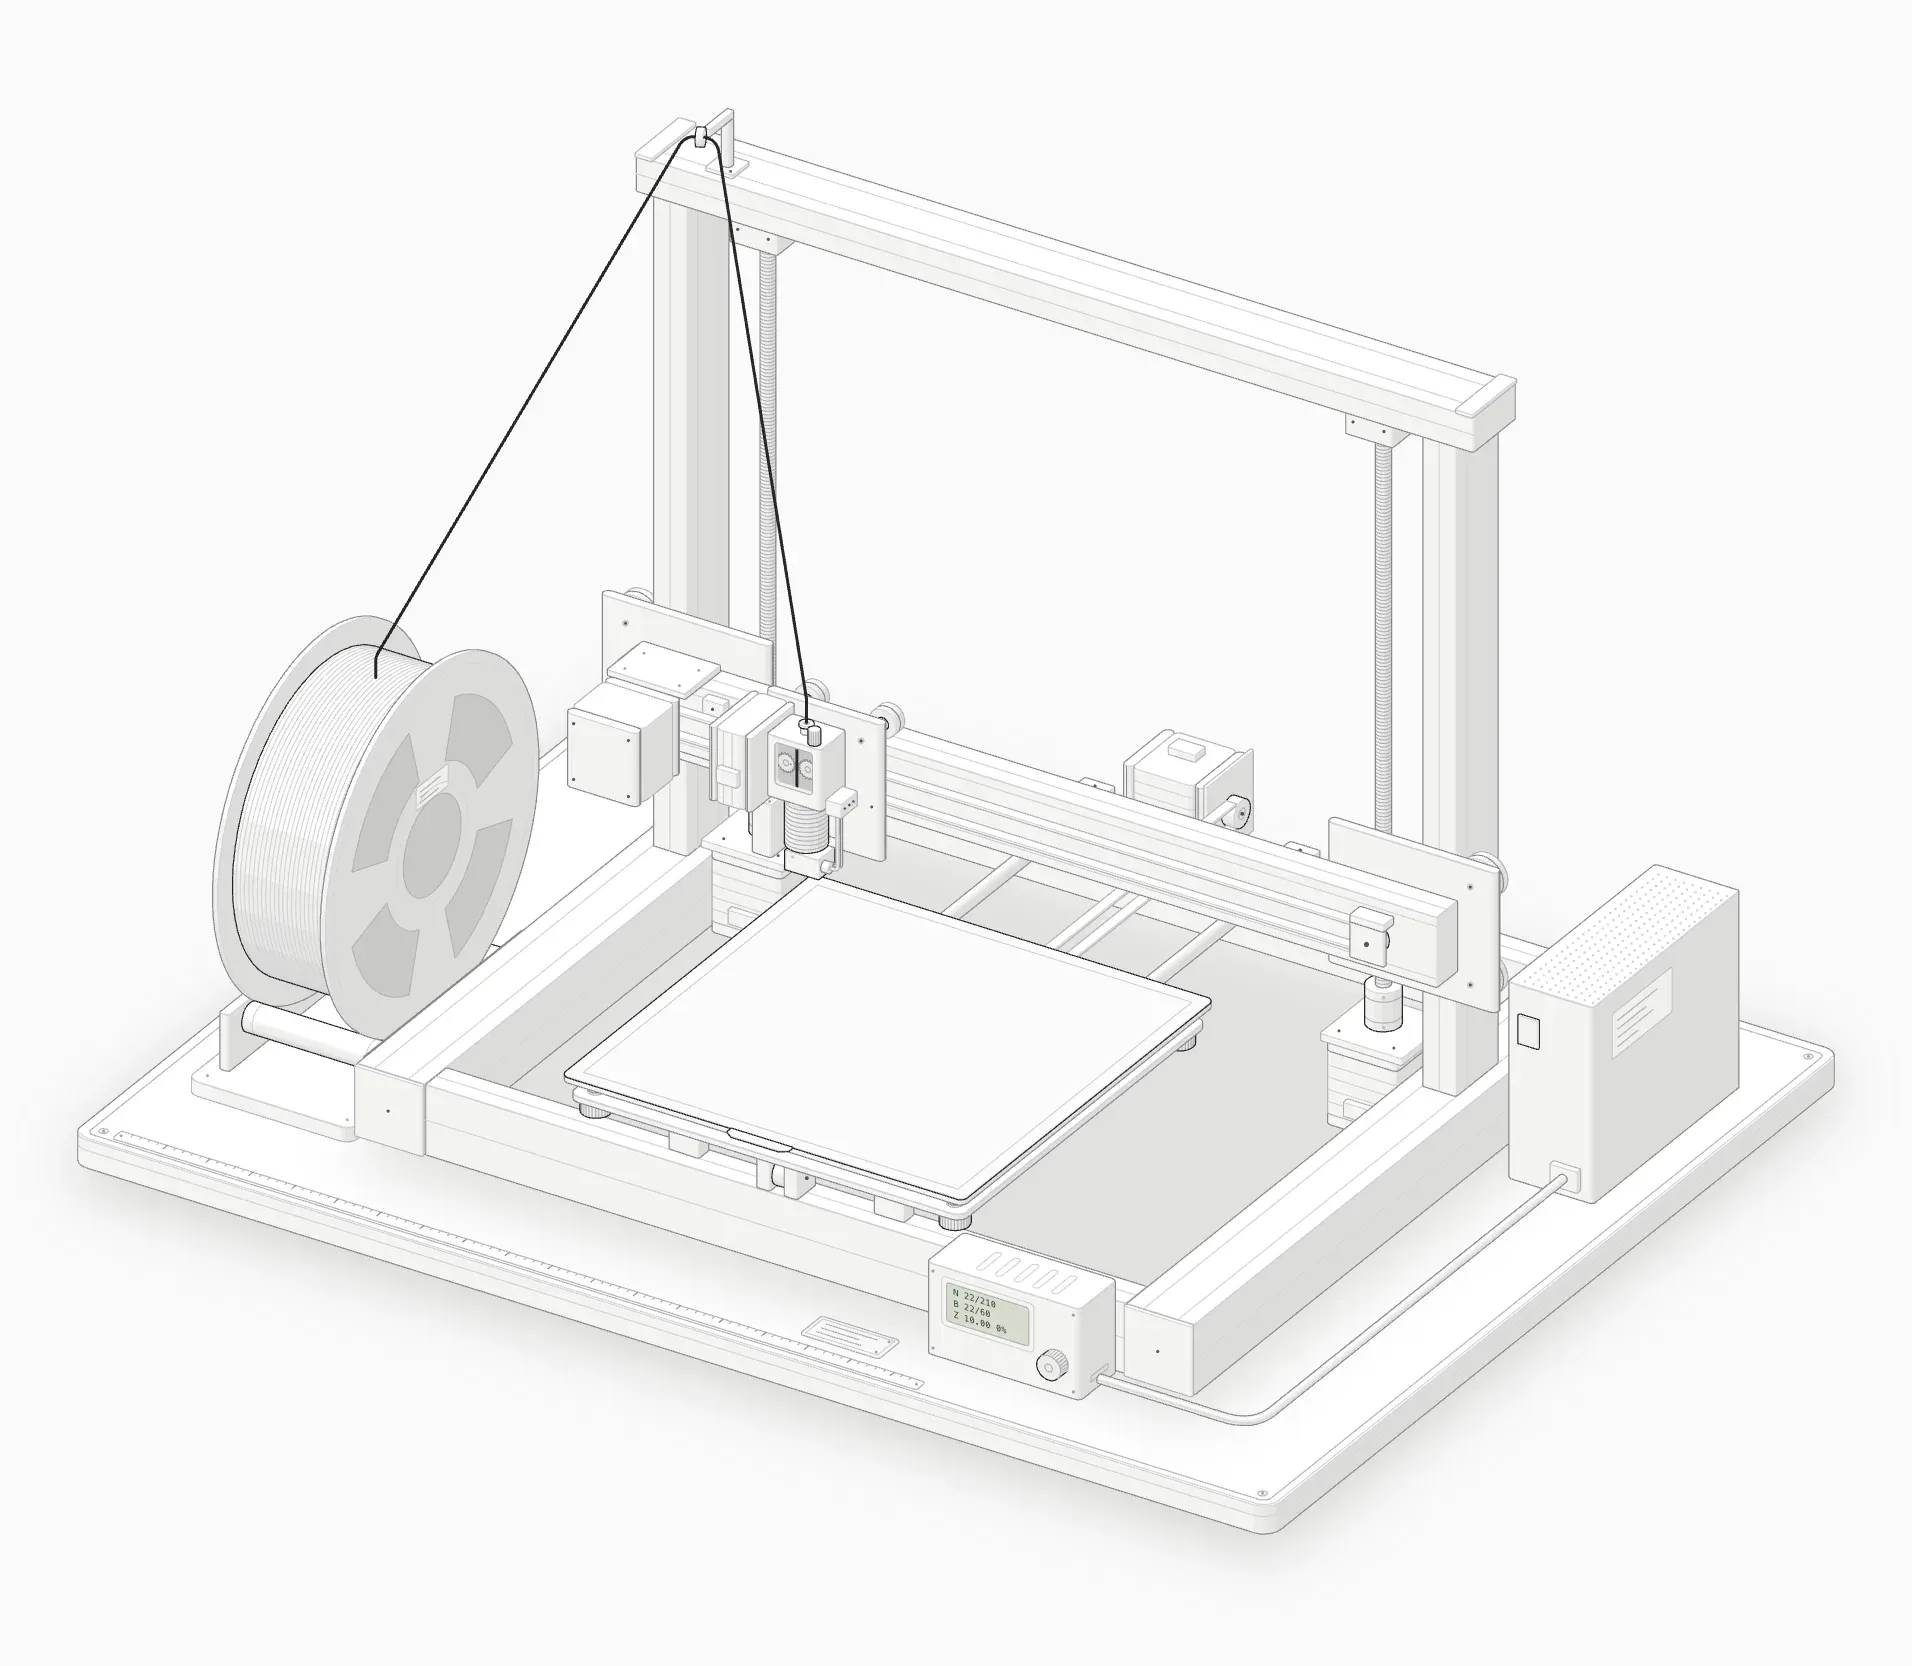 Cold start: the bed is empty and nothing has heated yet.
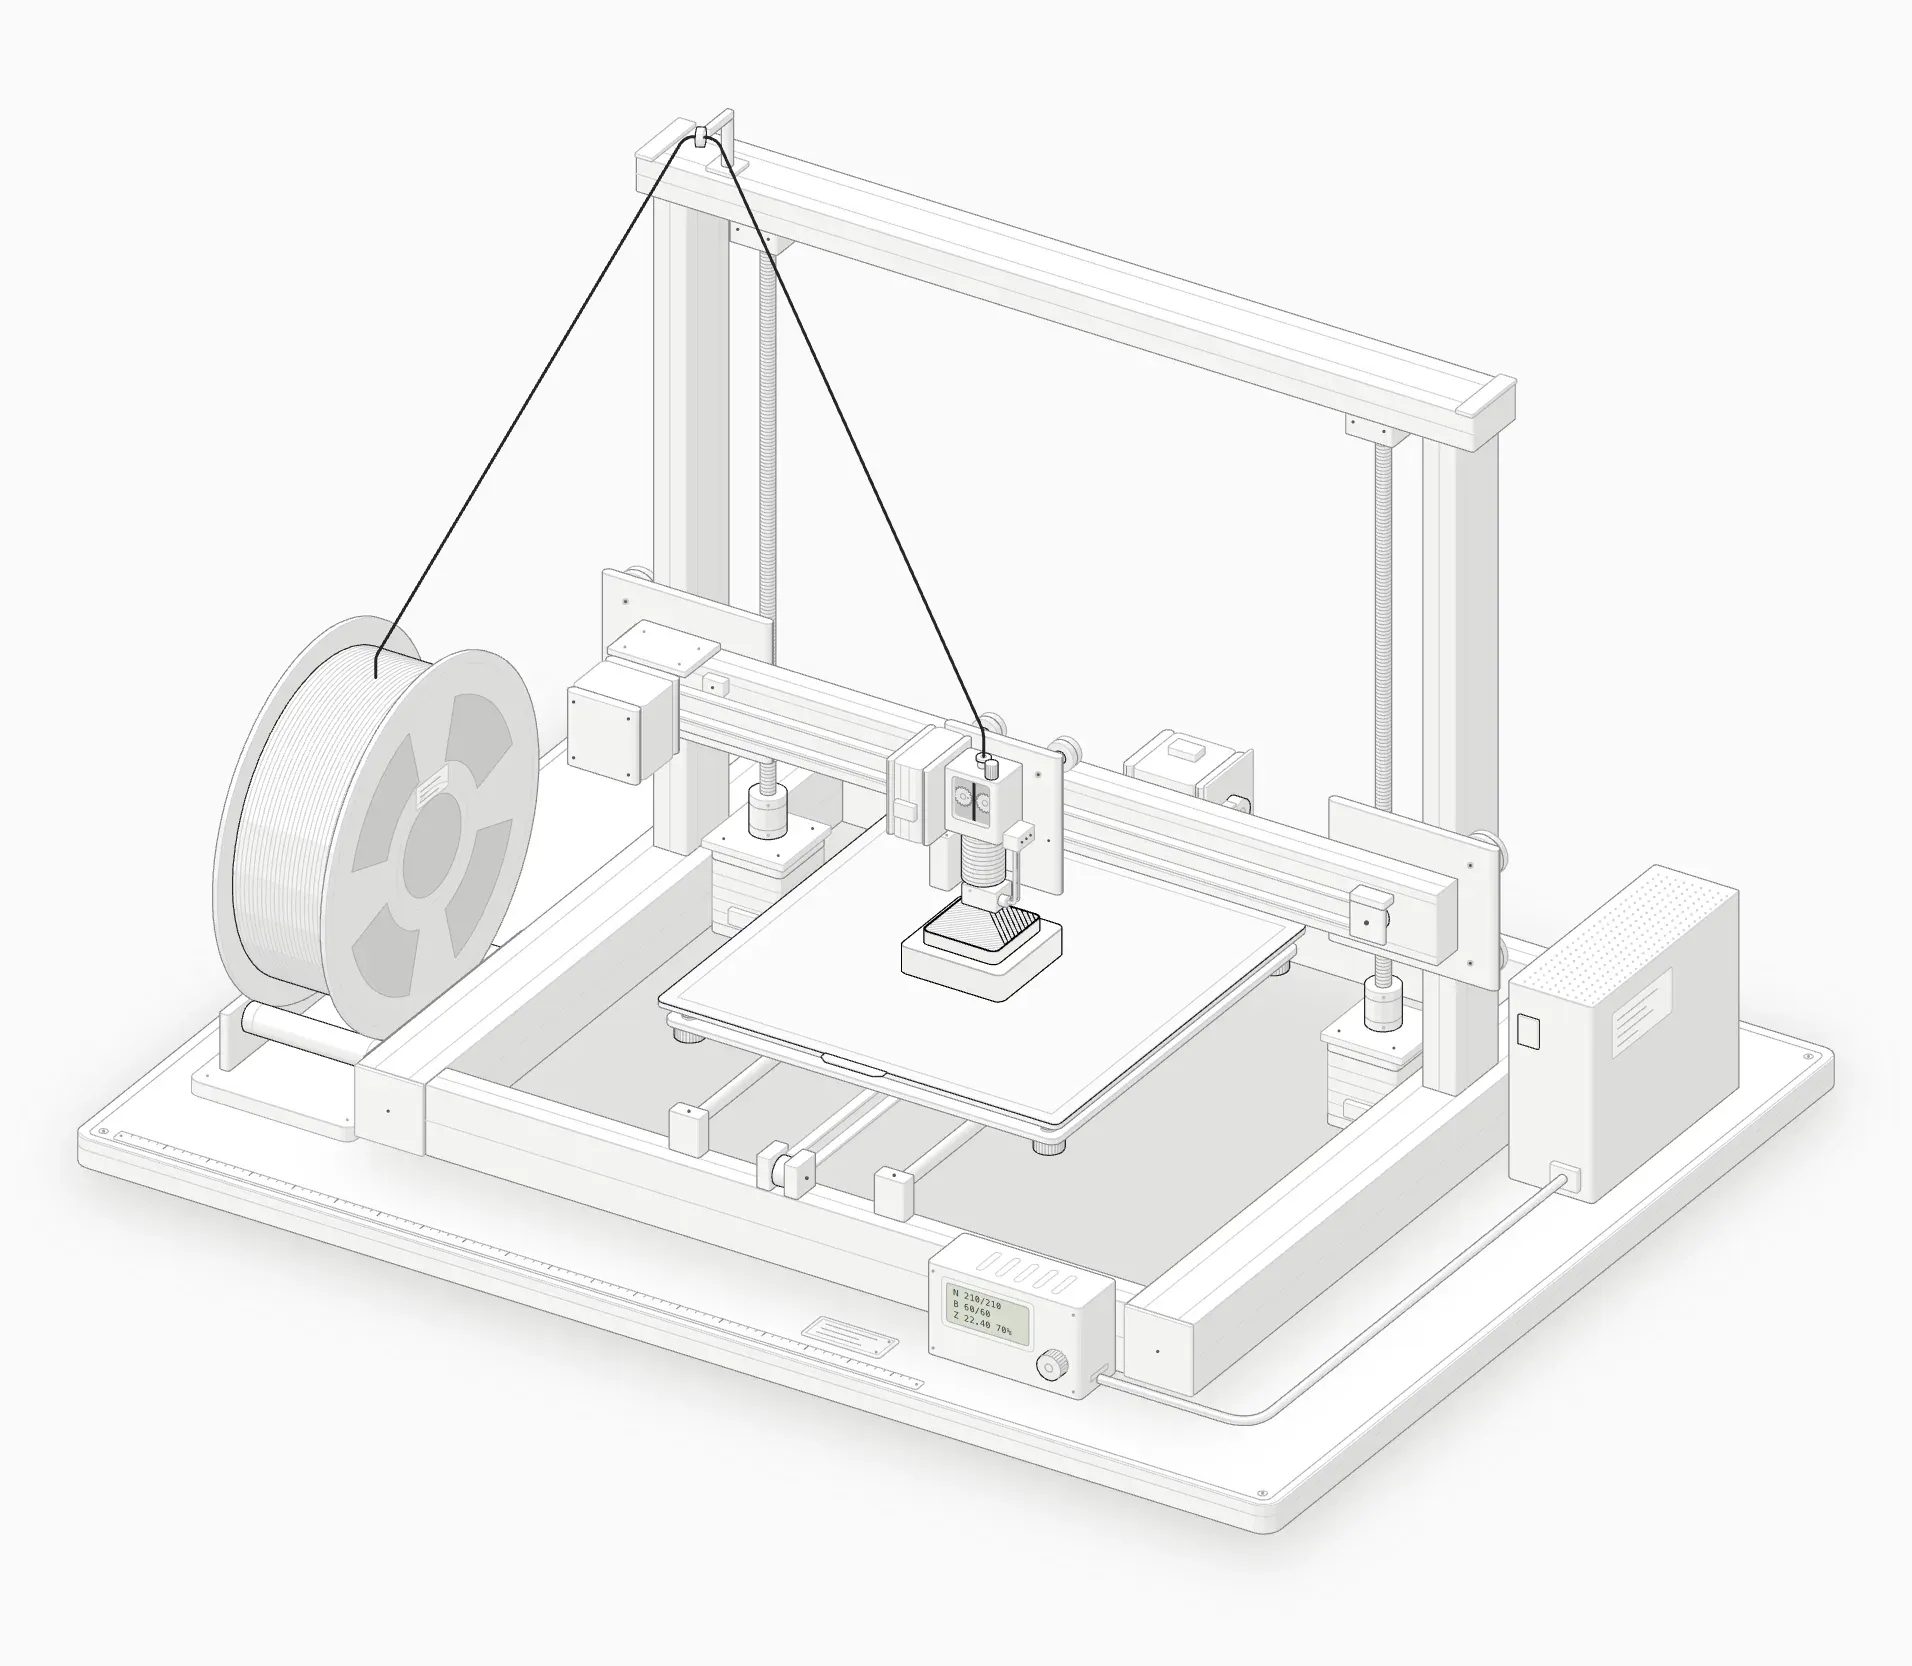 A bed-slinger FDM printer halfway through a 225-layer print.
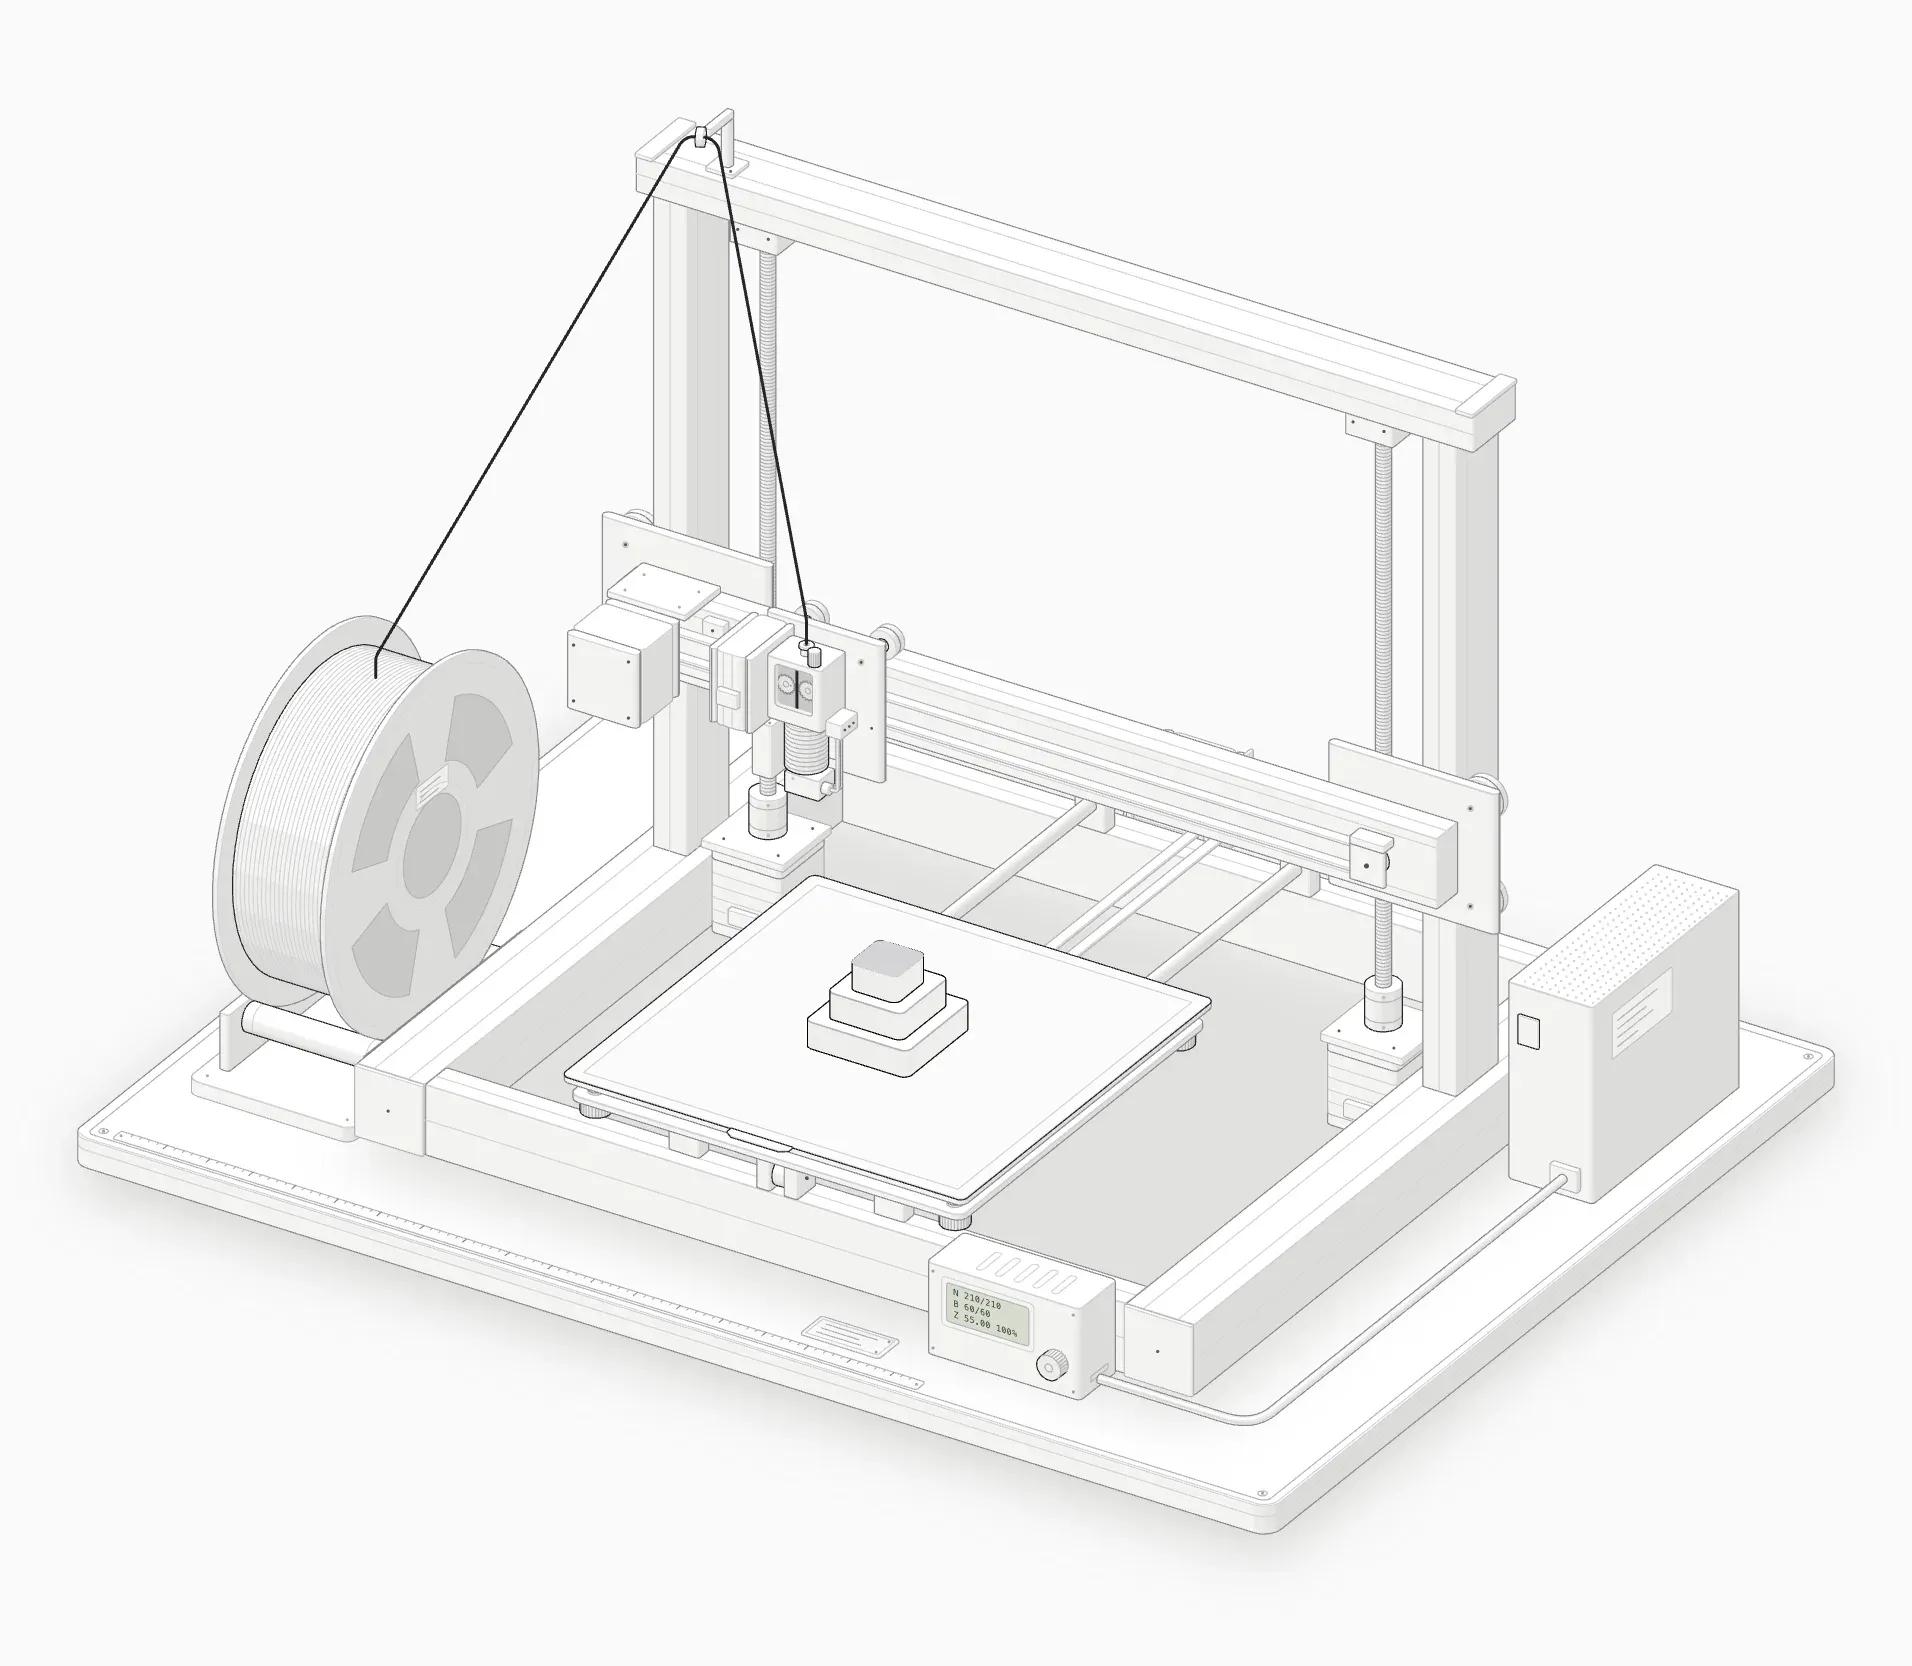 The finished part: 225 layers of 0.2 mm.
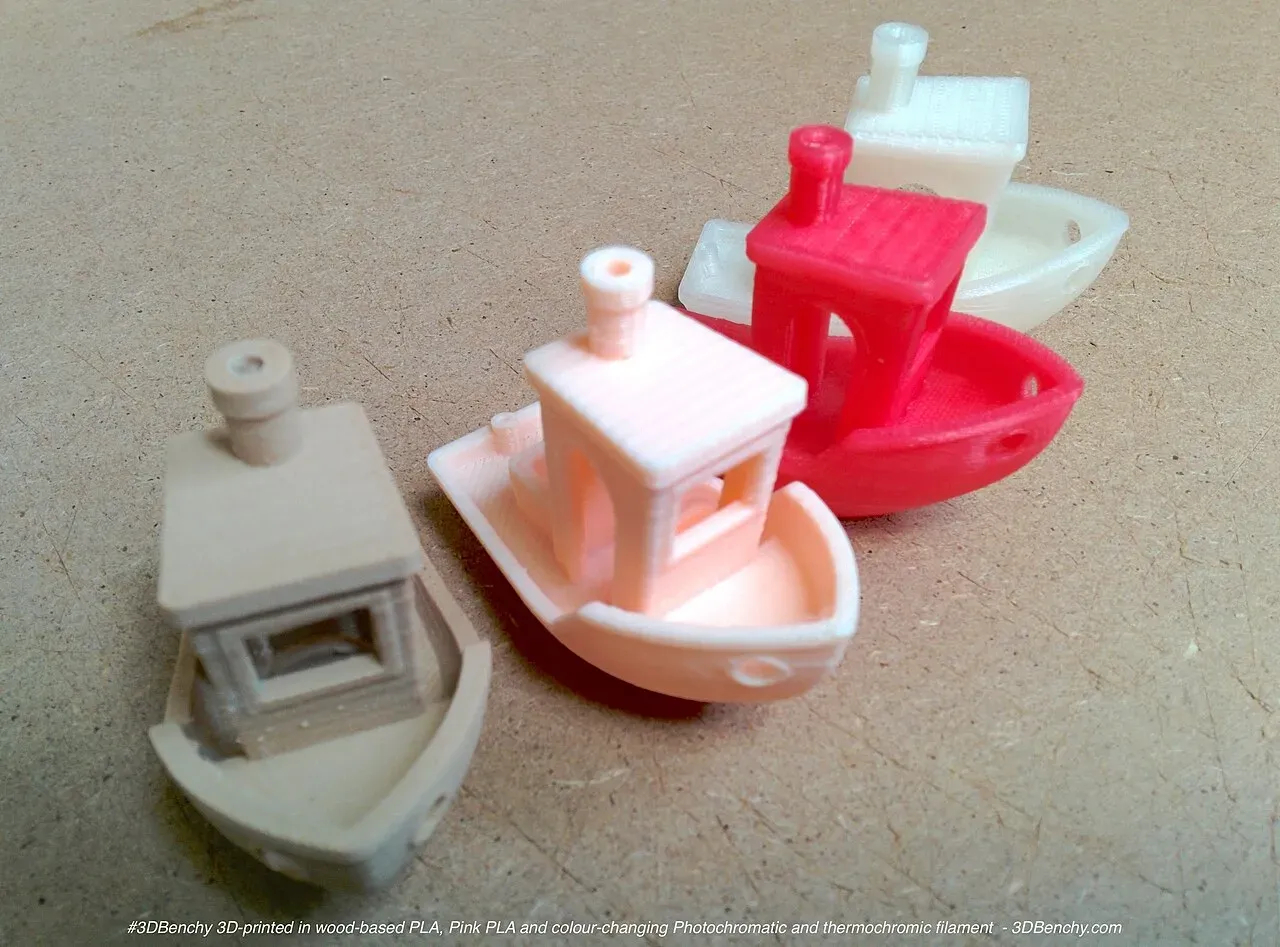 Printed Benchys in different filaments.Photo: 3DBenchy ·CC BY 2.0 ·Wikimedia Commons
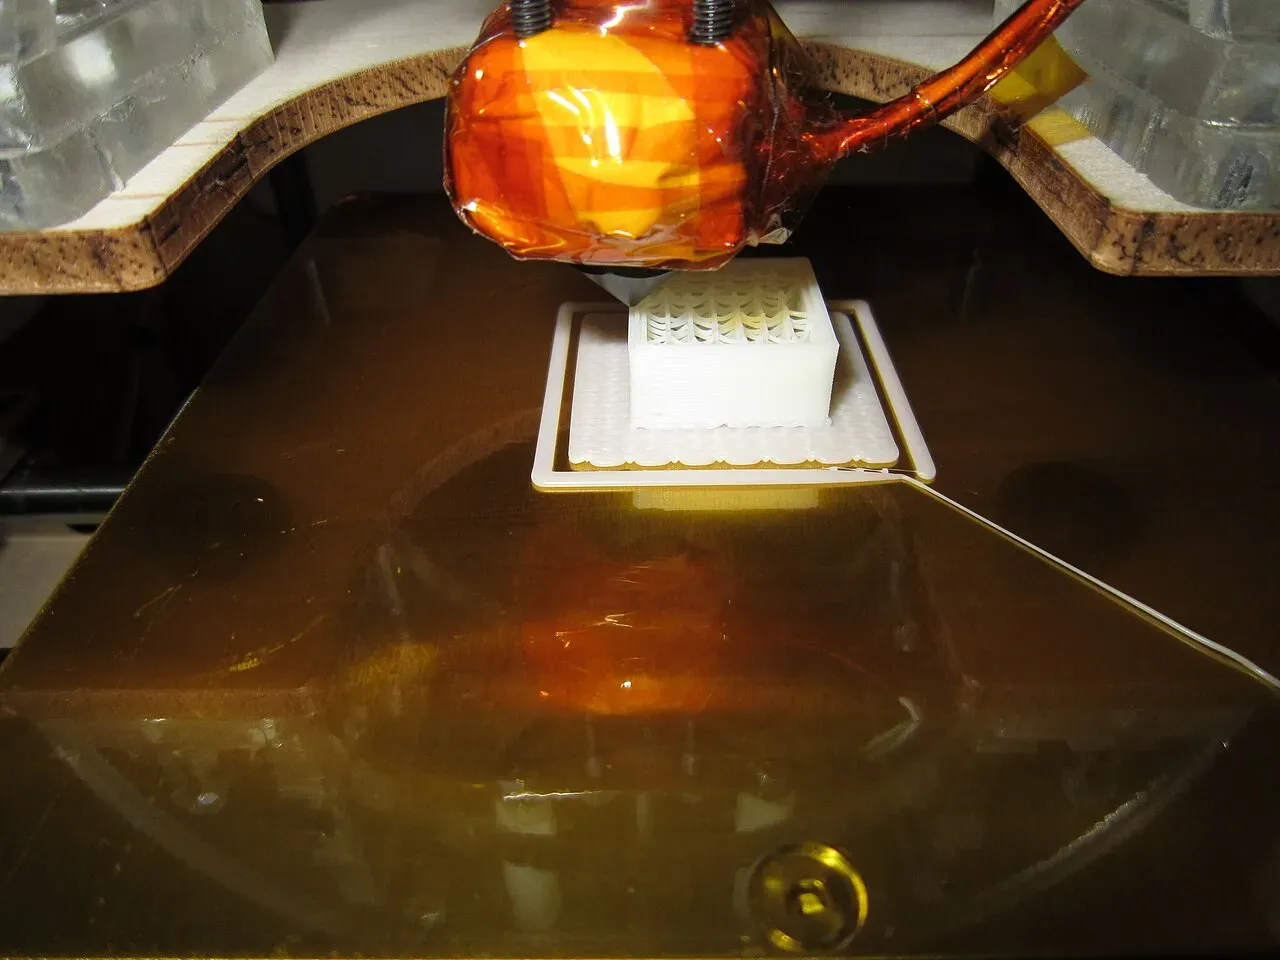 A 20 mm calibration cube, often the first print.Photo: syvwlch ·CC BY 2.0 ·Wikimedia Commons
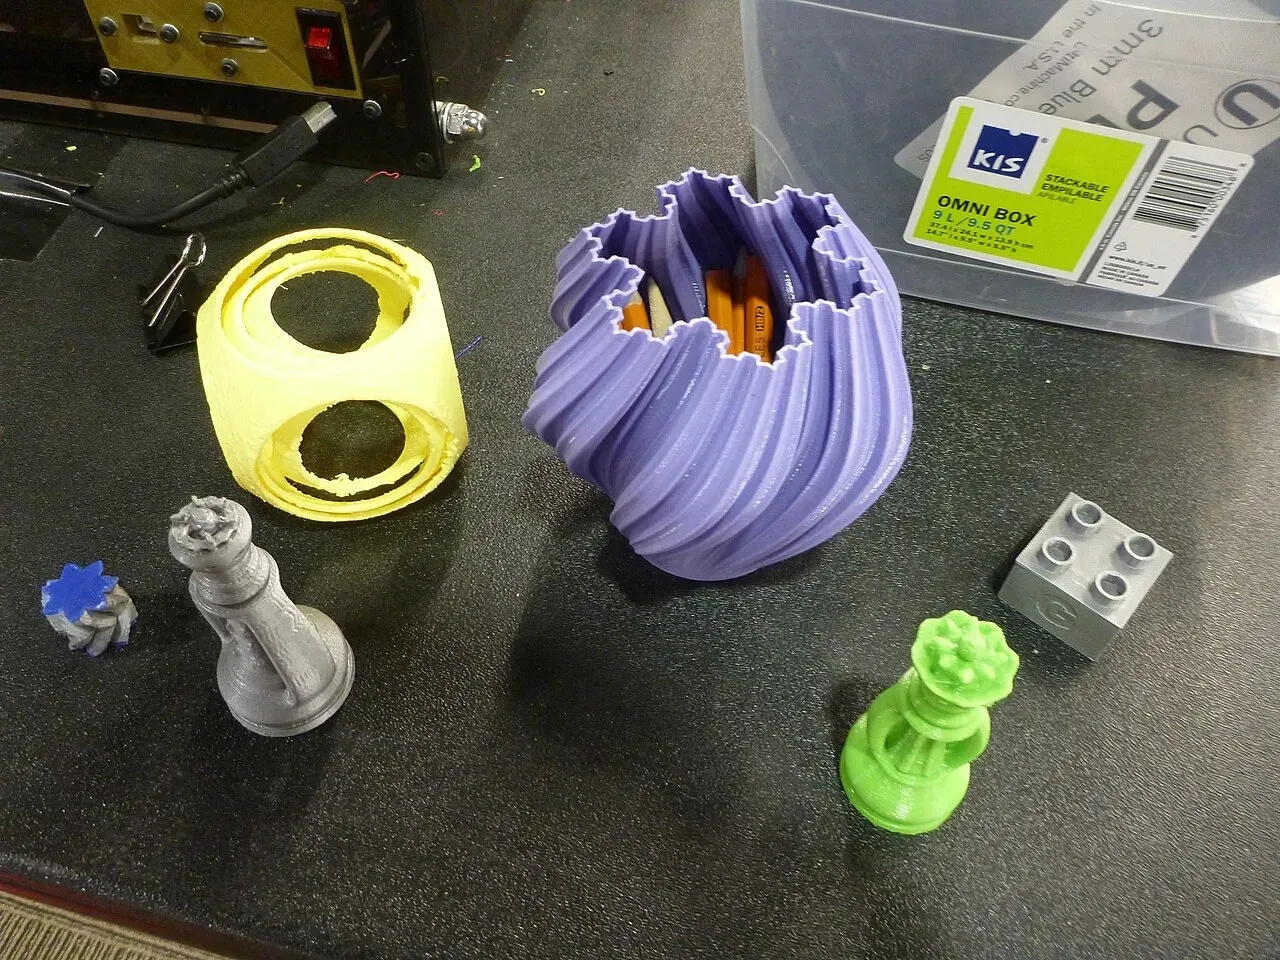 A table of small prints.Photo: Trevor Prentice ·CC BY-SA 2.0 ·Wikimedia Commons
How 3D printing works
Almost every beginner printer uses FDM (fused deposition modeling), sometimes called FFF. The idea is simple:
- A spool of plastic filament feeds into the printer.
- A motor called the extruder pushes that filament into a heated hotend.
- The hotend melts it, and it comes out of a tiny nozzle, usually 0.4 mm wide.110.4 mm is the default nozzle on almost every beginner FDM printer. Swappable 0.2 mm nozzles give finer detail; 0.6 mm ones print faster and stronger.
- Motors move the nozzle (or the bed) to draw one layer of your object.
- The nozzle rises a fraction of a millimetre and draws the next layer on top.
Repeat a few hundred times and you have a part.
layer 112/225 · z 22.40 mm · 210 °C · bed 60 °C
- Drag scrub layers
- Space print / pause
- ← → one layer (Shift: ten)
- Home cold start
- End finished part
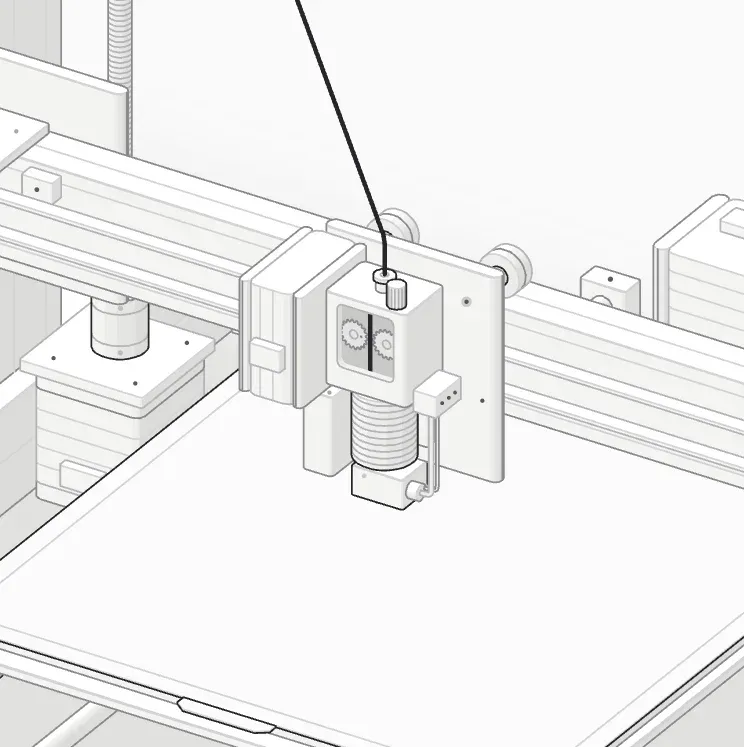 Layer 1 of 225, z 0.2 mm.
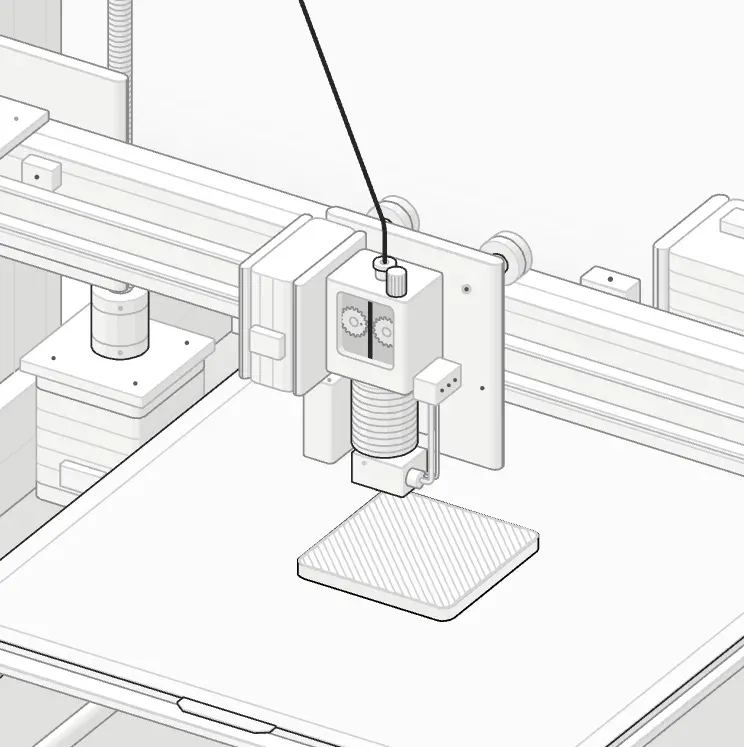 Layer 25 of 225, z 5.0 mm.
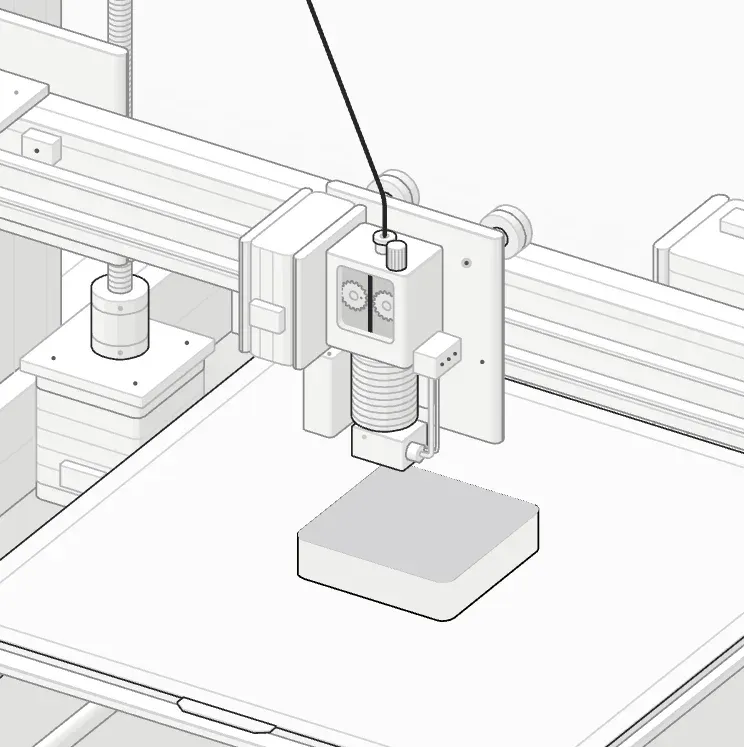 Layer 75 of 225, z 15.0 mm.
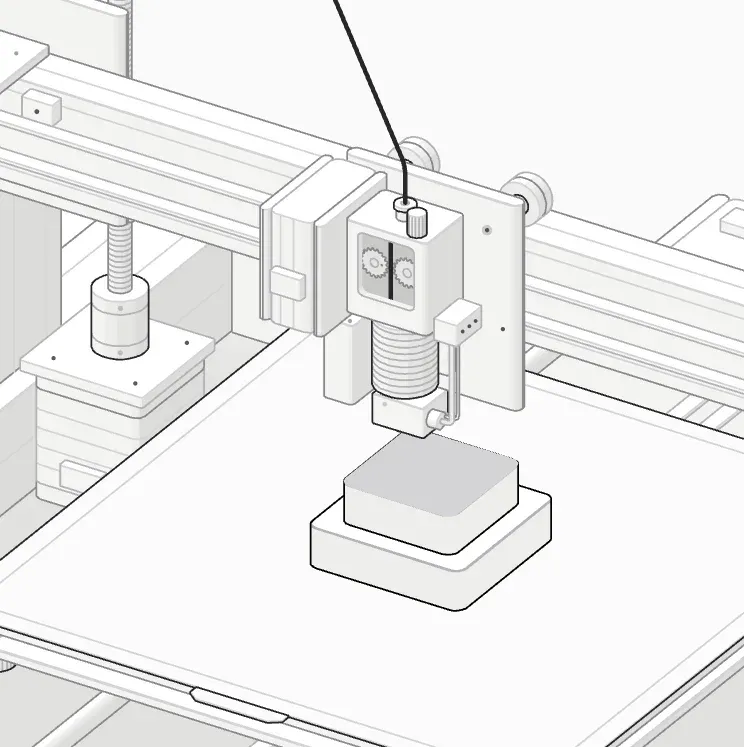 Layer 150 of 225, z 30.0 mm.
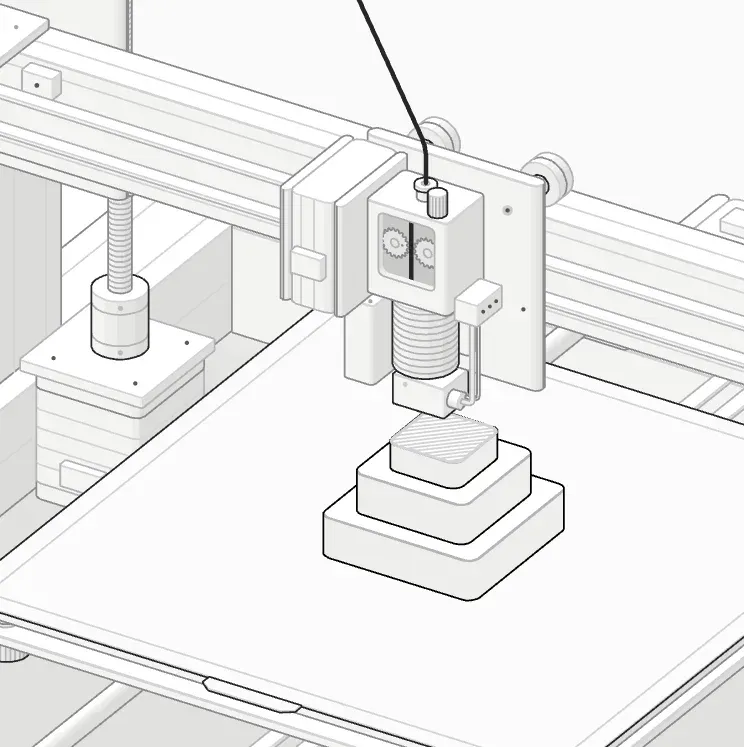 Layer 200 of 225, z 40.0 mm.
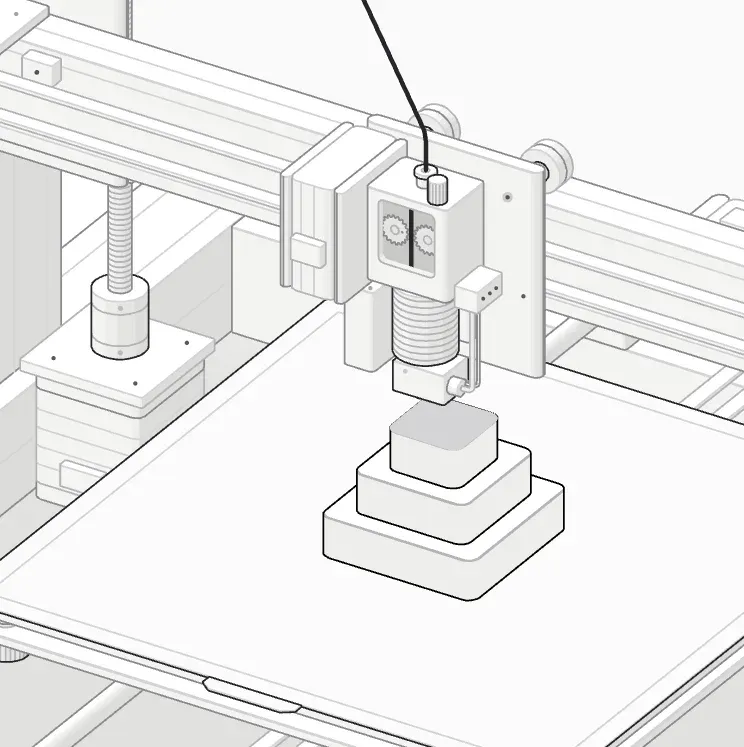 Layer 225 of 225, z 45.0 mm.
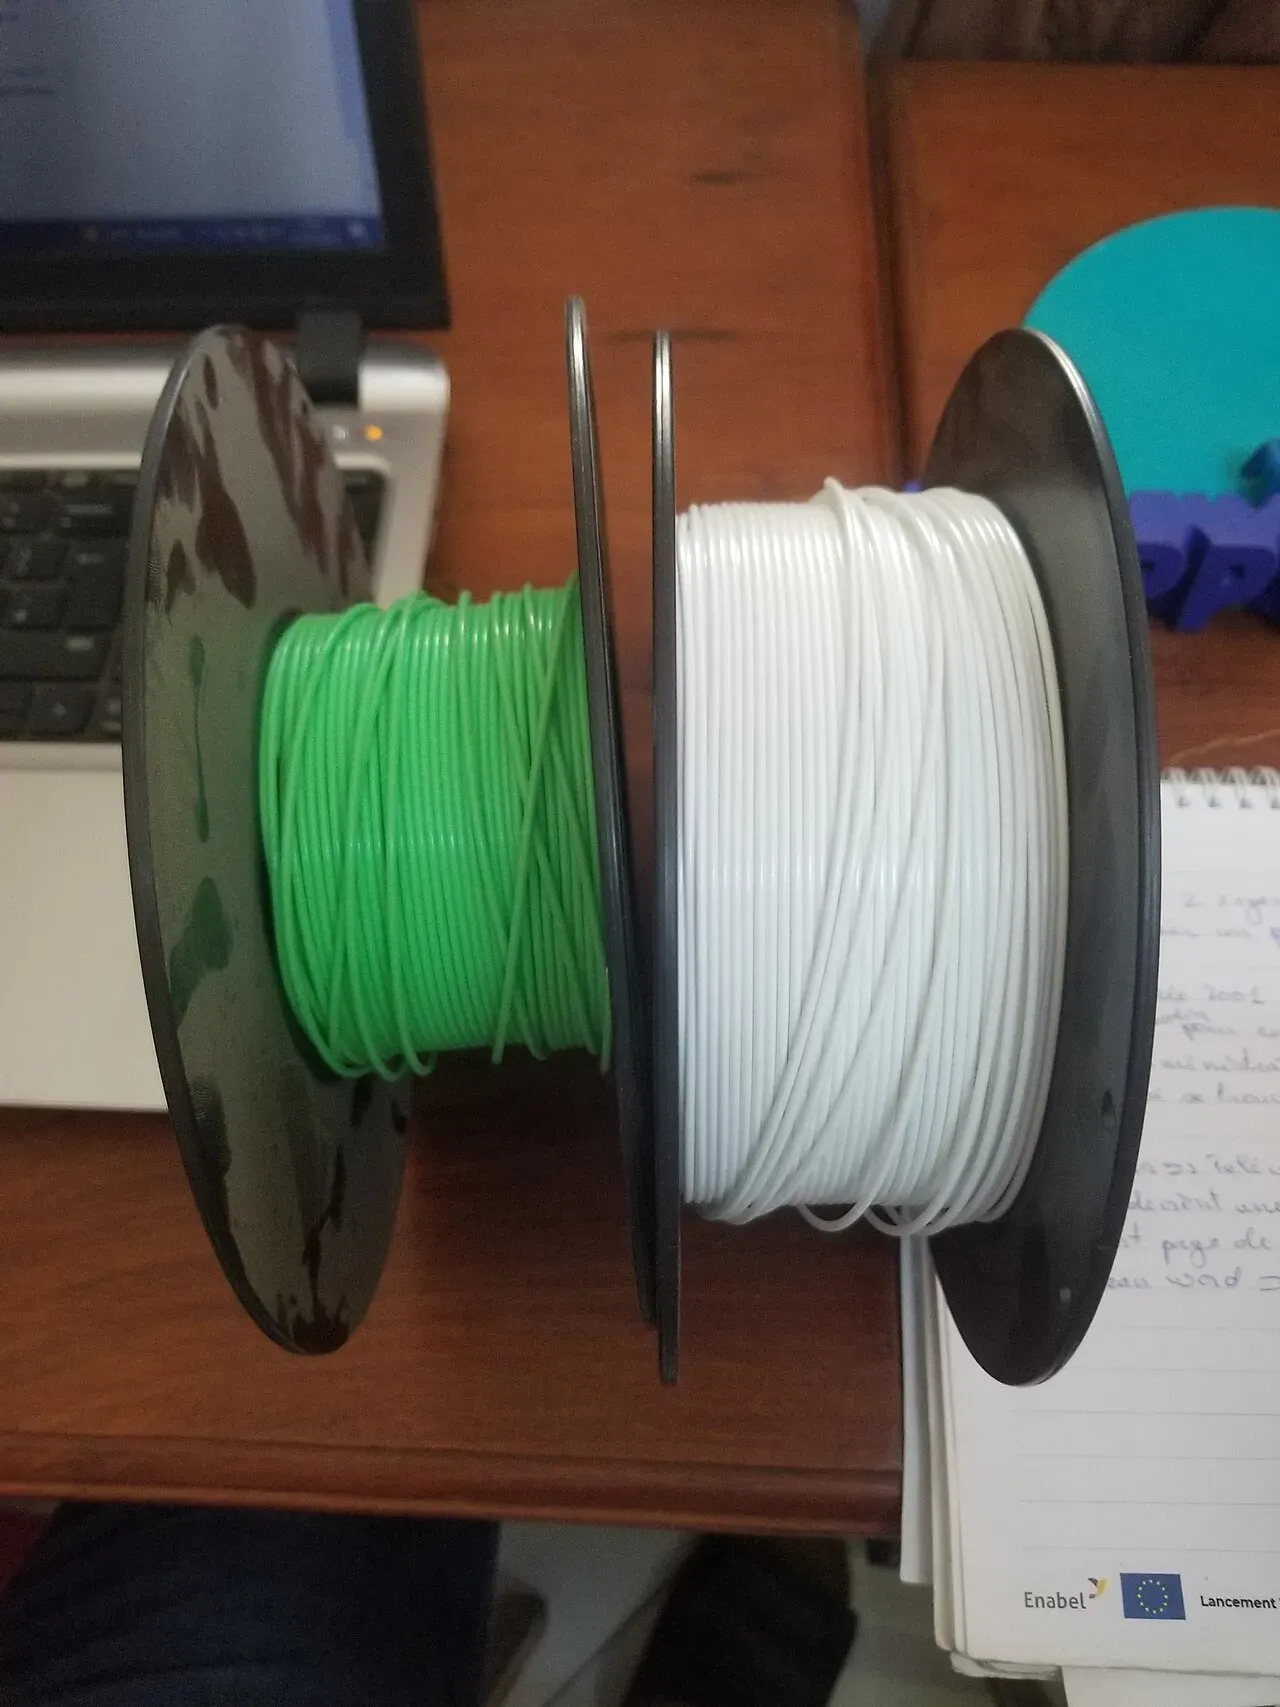
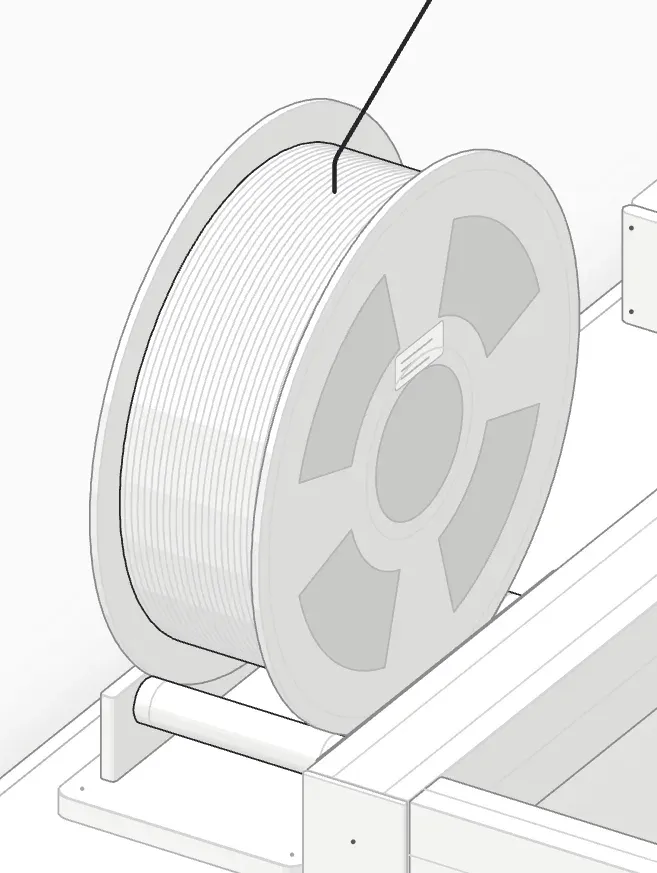 A 1 kg spool of 1.75 mm filament on a roller stand.
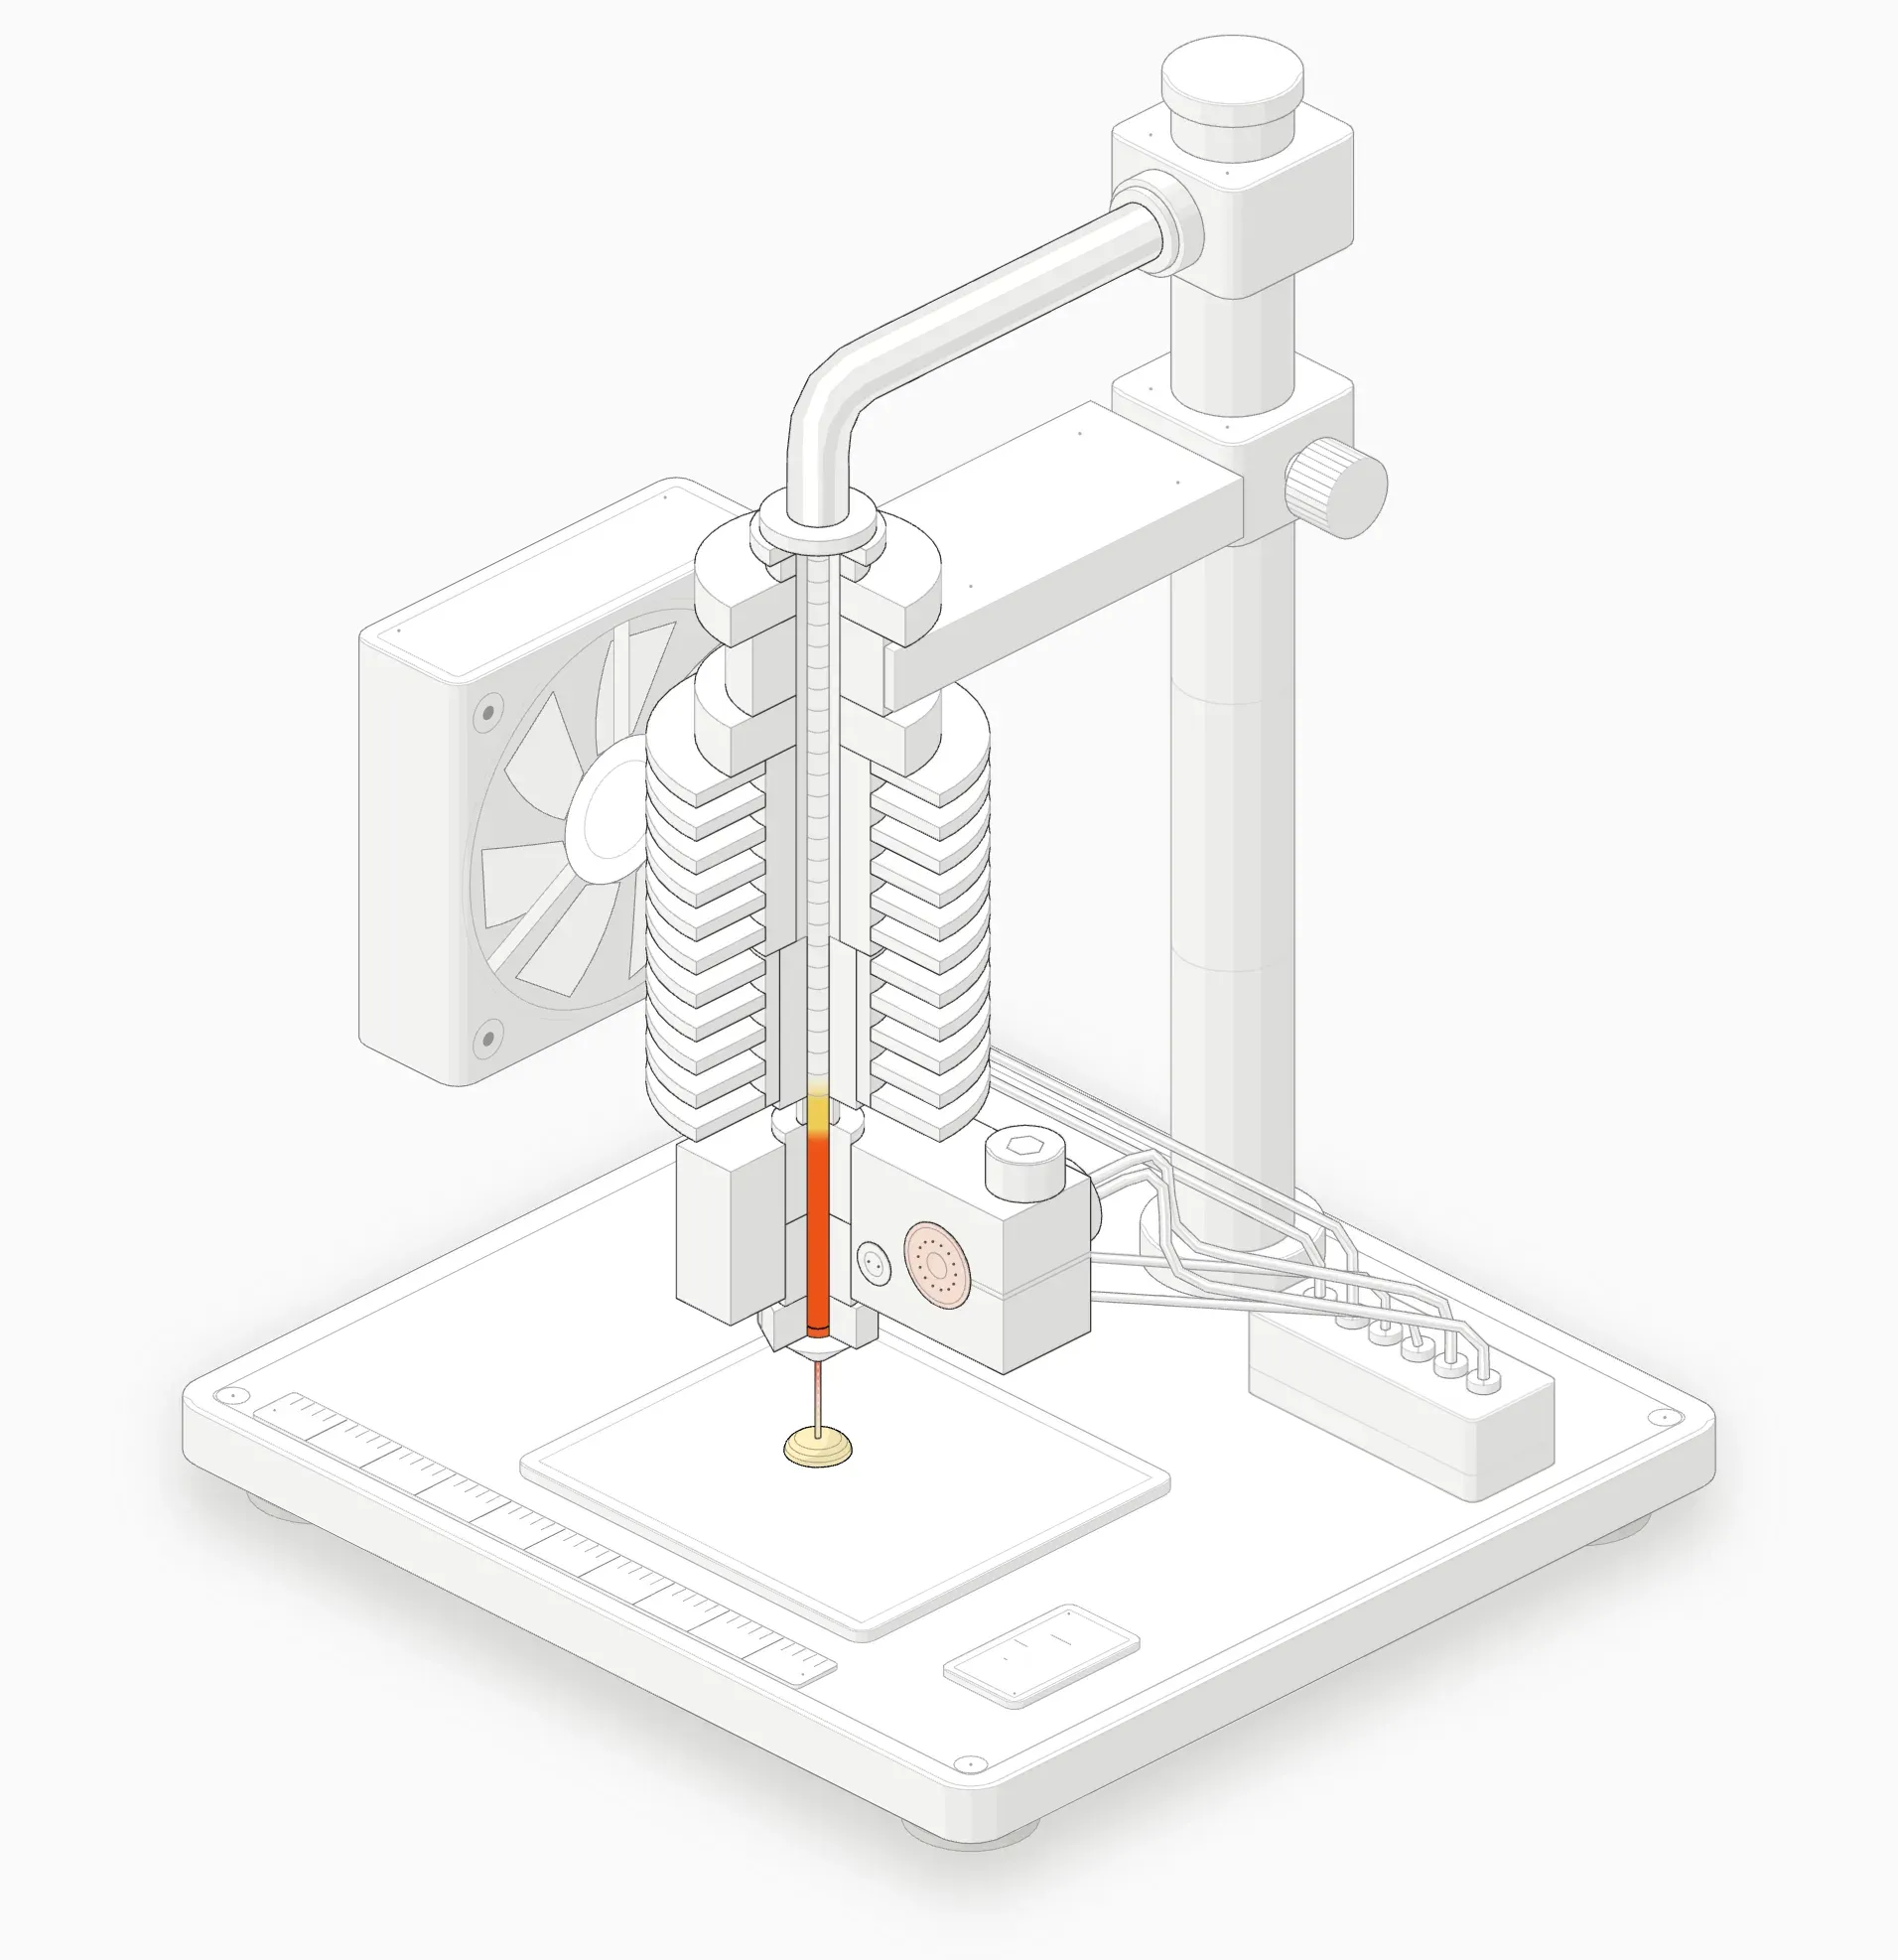
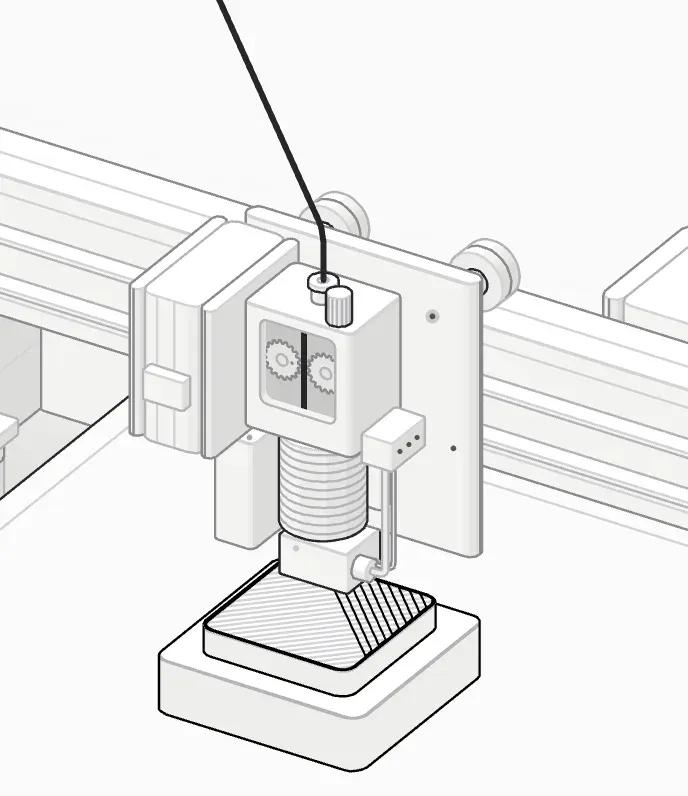 The print head: extruder on top, finned heatsink, heater block and nozzle.
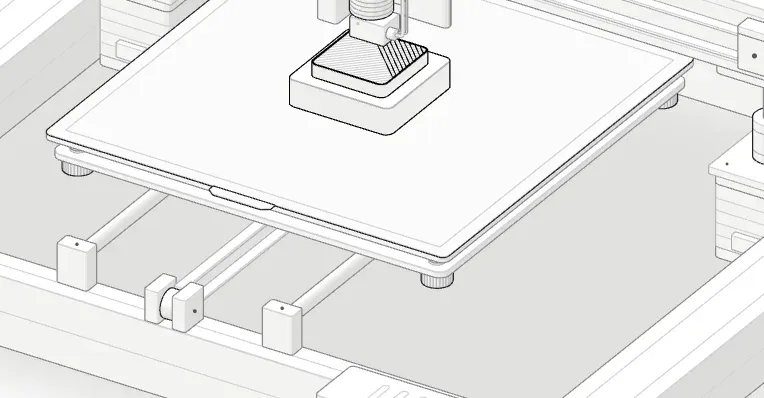 The heated bed with a PEI sheet. The part is the only thing printed on it.
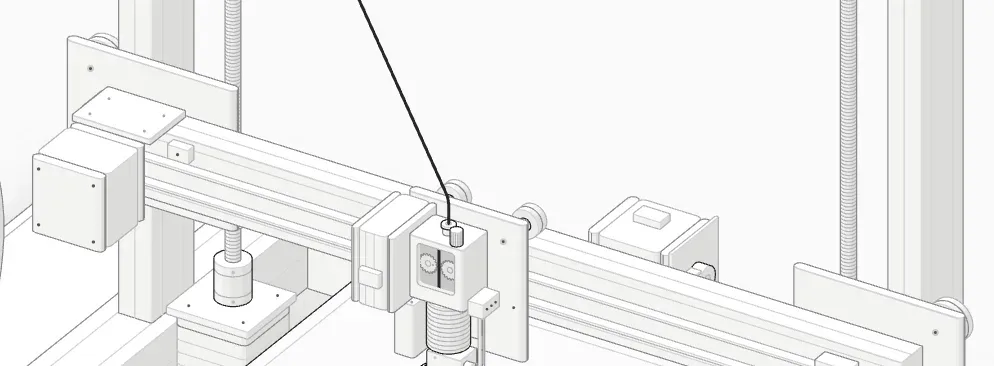 The X gantry: the print head rides along it on a belt.
FDM vs resin printers
The other common type is resin (SLA, MSLA or DLP). Instead of melting plastic, it uses UV light to harden liquid resin, layer by layer.
| FDM (filament) | Resin | |
|---|---|---|
| Best for | Functional parts, larger objects, everyday prints | Miniatures, jewellery, very fine detail |
| Detail | Good; layer lines visible | Excellent; nearly smooth |
| Mess and safety | Low; normal ventilation is fine for PLA | Higher; liquid resin irritates skin and needs gloves, ventilation and washing |
| After printing | Remove supports, done | Wash in alcohol, cure under UV light |
| Running cost | Low | Higher (resin, alcohol, gloves) |
For a first printer, choose FDM unless you only want to print tabletop miniatures. Everything else in this guide assumes FDM.
What you need to get started
| Item | Why you need it | Notes |
|---|---|---|
| FDM printer | Does the printing | See the next section |
| PLA filament (1 kg) | The easiest material | A light colour makes faults easier to see |
| Slicer software | Turns 3D models into printer instructions | Free: your printer maker’s slicer, OrcaSlicer, PrusaSlicer or Cura |
| Isopropyl alcohol and a cloth | Cleans the build plate | Fingerprints stop the first layer sticking |
| Flush cutters | Trim support material and strings | |
| Scraper or spatula | Lift prints off rigid beds | Not needed for flexible plates |
| Digital caliper | Check sizes on functional parts | Useful after the first week |
| Airtight box with desiccant | Keeps filament dry | Wet filament prints badly |
Free model libraries like Printables, MakerWorld and Thingiverse have millions of models to print.
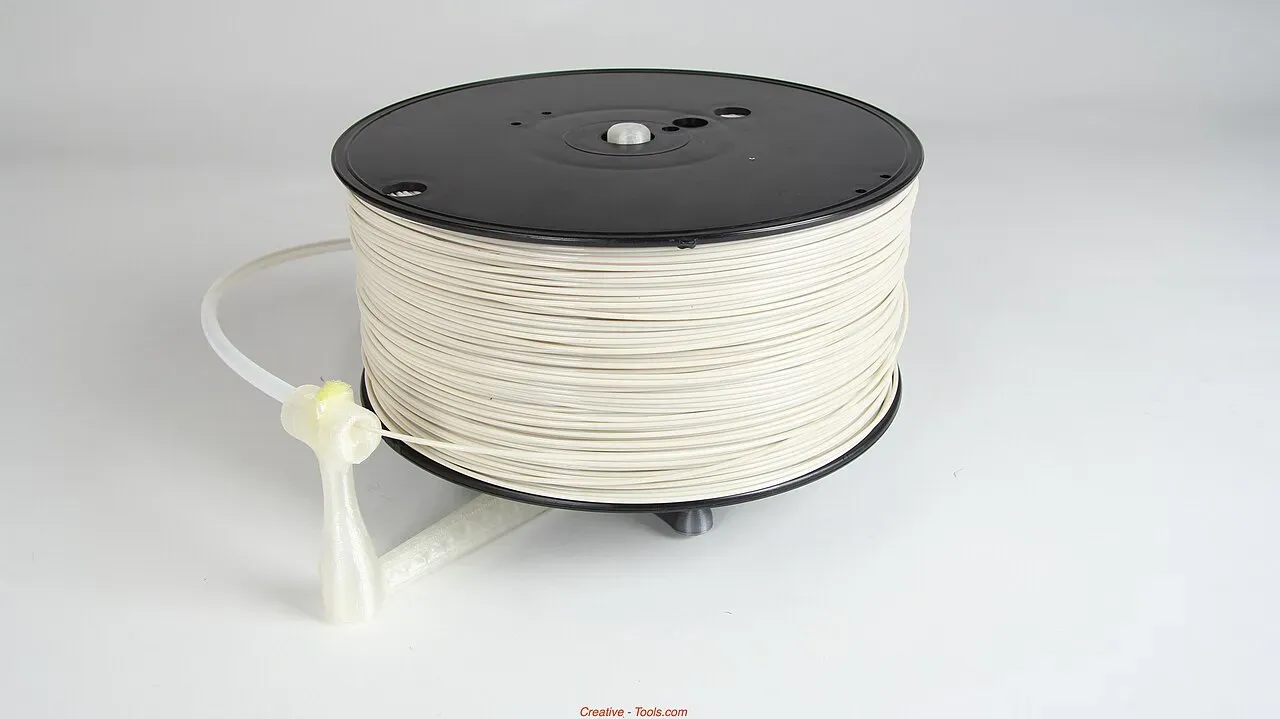 A spool of white filament.Photo: Creative Tools ·CC BY 2.0 ·Wikimedia Commons
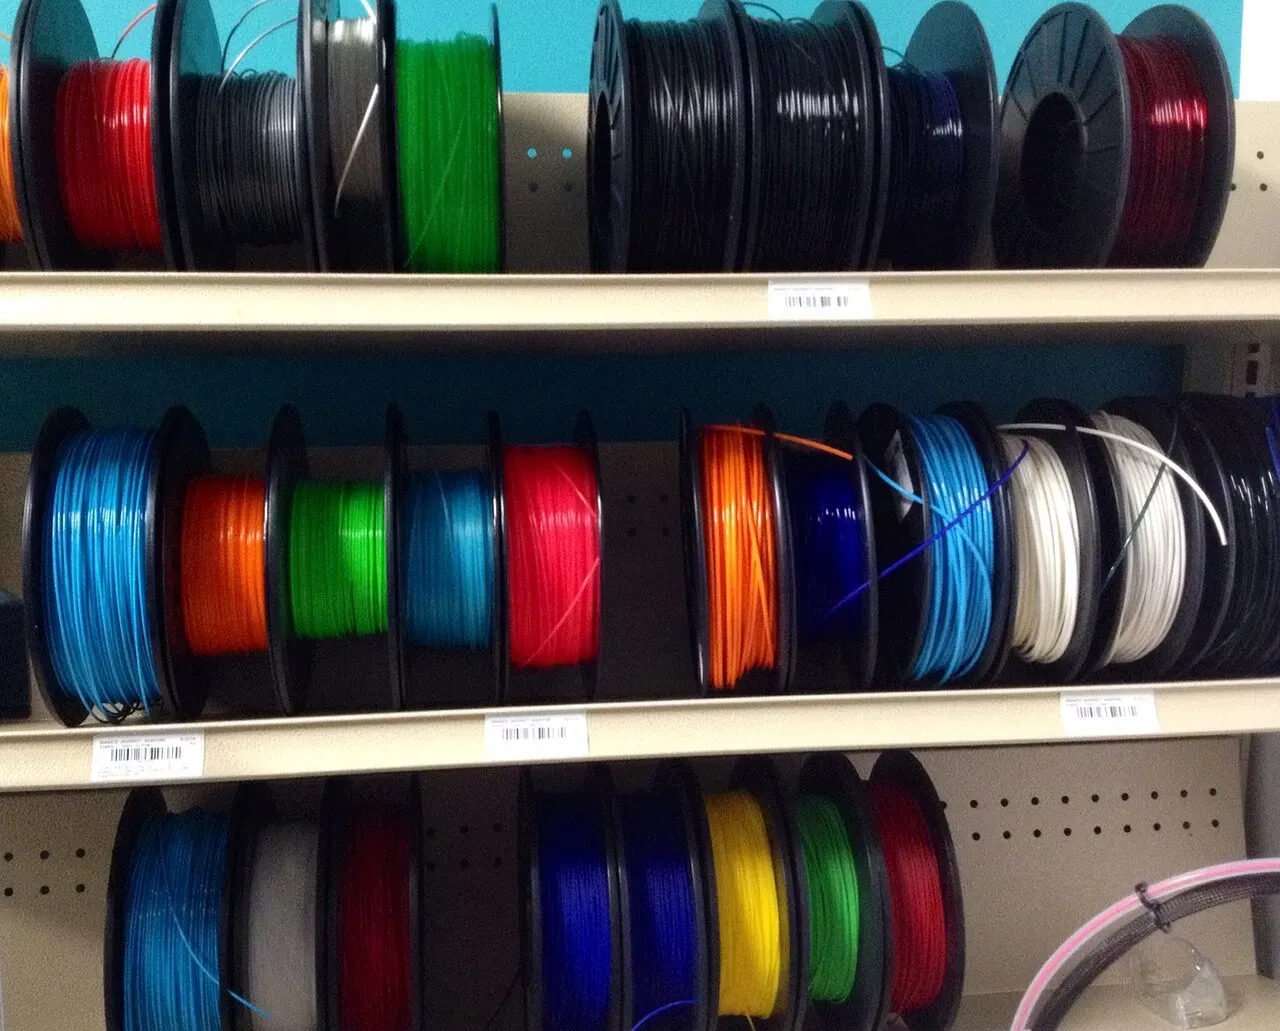 Filament comes in almost every colour.Photo: westonhighschool library ·CC BY-SA 2.0 ·Wikimedia Commons
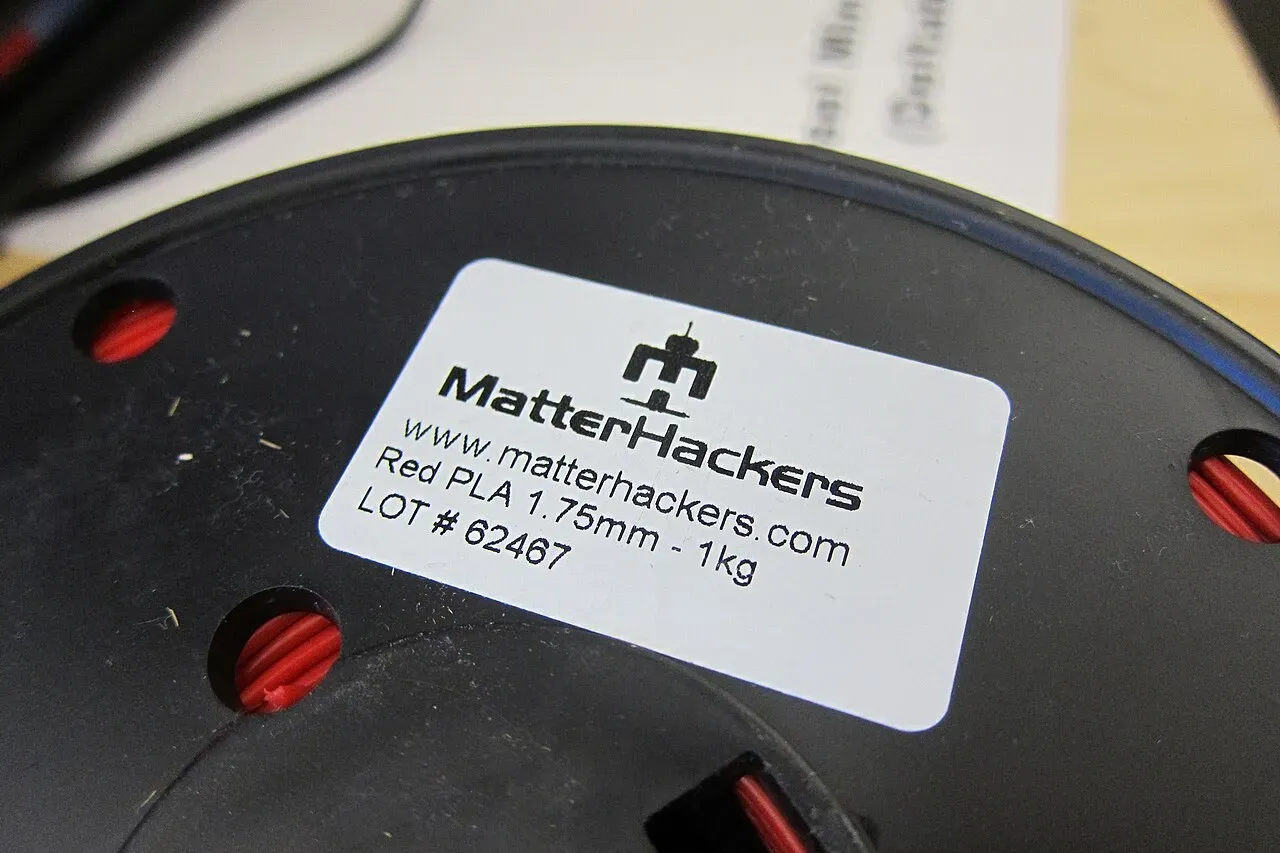 Read the label: material, 1.75 mm diameter, 1 kg.Photo: John Abella from Outside Philadelphia, USA ·CC BY 2.0 ·Wikimedia Commons
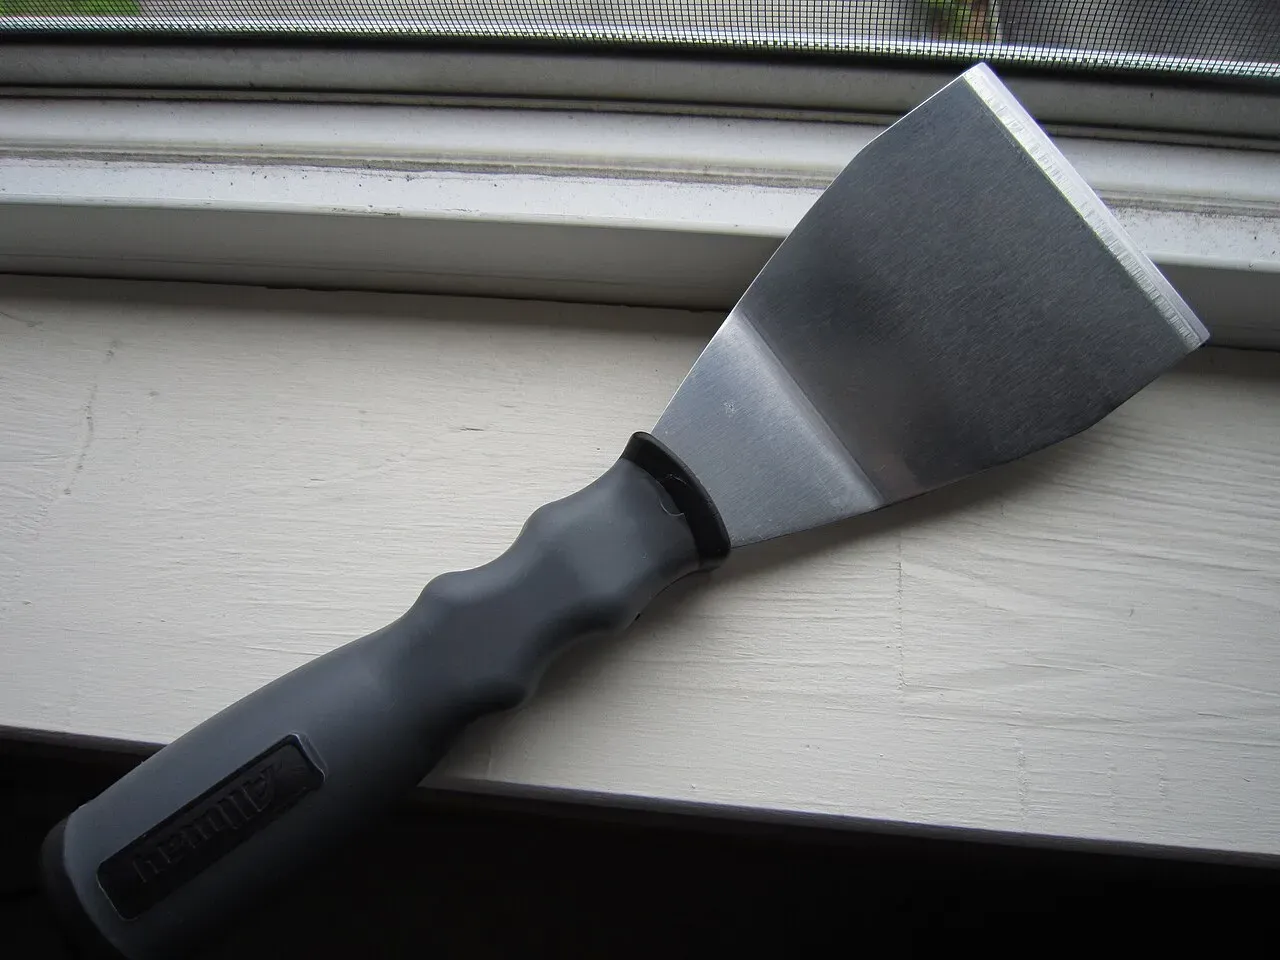 A scraper: lift prints off a rigid bed.Photo: syvwlch ·CC BY 2.0 ·Wikimedia Commons
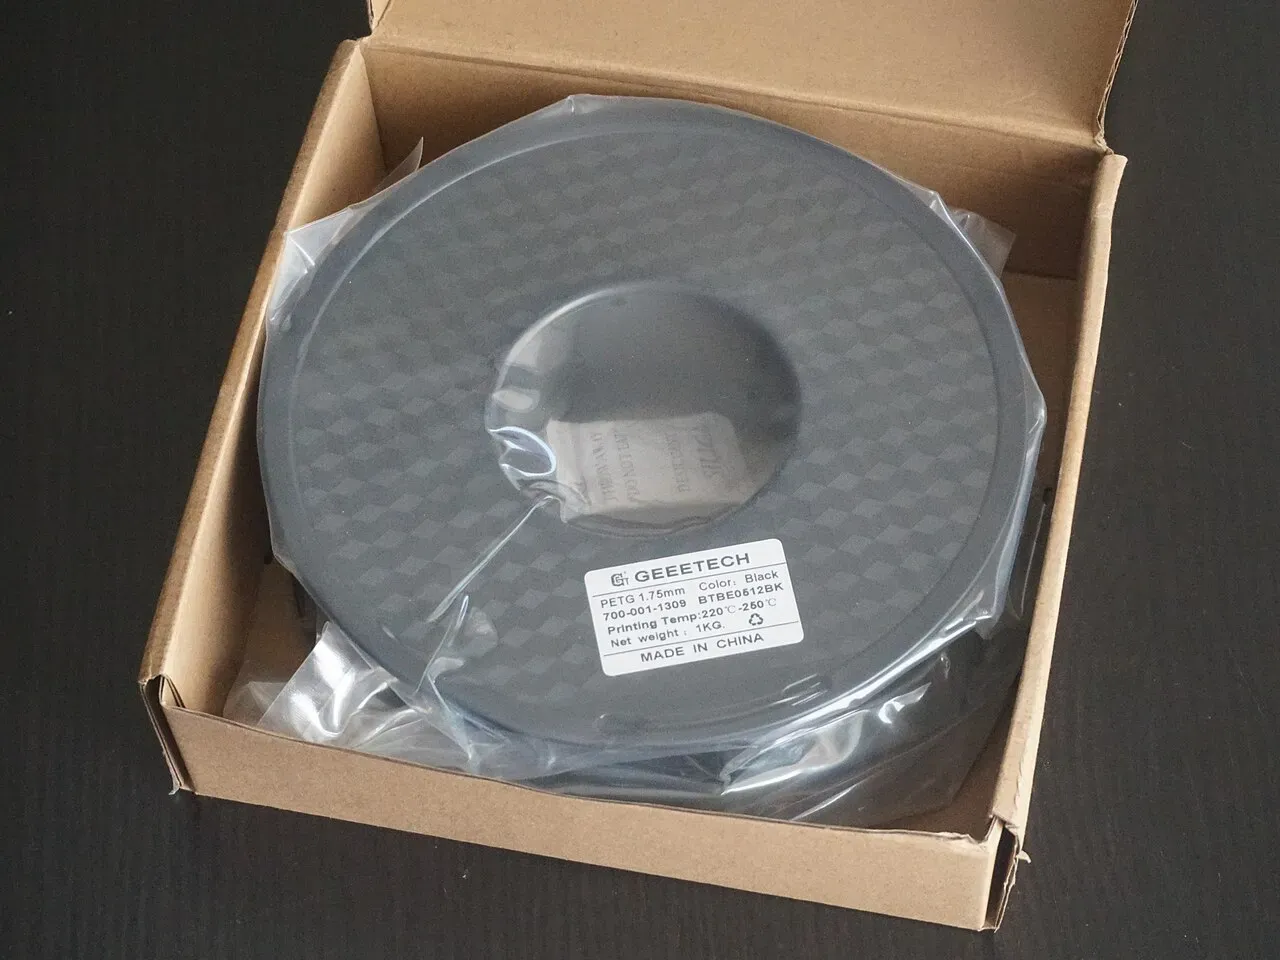 A 1 kg spool of PETG, sealed with desiccant.Photo: Suit ·CC BY-SA 4.0 ·Wikimedia Commons
- Printed Benchys in different filaments.Photo: 3DBenchy ·CC BY 2.0 ·Wikimedia Commons
Choosing your first 3D printer
Printers have improved a lot. Features that used to be upgrades are now standard on good beginner machines.
| Feature | Why it matters | Must-have? |
|---|---|---|
| Automatic bed leveling | Removes the number one source of beginner frustration | Strongly recommended |
| Flexible PEI build plate | Prints stick while hot and pop off when you flex the cooled plate | Strongly recommended |
| Direct drive extruder | Handles flexible and stringy filaments better than Bowden | Recommended |
| Good official slicer profiles | Prints well on day one | Recommended |
| Filament runout sensor | Pauses the print when the spool runs out | Nice to have |
| Enclosure | Needed for ABS and ASA; quieter and safer around pets and kids | Depends on materials |
| Large, active community | Someone has already solved your problem | Recommended |
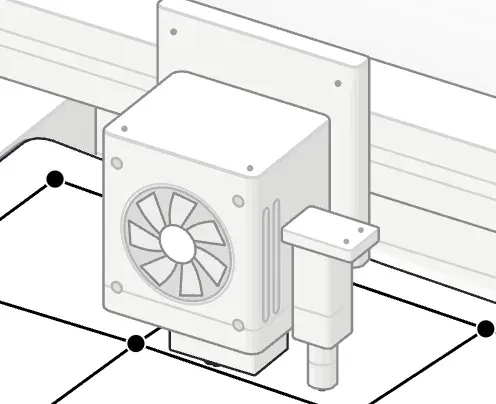 A touch probe sits beside the nozzle and taps the bed.
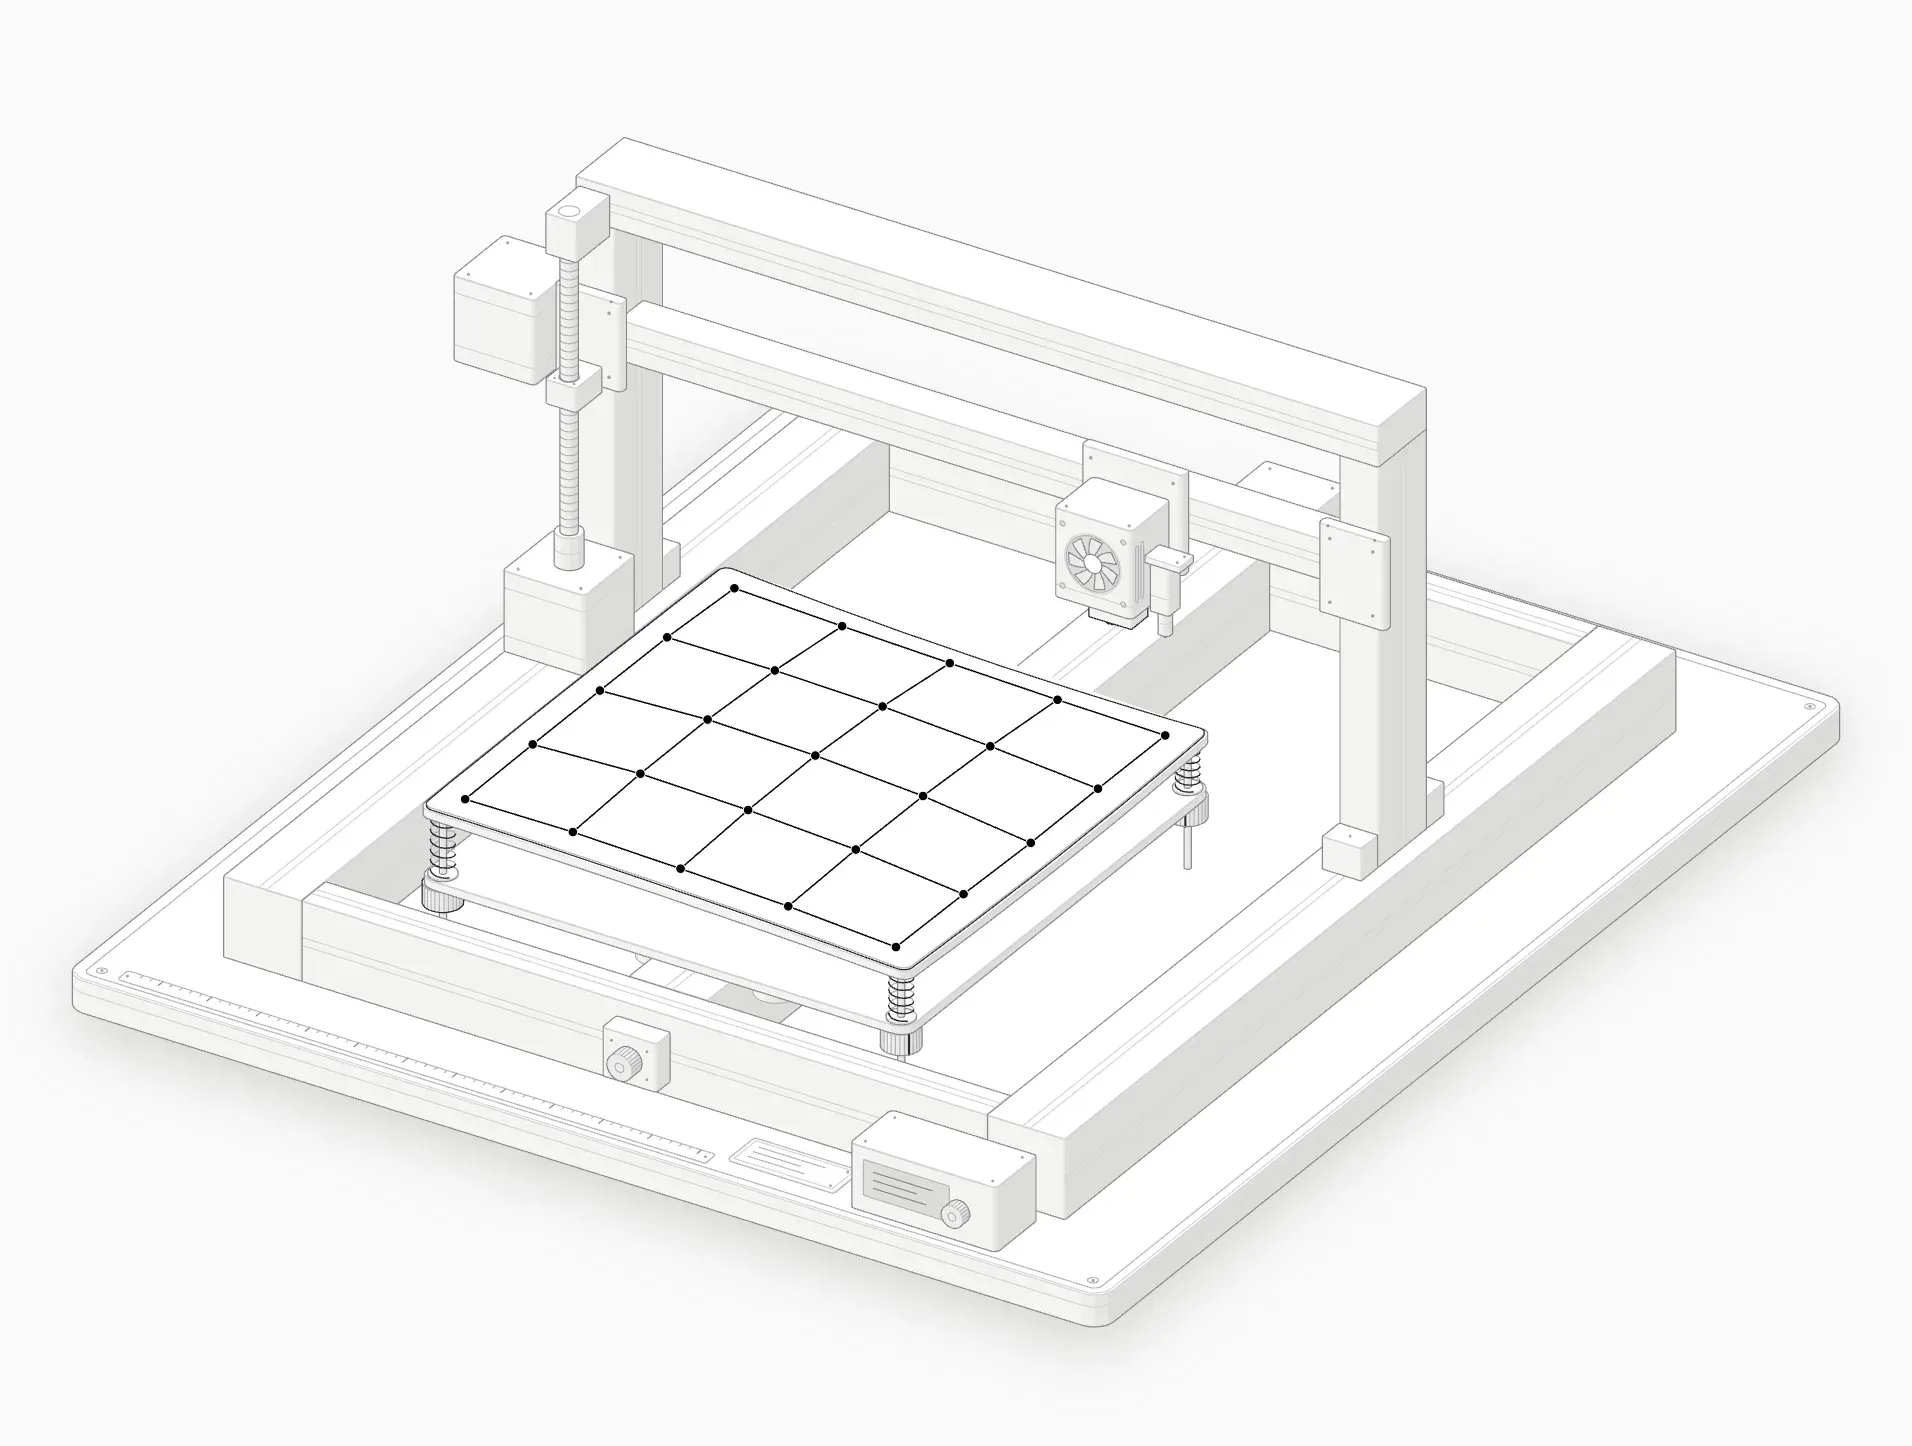 A probed 5 × 5 mesh across the bed.
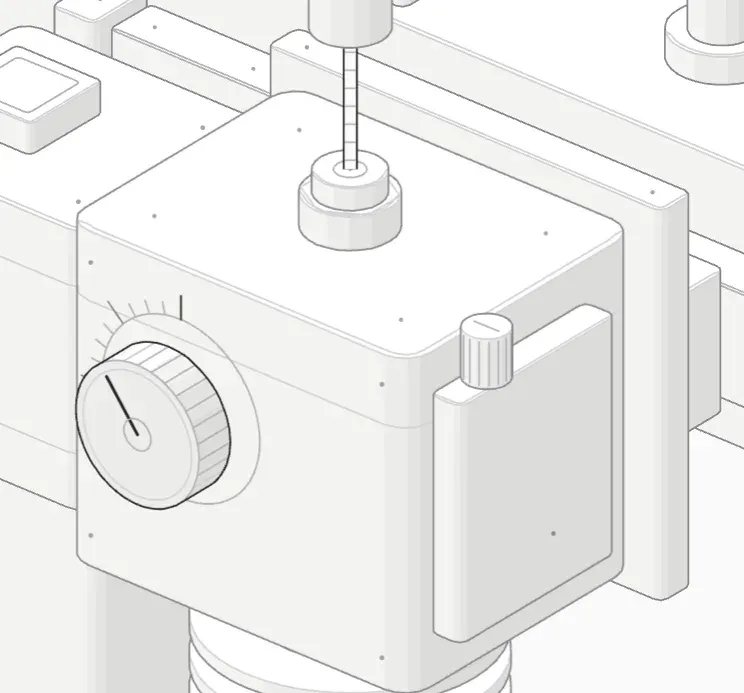 The extruder knob turns back by the retraction distance.
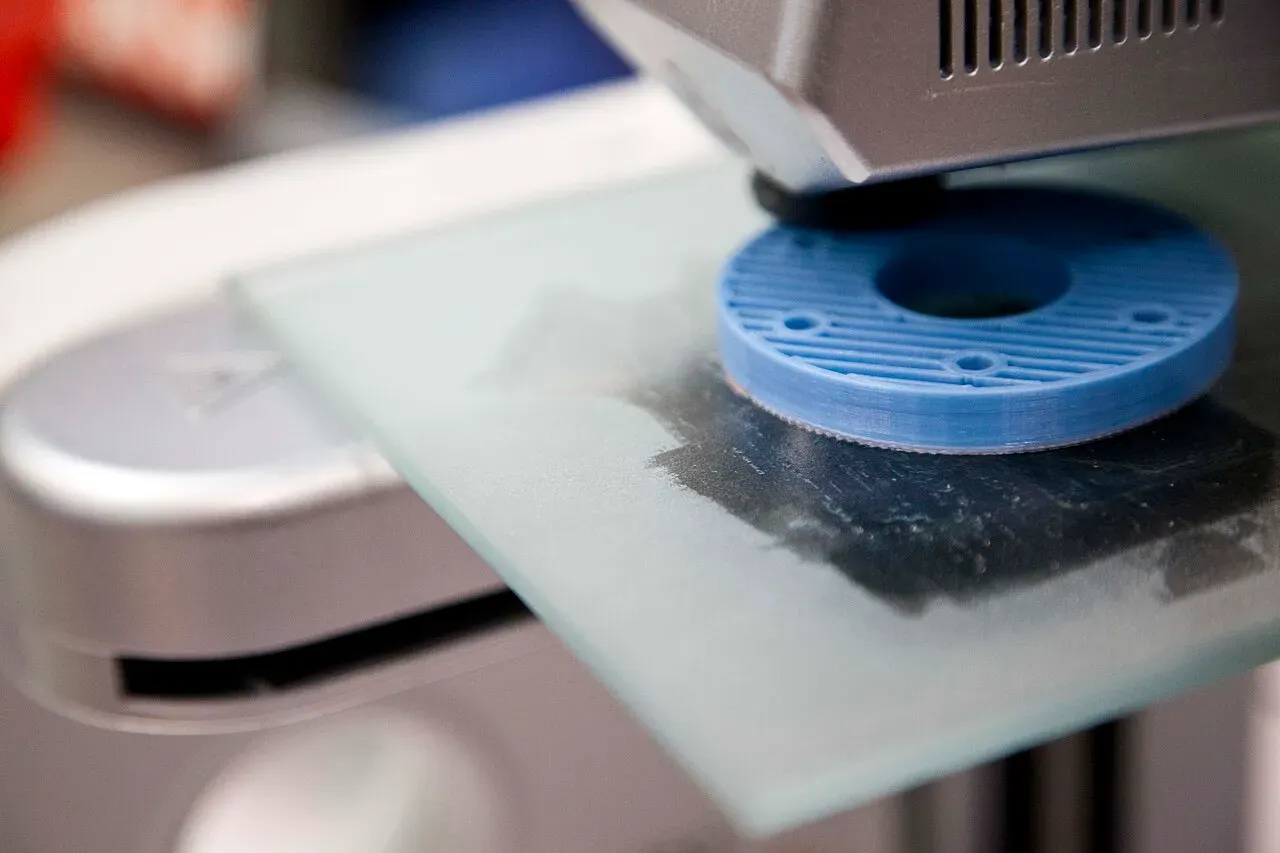 A print on a glass bed.Photo: ENERGY.GOV ·Public domain ·Wikimedia Commons
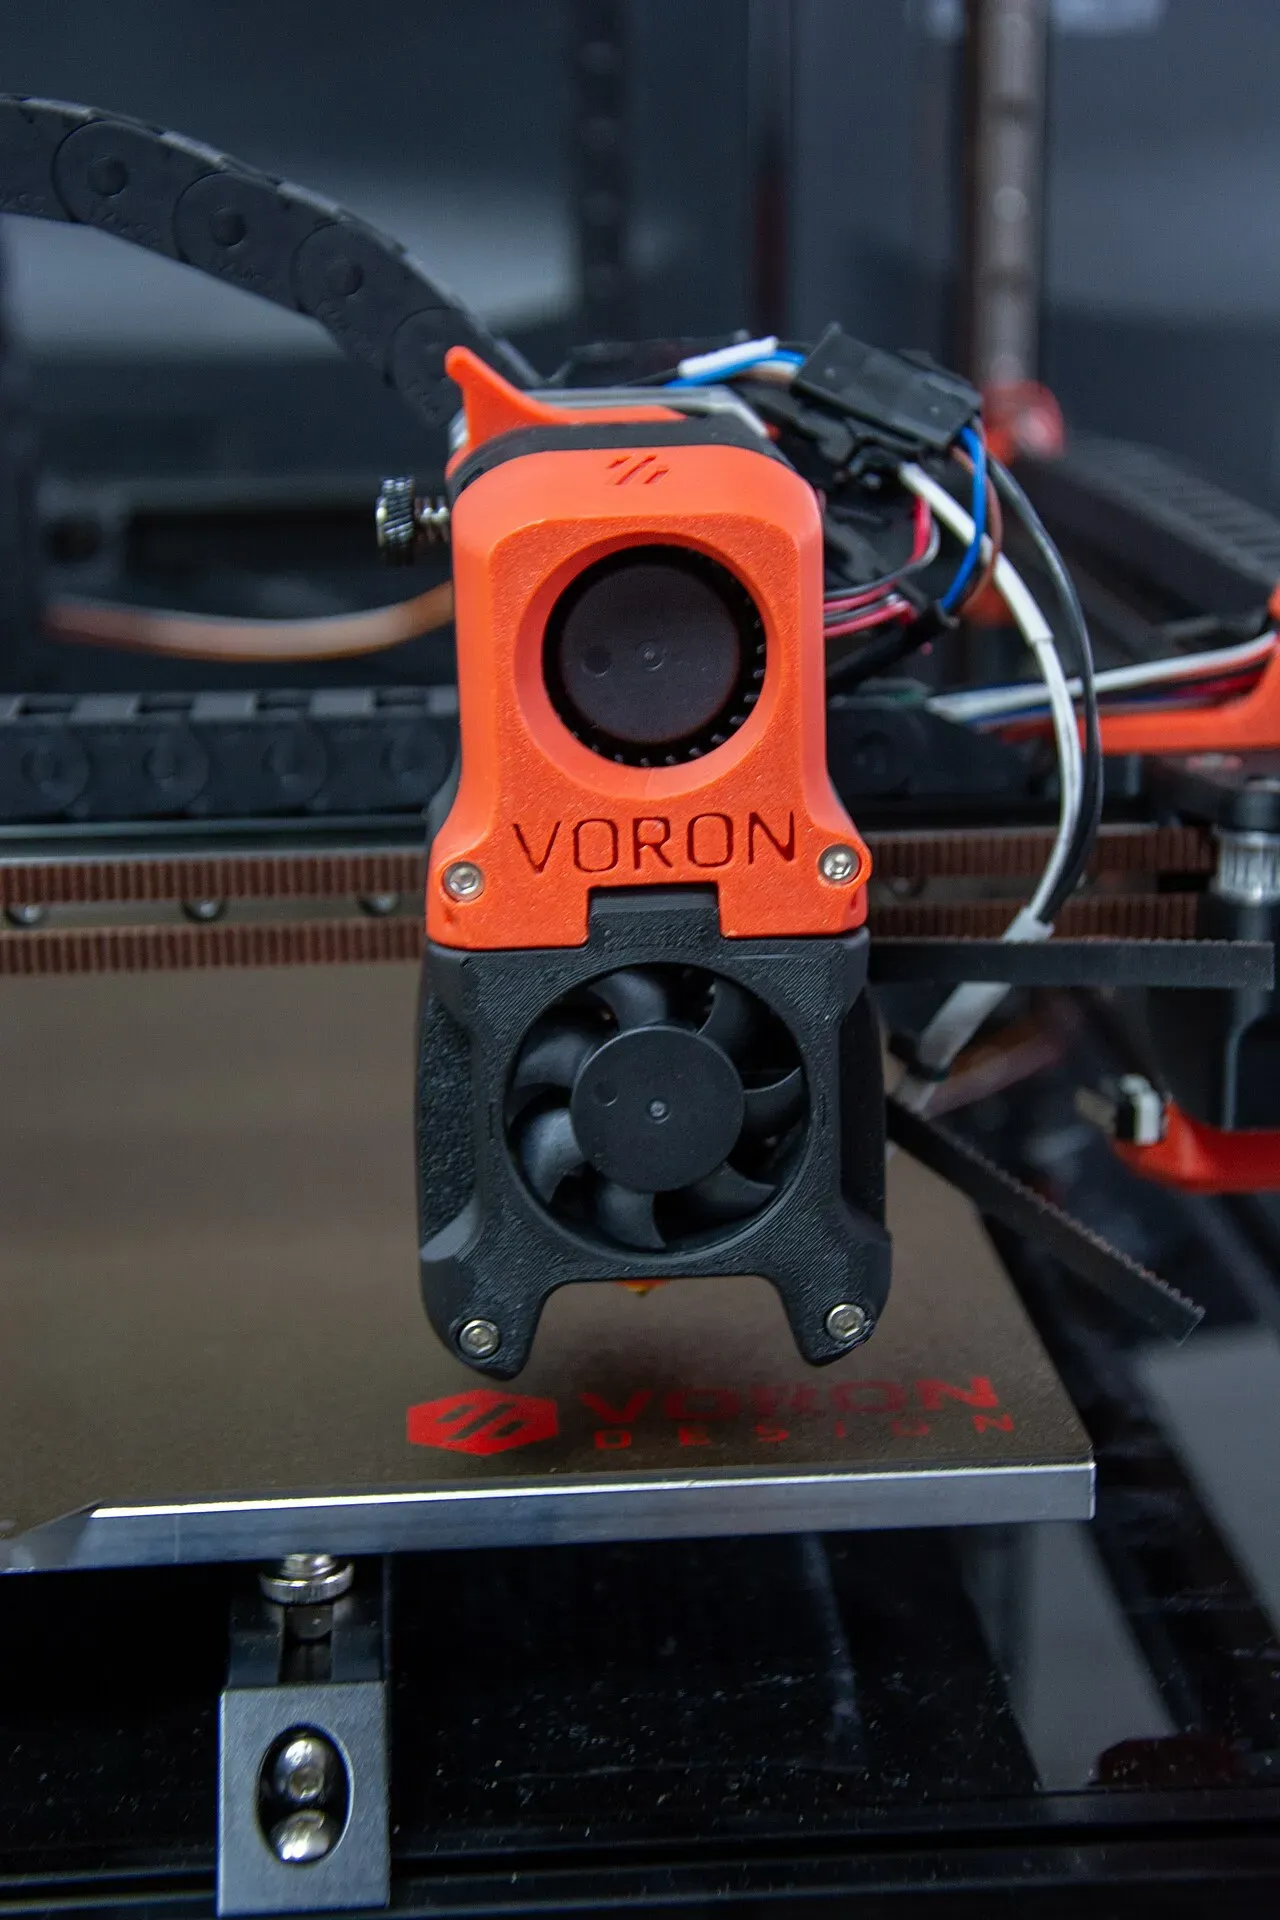 A modern toolhead: extruder, hotend and fans in one housing.Photo: disinterpreter ·CC BY-SA 2.0 ·Wikimedia Commons
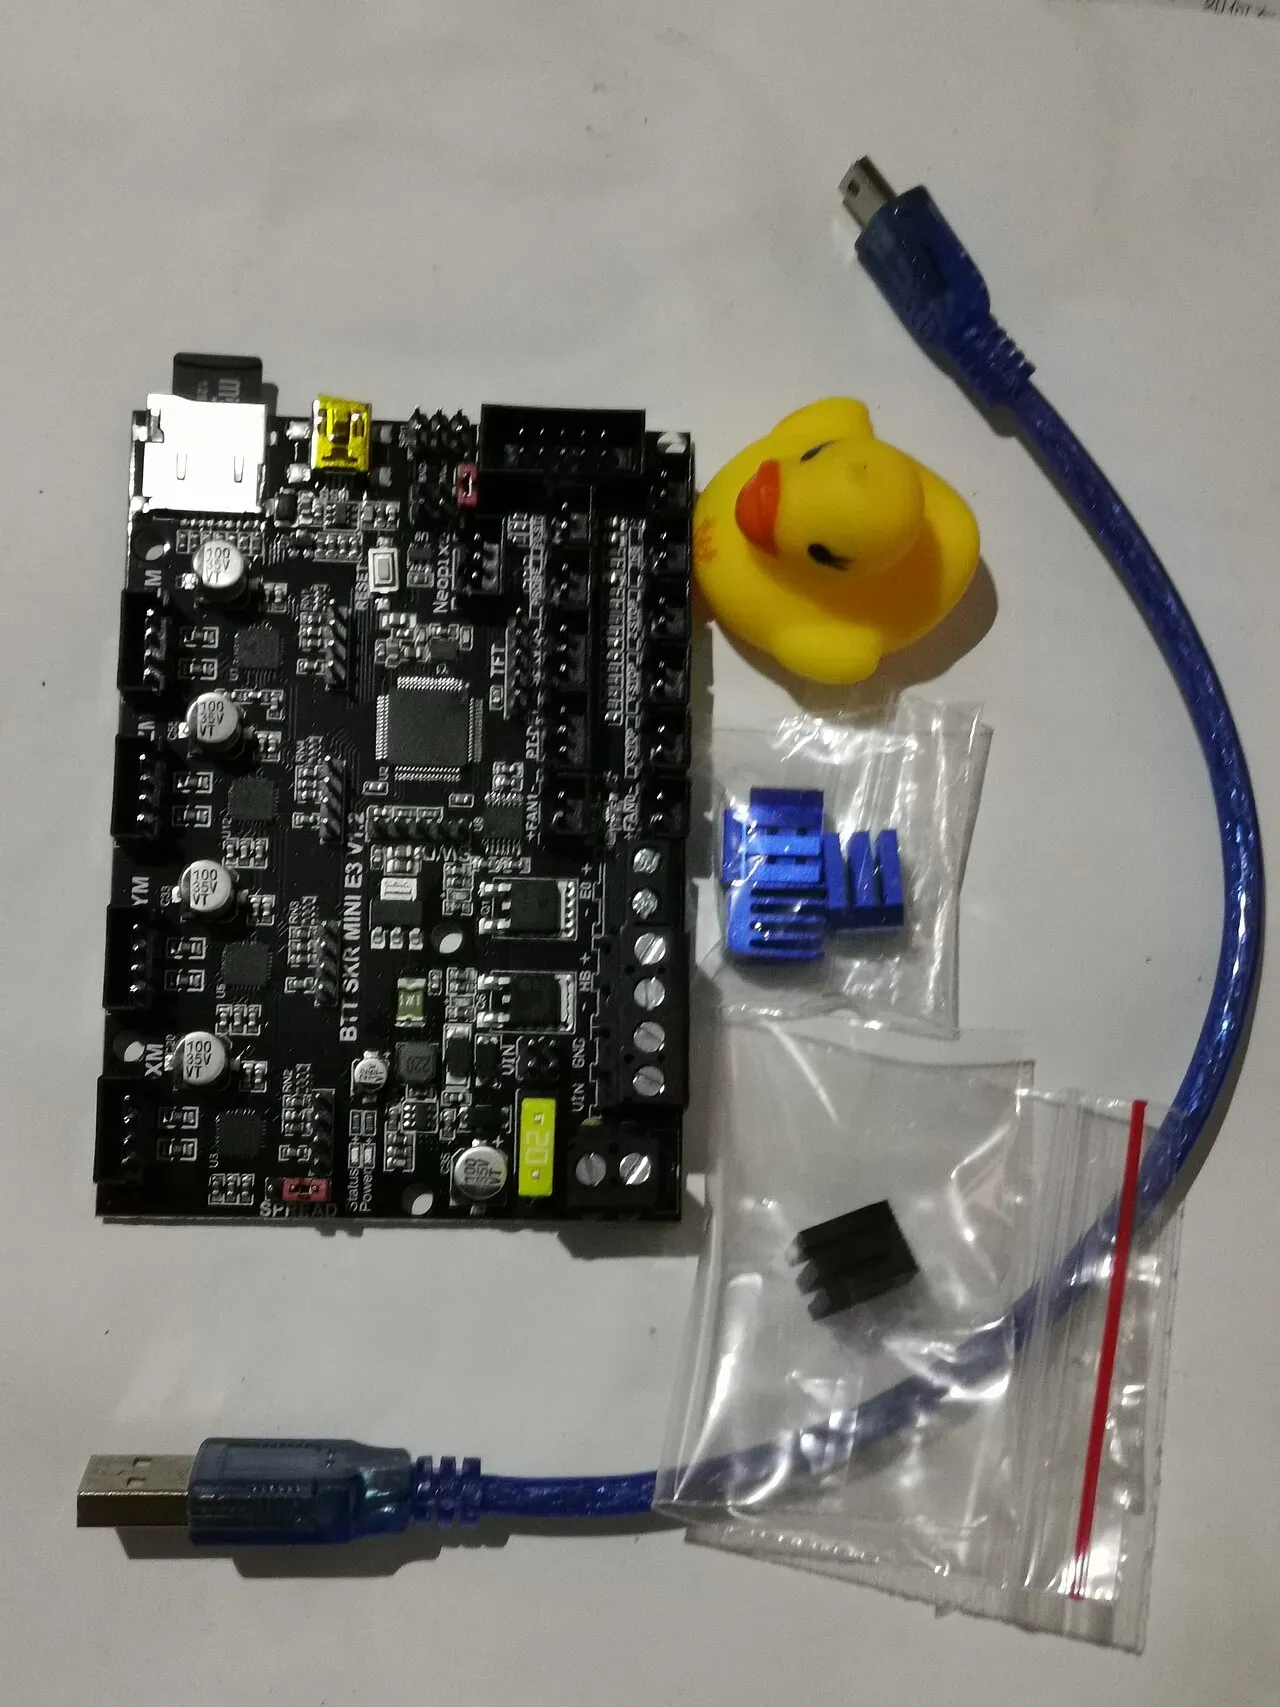 The mainboard: the printer's brain.Photo: kenming Wang ·CC BY-SA 2.0 ·Wikimedia Commons
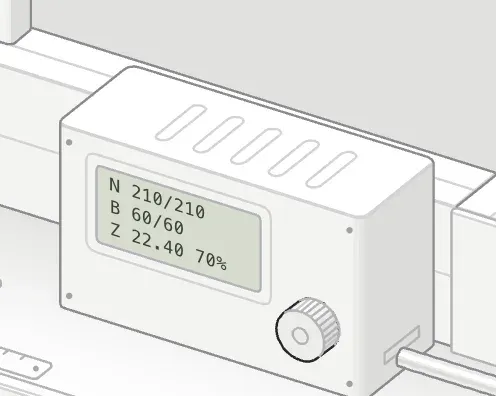 The control box shows nozzle and bed temperature, height and progress.
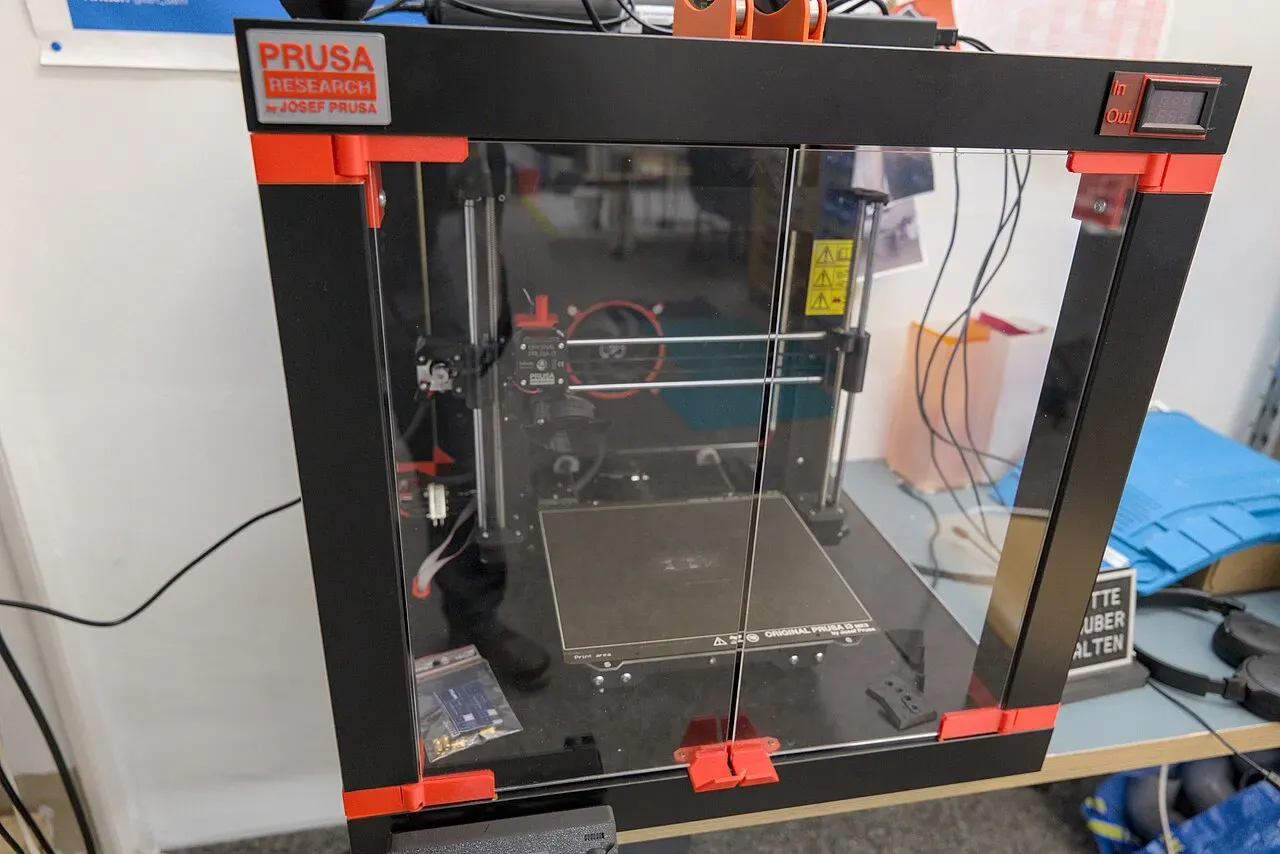 An enclosure keeps heat in for ABS and ASA.Photo: -stk ·CC BY-SA 4.0 ·Wikimedia Commons
Bed slinger, CoreXY or enclosed?
| Type | How it moves | Good | Less good |
|---|---|---|---|
| Bed slinger | The bed moves front to back (Y), the head side to side (X) | Cheapest, simple to repair | Slower; tall parts wobble as the bed moves |
| CoreXY | The bed only moves down; the head moves in X and Y | Faster, more consistent | Costs more, more complex belts |
| Enclosed (usually CoreXY) | Same as CoreXY, inside walls and a door | ABS and ASA, quieter, safer | Highest price, harder to reach inside |
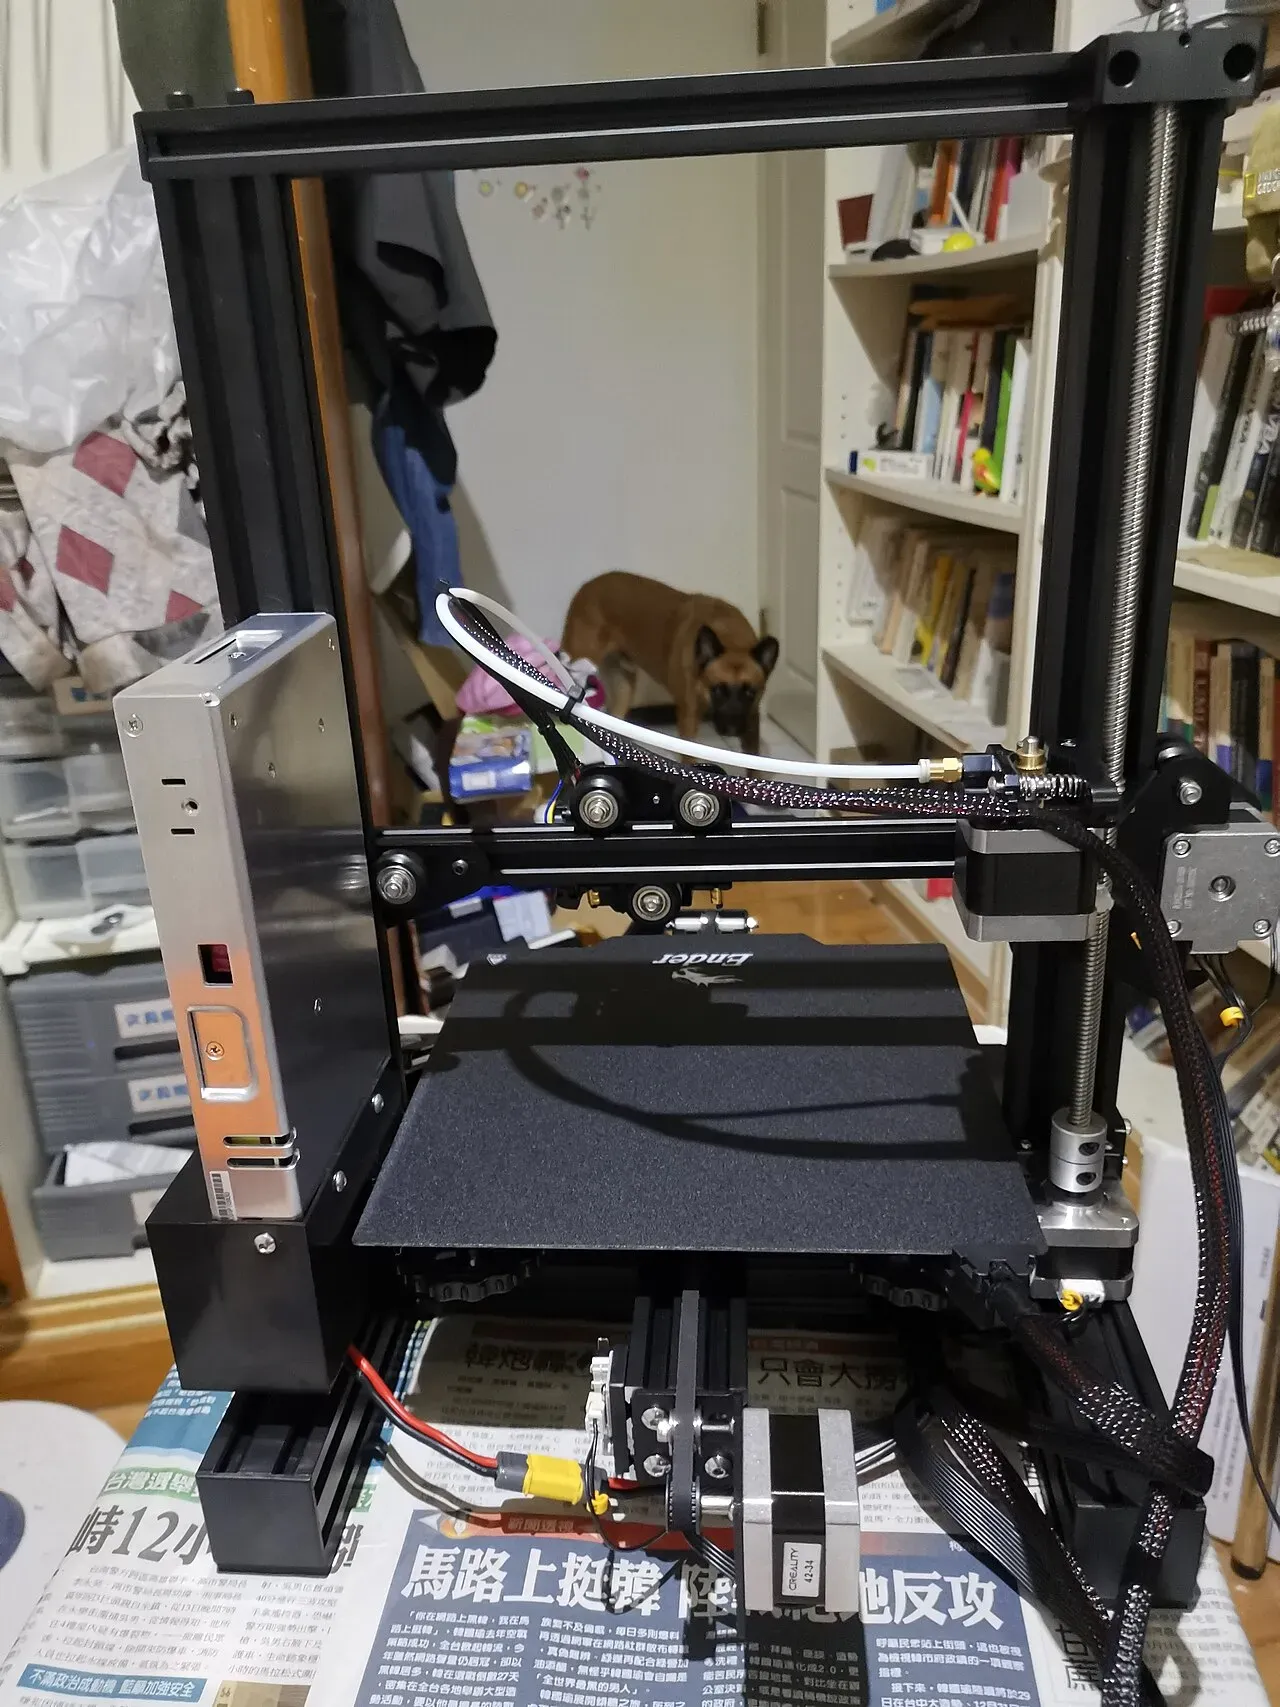 An assembled Ender 3: a classic bed-slinger.Photo: kenming Wang ·CC BY-SA 2.0 ·Wikimedia Commons
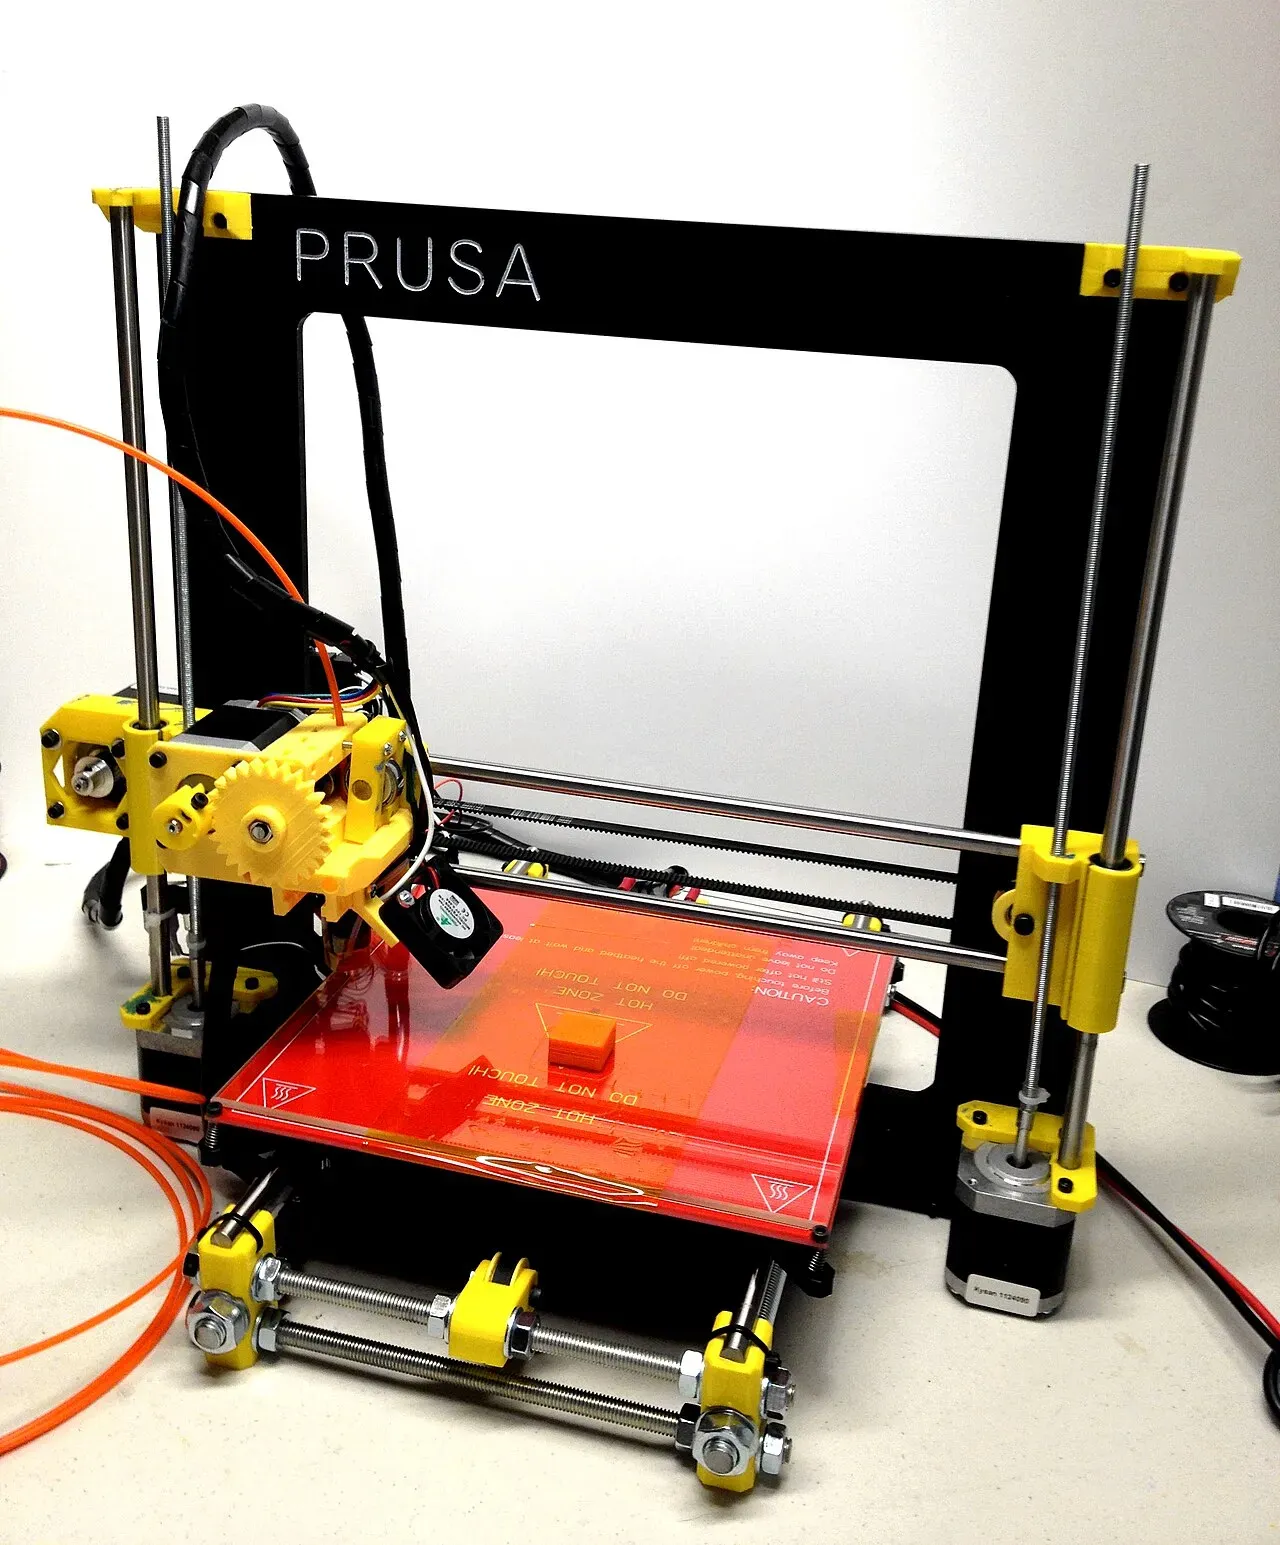 A Prusa i3, the design behind many beginner printers.Photo: John Abella ·CC BY 2.0 ·Wikimedia Commons
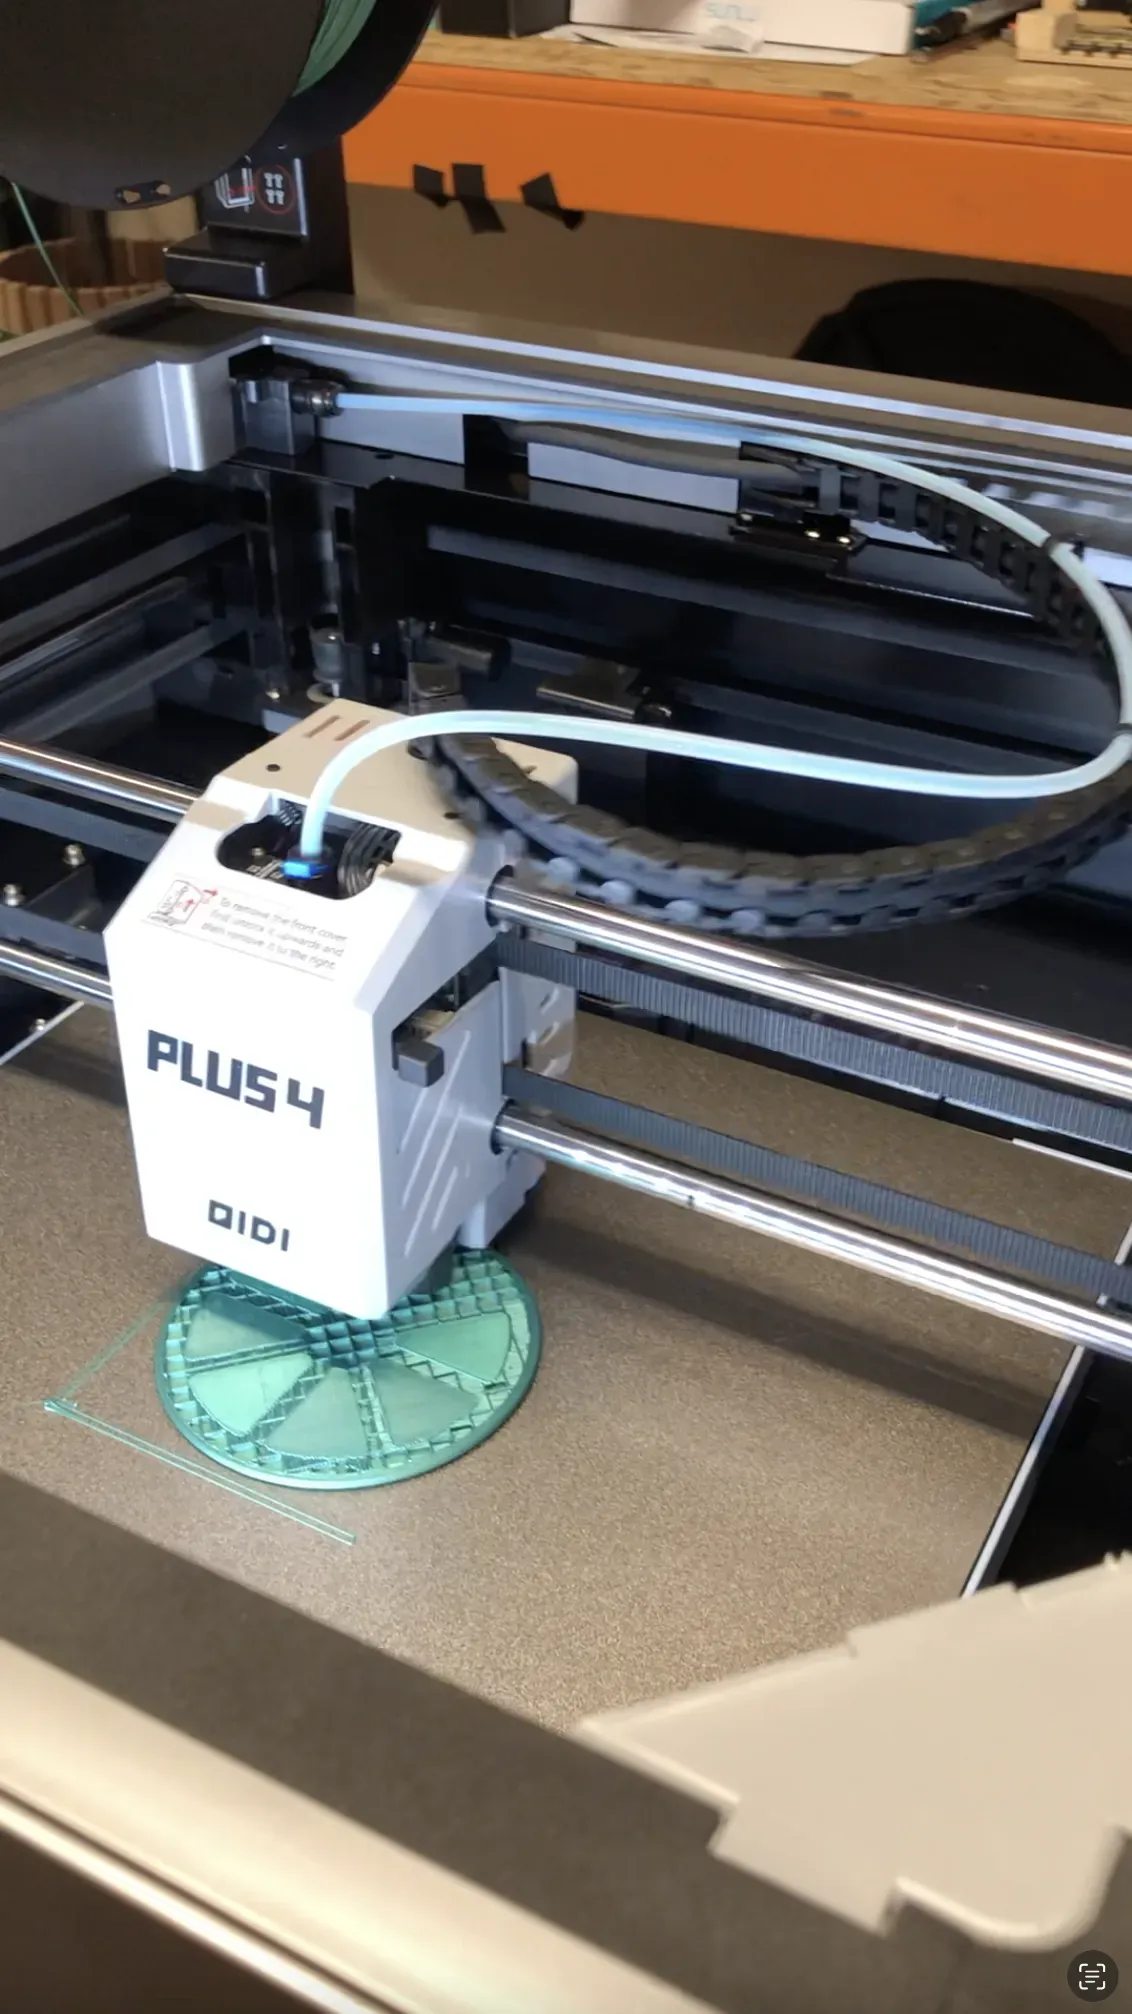 A CoreXY print head on a QIDI printer.Photo: Haroldbarlow8911 ·CC BY-SA 4.0 ·Wikimedia Commons
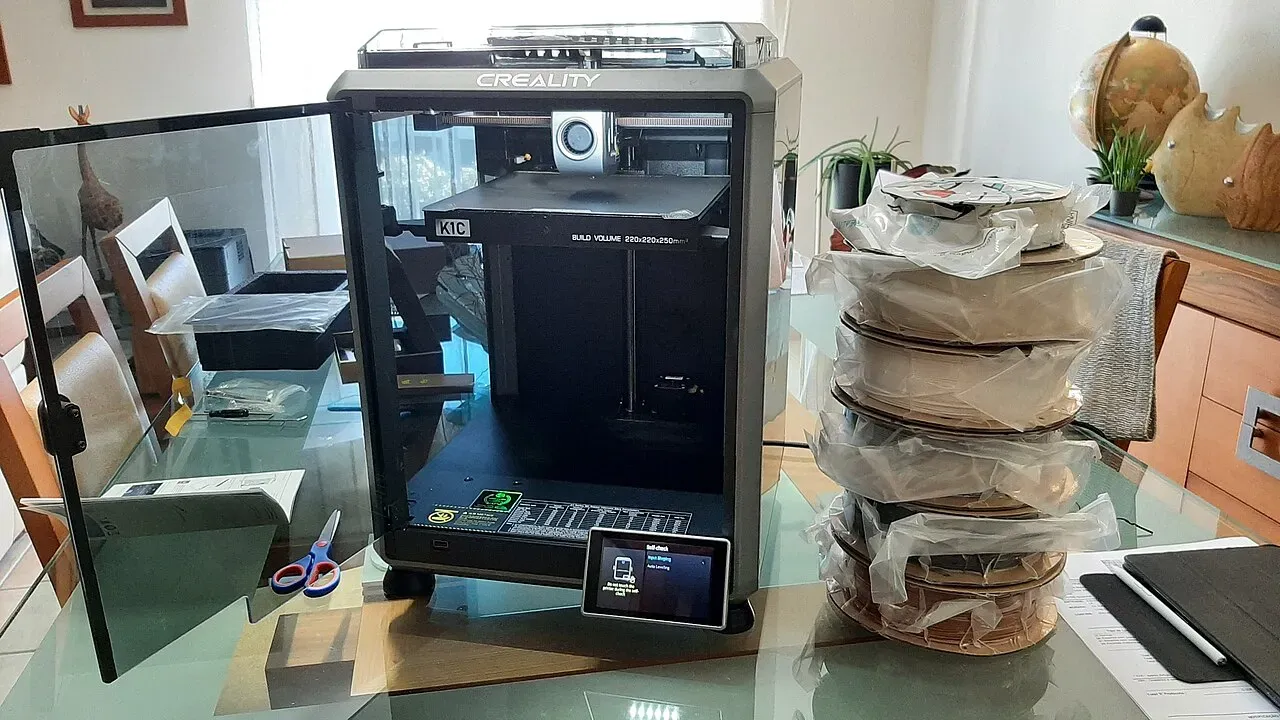 An enclosed CoreXY printer on a home desk.Photo: Mortymore ·CC BY 2.0 ·Wikimedia Commons
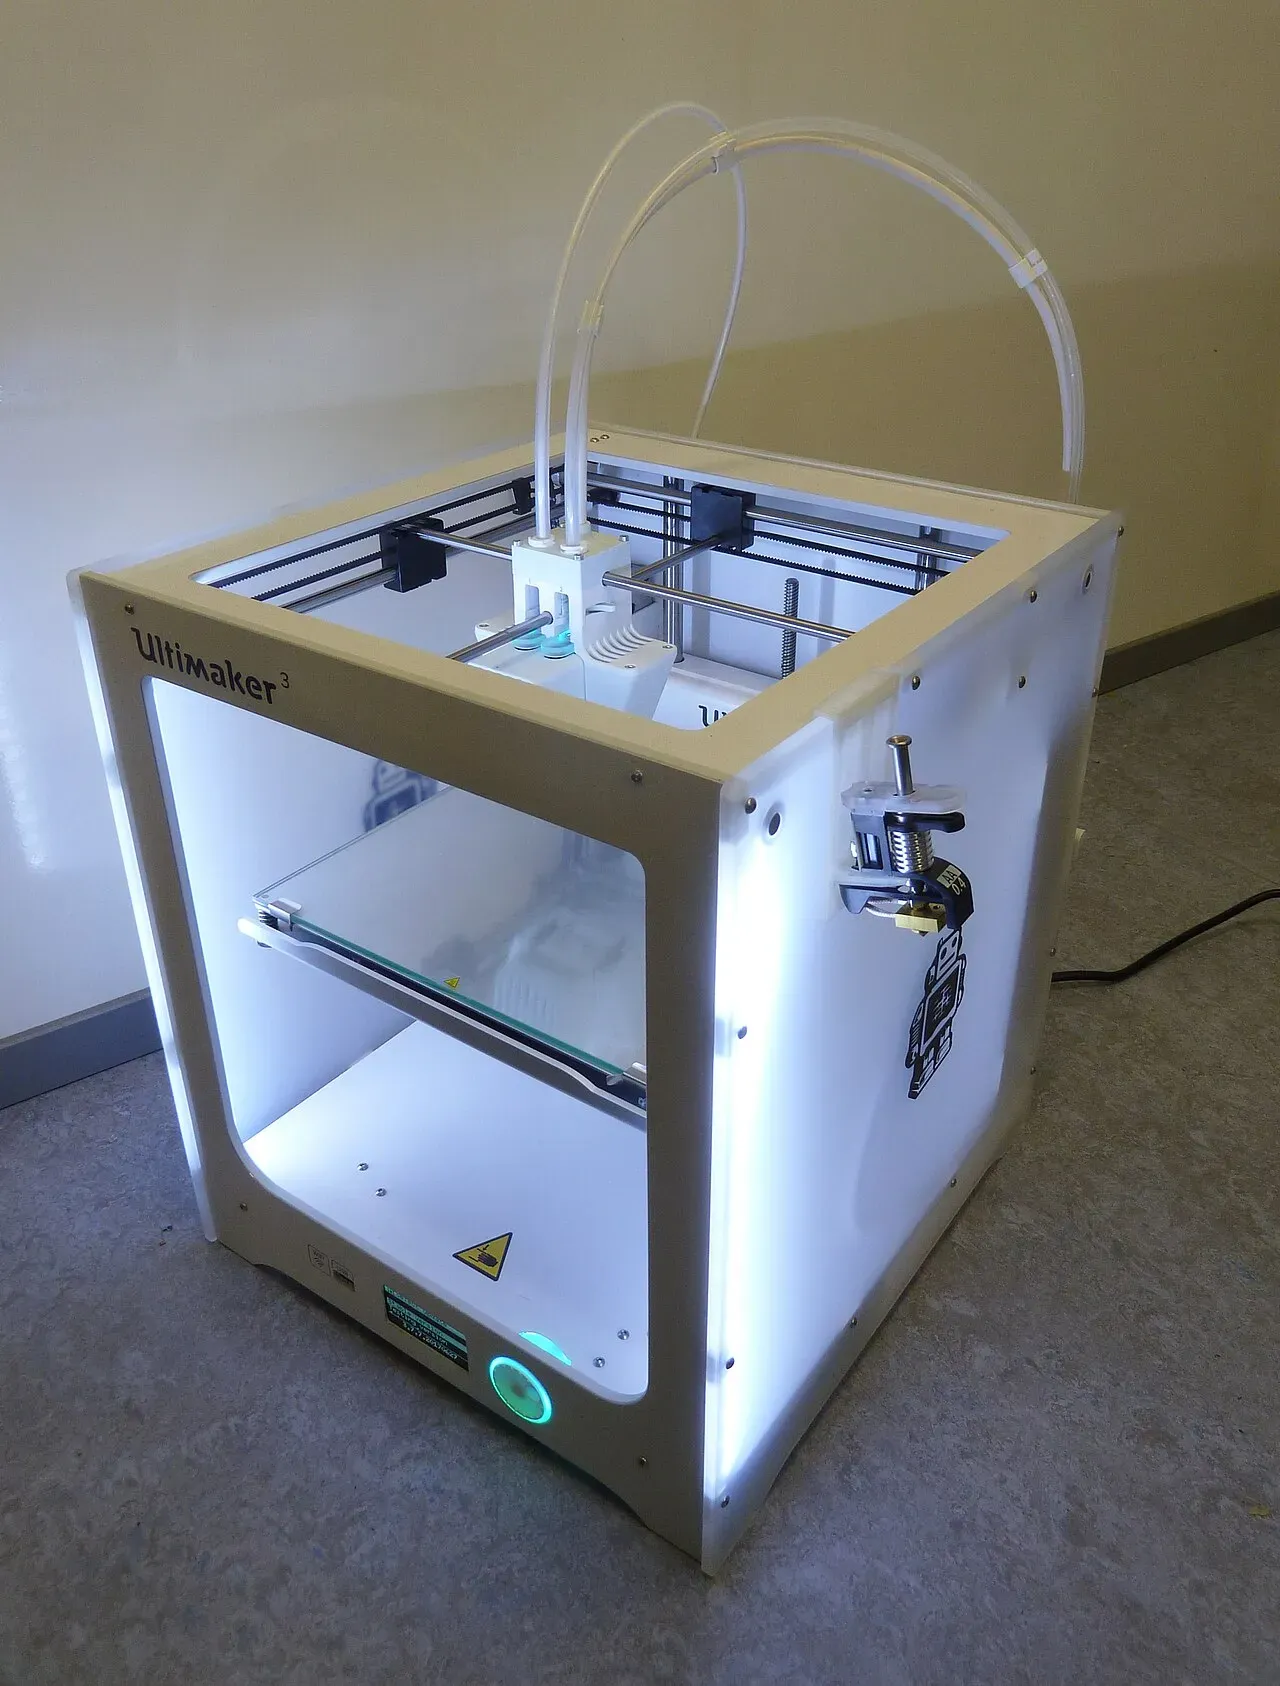 An Ultimaker 3, a boxed desktop printer.Photo: DirkvdM ·CC BY-SA 4.0 ·Wikimedia Commons
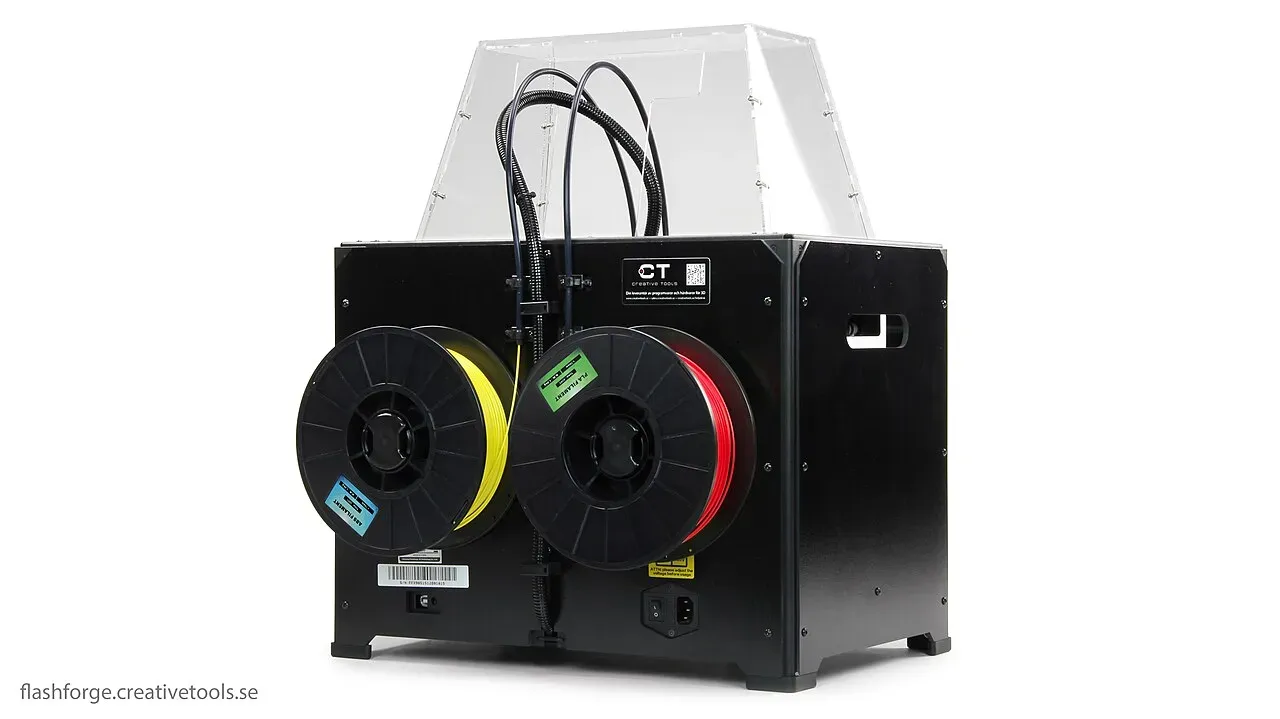 A boxed dual-extrusion printer.Photo: Creative Tools from Halmstad, Sweden ·CC BY 2.0 ·Wikimedia Commons
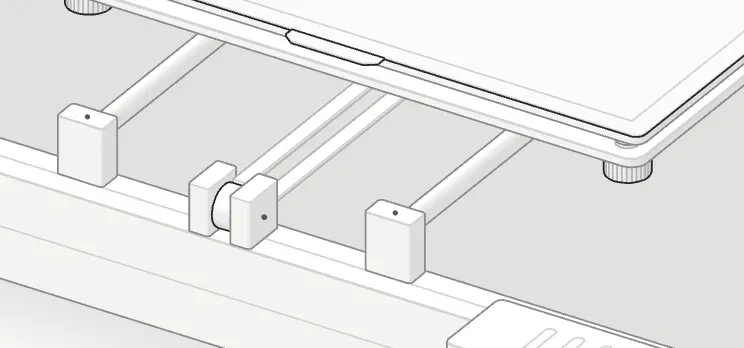 The bed slides front to back on two rods: this is the Y axis.
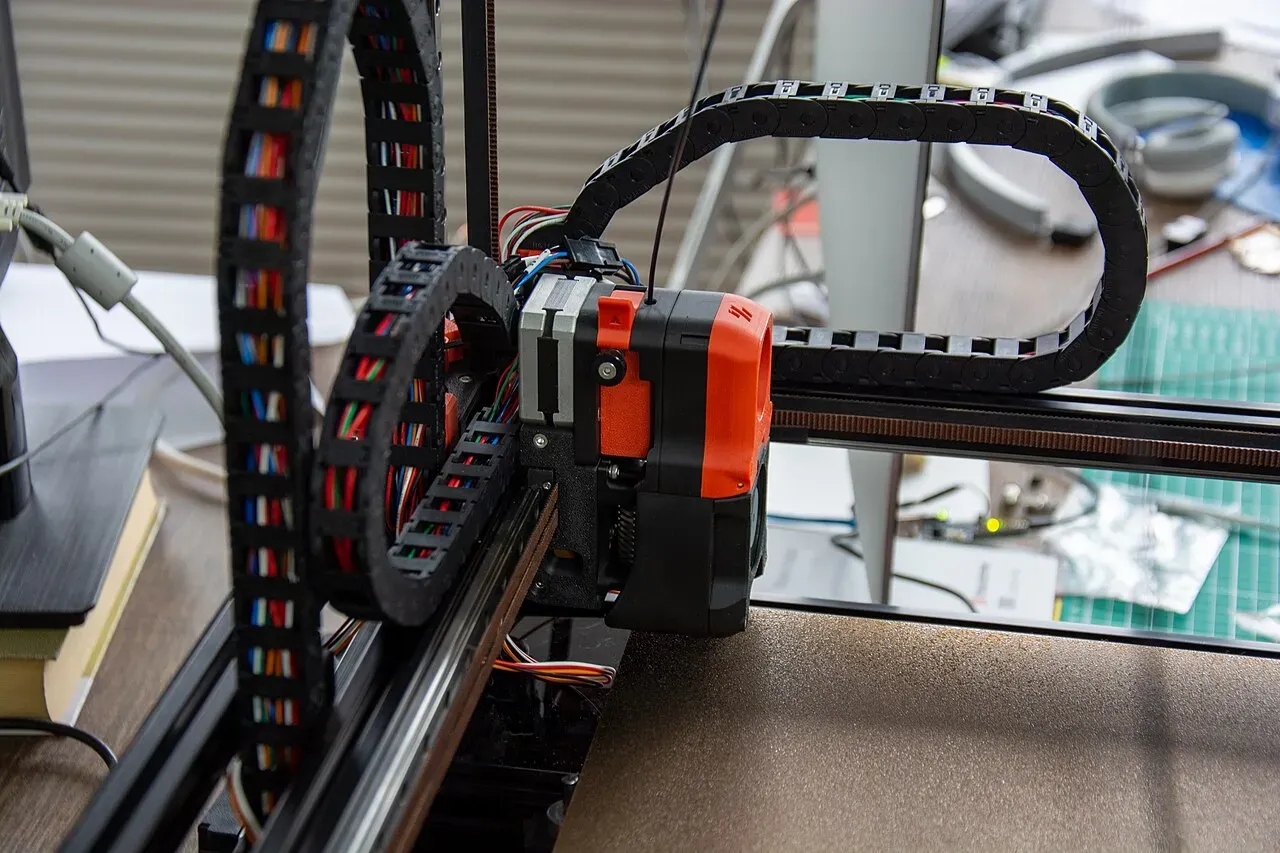 The toolhead rides the gantry; cable chains carry its wires.Photo: disinterpreter ·CC BY-SA 2.0 ·Wikimedia Commons
Setting up your printer on day one
- Place it on a stable, flat surface. A wobbly table shows up as ripples in your prints.
- Assemble carefully if it’s a kit. Belts should be snug: they twang like a low guitar string, not flop.
- Update the firmware if the manufacturer offers an update.
- Clean the build plate with isopropyl alcohol.
- Level the bed (or run auto-leveling) and set the Z offset: the gap between the nozzle and the bed for the first layer. See how to level a 3D printer bed.
- Load filament while the hotend is hot, and push a little through until it flows cleanly.
- Print the included test model before downloading anything else. It’s tuned for your machine.
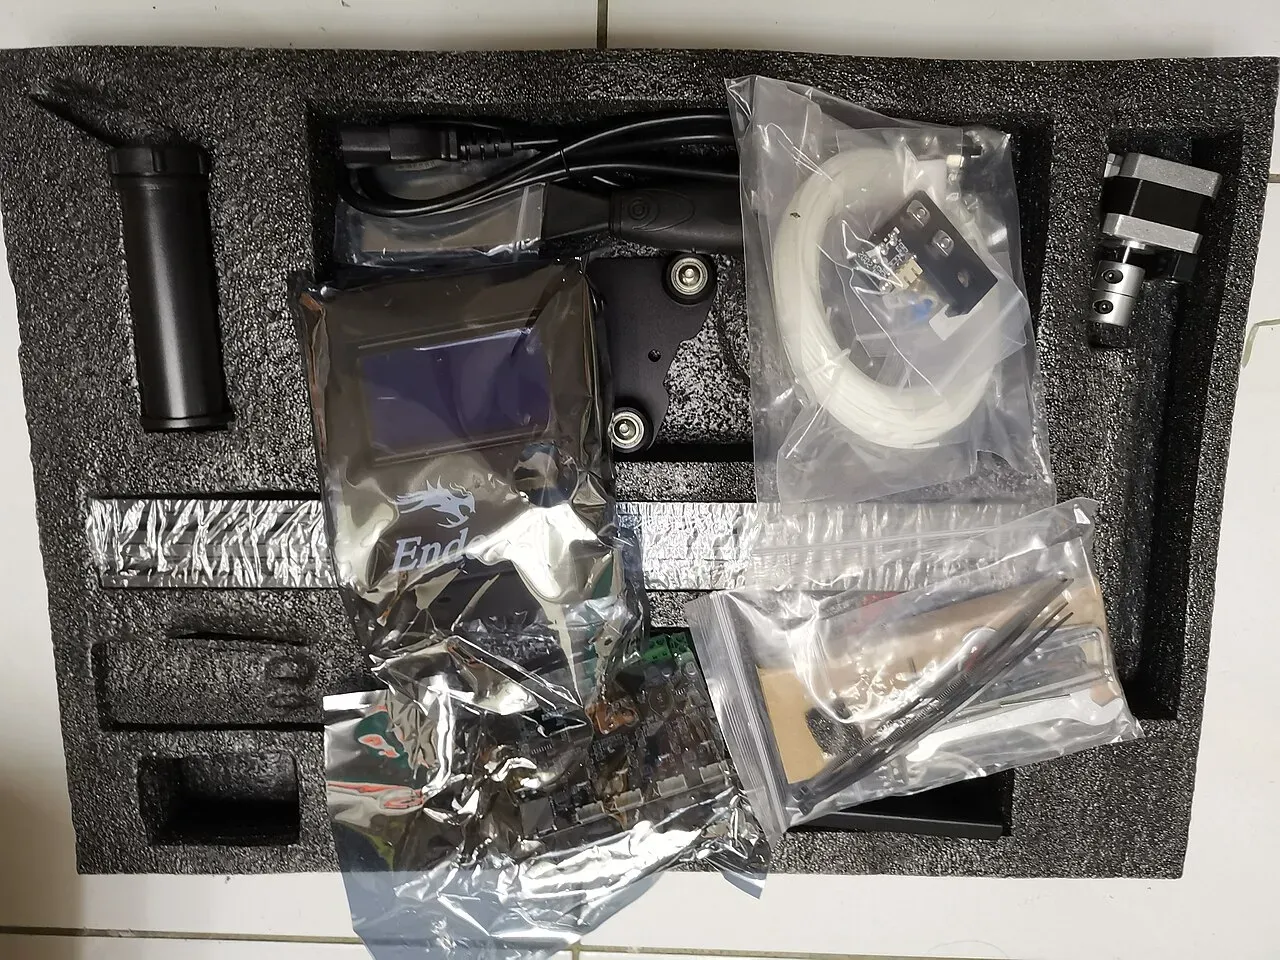 Unboxing a kit printer.Photo: kenming Wang ·CC BY-SA 2.0 ·Wikimedia Commons
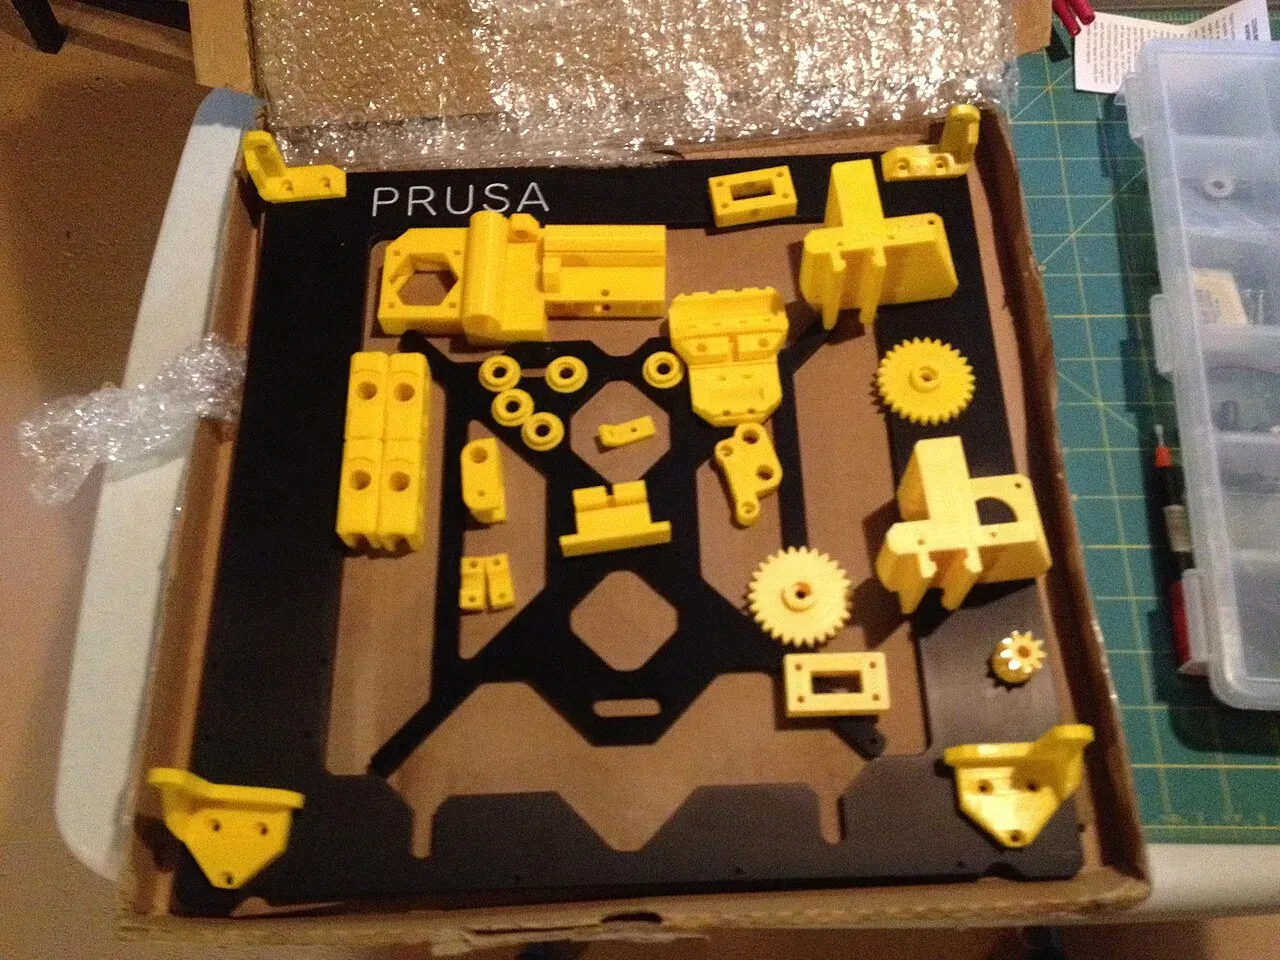 A printer kit: printed parts, frame and hardware.Photo: John Abella ·CC BY 2.0 ·Wikimedia Commons
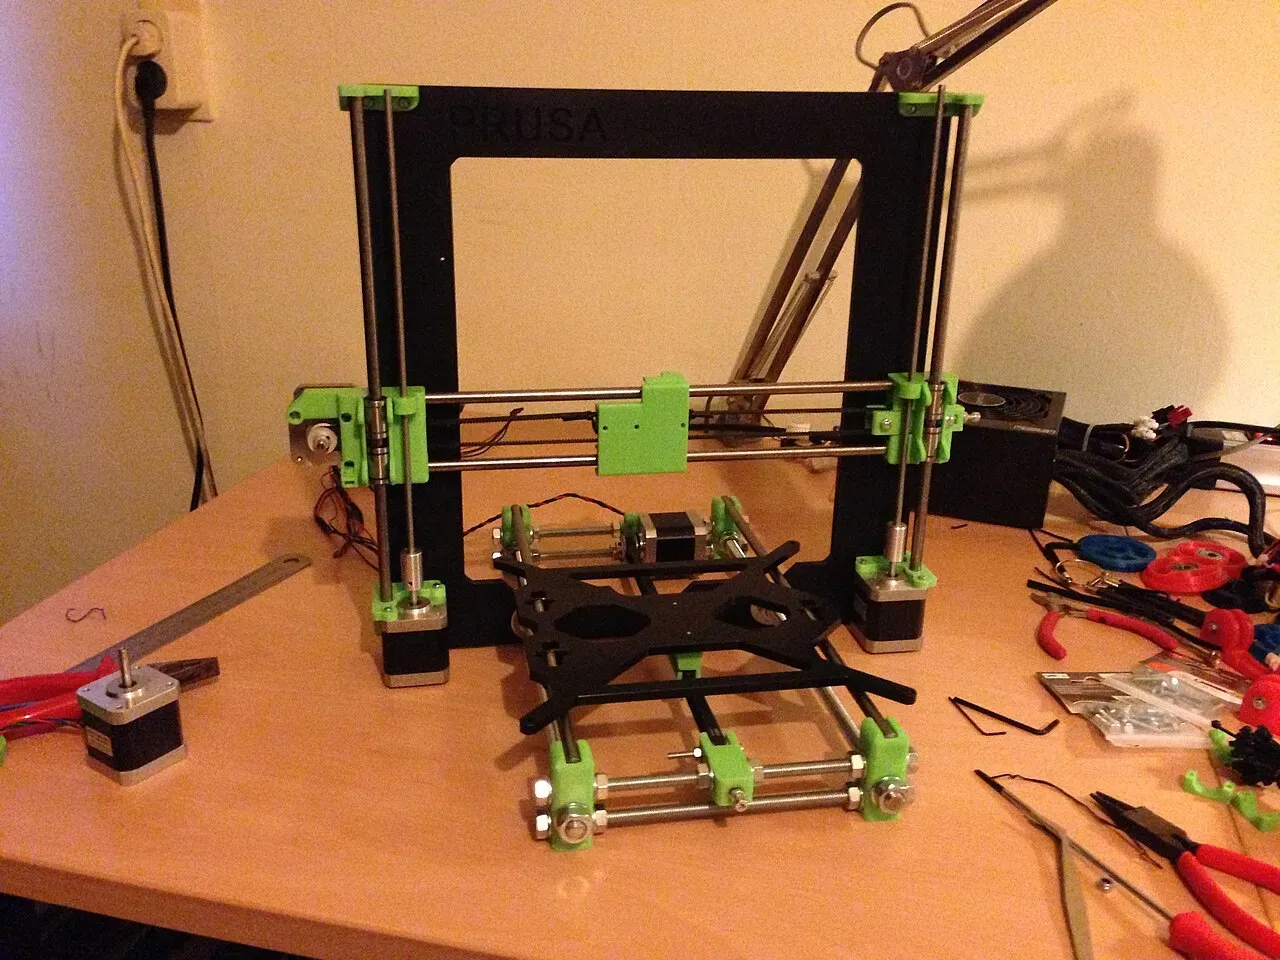 Part way through building the frame.Photo: John Rood ·CC BY 2.0 ·Wikimedia Commons
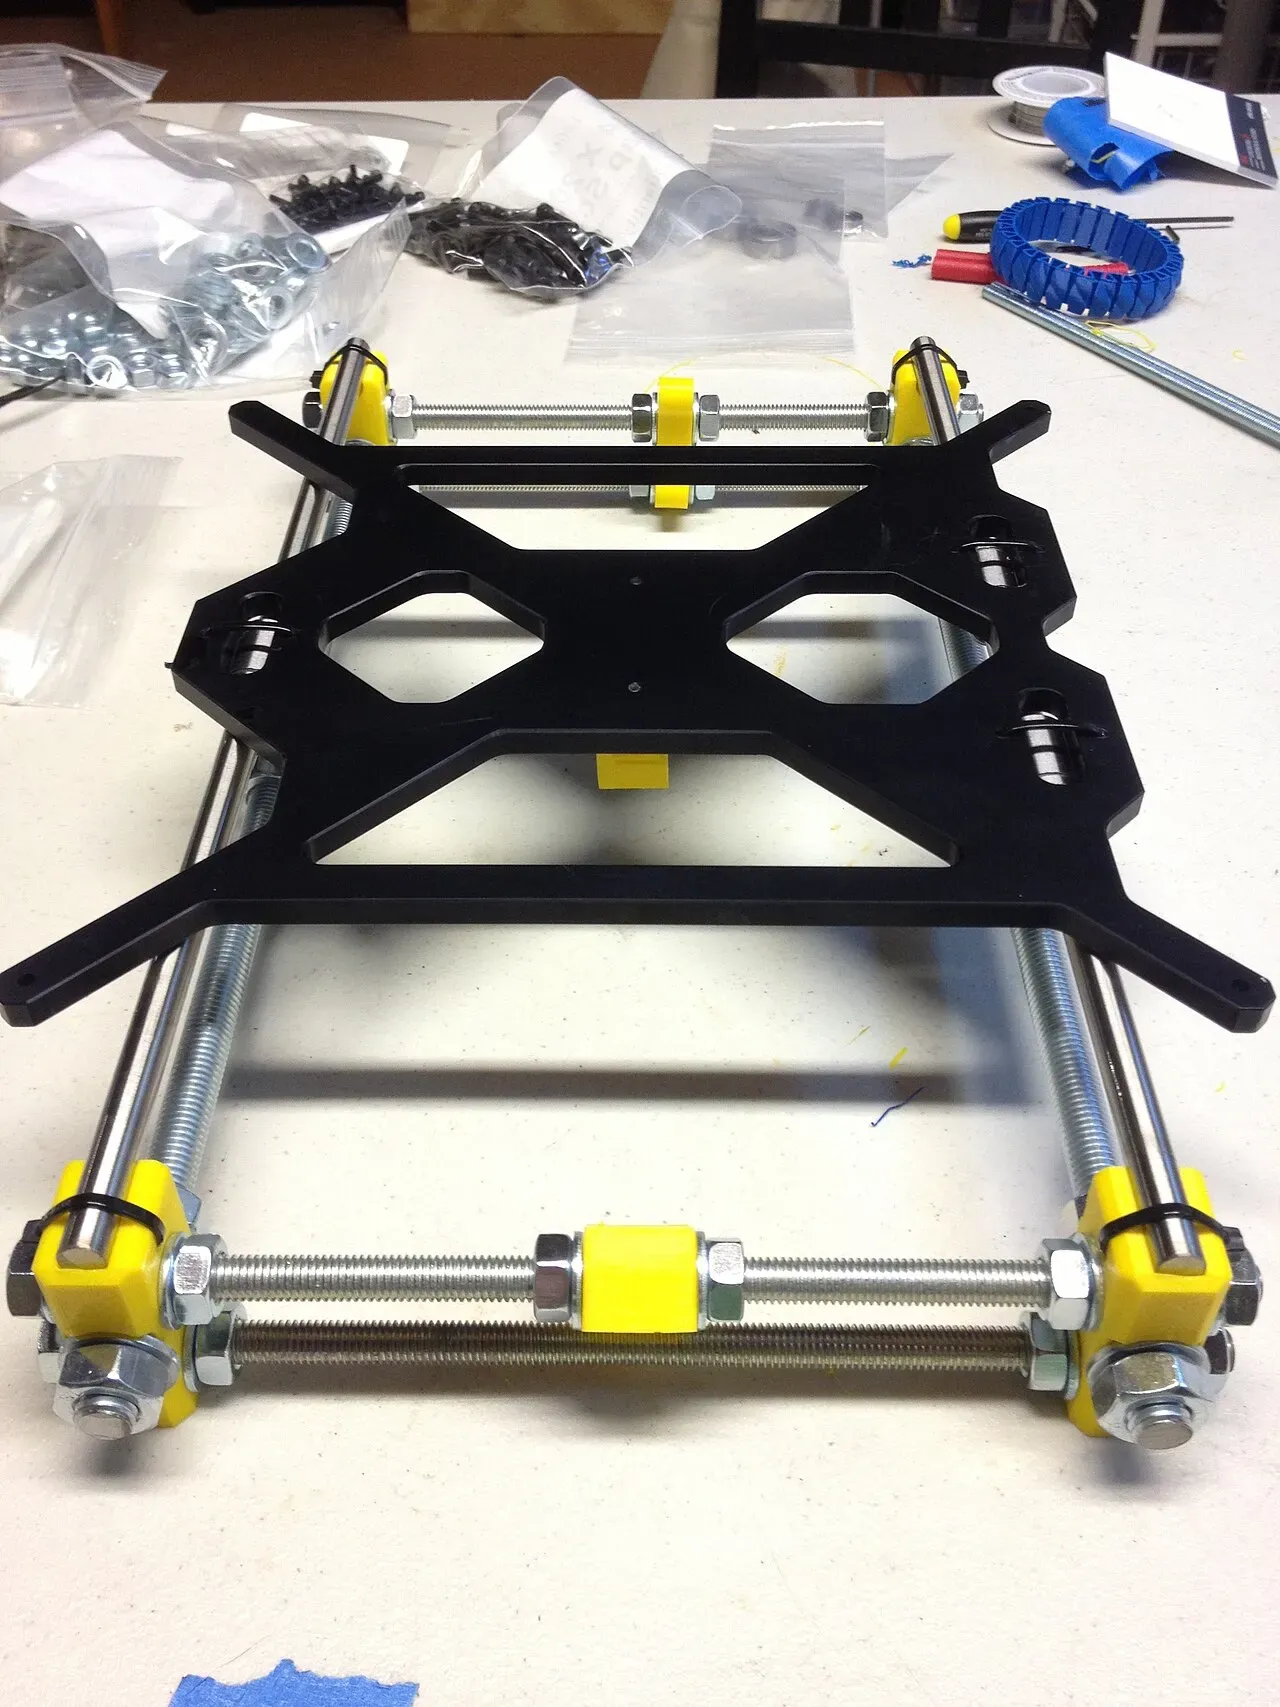 The Y axis assembled: smooth rods and the bed carriage.Photo: John Abella ·CC BY 2.0 ·Wikimedia Commons
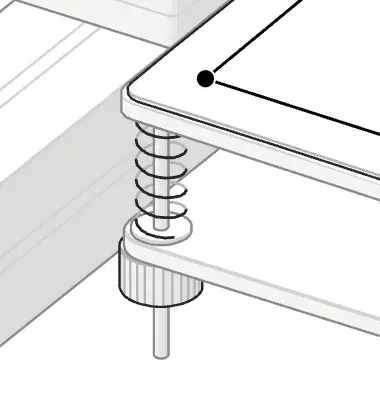 A corner spring and knob: about half a millimetre per full turn.
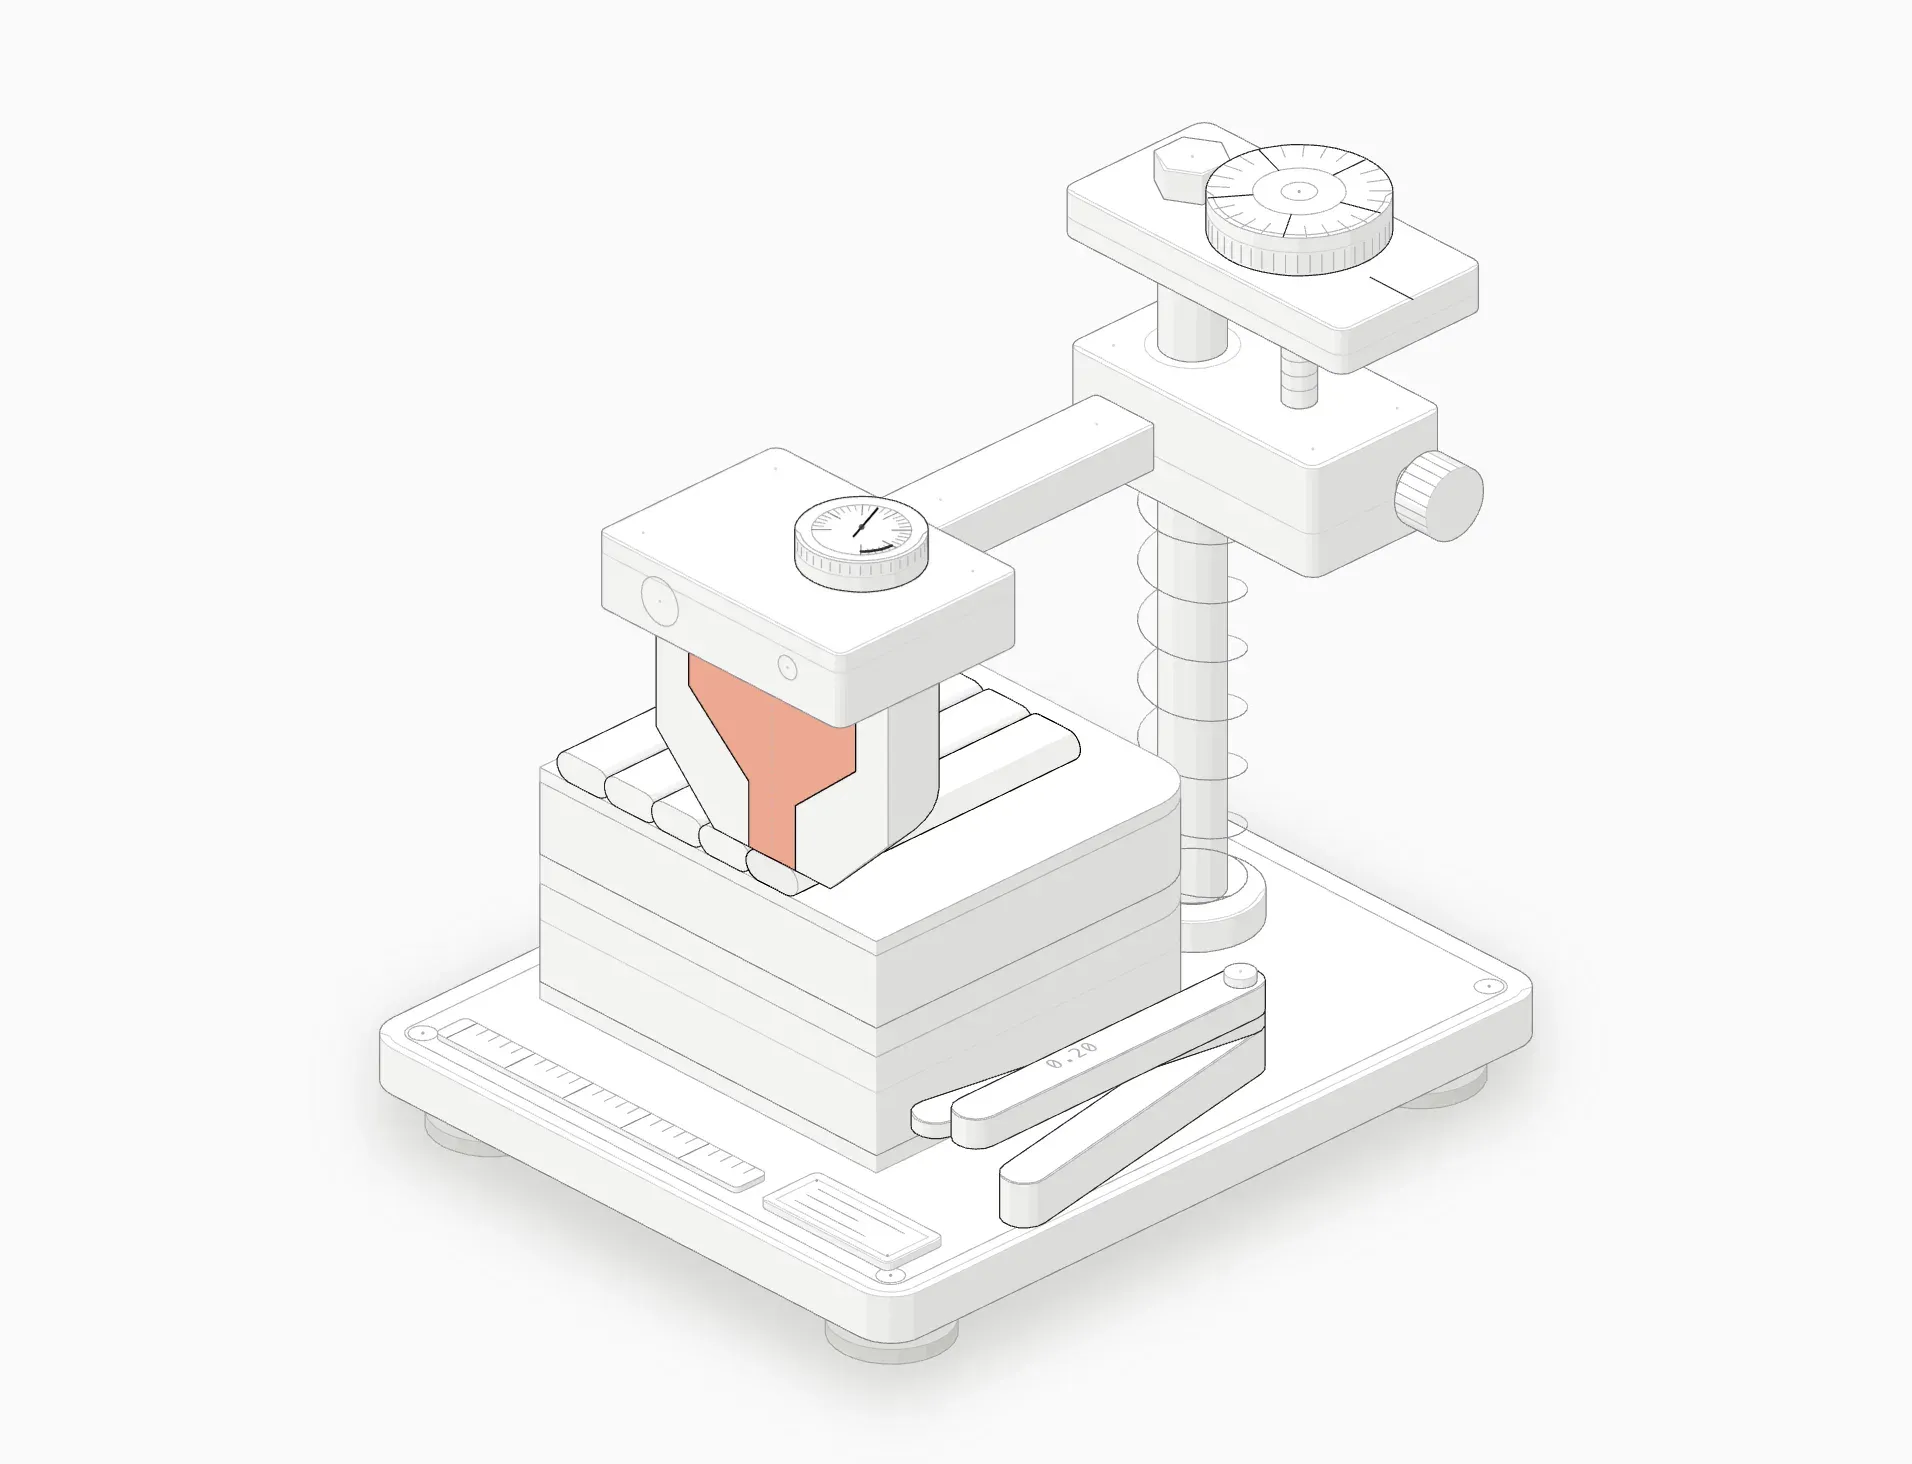 Z offset right: slightly squished lines that touch.
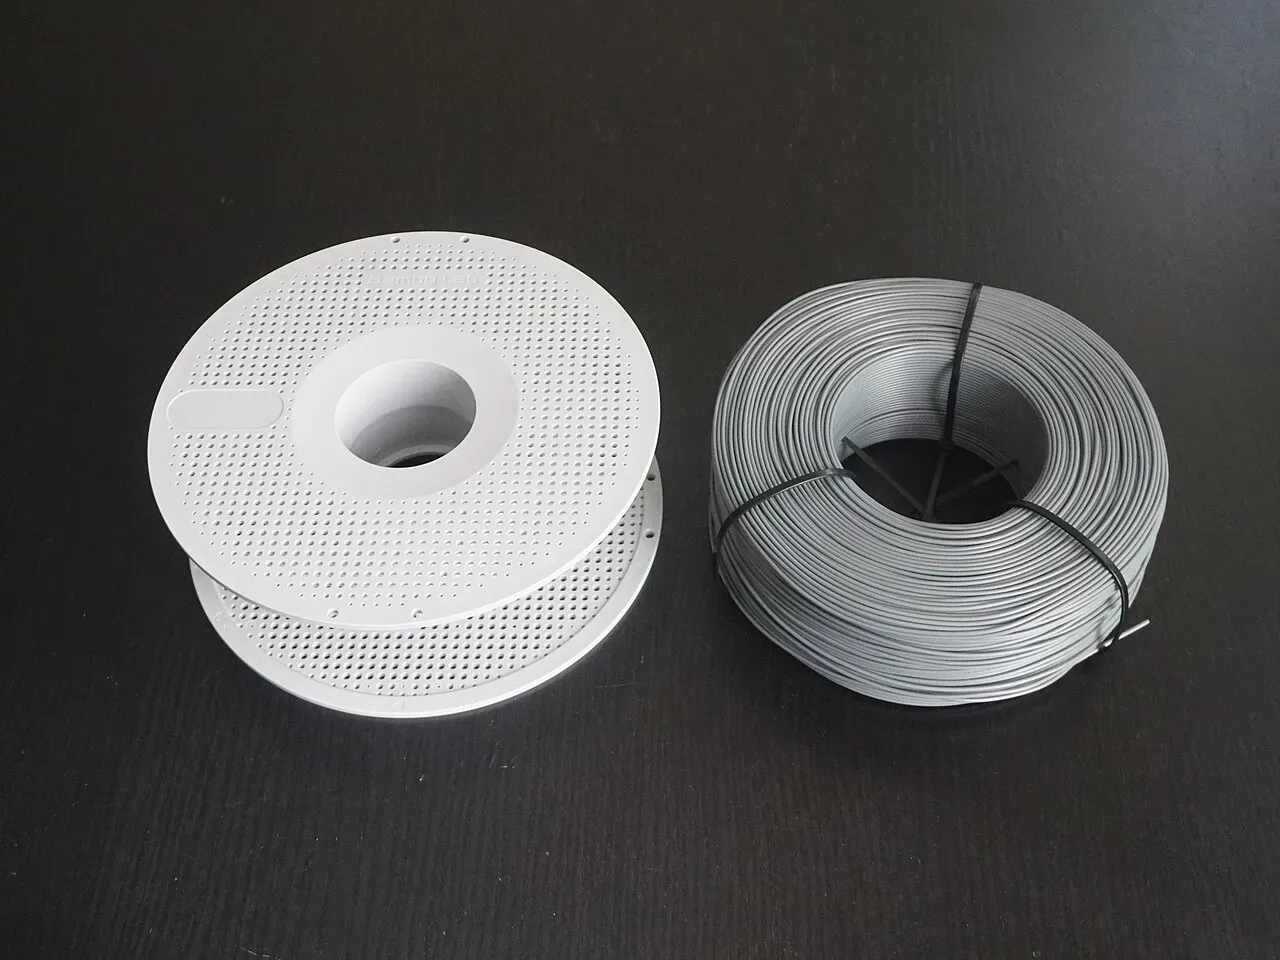 Refill filament: a coil and a reusable spool.Photo: Suit ·CC BY-SA 4.0 ·Wikimedia Commons
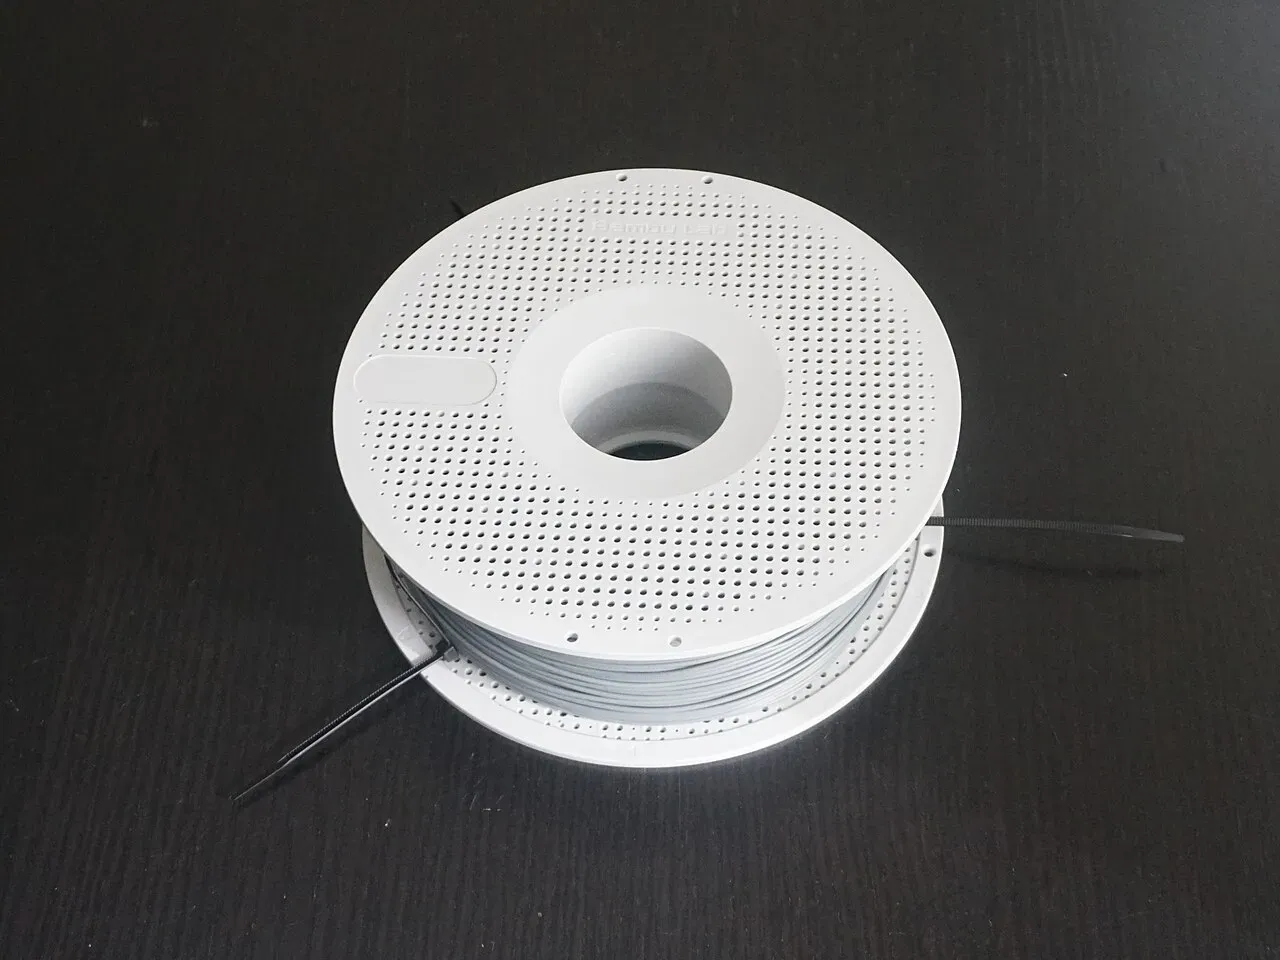 …and close it. Cut the ties last.Photo: Suit ·CC BY-SA 4.0 ·Wikimedia Commons
Slicing basics: the settings that matter
A slicer cuts your model into layers and writes the G-code your printer follows. The default profile is a good start. These are the settings you’ll touch first:
| Setting | What it does | Beginner starting point |
|---|---|---|
| Layer height | Thickness of each layer. Thinner looks smoother but prints slower | 0.2 mm with a 0.4 mm nozzle |
| Walls (perimeters) | Outer shells of the part. More walls make stronger parts | 2–3 walls |
| Infill | The internal pattern inside the part | 15–20% for display, 30–40% for functional parts |
| Supports | Temporary structures under overhangs | On for overhangs steeper than about 45° |
| Brim | A flat ring around the first layer for extra grip | On for tall or thin parts |
| Nozzle temperature | How hot the plastic gets | PLA: 200–215 °C (check your spool’s label) |
| Bed temperature | Keeps the first layers stuck down | PLA: 55–60 °C |
| Setting | OrcaSlicer / Bambu Studio | PrusaSlicer | Cura |
|---|---|---|---|
| Layer height | Process → Quality | Print Settings → Layers and perimeters | Quality → Layer Height |
| Walls | Process → Strength | Print Settings → Layers and perimeters | Walls → Wall Line Count |
| Infill | Process → Strength | Print Settings → Infill | Infill → Infill Density |
| Supports | Process → Support | Print Settings → Support material | Support → Generate Support |
| Brim | Process → Others | Print Settings → Skirt and brim | Build Plate Adhesion → Brim |
| Temperatures | Filament settings | Filament Settings → Filament | Material |
Menu names move between slicer versions. If you can’t find a setting, type its name into the slicer’s settings search box.
The first layer decides whether the whole print succeeds. It should be slightly squished onto the bed, with lines that touch each other and no gaps. If it’s round and loose, the nozzle is too high. If it’s transparent or scraped thin, it’s too low. Our guide to Z offset explains how to set it.
gap 0.20 mm · line 0.45 × 0.20 mm · good squish
- Drag ↕ raise / lower the nozzle
- ↑ ↓ one babystep, 0.02 mm (Shift: 0.10)
- 1 2 3 too high · good · too low
- Home back to 0.00
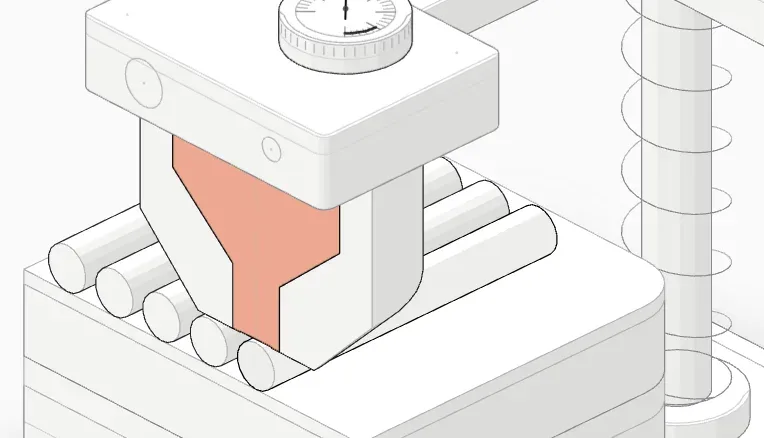 Cross-section, too high: the line stays round.
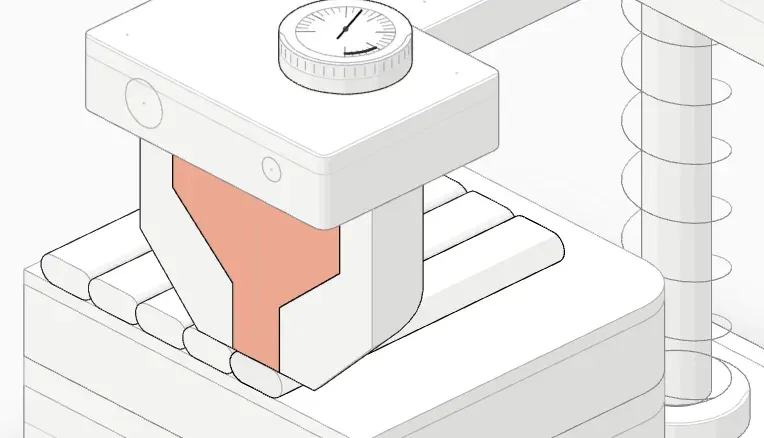 Cross-section, right height: a flattened line, about 0.45 × 0.20 mm.
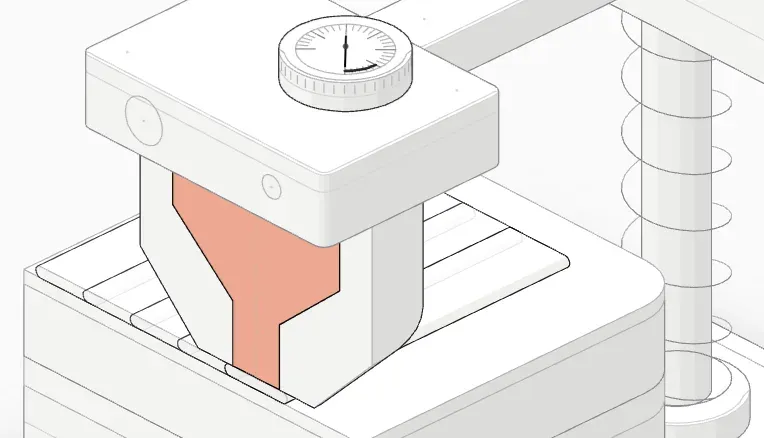 Cross-section, too low: the line is pressed into a sheet.
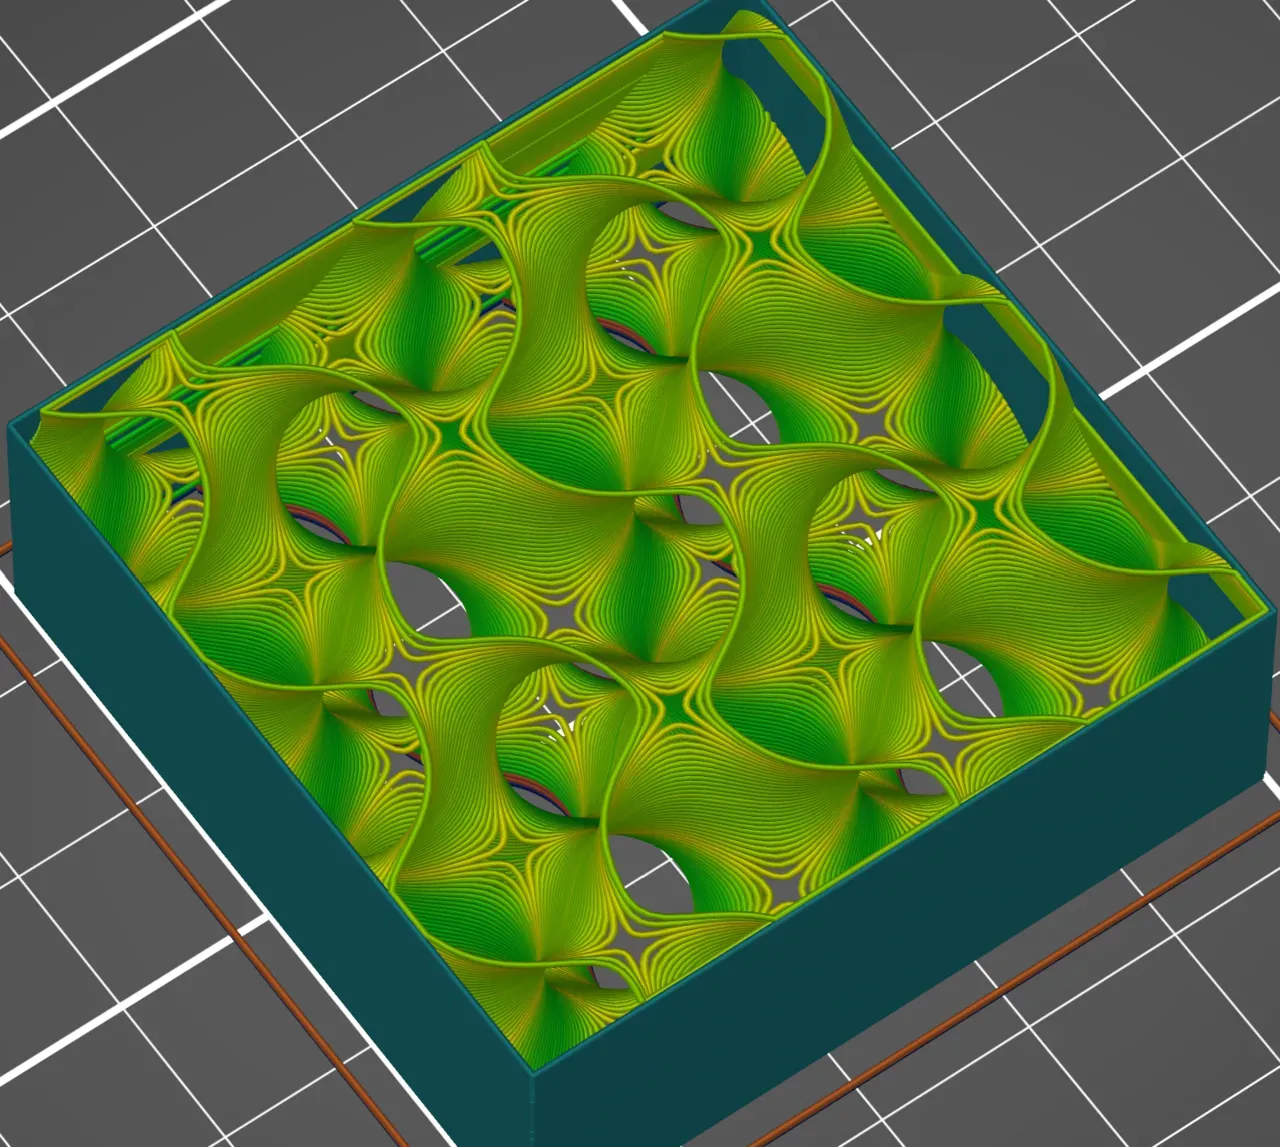 Gyroid infill in a slicer preview.Photo: Anachronist ·CC BY-SA 4.0 ·Wikimedia Commons
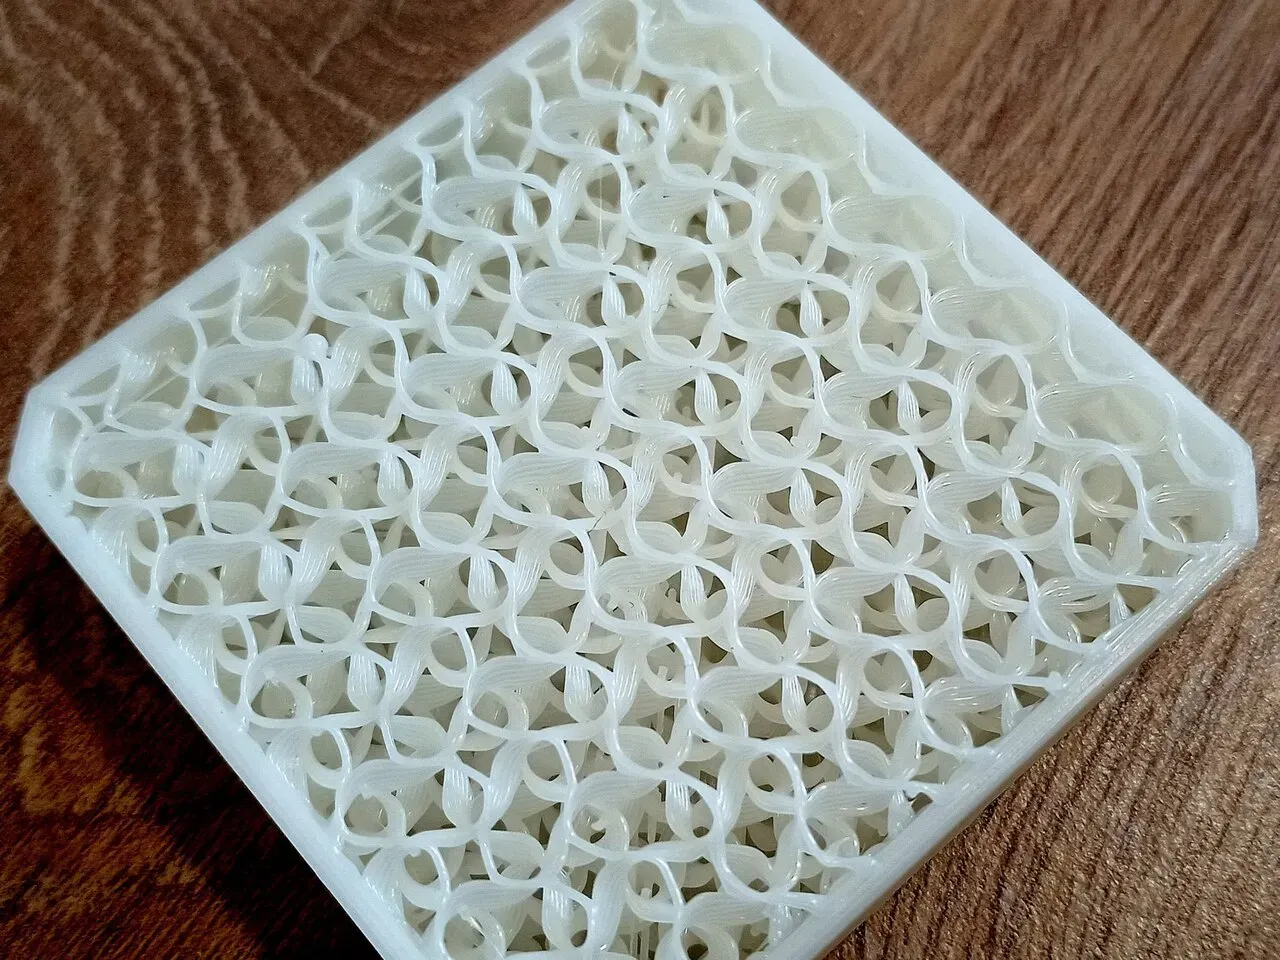 Gyroid infill printed: strong in every direction.Photo: A7N8X ·CC BY-SA 4.0 ·Wikimedia Commons
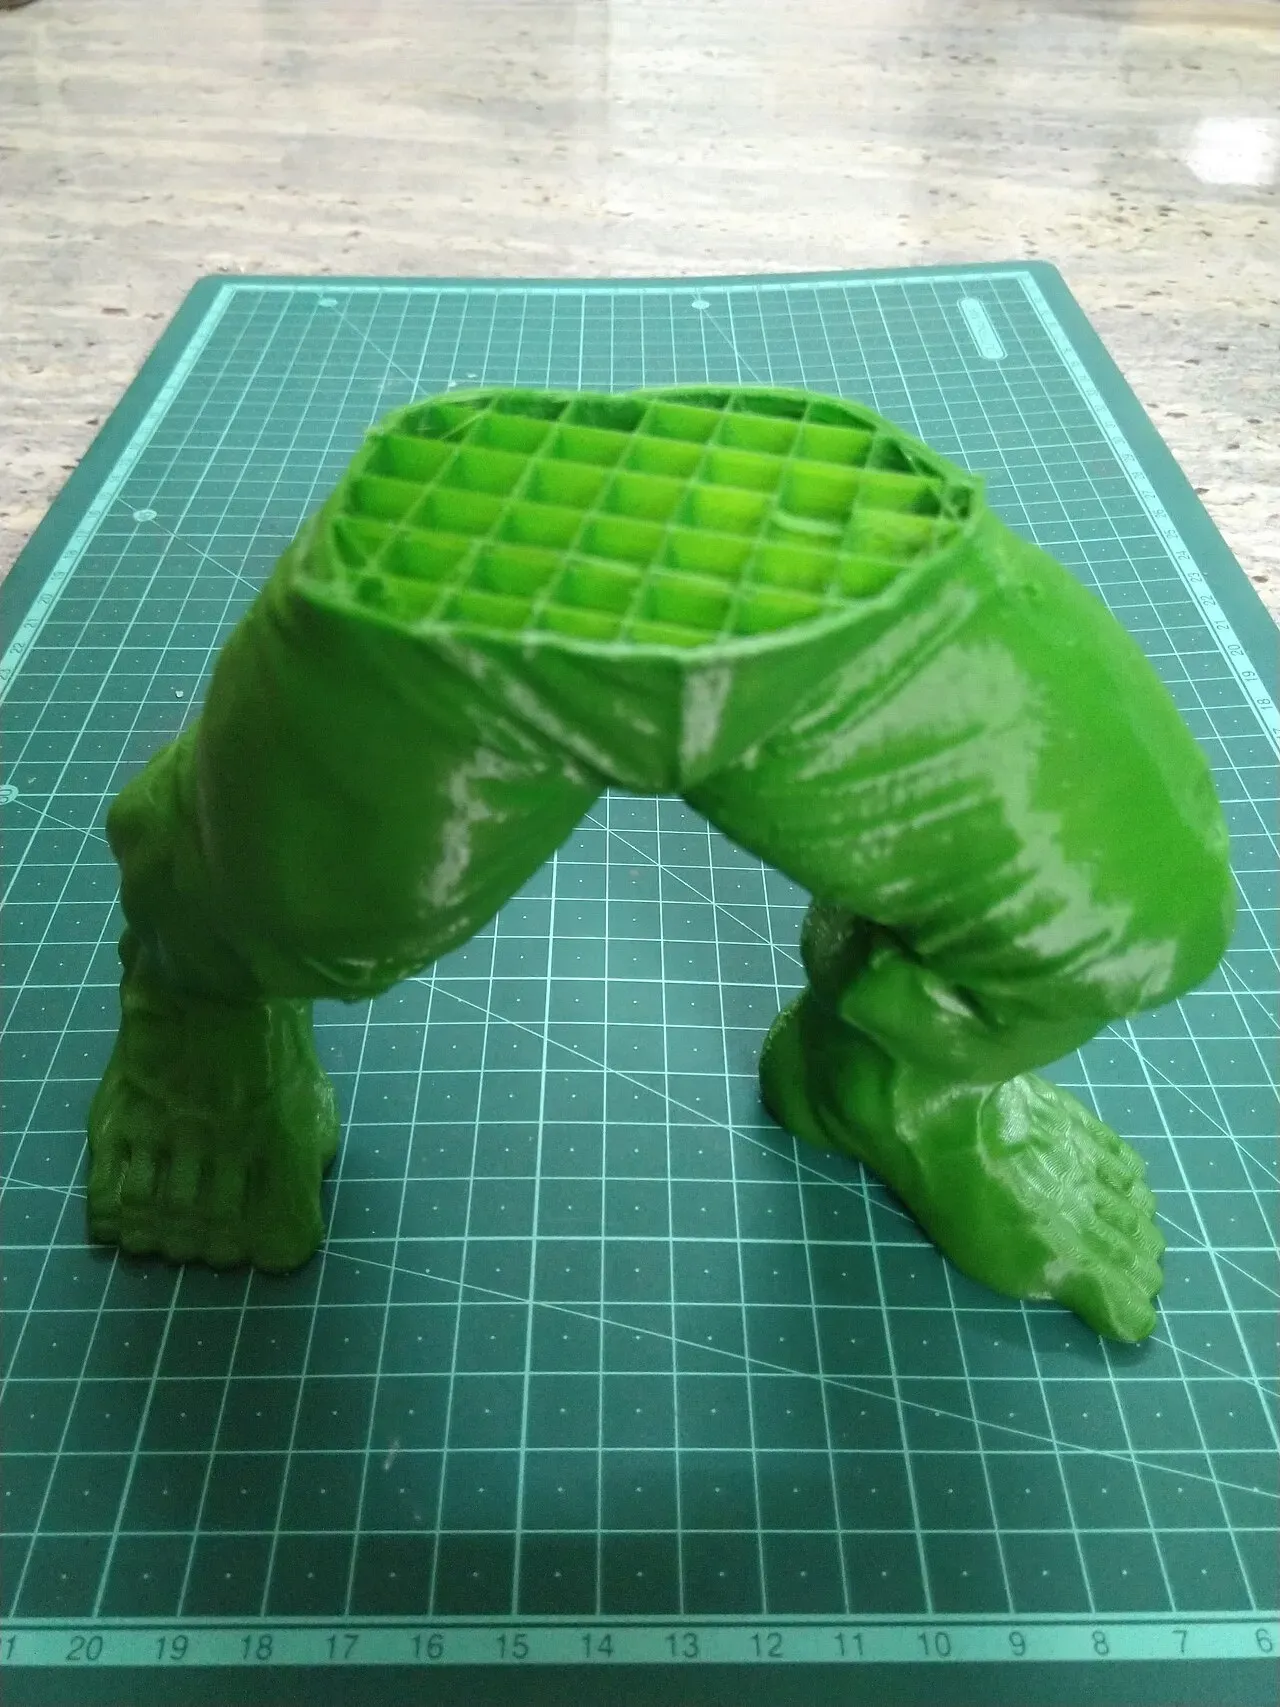 Inside a print: 40% grid infill.Photo: Sumanbargavr ·CC BY-SA 4.0 ·Wikimedia Commons
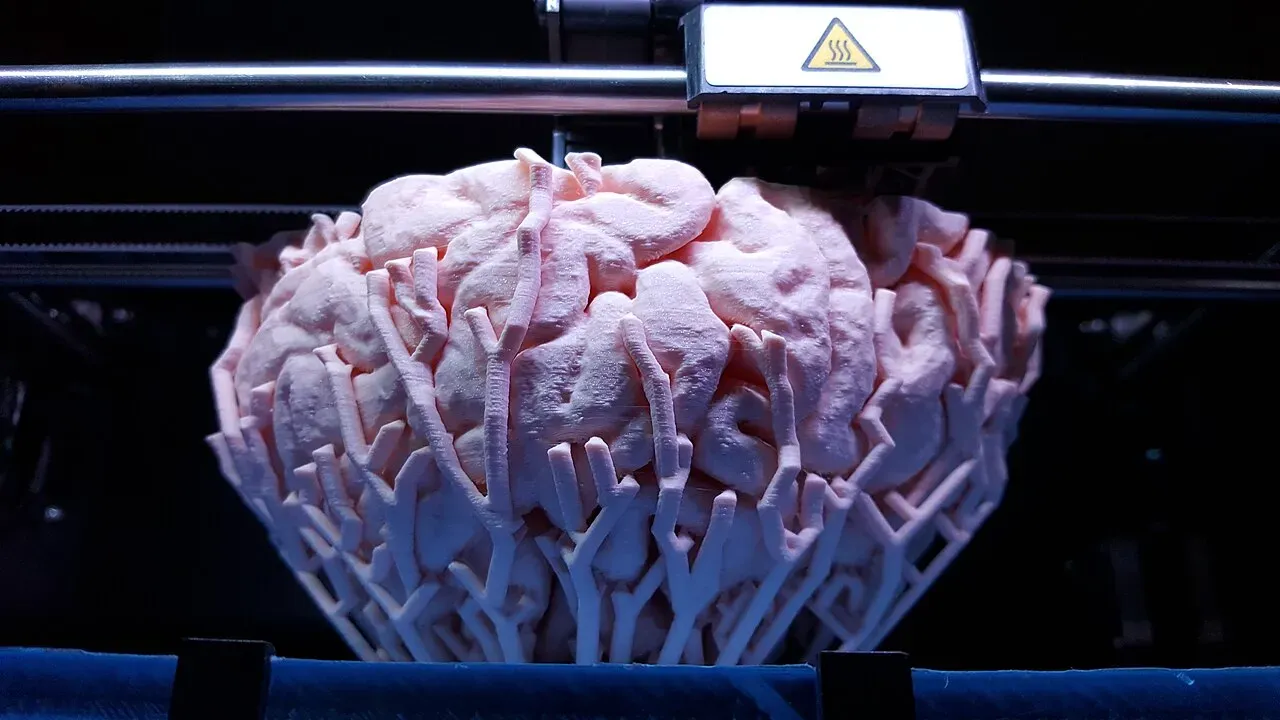 Supports hold up overhangs while the print grows.Photo: Nevit ·CC BY-SA 3.0 ·Wikimedia Commons
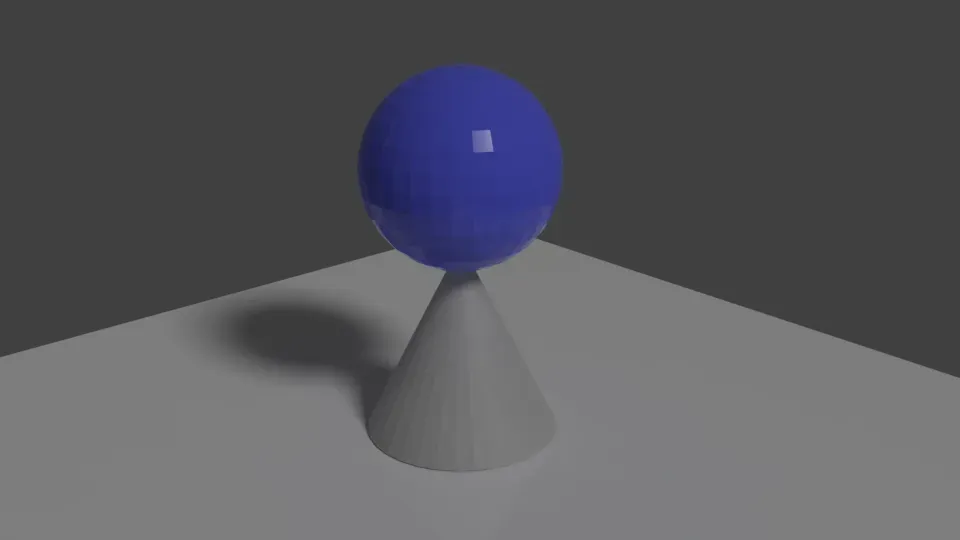 Why supports exist: a sphere needs something under it.Photo: Mr N ·CC BY-SA 4.0 ·Wikimedia Commons
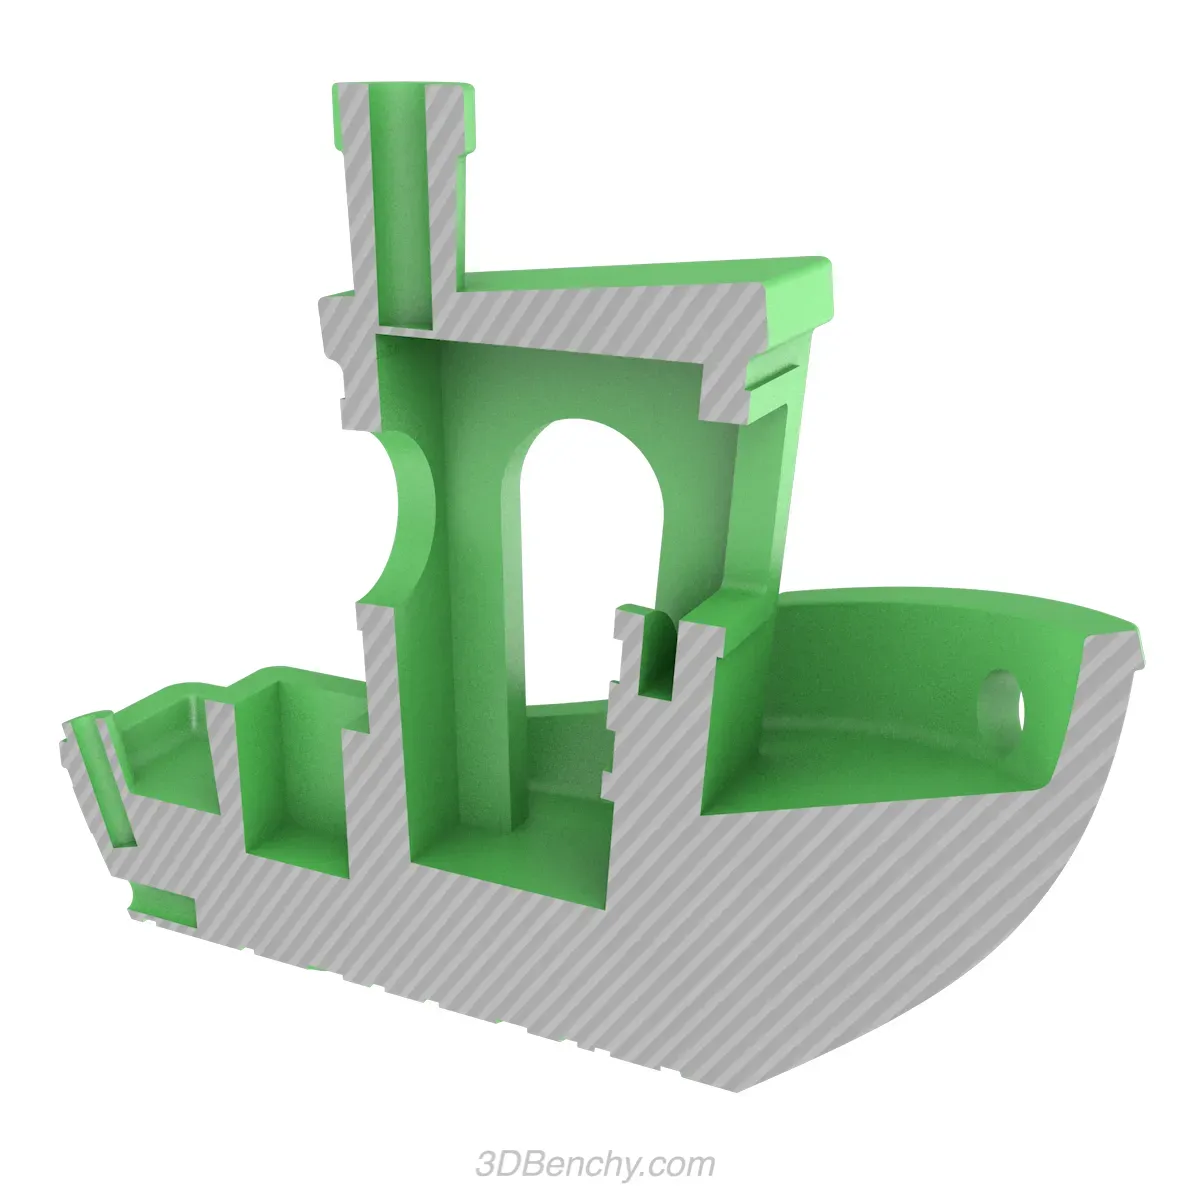 Benchy cut open: walls, infill and overhangs in one small boat.Photo: CreativeTools: https://www.thingiverse.com/Cr… ·CC0 ·Wikimedia Commons
Your first filament: start with PLA
| Material | Difficulty | Nozzle | Bed | Use it for |
|---|---|---|---|---|
| PLA | Easiest | 190–220 °C | 55–60 °C | Almost everything; start here |
| PETG | Easy–medium | 220–250 °C | 70–85 °C | Tougher, more heat-resistant parts; strings more |
| TPU | Medium | 210–235 °C | 40–60 °C | Flexible parts; print slowly, direct drive is easiest |
| ABS / ASA | Harder | 230–260 °C | 90–110 °C | Heat-resistant parts; needs an enclosure and ventilation |
Keep filament dry.22Filament makers print a recommended nozzle temperature range on every spool. Start in the middle of it and adjust in 5 °C steps. Most plastics absorb moisture from the air, which causes stringing, popping sounds and weak prints. Store open spools in a sealed box with desiccant.
 PLA: the beginner's filament.Photo: Richardspa ·CC0 ·Wikimedia Commons
- A 1 kg spool of PETG, sealed with desiccant.Photo: Suit ·CC BY-SA 4.0 ·Wikimedia Commons
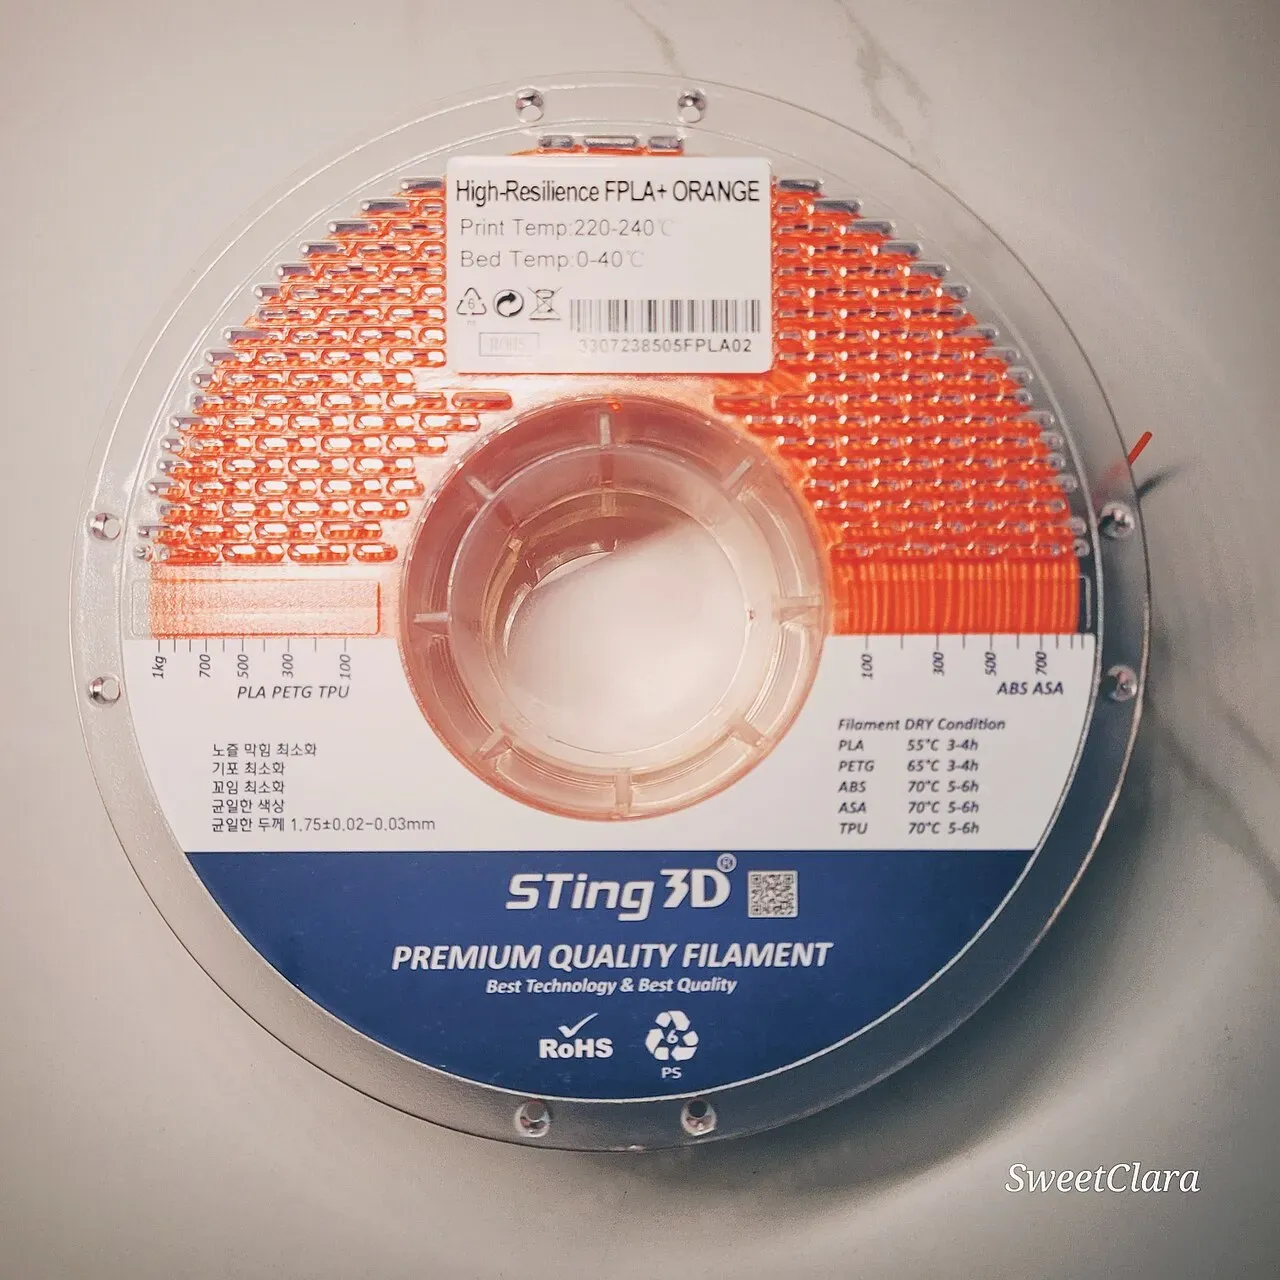 Flexible filament: label shows its print temperature.Photo: Sweetclara ·CC BY-SA 4.0 ·Wikimedia Commons
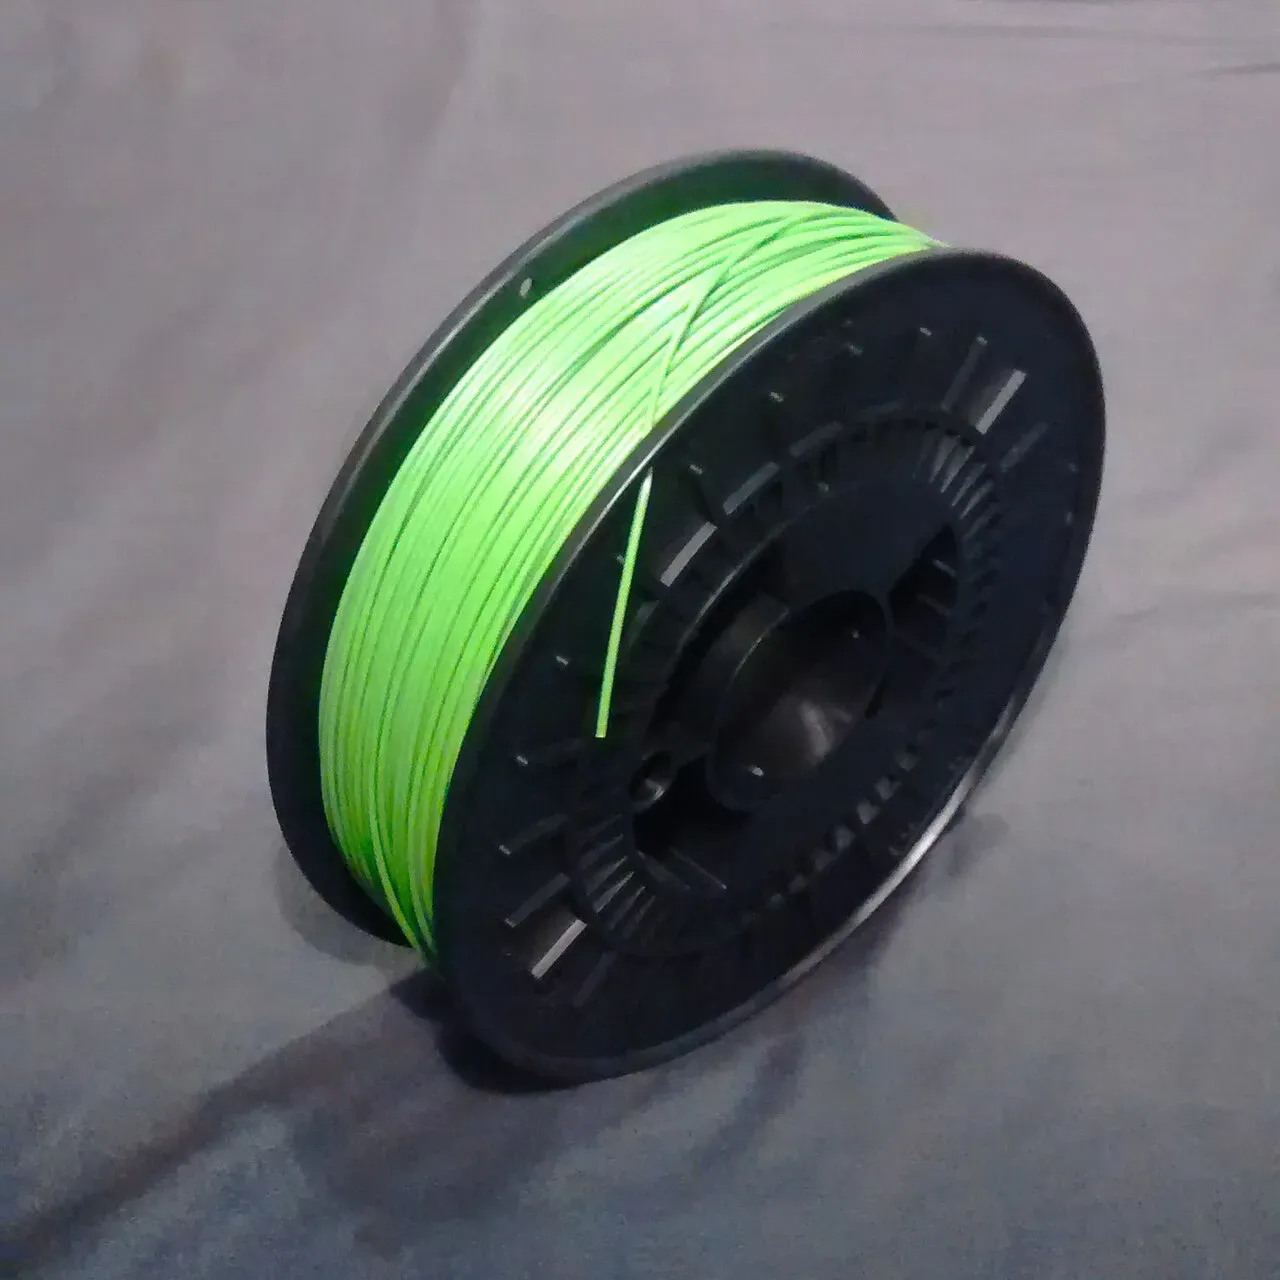 A spool of ABS.Photo: Tatár Lehel ·CC BY-SA 3.0 ·Wikimedia Commons
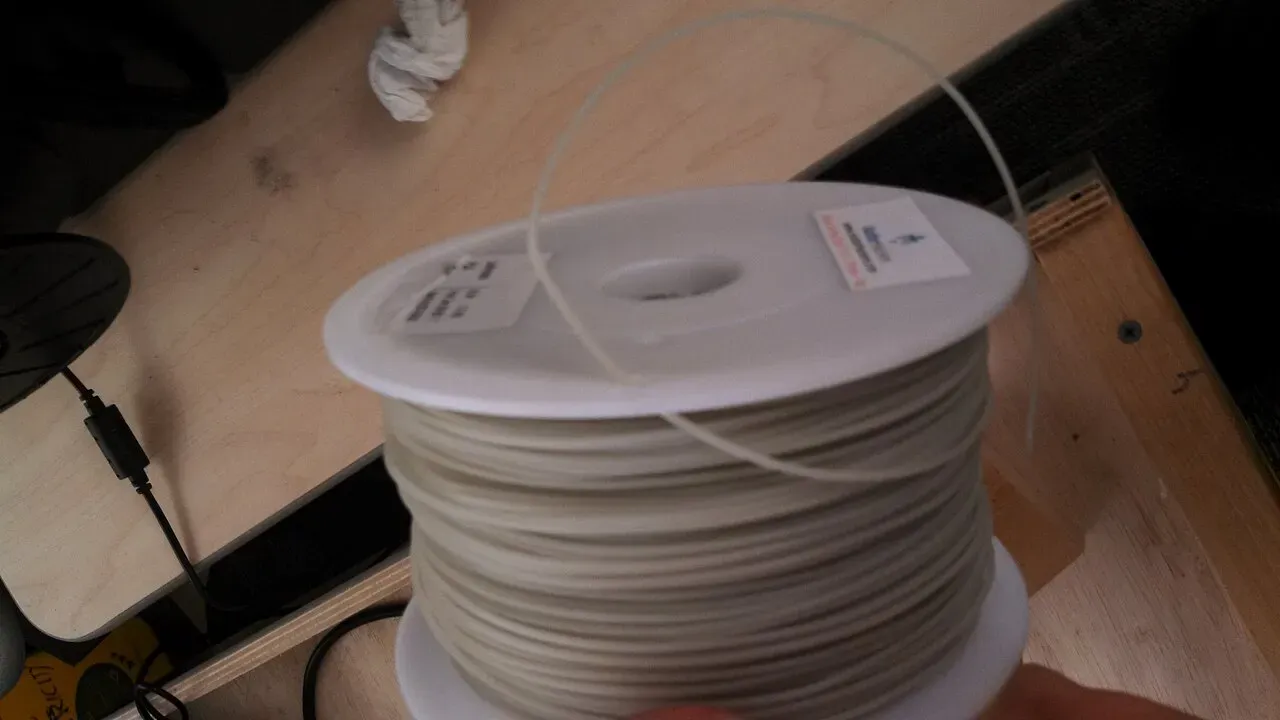 An open spool of PLA left out in the air.Photo: SuperBlobMonster ·CC BY-SA 3.0 ·Wikimedia Commons
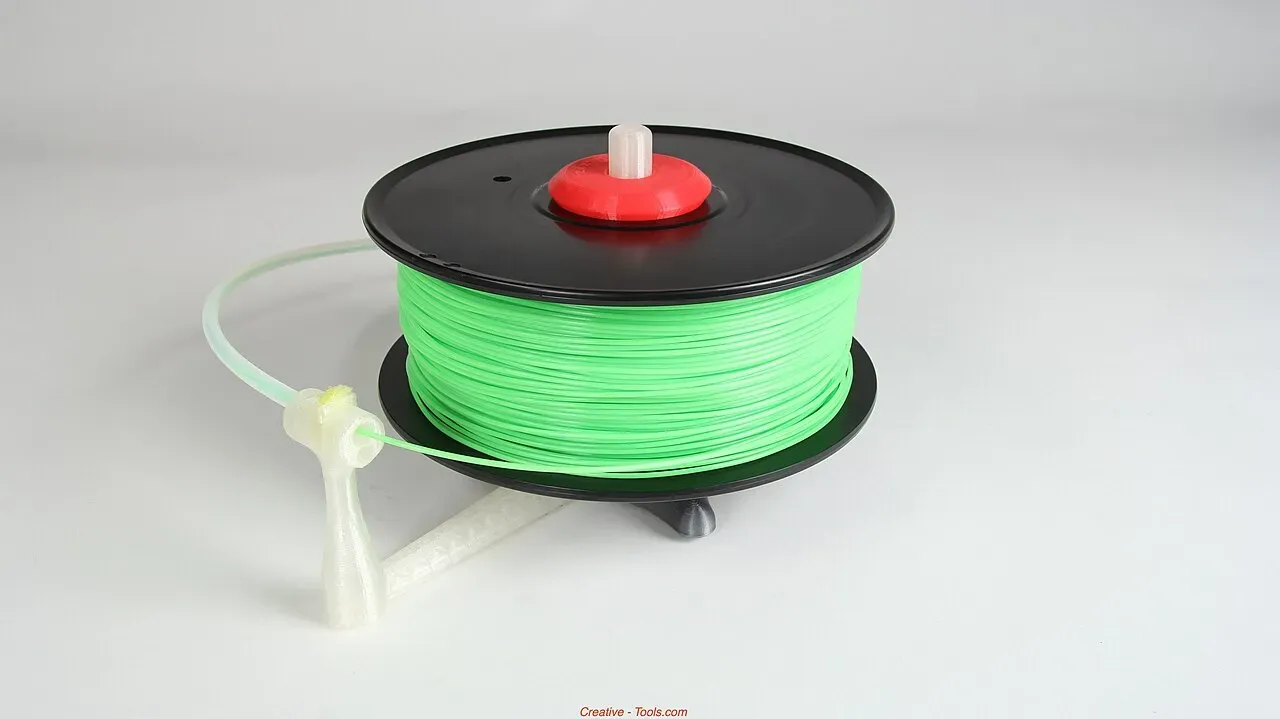 A simple spool holder lets the spool turn freely.Photo: Creative Tools ·CC BY 2.0 ·Wikimedia Commons
Good first prints
- The manufacturer’s test print. Already tuned for your printer.
- A calibration cube (20 mm). Measure it with calipers to check dimensions.
- A Benchy. The famous little boat tests overhangs, bridges and fine detail in one print.333DBenchy was released in 2015 by Creative Tools as a free test model, and it is still the print everyone recognises.
- Something useful. A cable clip, a hook or a planter. Printing something you’ll actually use is the best motivation.
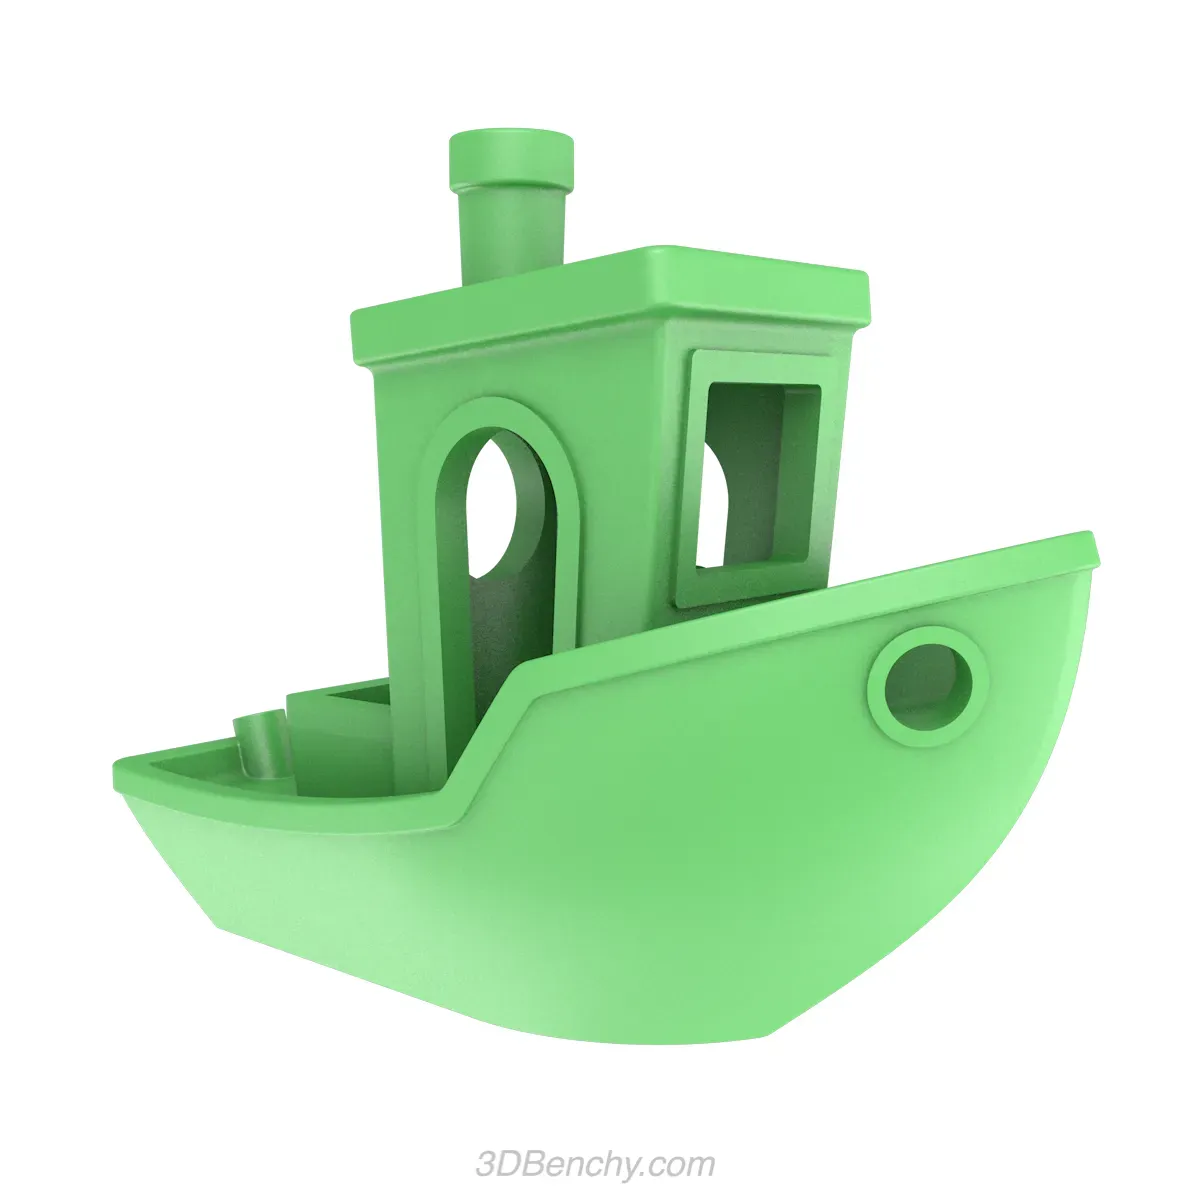 3DBenchy, the test model every printer is judged by.Photo: Creative Tools ·CC BY 2.0 ·Wikimedia Commons
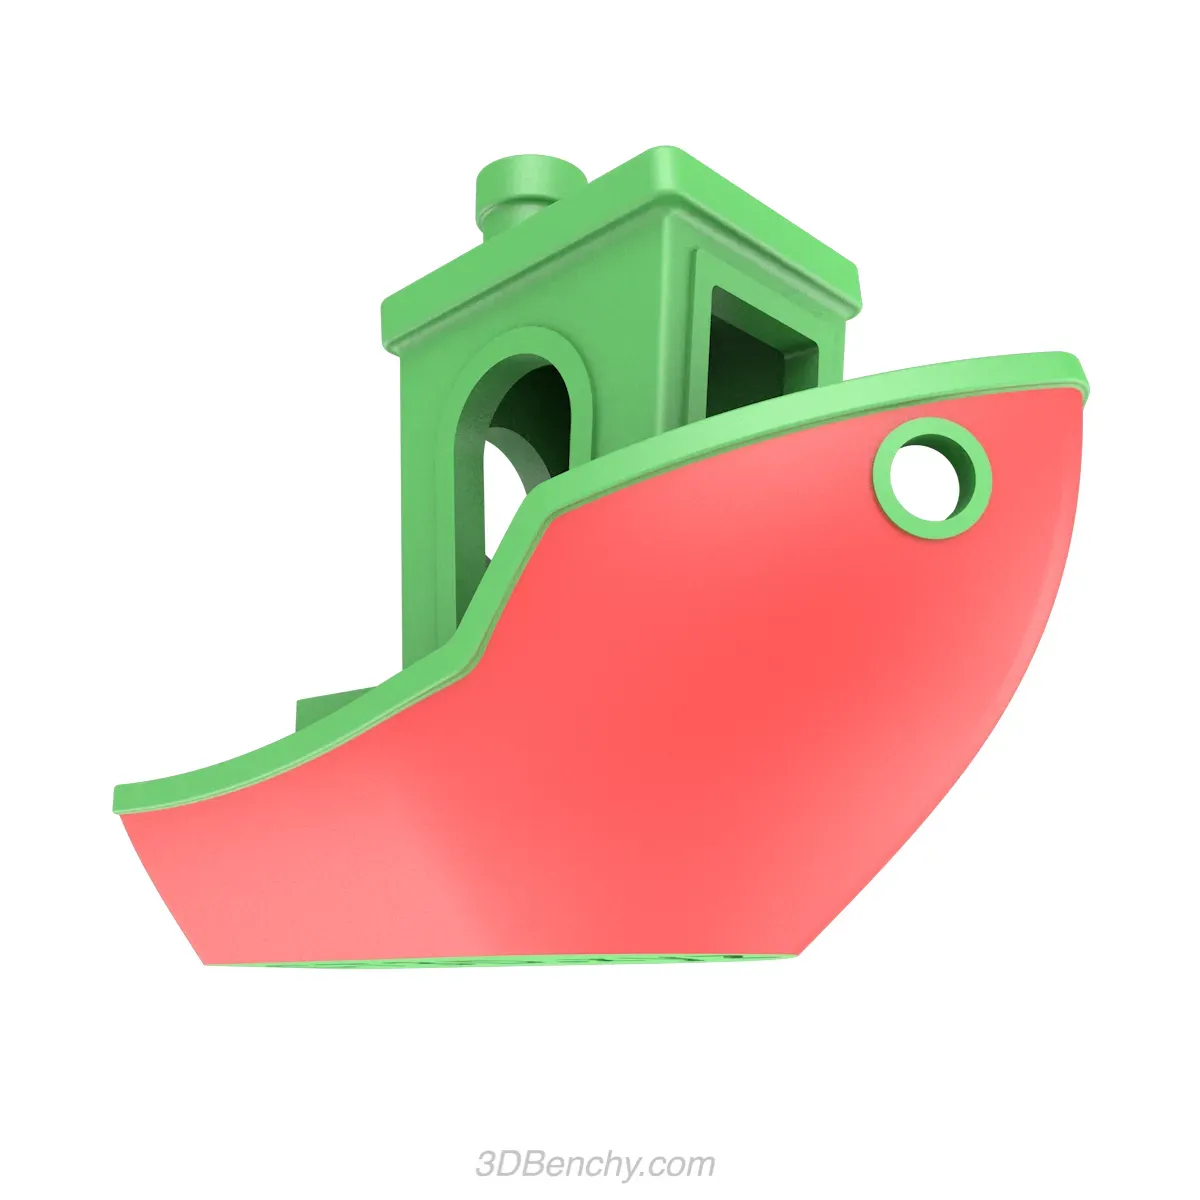 The hull is a curved overhang test.Photo: CreativeTools: https://www.thingiverse.com/Cr… ·CC0 ·Wikimedia Commons
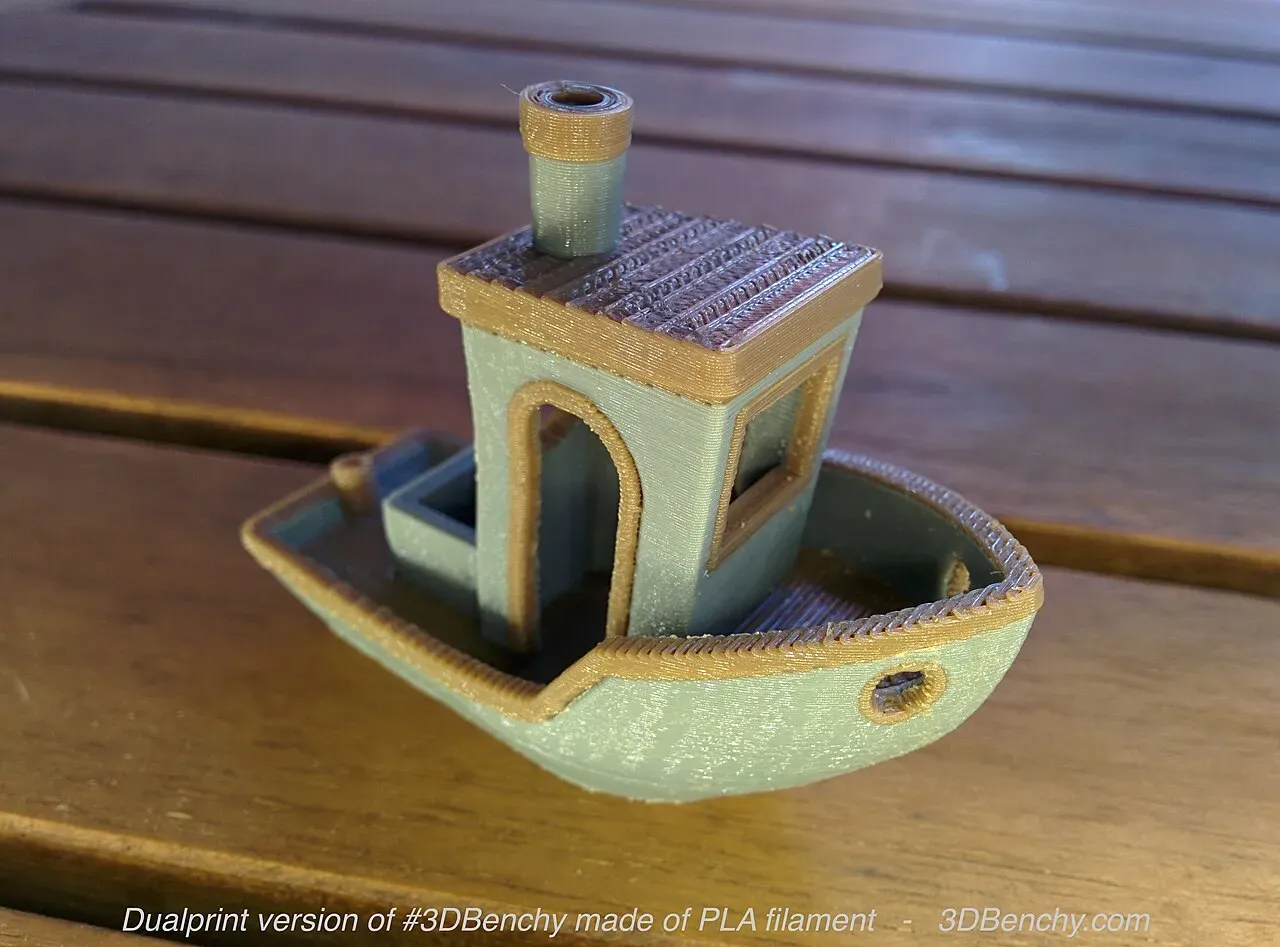 A two-colour Benchy.Photo: 3DBenchy ·CC BY 2.0 ·Wikimedia Commons
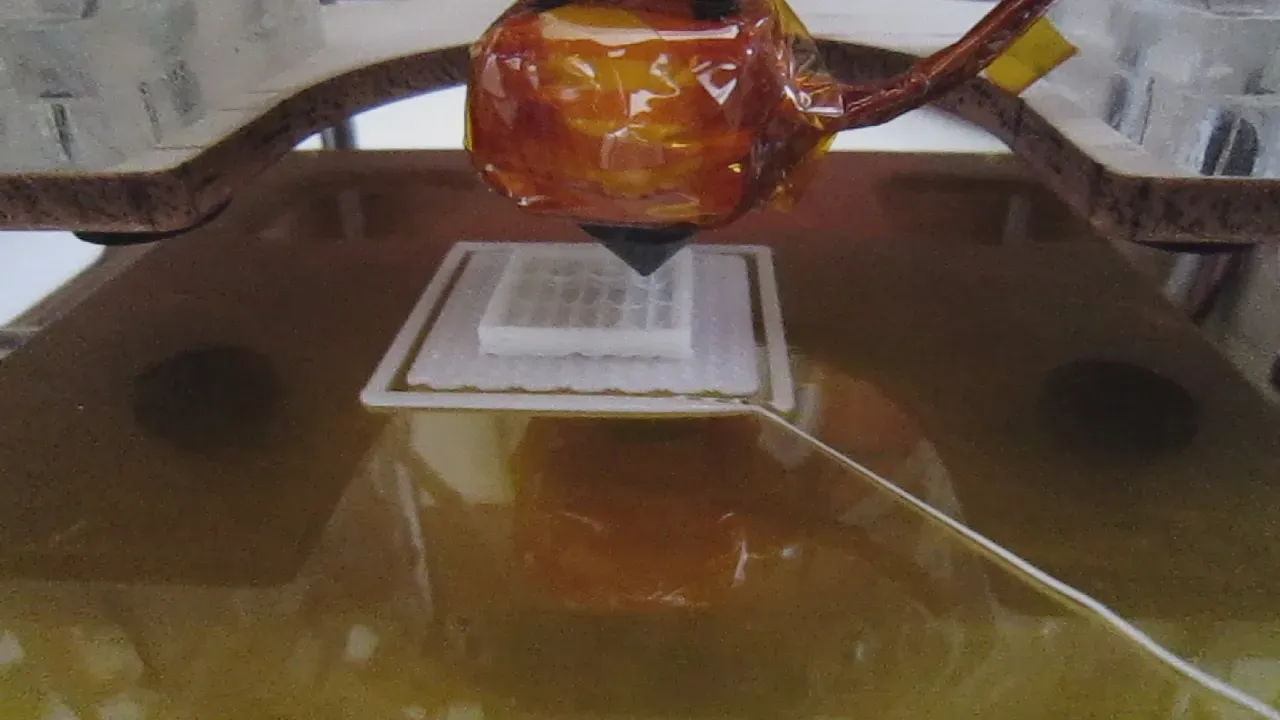 The calibration cube a few layers in.Photo: syvwlch ·CC BY 2.0 ·Wikimedia Commons
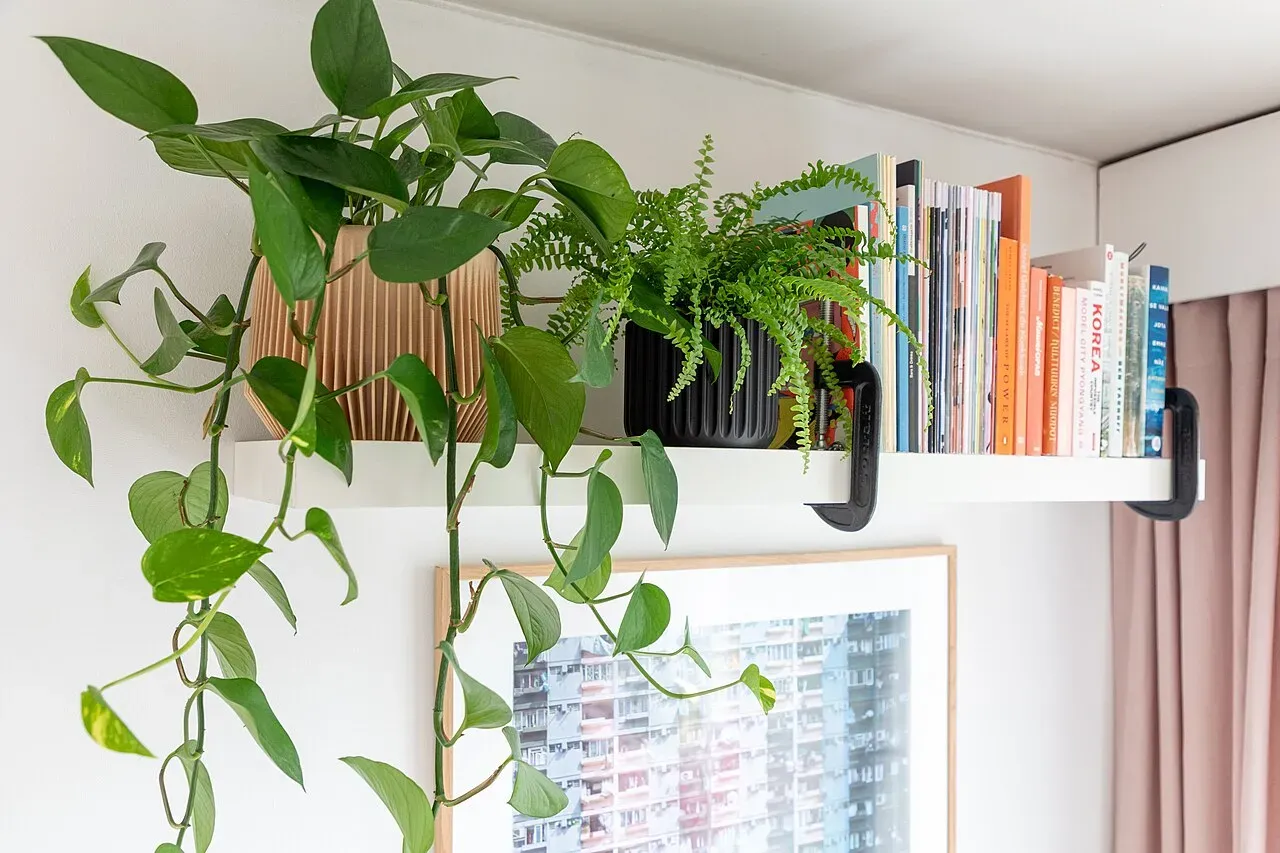 Useful prints: planters on a shelf.Photo: Aaaatu ·CC BY-SA 4.0 ·Wikimedia Commons
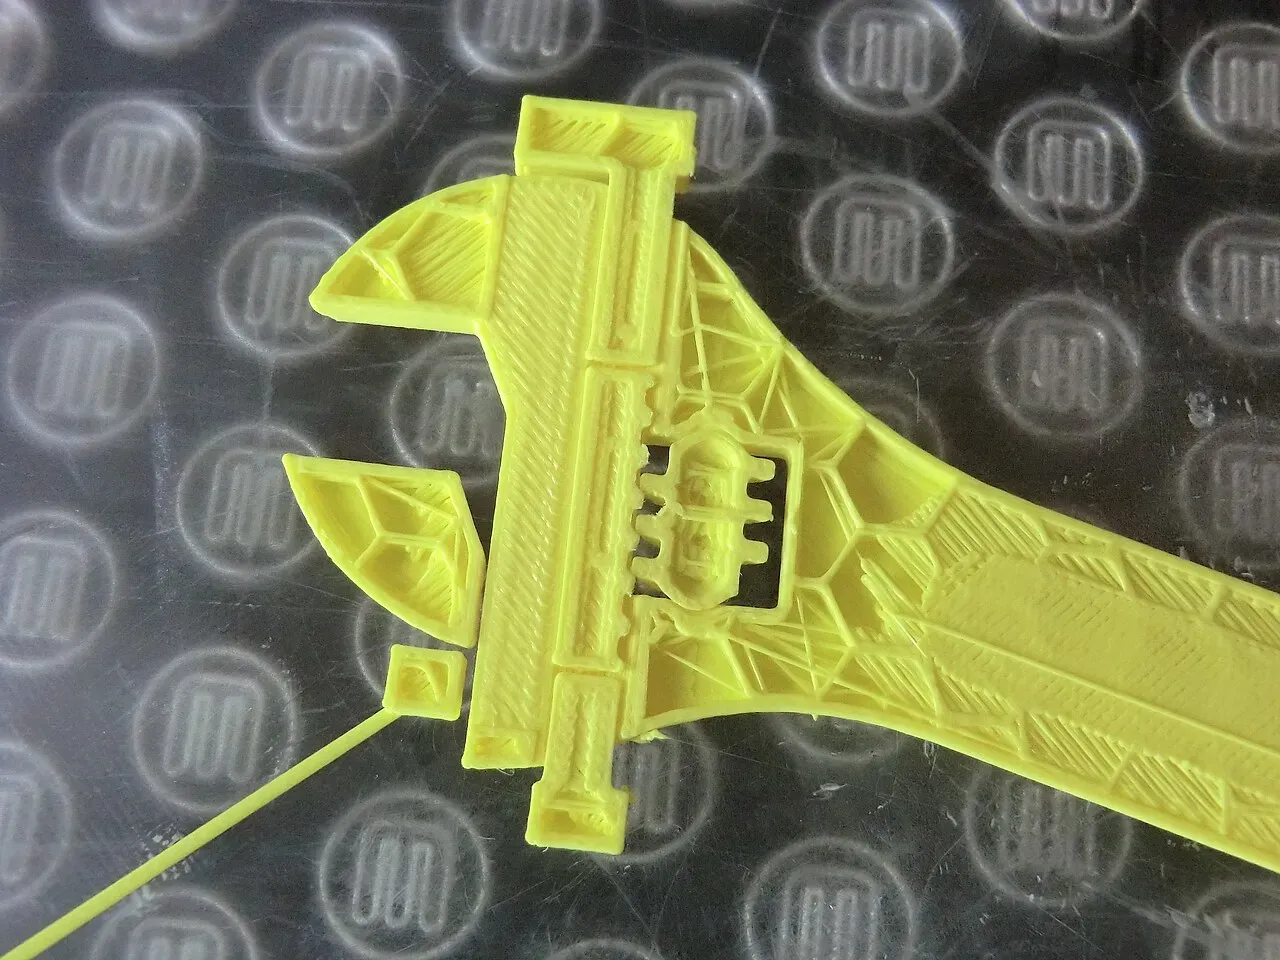 A working wrench printed in one piece.Photo: Creative Tools from Halmdstad, Sweden ·CC BY 2.0 ·Wikimedia Commons
 A screw-top box: threads print well at 0.2 mm layers.Photo: syvwlch ·CC BY 2.0 ·Wikimedia Commons
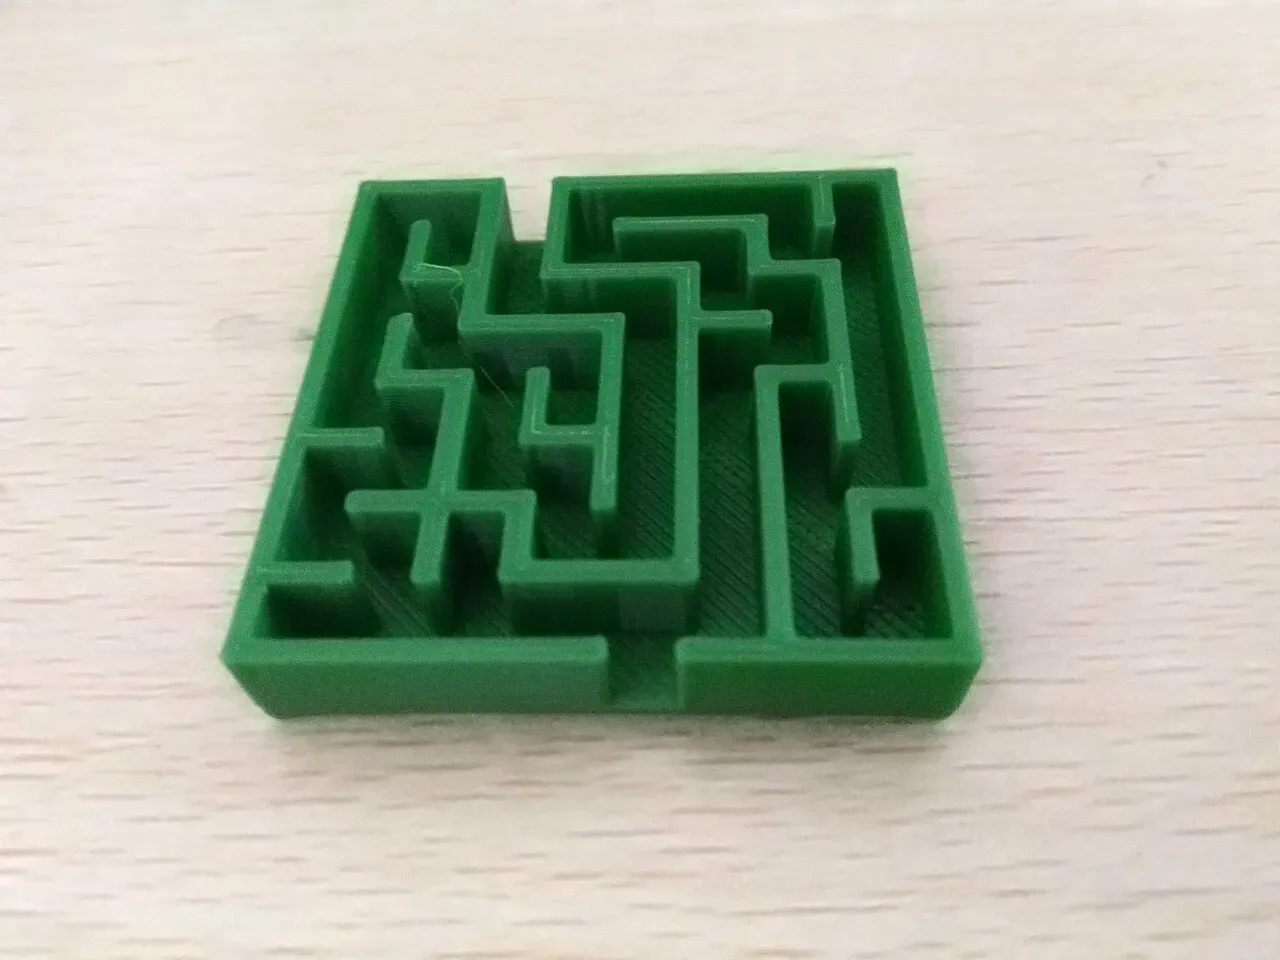 A printed maze puzzle.Photo: Sumanbargavr ·CC BY-SA 4.0 ·Wikimedia Commons
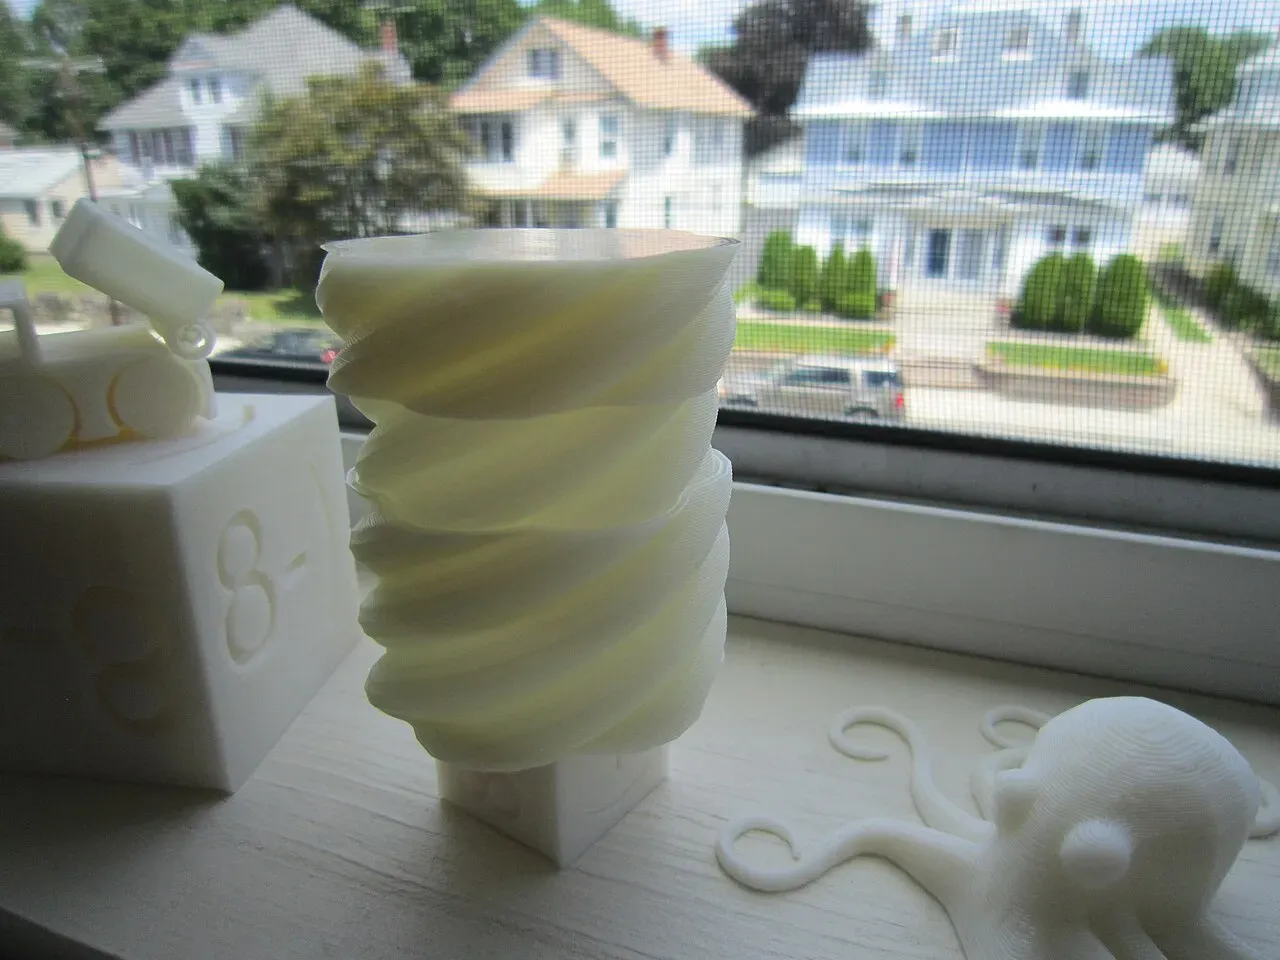
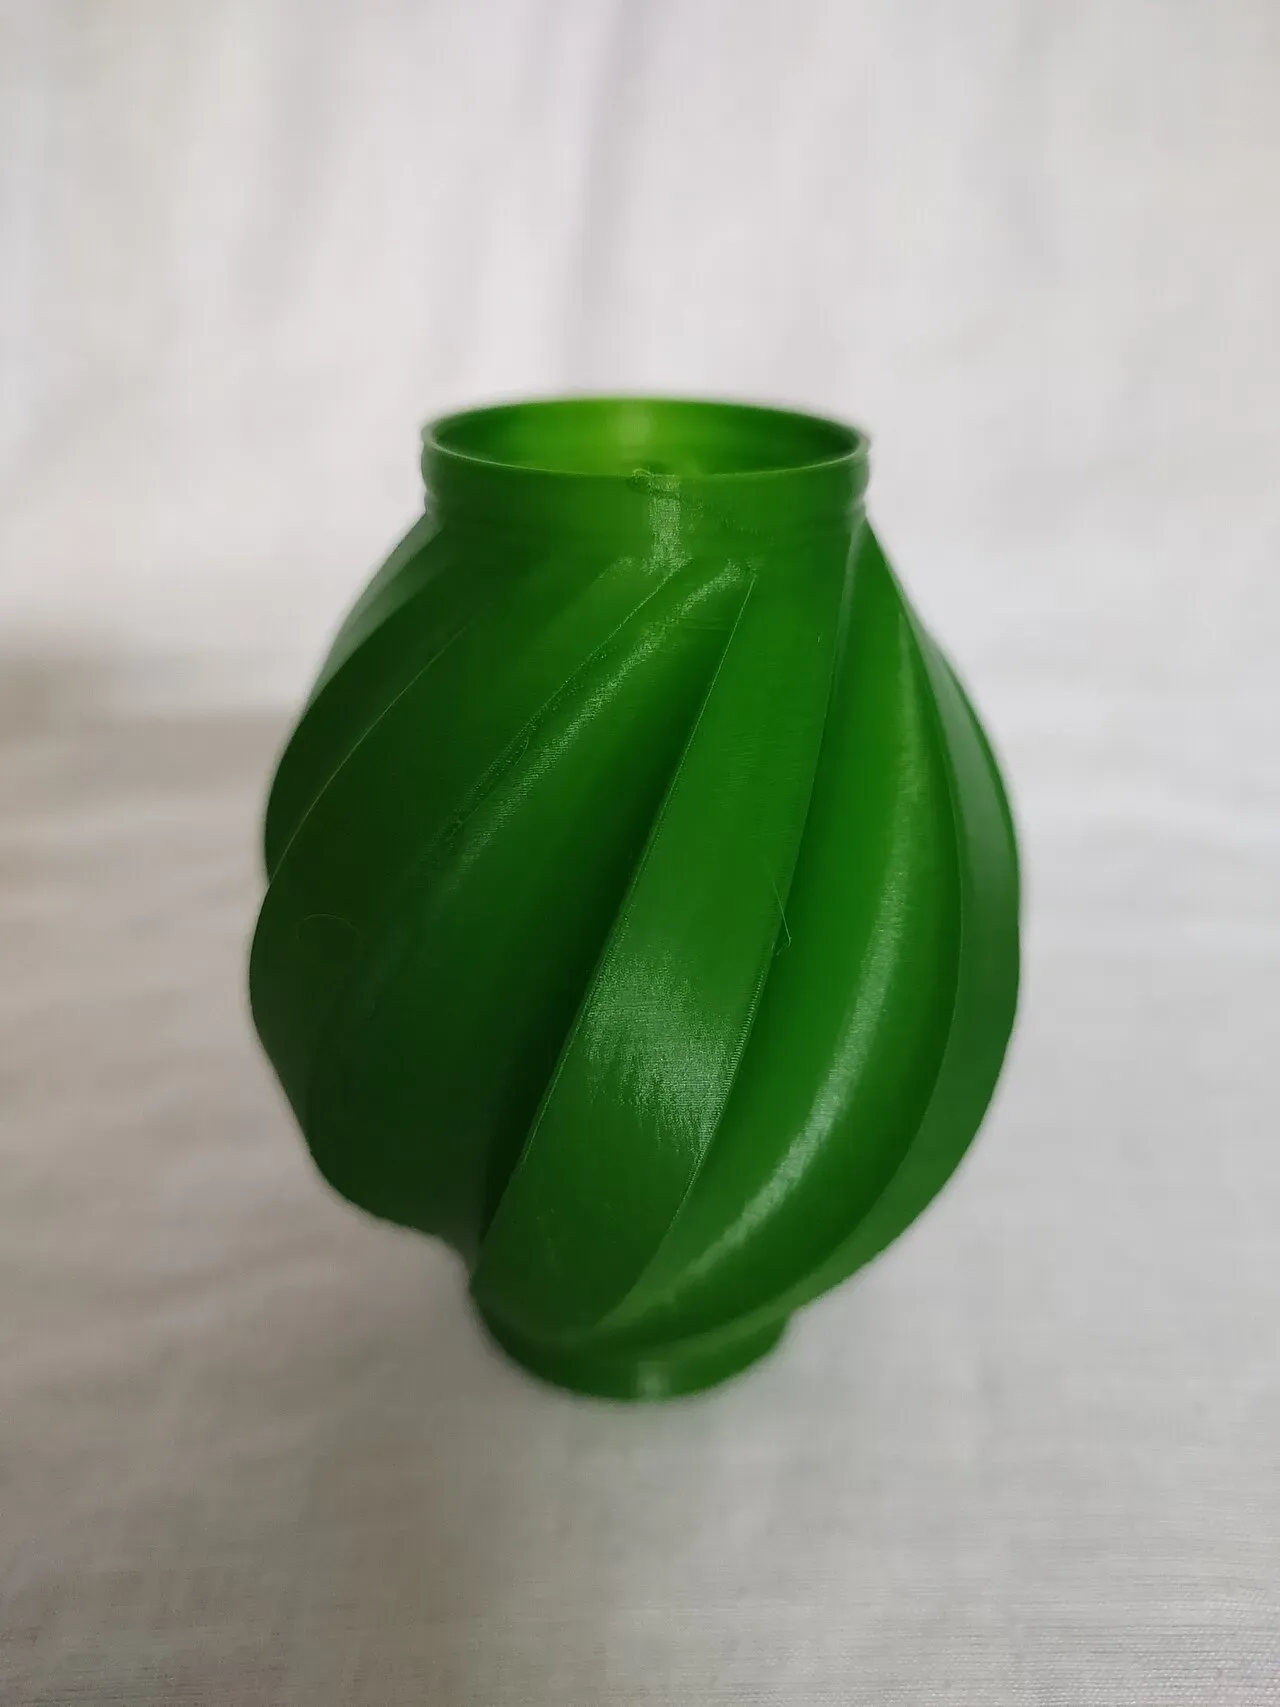 A twisted vase printed in a single wall.Photo: Sumanbargavr ·CC BY-SA 4.0 ·Wikimedia Commons
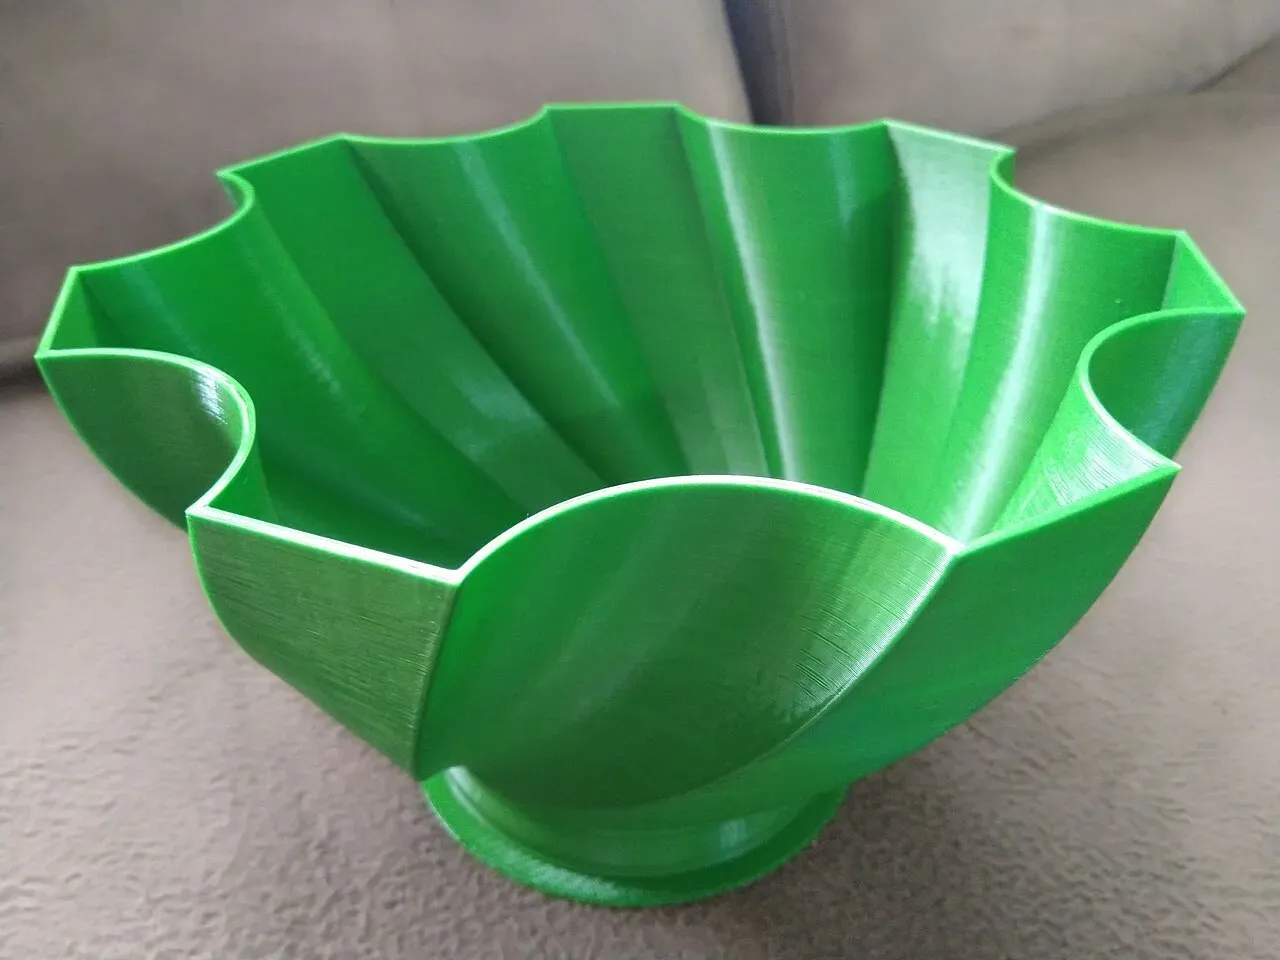 A printed bowl: walls only, no infill.Photo: Sumanbargavr ·CC BY-SA 4.0 ·Wikimedia Commons
- A table of small prints.Photo: Trevor Prentice ·CC BY-SA 2.0 ·Wikimedia Commons
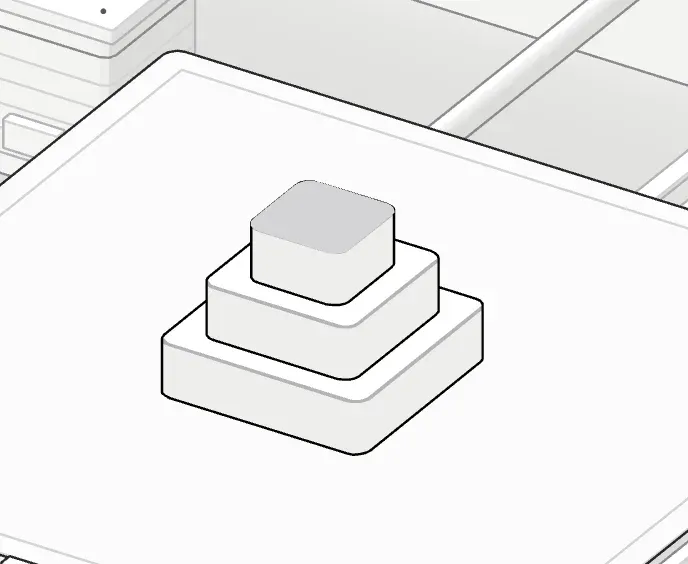 The finished tower.
Common beginner mistakes
| Mistake | Why it fails | Fix | Read more |
|---|---|---|---|
| Skipping bed cleaning | Oily fingerprints stop the first layer sticking | Wipe the plate with isopropyl alcohol | Bed leveling |
| Nozzle too high or too low | The first layer won’t stick, or gets scraped thin | Set the Z offset | Z offset |
| Changing many settings at once | You never learn what fixed it | Change one thing, print, compare | |
| Printing huge models first | Long prints waste time and plastic when they fail | Start small | |
| Ignoring wet filament | Strings, popping and rough surfaces | Dry the spool | Stringing |
| Leaving early prints unattended | A failed print can turn into spaghetti for hours | Watch the first layer and early long prints |
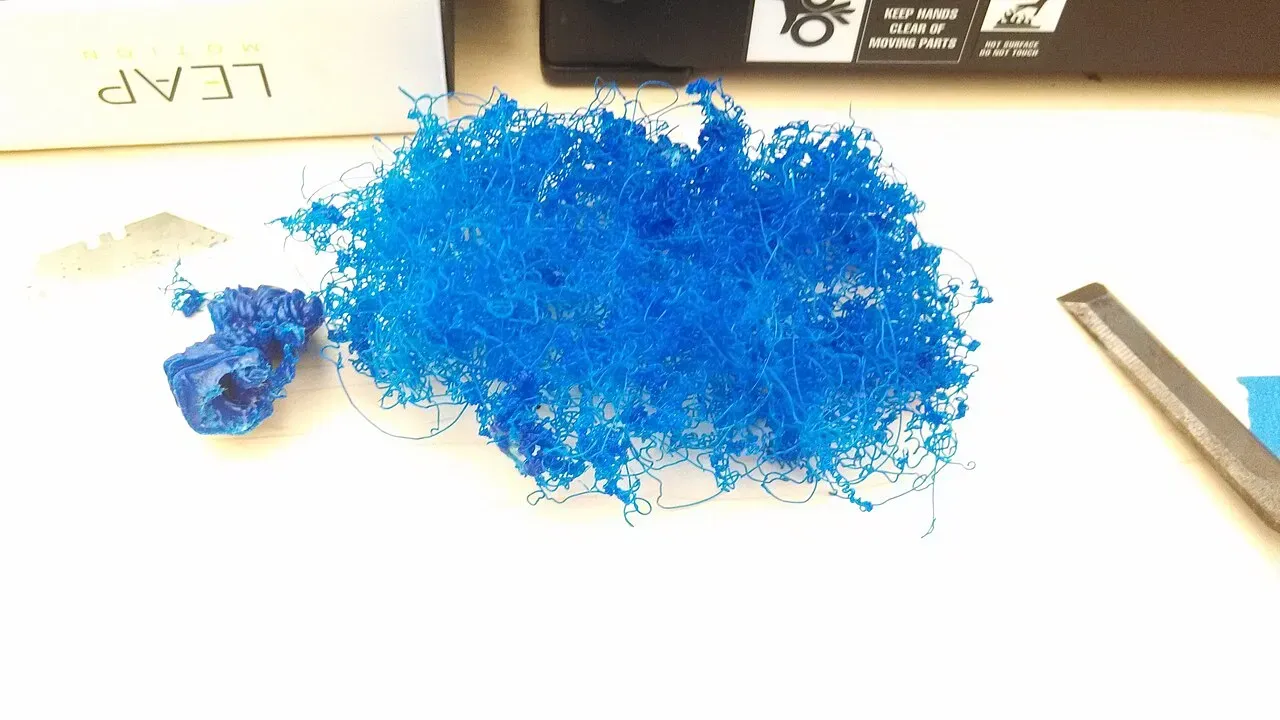 Spaghetti: the part came loose and the printer kept extruding into the air.Photo: SuperBlobMonster ·CC BY-SA 3.0 ·Wikimedia Commons
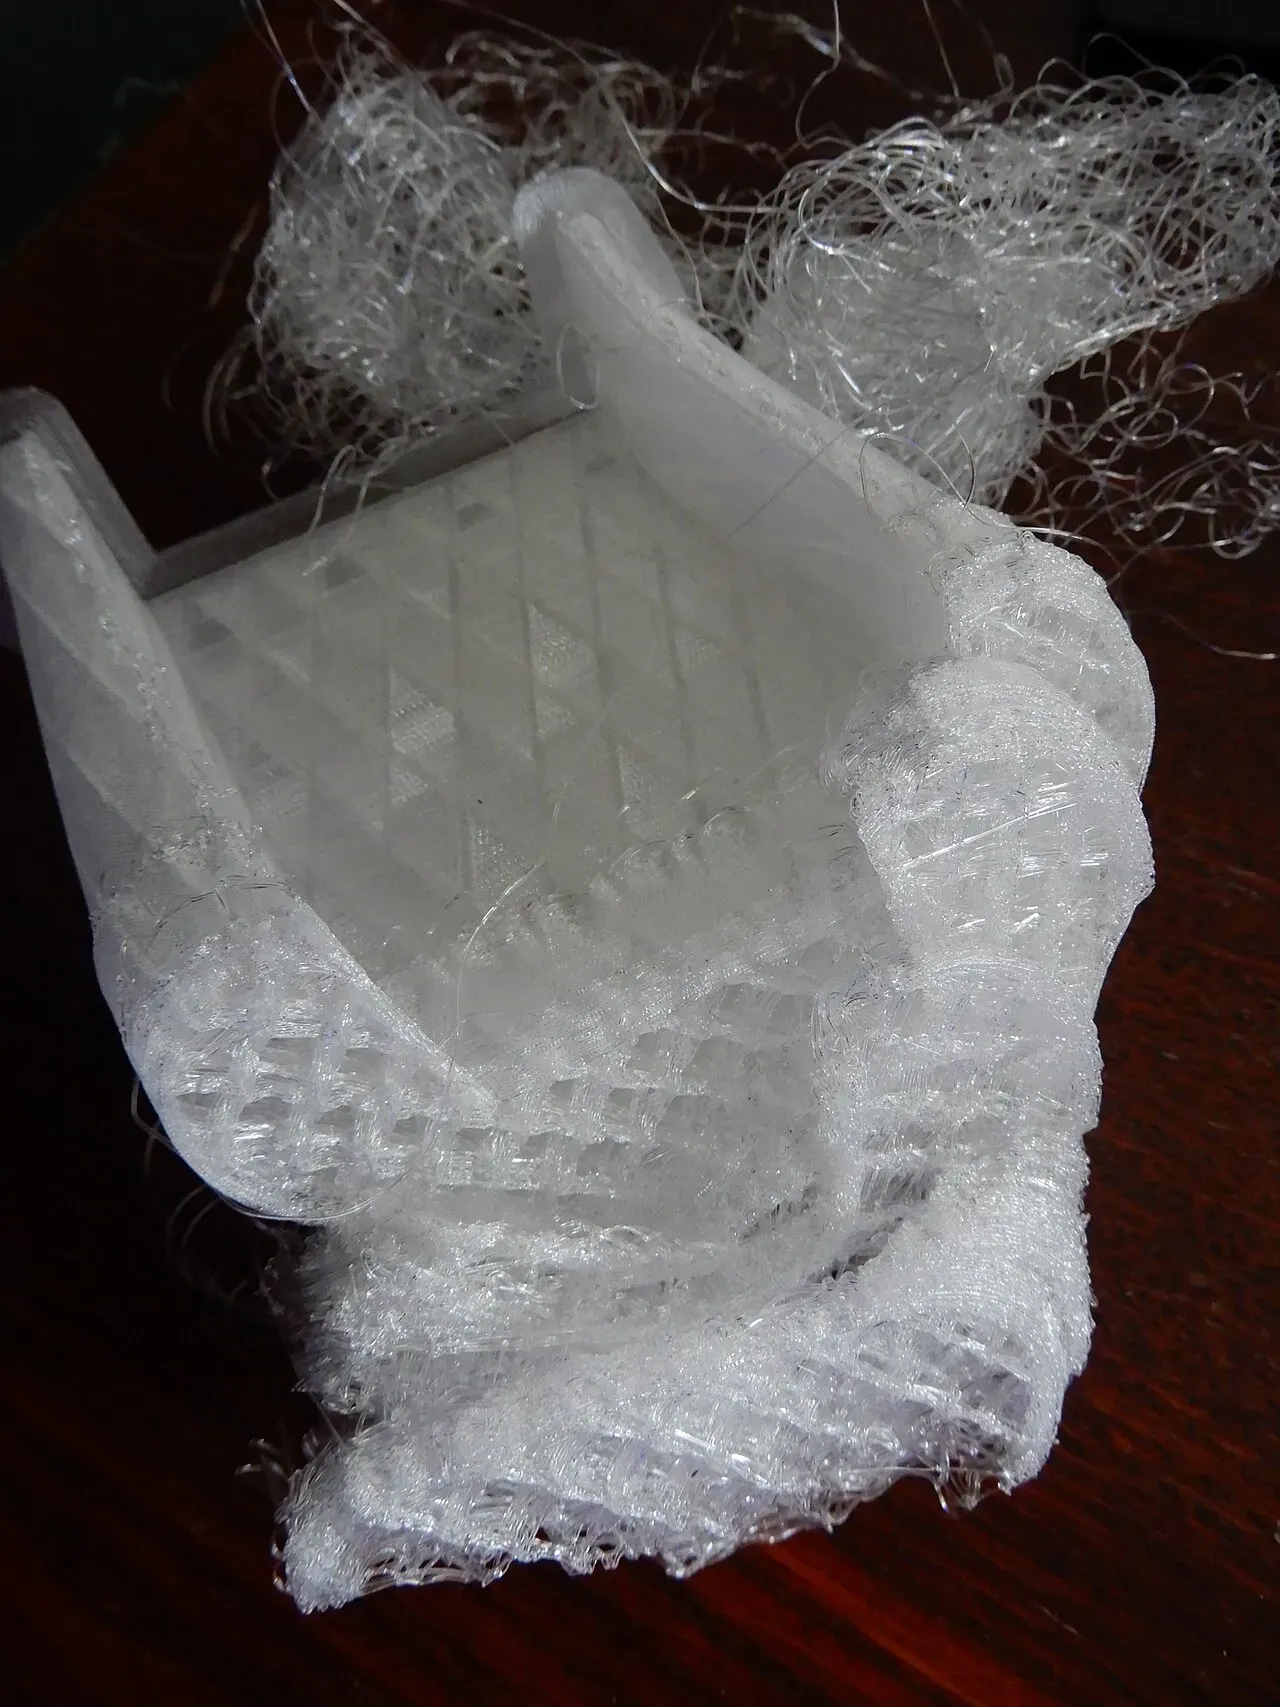 A print that broke loose partway through.Photo: EwkaC ·CC BY-SA 4.0 ·Wikimedia Commons
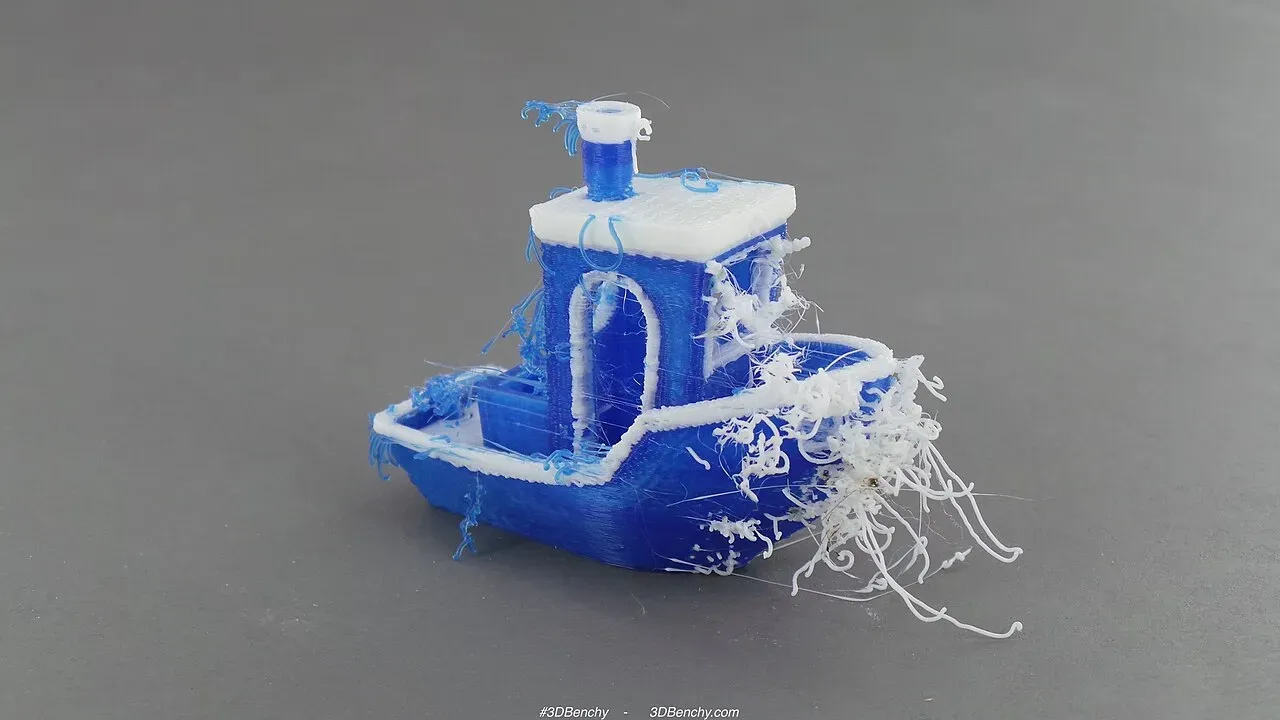 Stringing on a two-colour Benchy, where travel moves cross open air.Photo: 3DBenchy ·CC BY 2.0 ·Wikimedia Commons
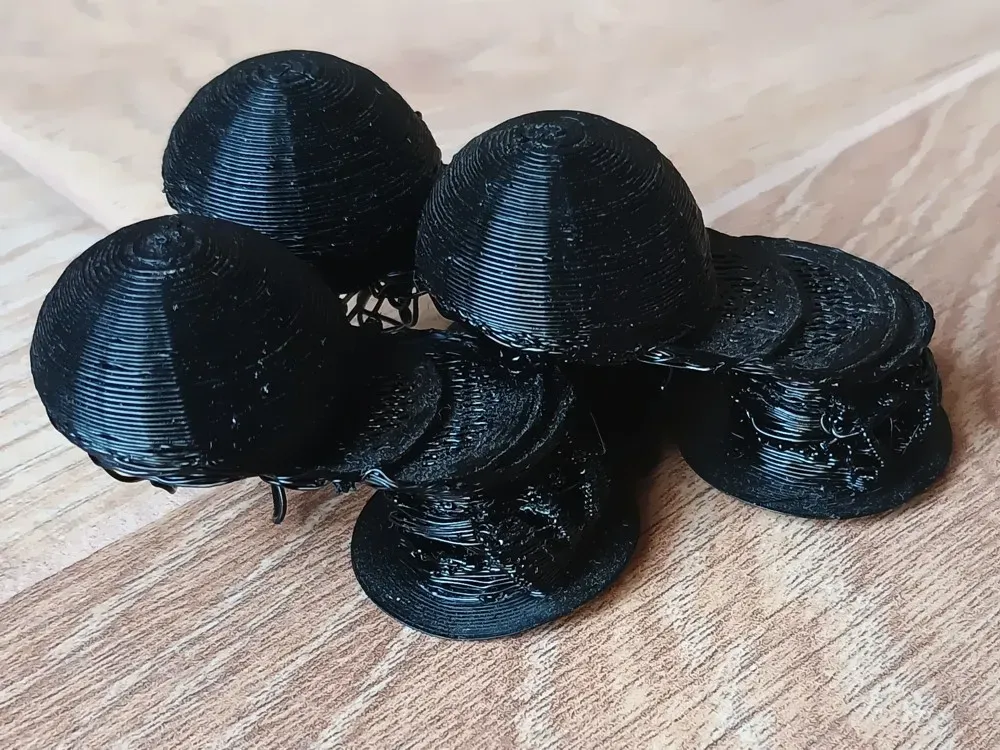 Layer shifting: the layers jump sideways part way up the print.Photo: A7N8X ·CC BY-SA 4.0 ·Wikimedia Commons
Staying safe
- Put the printer in a ventilated room. Use an enclosure and extraction for ABS, ASA or resin.
- The nozzle reaches over 200 °C and the bed around 60 °C. Keep fingers clear while printing.
- Keep a smoke detector in the room, and buy printers from established brands with thermal runaway protection.
- Keep small children and pets away from moving parts.
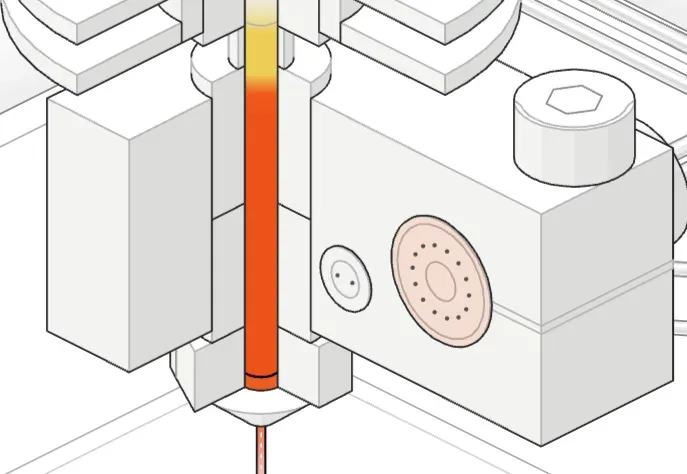 The heater block holds the heater cartridge and the thermistor.
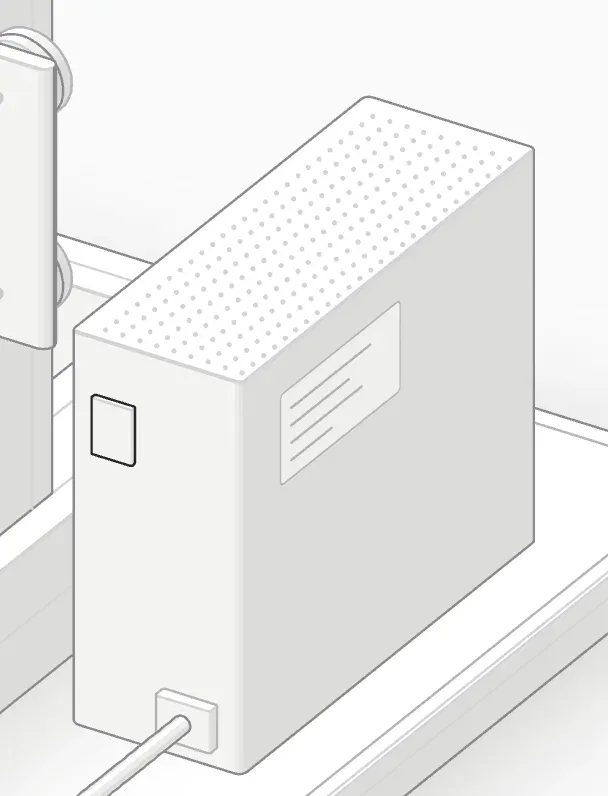 The power supply turns mains power into 24 V for motors and heaters.
- An enclosure keeps heat in for ABS and ASA.Photo: -stk ·CC BY-SA 4.0 ·Wikimedia Commons
Your first week
| Day | Do this |
|---|---|
| 1 | Set up, clean the plate, level the bed, print the included test file |
| 2 | Print a calibration cube and check it with calipers |
| 3 | Print a Benchy and look at its overhangs and bridges |
| 4 | Slice your first downloaded model with the default profile |
| 5 | Change one setting (infill or layer height) and compare |
| 6 | Print something useful for your home |
| 7 | Read up on the first fault you hit, and fix one thing at a time |
FAQ
What is the best 3D printer for beginners?
The best beginner printer is an FDM printer from an established brand with automatic bed leveling, a flexible PEI plate and good slicer profiles. Those three features matter more than speed or build size for a first printer.
Is 3D printing hard to learn?
No. Most people get a good first print in an afternoon with a modern printer and its test file. Fixing problems takes longer, which is why it helps to understand what each part of the machine does.
What filament should a beginner use?
PLA. It prints at low temperatures, barely warps and hardly smells, so it forgives most mistakes.
How long does a 3D print take?
From a few minutes to a day or more. Size, layer height and infill decide it: a 20 mm calibration cube is a short print on most printers, while a large model can run overnight.
Do I need to know 3D modelling?
No. You can print millions of free models from sites like Printables, MakerWorld and Thingiverse. Learning a simple tool like Tinkercad later lets you design your own parts.
Is 3D printing safe at home?
Yes, with care. Use a ventilated room, keep fingers away from the hot nozzle and bed, watch the first layer and early long prints, and keep a smoke detector nearby.
Why won’t my first print stick to the bed?
Usually a dirty plate or a nozzle set too high. Clean the plate with isopropyl alcohol, then lower the Z offset in small steps until the first lines are slightly squished.
FDM or resin for a beginner?
FDM, unless you only want tabletop miniatures. It’s cleaner, cheaper to run and better for useful parts.
Where to go next
- Learn what every part of your machine does: parts of a 3D printer explained.
- Get the first layer right: how to level your bed and what Z offset is.
- Fix the most common print fault: how to fix stringing.