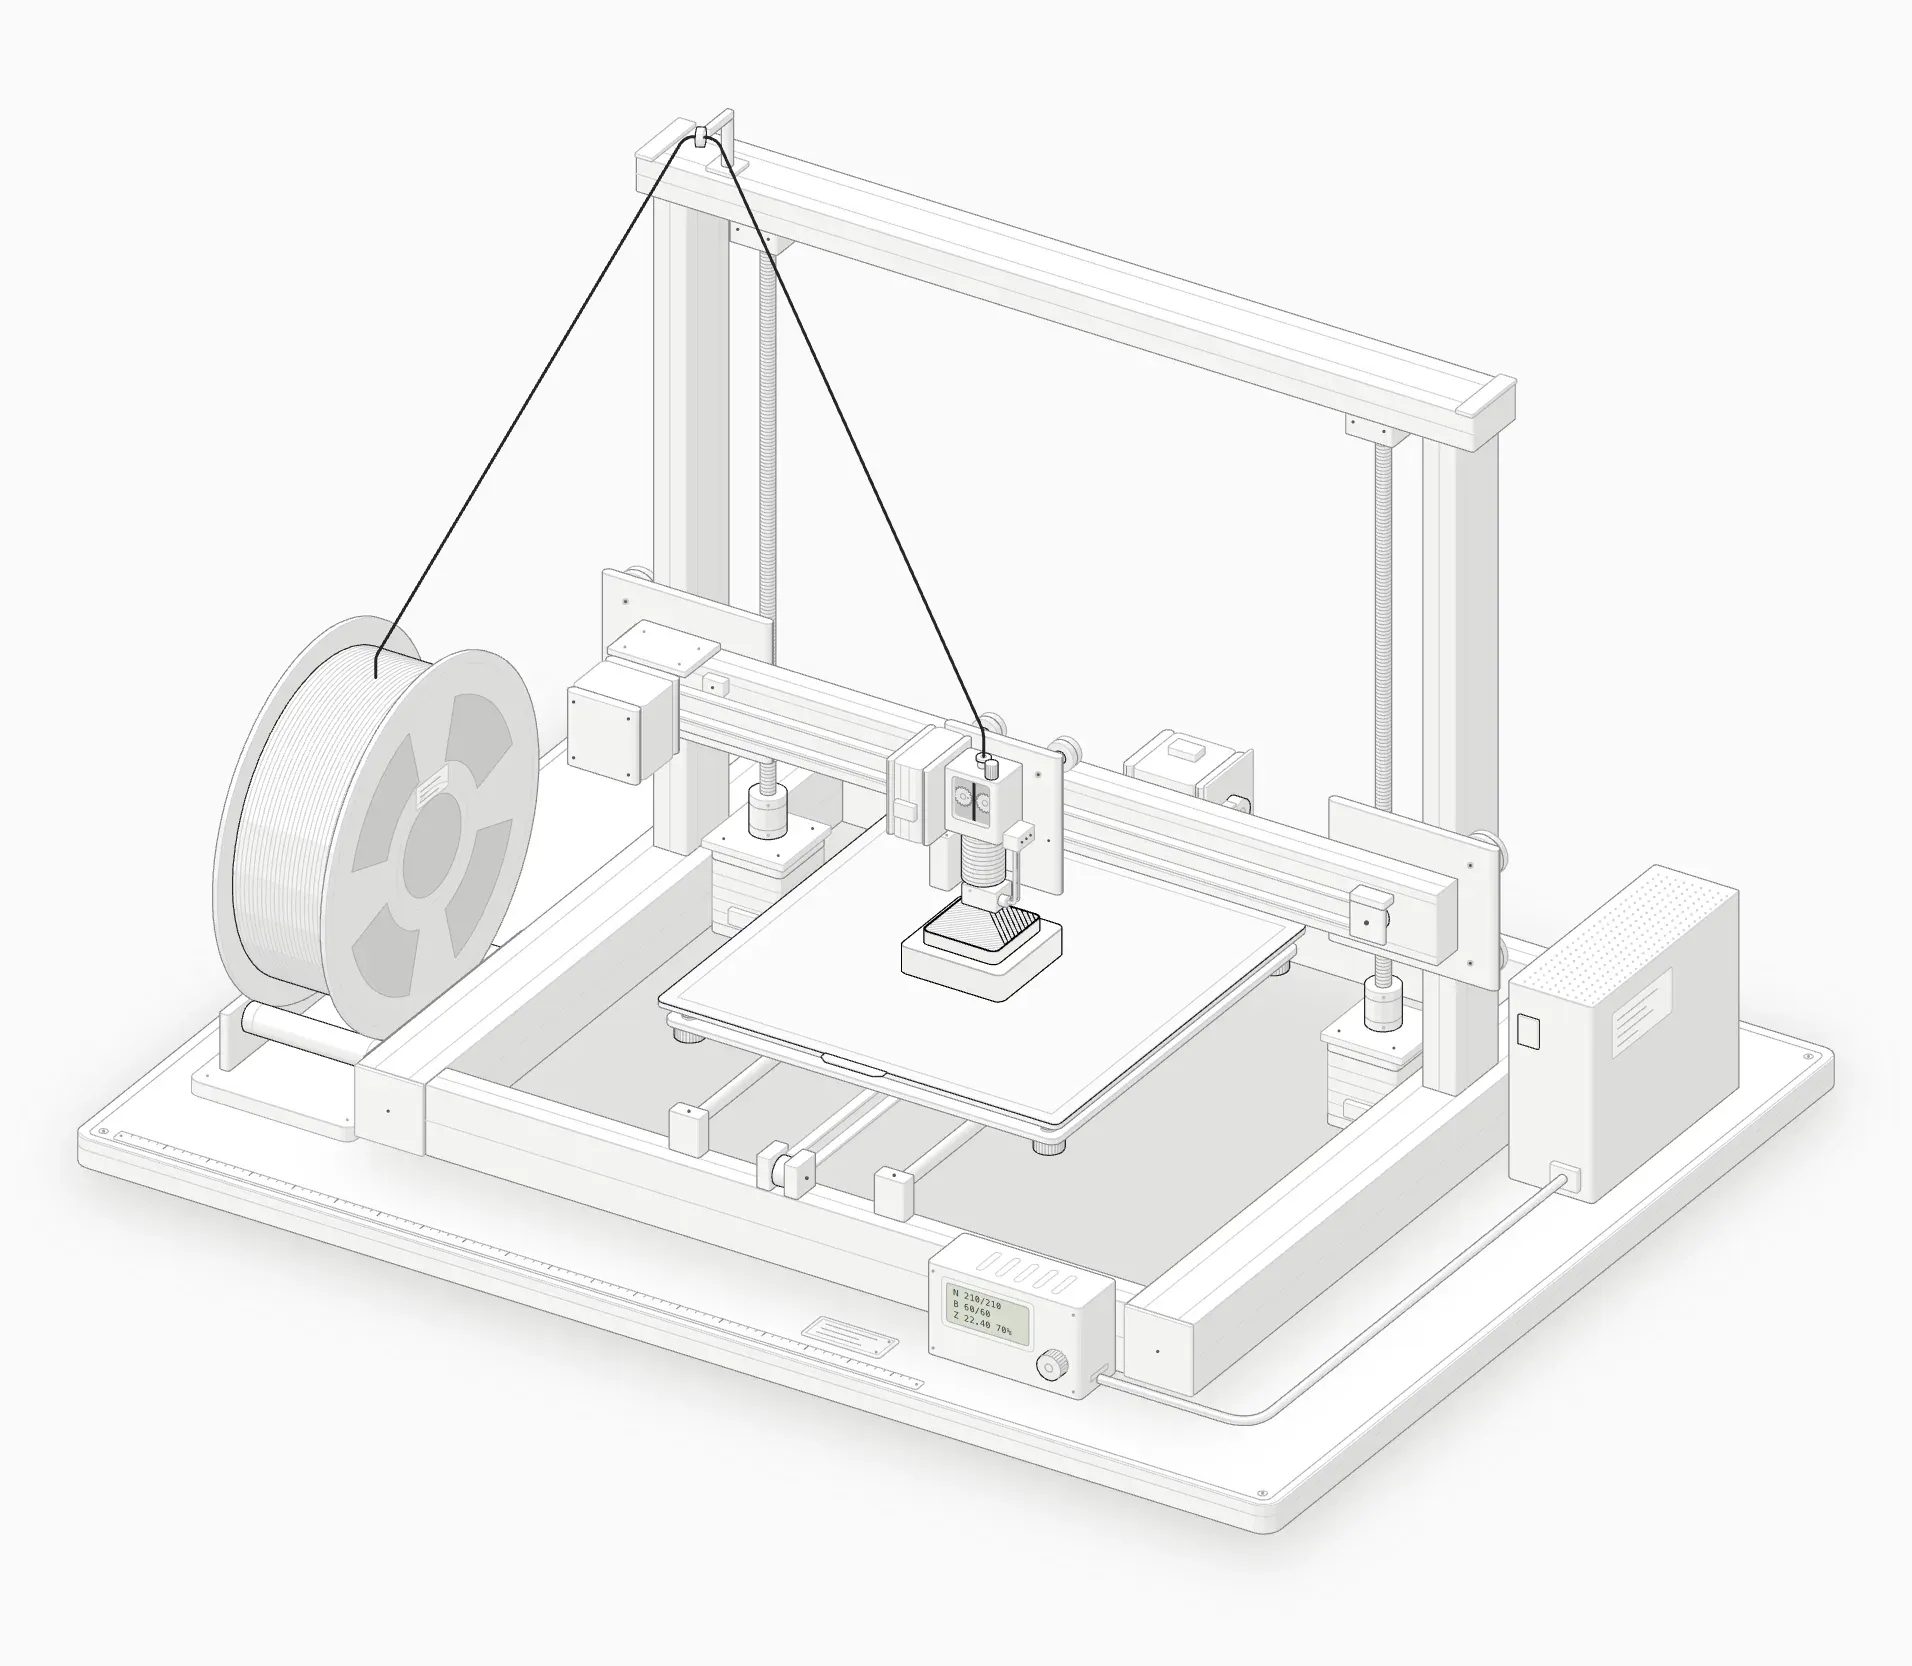
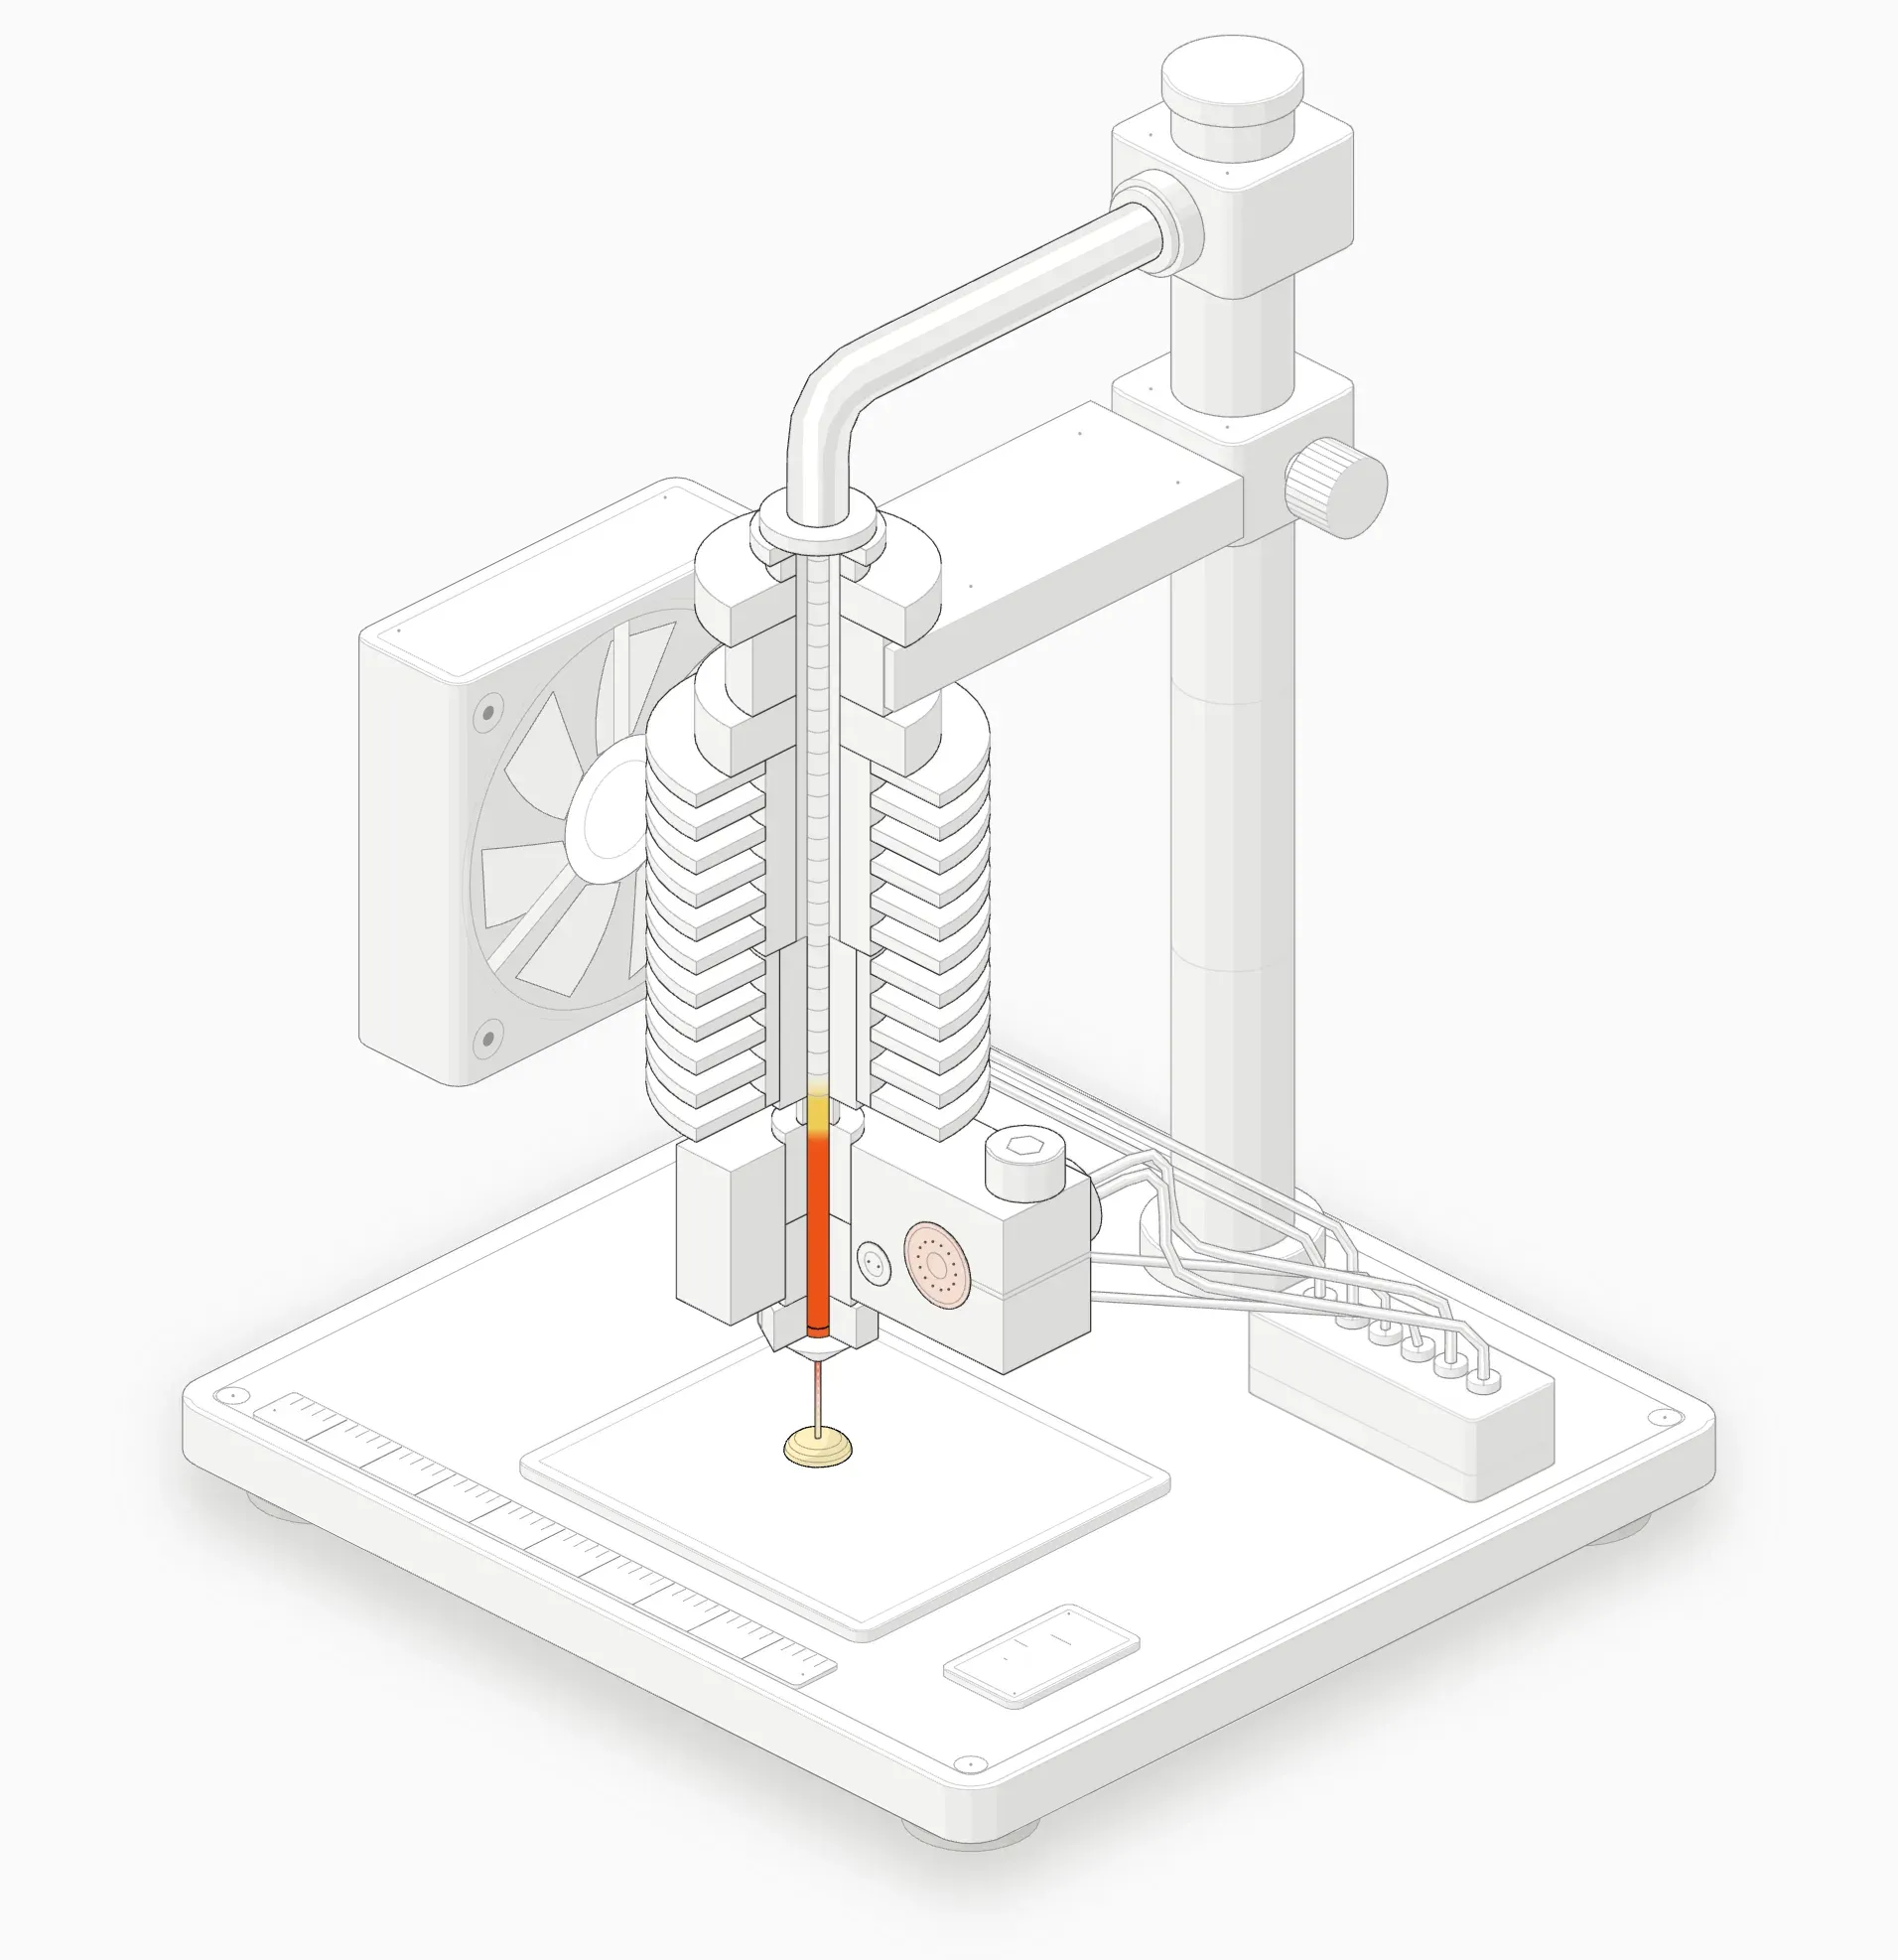
How to Level a 3D Printer Bed: Manual and Auto, Step by Step
How to level a 3D printer bed by hand with the paper test, how auto bed leveling and mesh compensation work, and what to do when it still fails.
Leveling a 3D printer bed means making the gap between nozzle and bed the same everywhere the nozzle can reach. On a printer with corner knobs you set it by hand with the paper test; on a printer with a probe, the printer measures the bed and compensates for you, and you only fine-tune the Z offset.
This guide covers both, how to tell a leveling problem from a Z offset problem, the exact menu or command on common printers, and what to check when the first layer still won’t come out even.
Quick checklist
- Heat the bed and nozzle to printing temperature first.
- Clean the nozzle so no plastic blob throws off the measurement.
- Home the printer, then move the nozzle over each corner in turn.
- Adjust each knob until a sheet of paper drags slightly under the nozzle.
- Go round all four corners again, two or three times, then check the centre.
- Probe a mesh if your printer has a probe, and re-probe after any knob turn.
- Print a first-layer test and adjust the Z offset if it’s equally wrong everywhere.
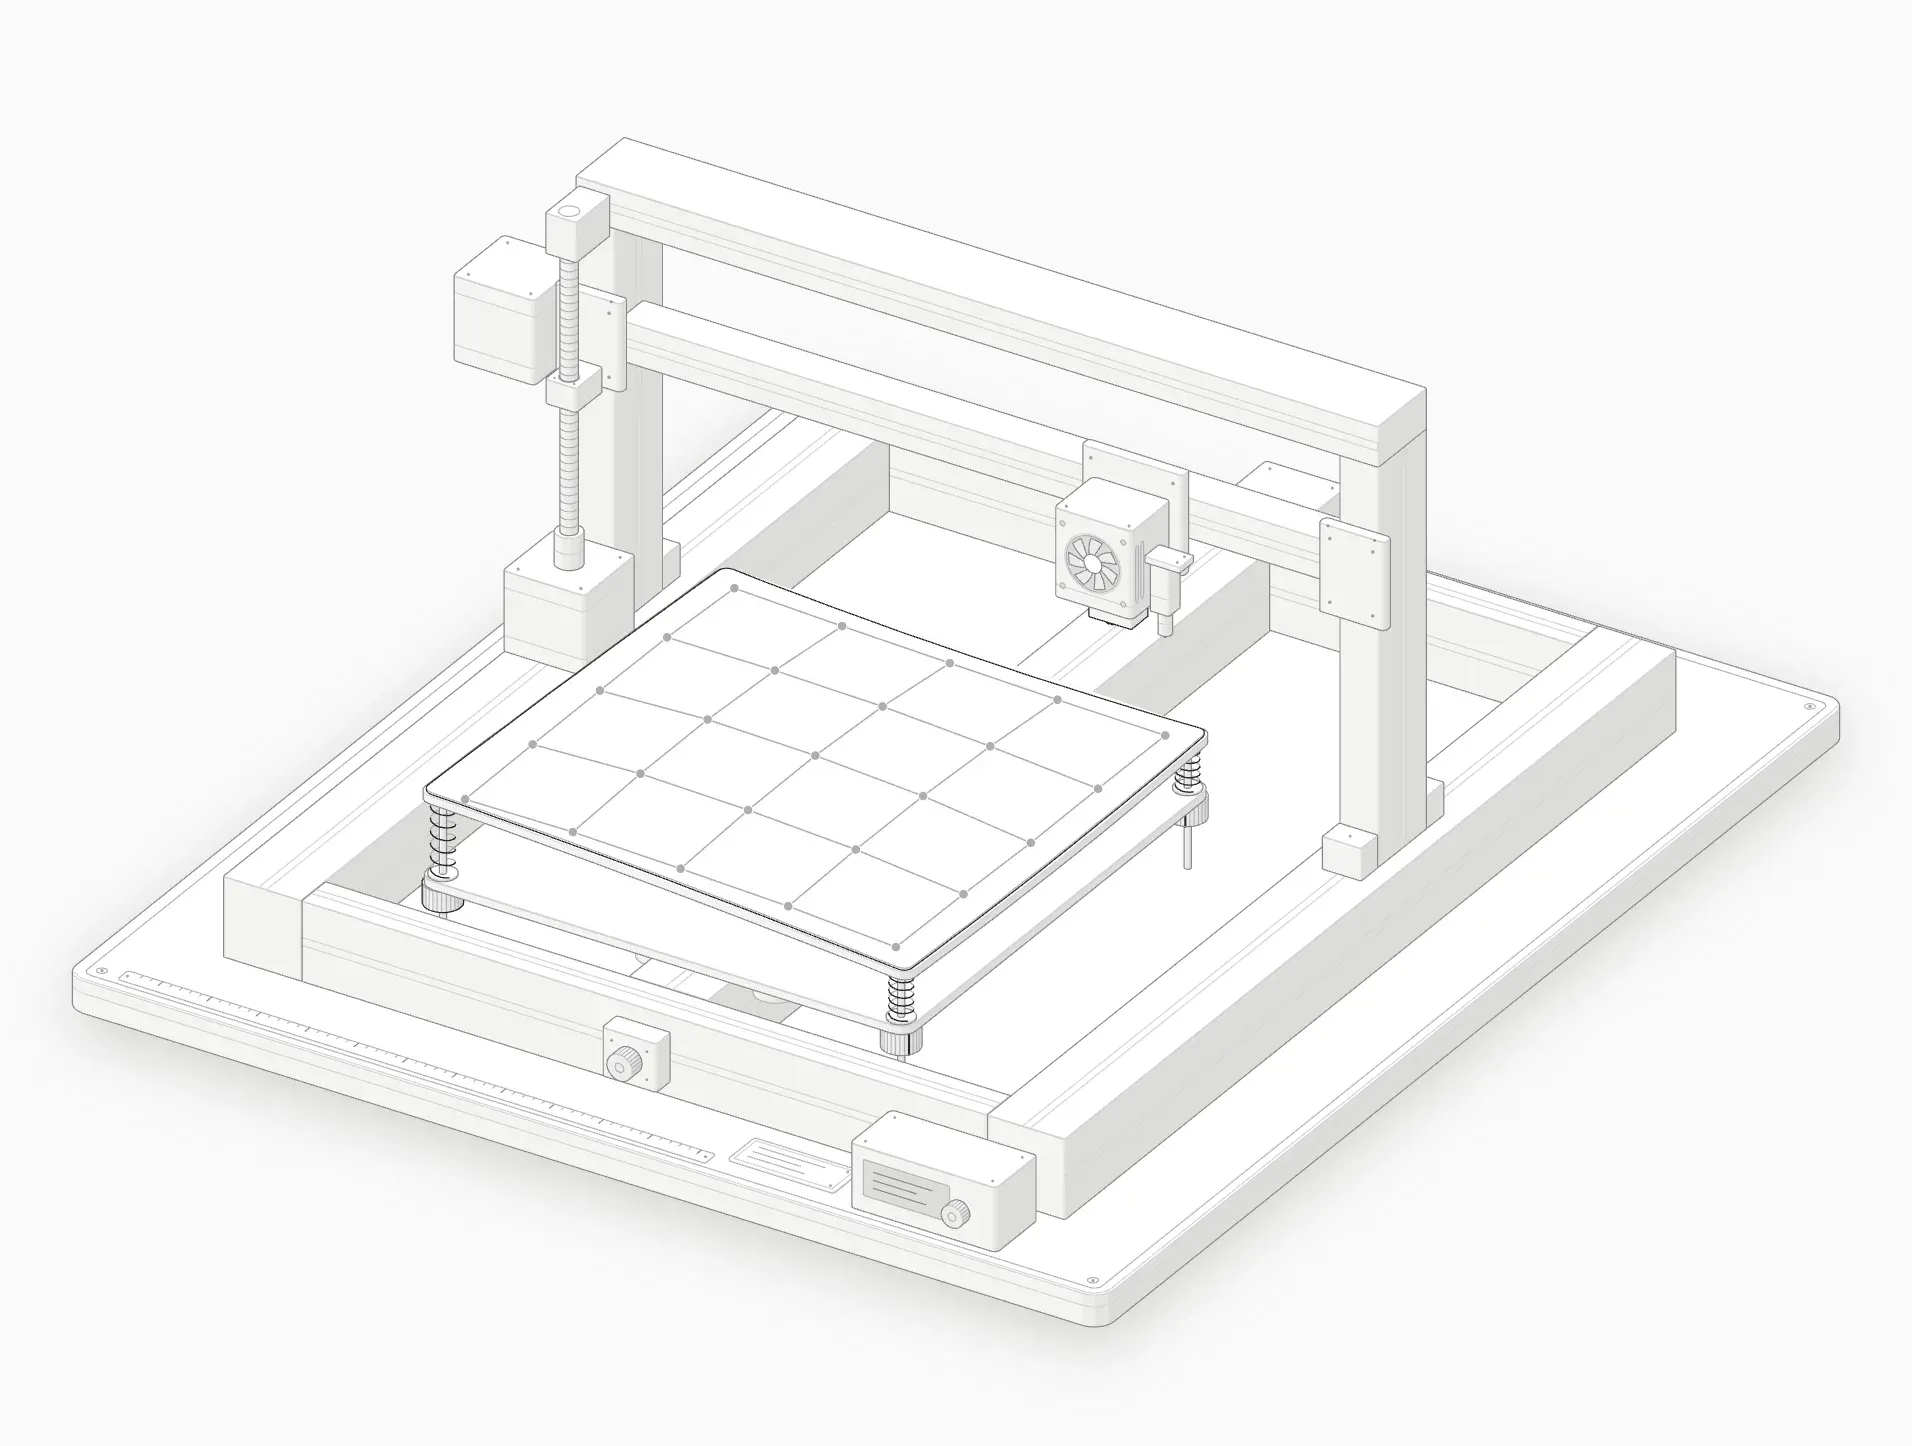
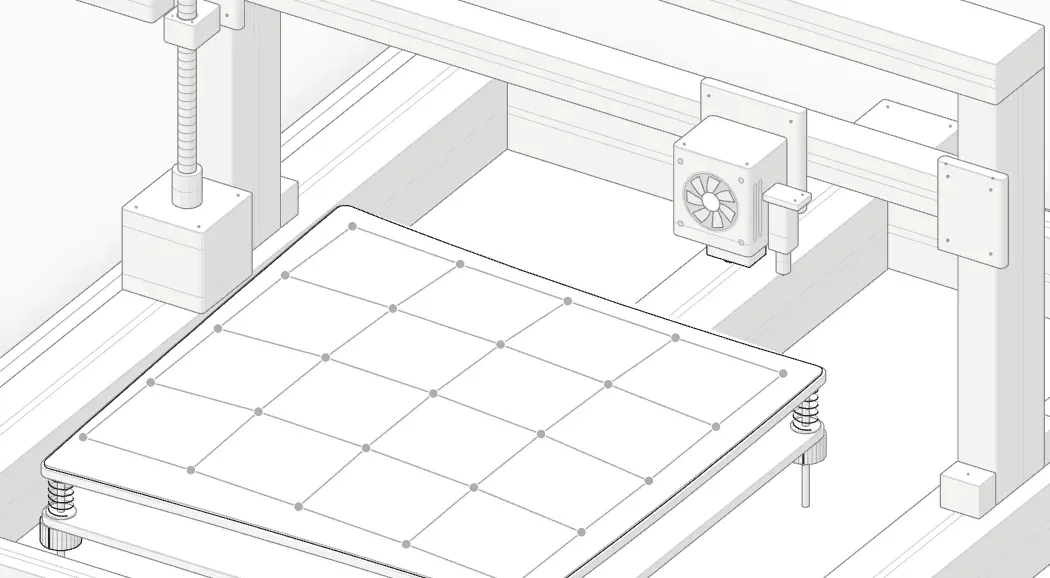
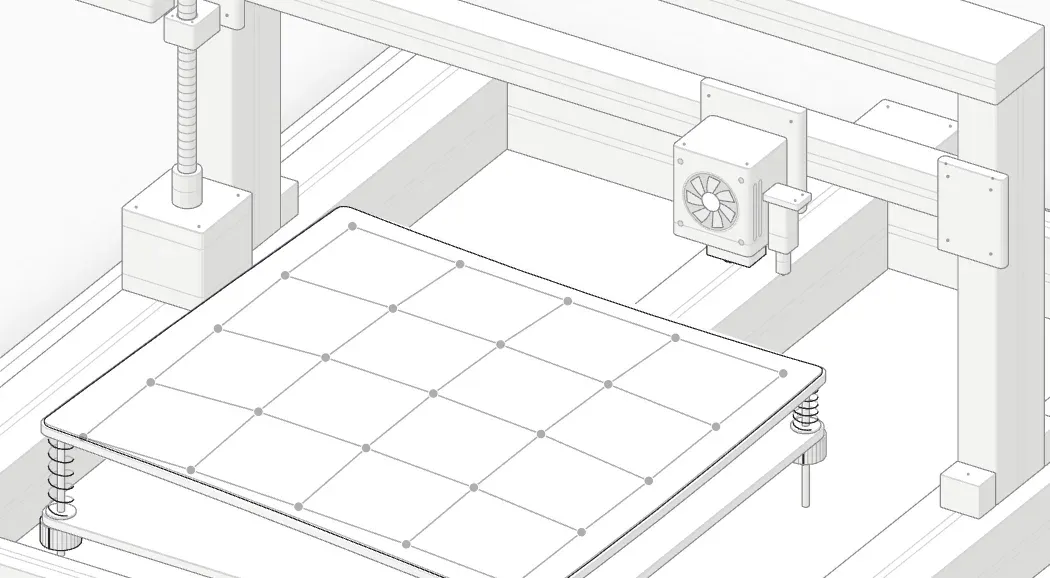
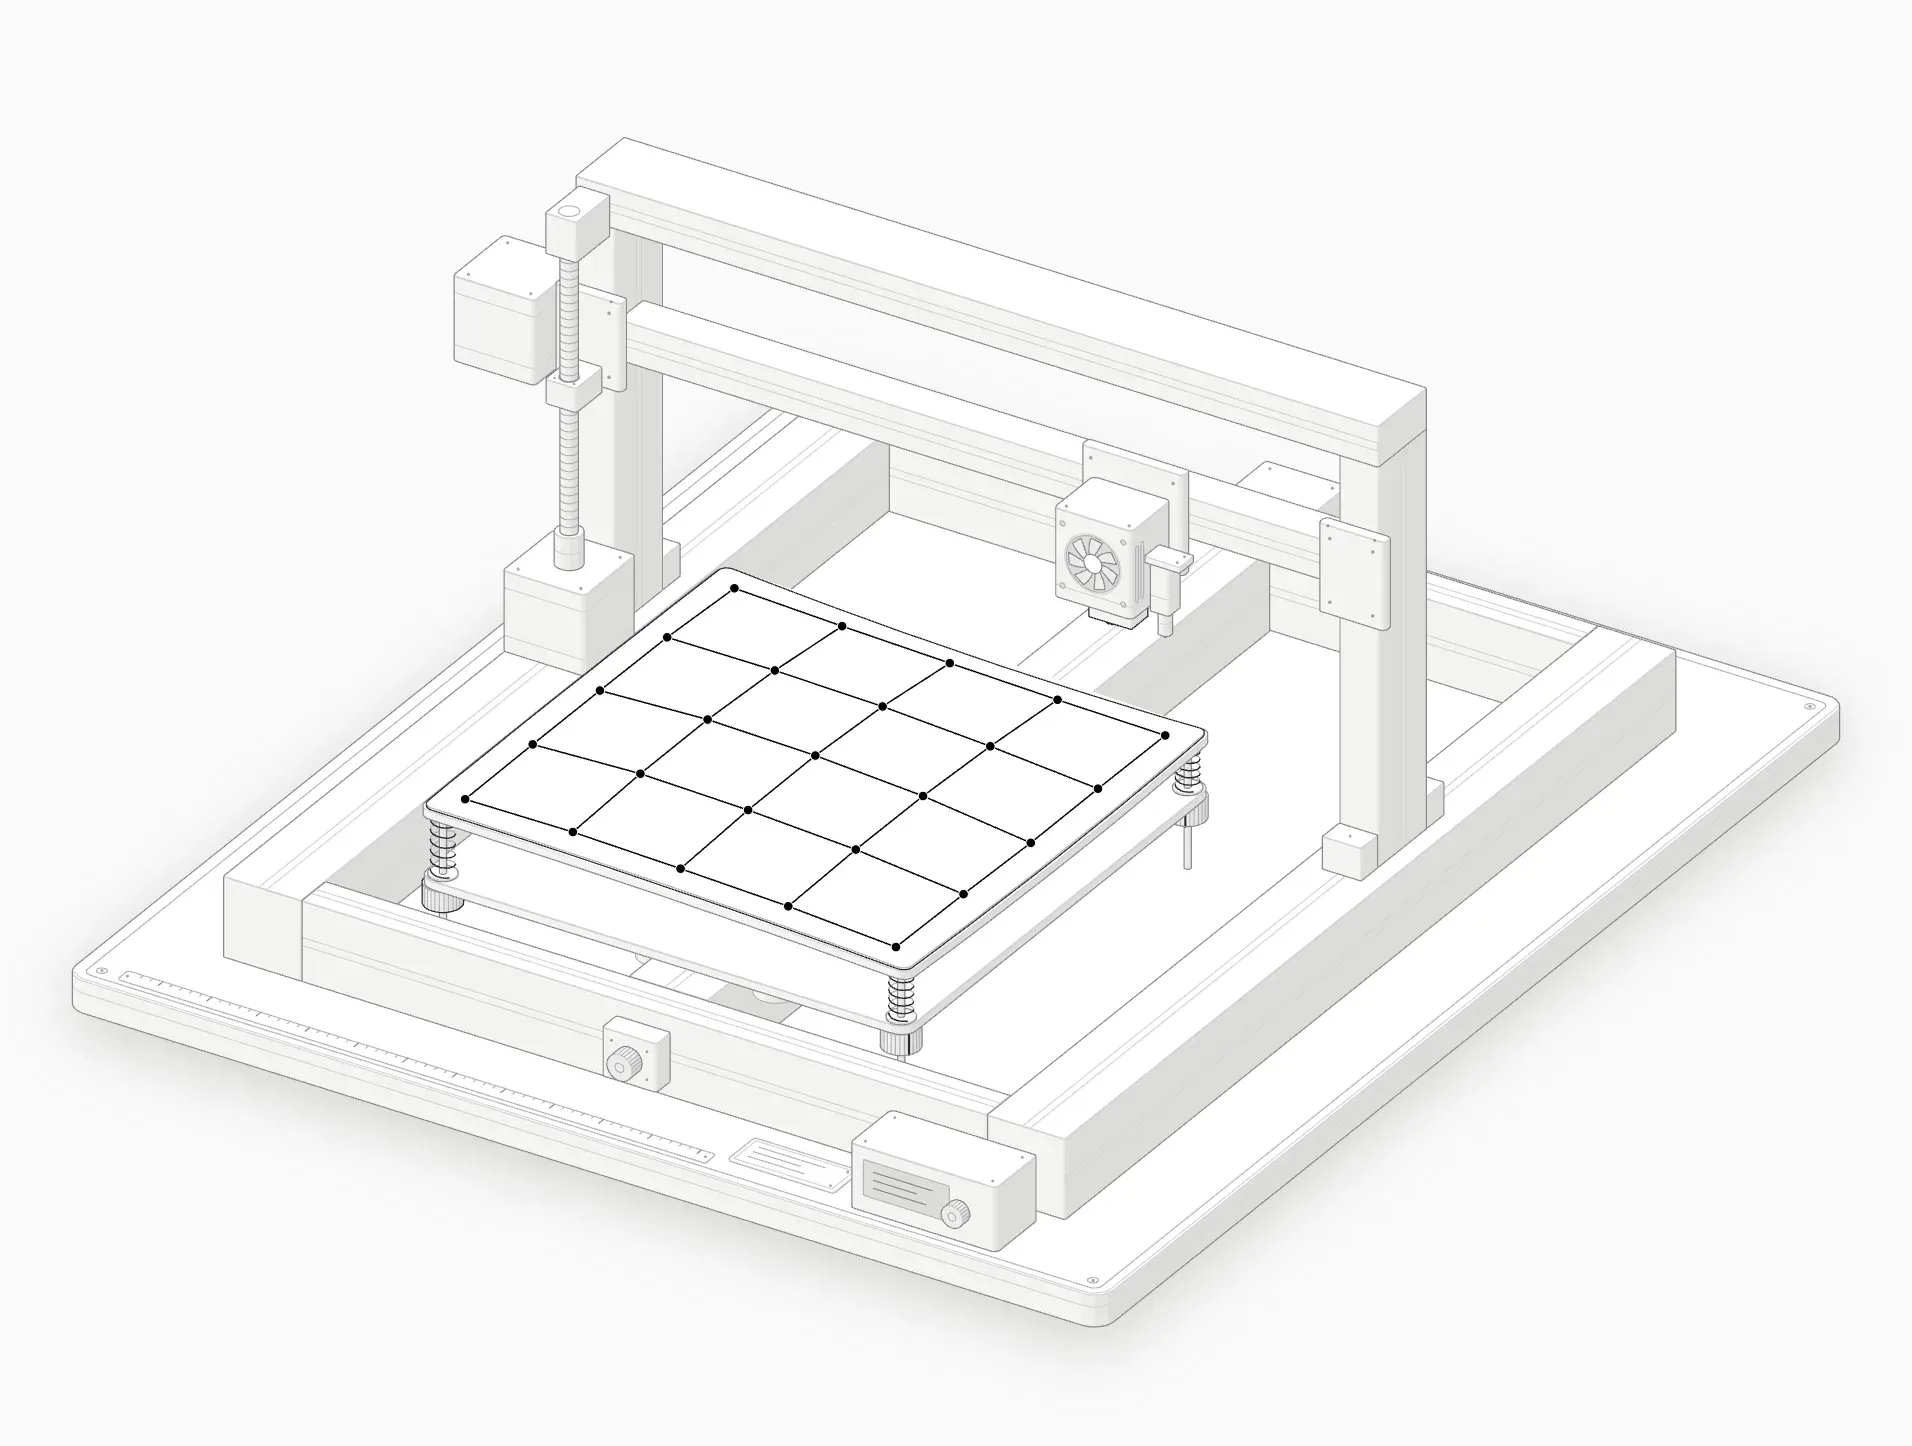 A probed 5 × 5 mesh across the bed.
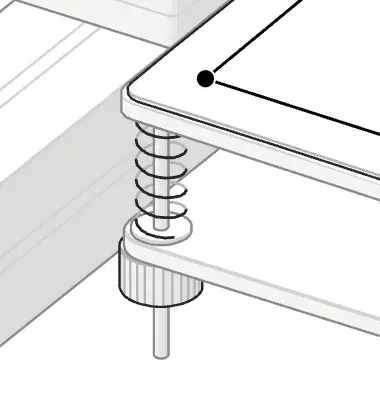 A corner spring and knob: about half a millimetre per full turn.
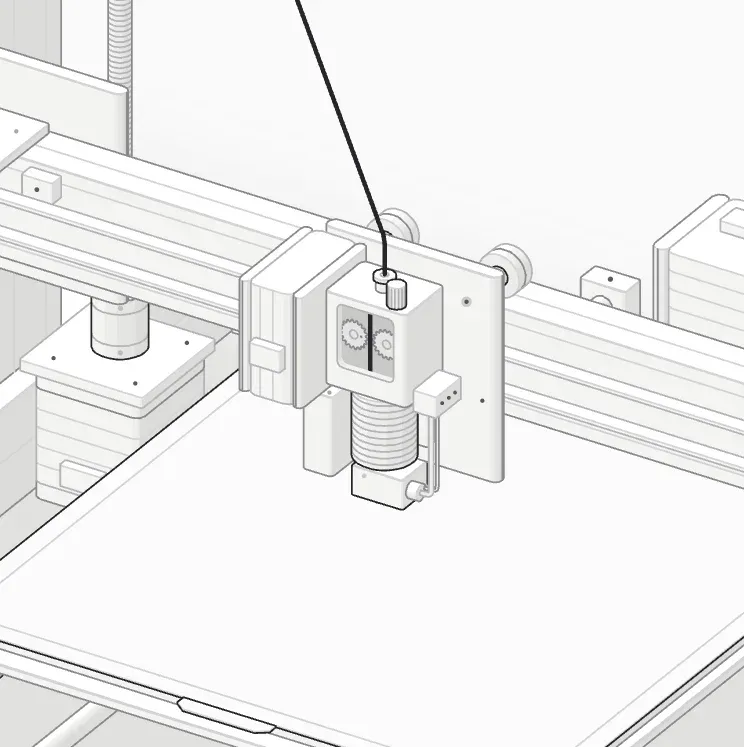
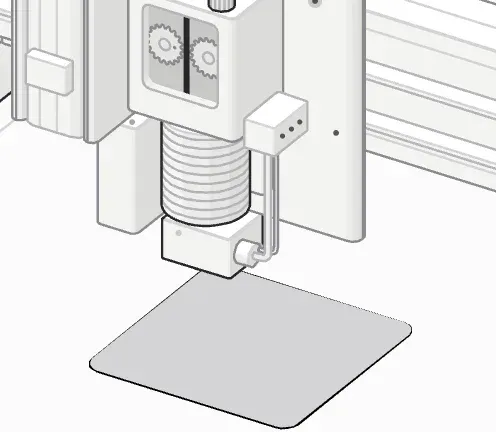
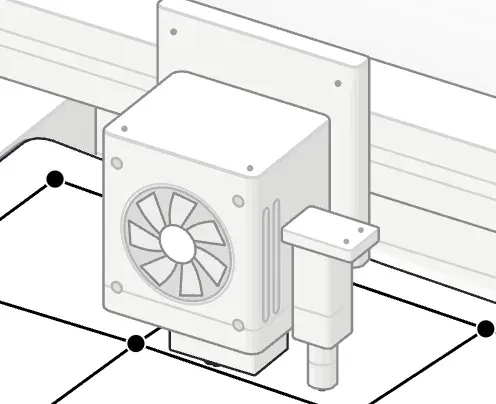 A touch probe sits beside the nozzle and taps the bed.
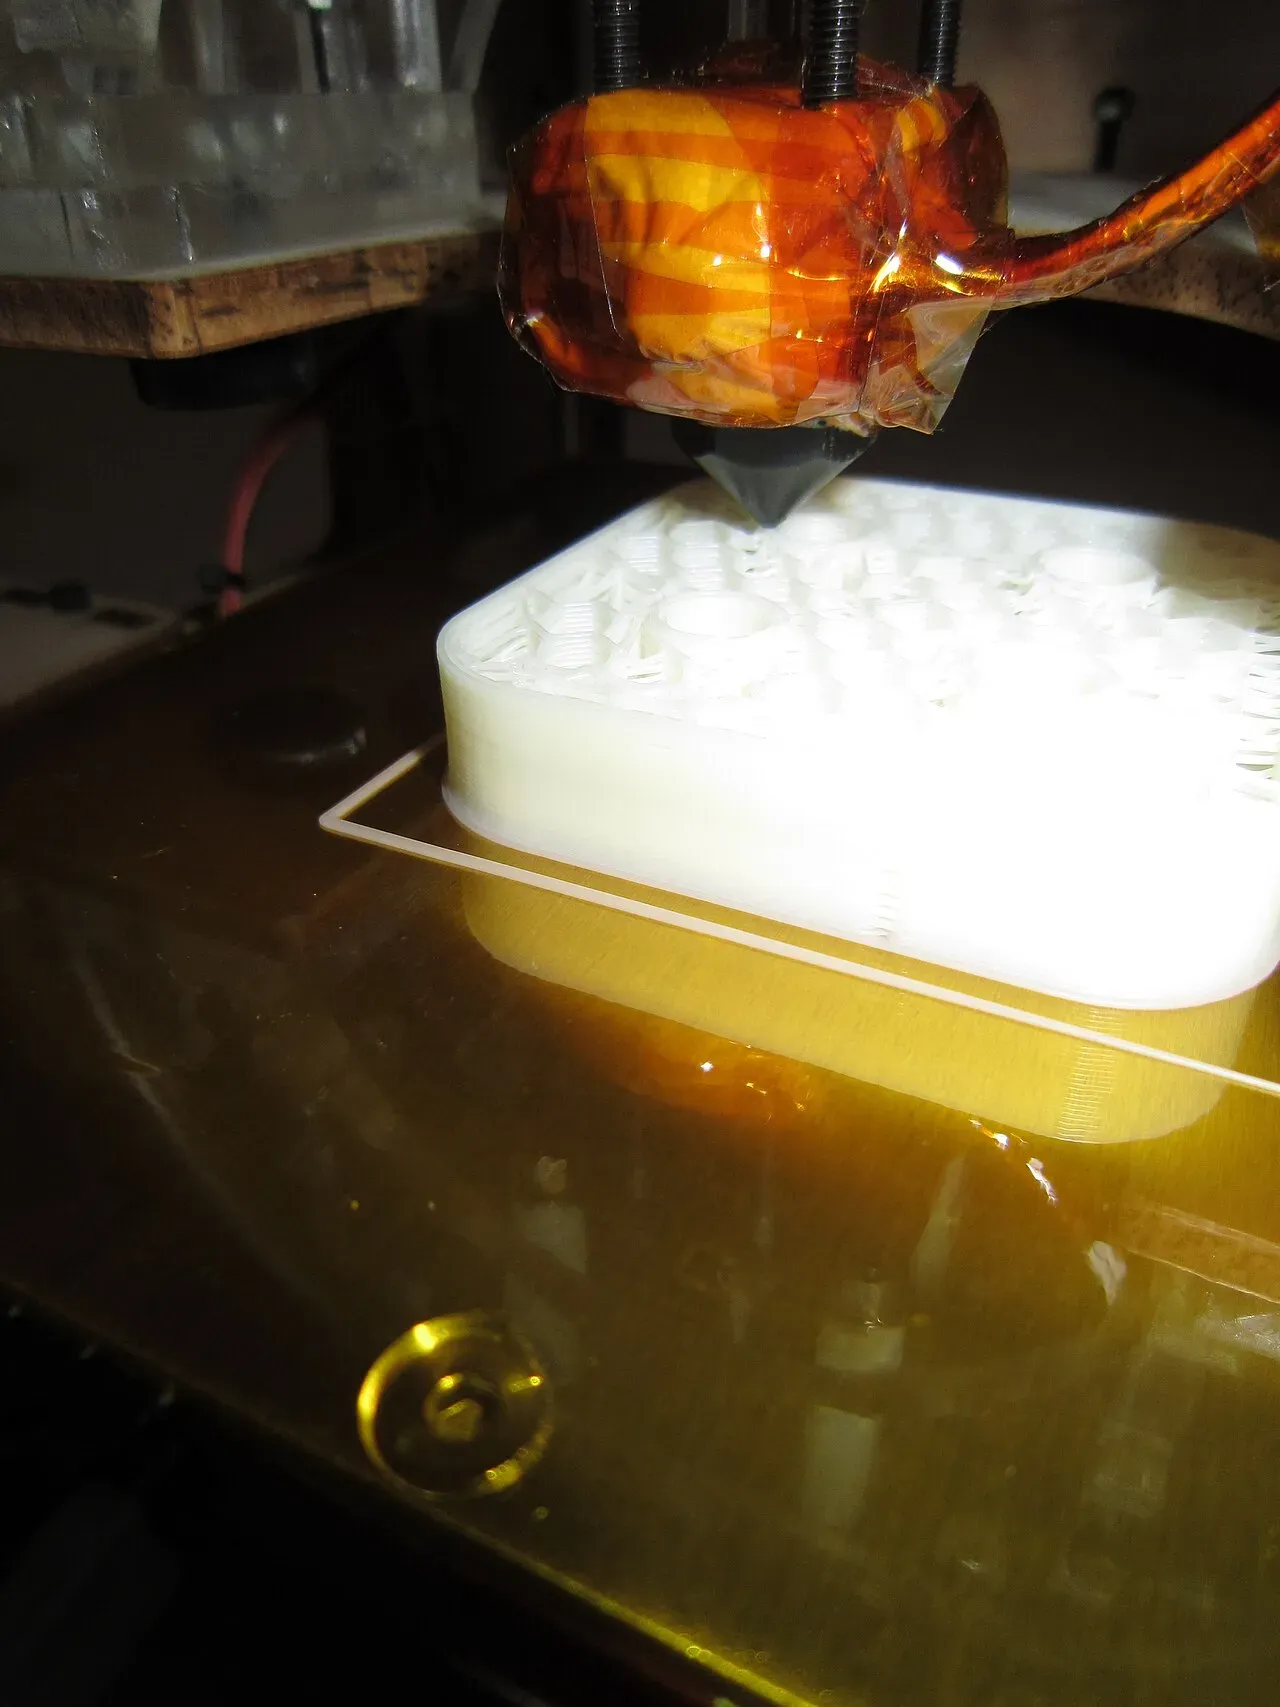 The first layers going down on a heated bed.Photo: syvwlch ·CC BY 2.0 ·Wikimedia Commons
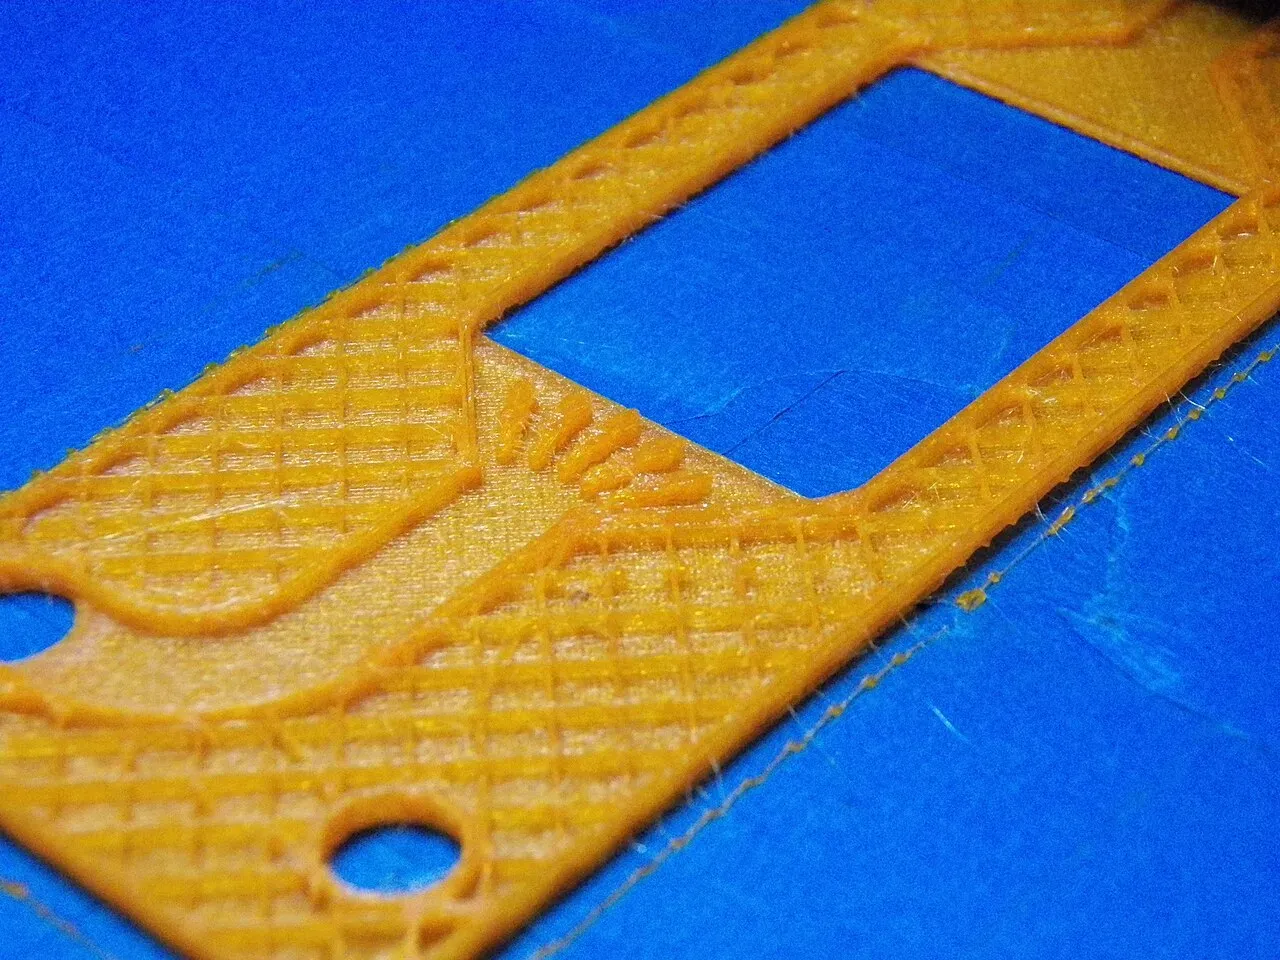 A first layer close up: lines pressed together on the bed.Photo: hdaniel ·CC BY-SA 2.0 ·Wikimedia Commons
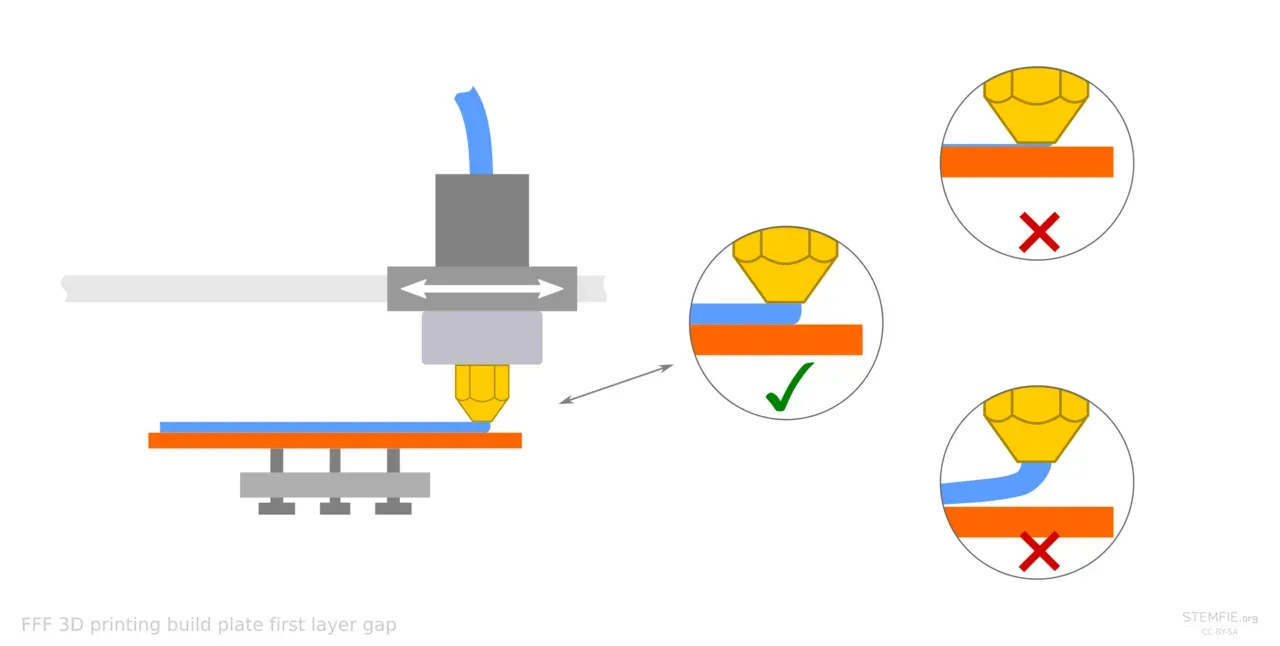 Nozzle height decides the first layer: too close, just right, too far.Photo: Stemfie3D ·CC BY-SA 4.0 ·Wikimedia Commons
What bed leveling is (and isn’t)
“Level” doesn’t mean level with the floor. It means the bed is the same distance from the nozzle everywhere the nozzle can go. A printer standing on a slightly sloping table can still be perfectly leveled.
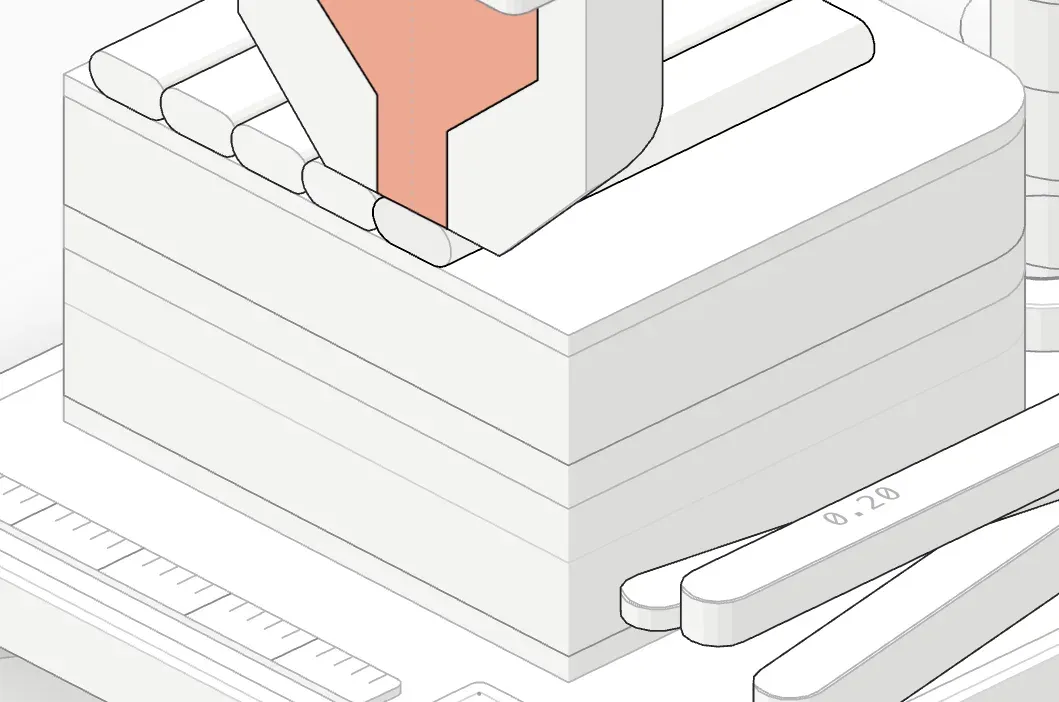
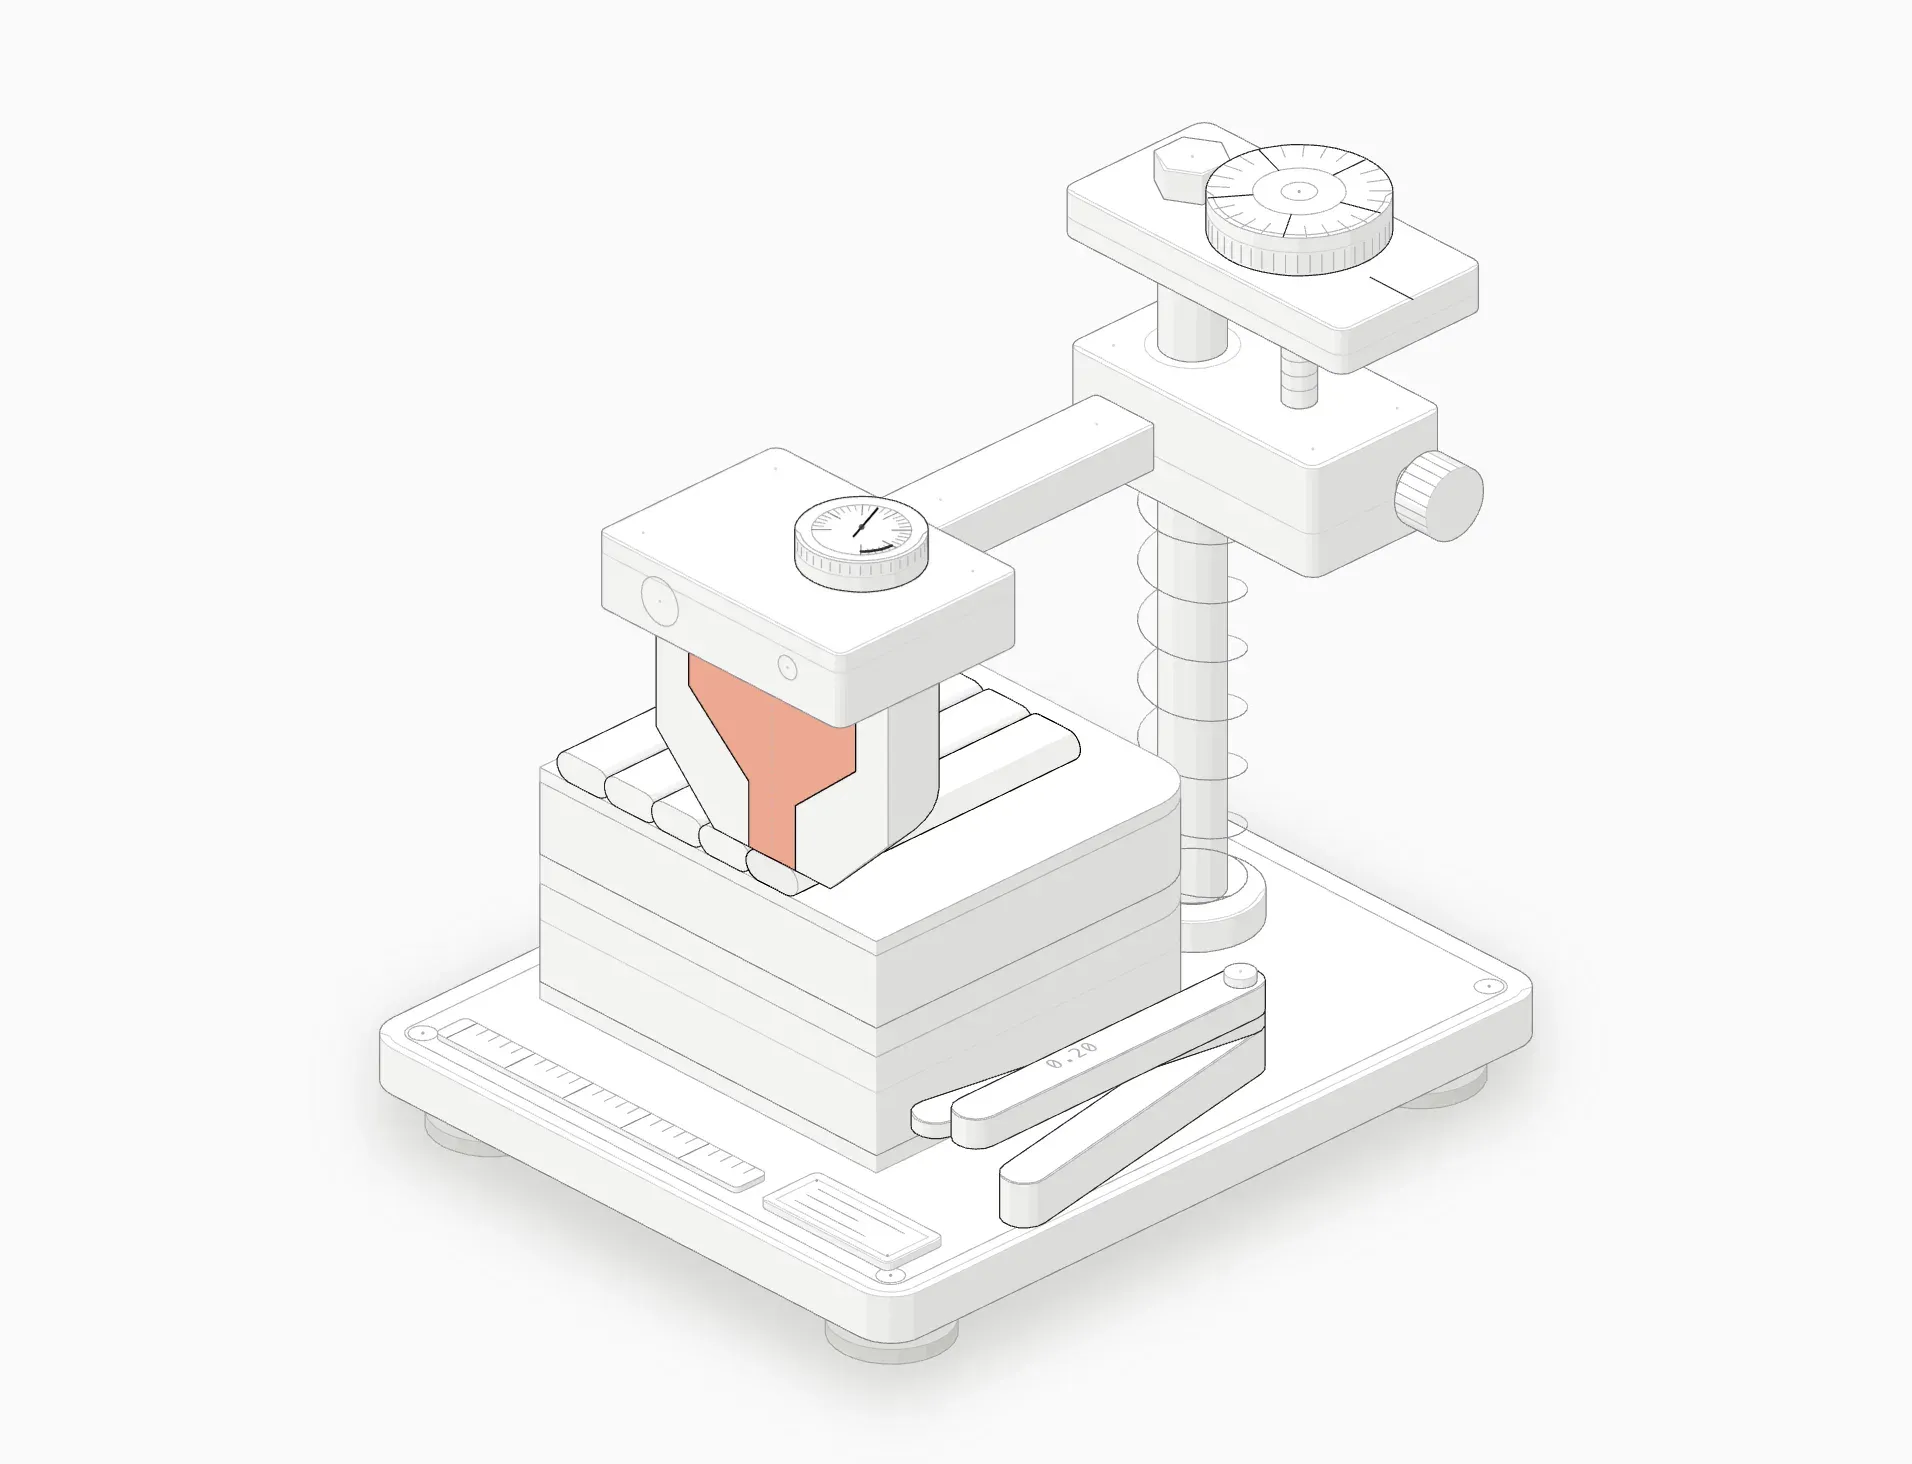
The first layer is only about 0.2 mm thick. If one corner is a tenth of a millimetre further away than the others, the first layer there is half as squished, and it won’t stick.
Four related terms
- Tramming: making the bed parallel to the nozzle’s path by adjusting the corner knobs or screws. Many people call this “manual leveling”.11Tramming is the machinist’s word for making two surfaces parallel. Forums and manuals use “tramming” and “leveling” interchangeably.
- Mesh leveling: the printer probes a grid of points and builds a height map, then raises and lowers the nozzle slightly as it prints to follow it.
- Z offset: the single number that sets how big the gap is. Leveling makes it the same everywhere; Z offset makes it the right size. See what Z offset is.
- Auto bed leveling (ABL): the probe plus mesh system. It compensates for a bed that isn’t flat, but it can’t fix a badly tilted one.
 The heated bed with a PEI sheet. The part is the only thing printed on it.
 A print bed in layers: heater, aluminium, magnet, spring steel, PEI.
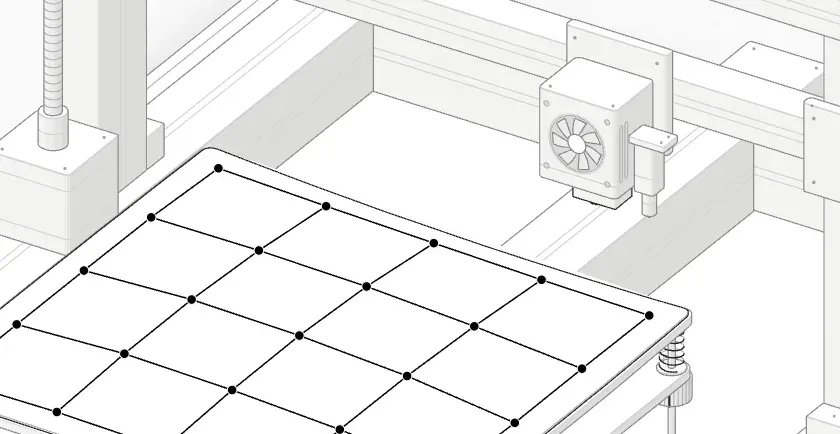 The mesh: 25 measured heights the printer follows on the first layer.
 Z offset right: slightly squished lines that touch.
How it works
mesh 25/25 · range 0.29 mm · corner FL +0.12 mm
- 1–4 pick a corner: FL, FR, BR, BL (or click its knob)
- ← → turn its knob ⅛ turn, 0.06 mm (Shift: ½ turn)
- drag ↔ turn the picked knob
- P probe the 5 × 5 mesh
- Space print a first-layer test
- Home reset
- A probed 5 × 5 mesh across the bed.
 Turn a knob and the old mesh no longer matches the bed. Probe again.
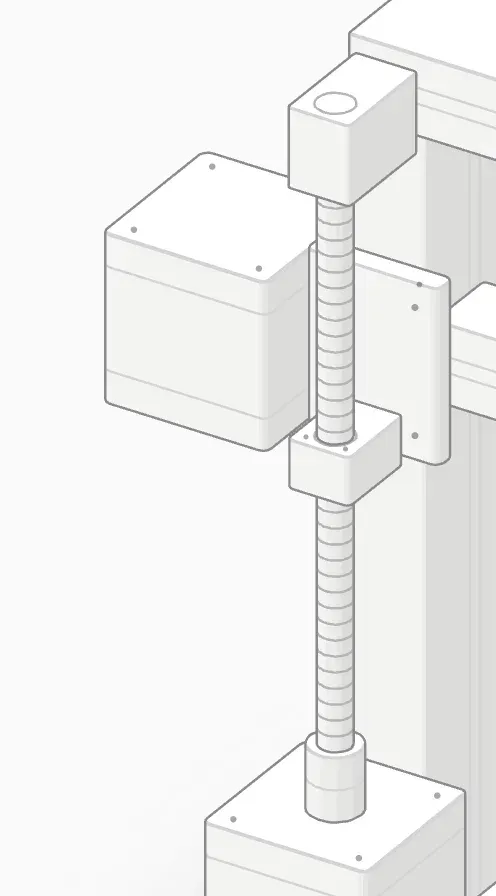 The Z motor and lead screw raise and lower the gantry.
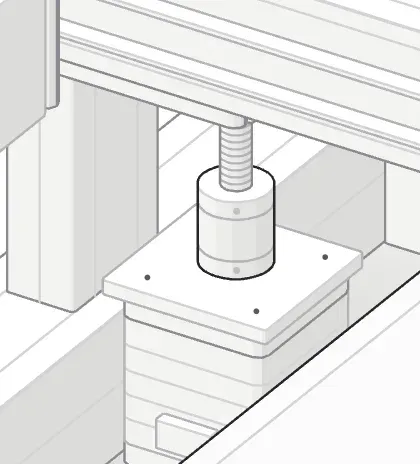 A Z motor turns the lead screw through a coupler.
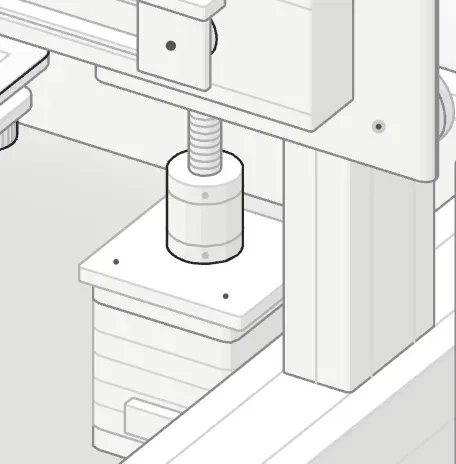 A second Z motor keeps the gantry level on the right side.
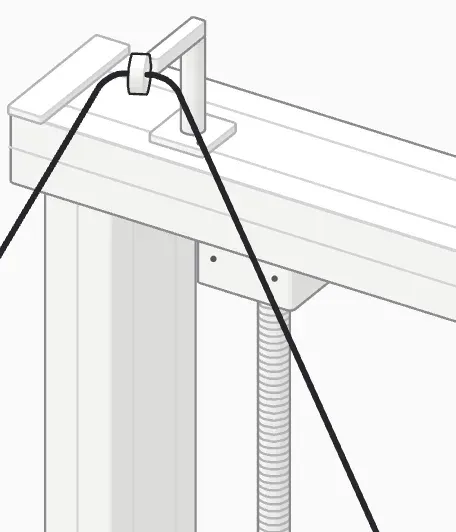 The top of a lead screw, held in a bearing under the frame.
Symptom, cause and fix
| What you see | Most likely cause | Fix | Step |
|---|---|---|---|
| First layer good in one corner, loose or missing in another | Bed not trammed | Adjust that corner’s knob | 2 |
| First layer too squished or too loose everywhere | Z offset, not leveling | Adjust Z offset | 6 |
| Fine at the corners, wrong in the middle | Warped or bowed bed | Use a mesh | 5 |
| Leveling drifts after every few prints | Loose springs or knobs | Stiffer springs or silicone spacers | when it won’t go away |
| Mesh looks fine but the first layer is still uneven | Mesh is out of date | Re-probe, at temperature | 5 |
| One side of the gantry sits higher | Gantry not square (two Z motors out of sync) | Re-sync the Z axis | when it won’t go away |
Step 1: Get ready
- Heat the bed and nozzle to your normal printing temperatures. A hot bed expands slightly, so level it the way you’ll print on it.
- Clean the nozzle. A blob of plastic on the tip throws off every measurement.
- Clean the bed with isopropyl alcohol so nothing sits under the paper.
- Home the printer so it knows where zero is.
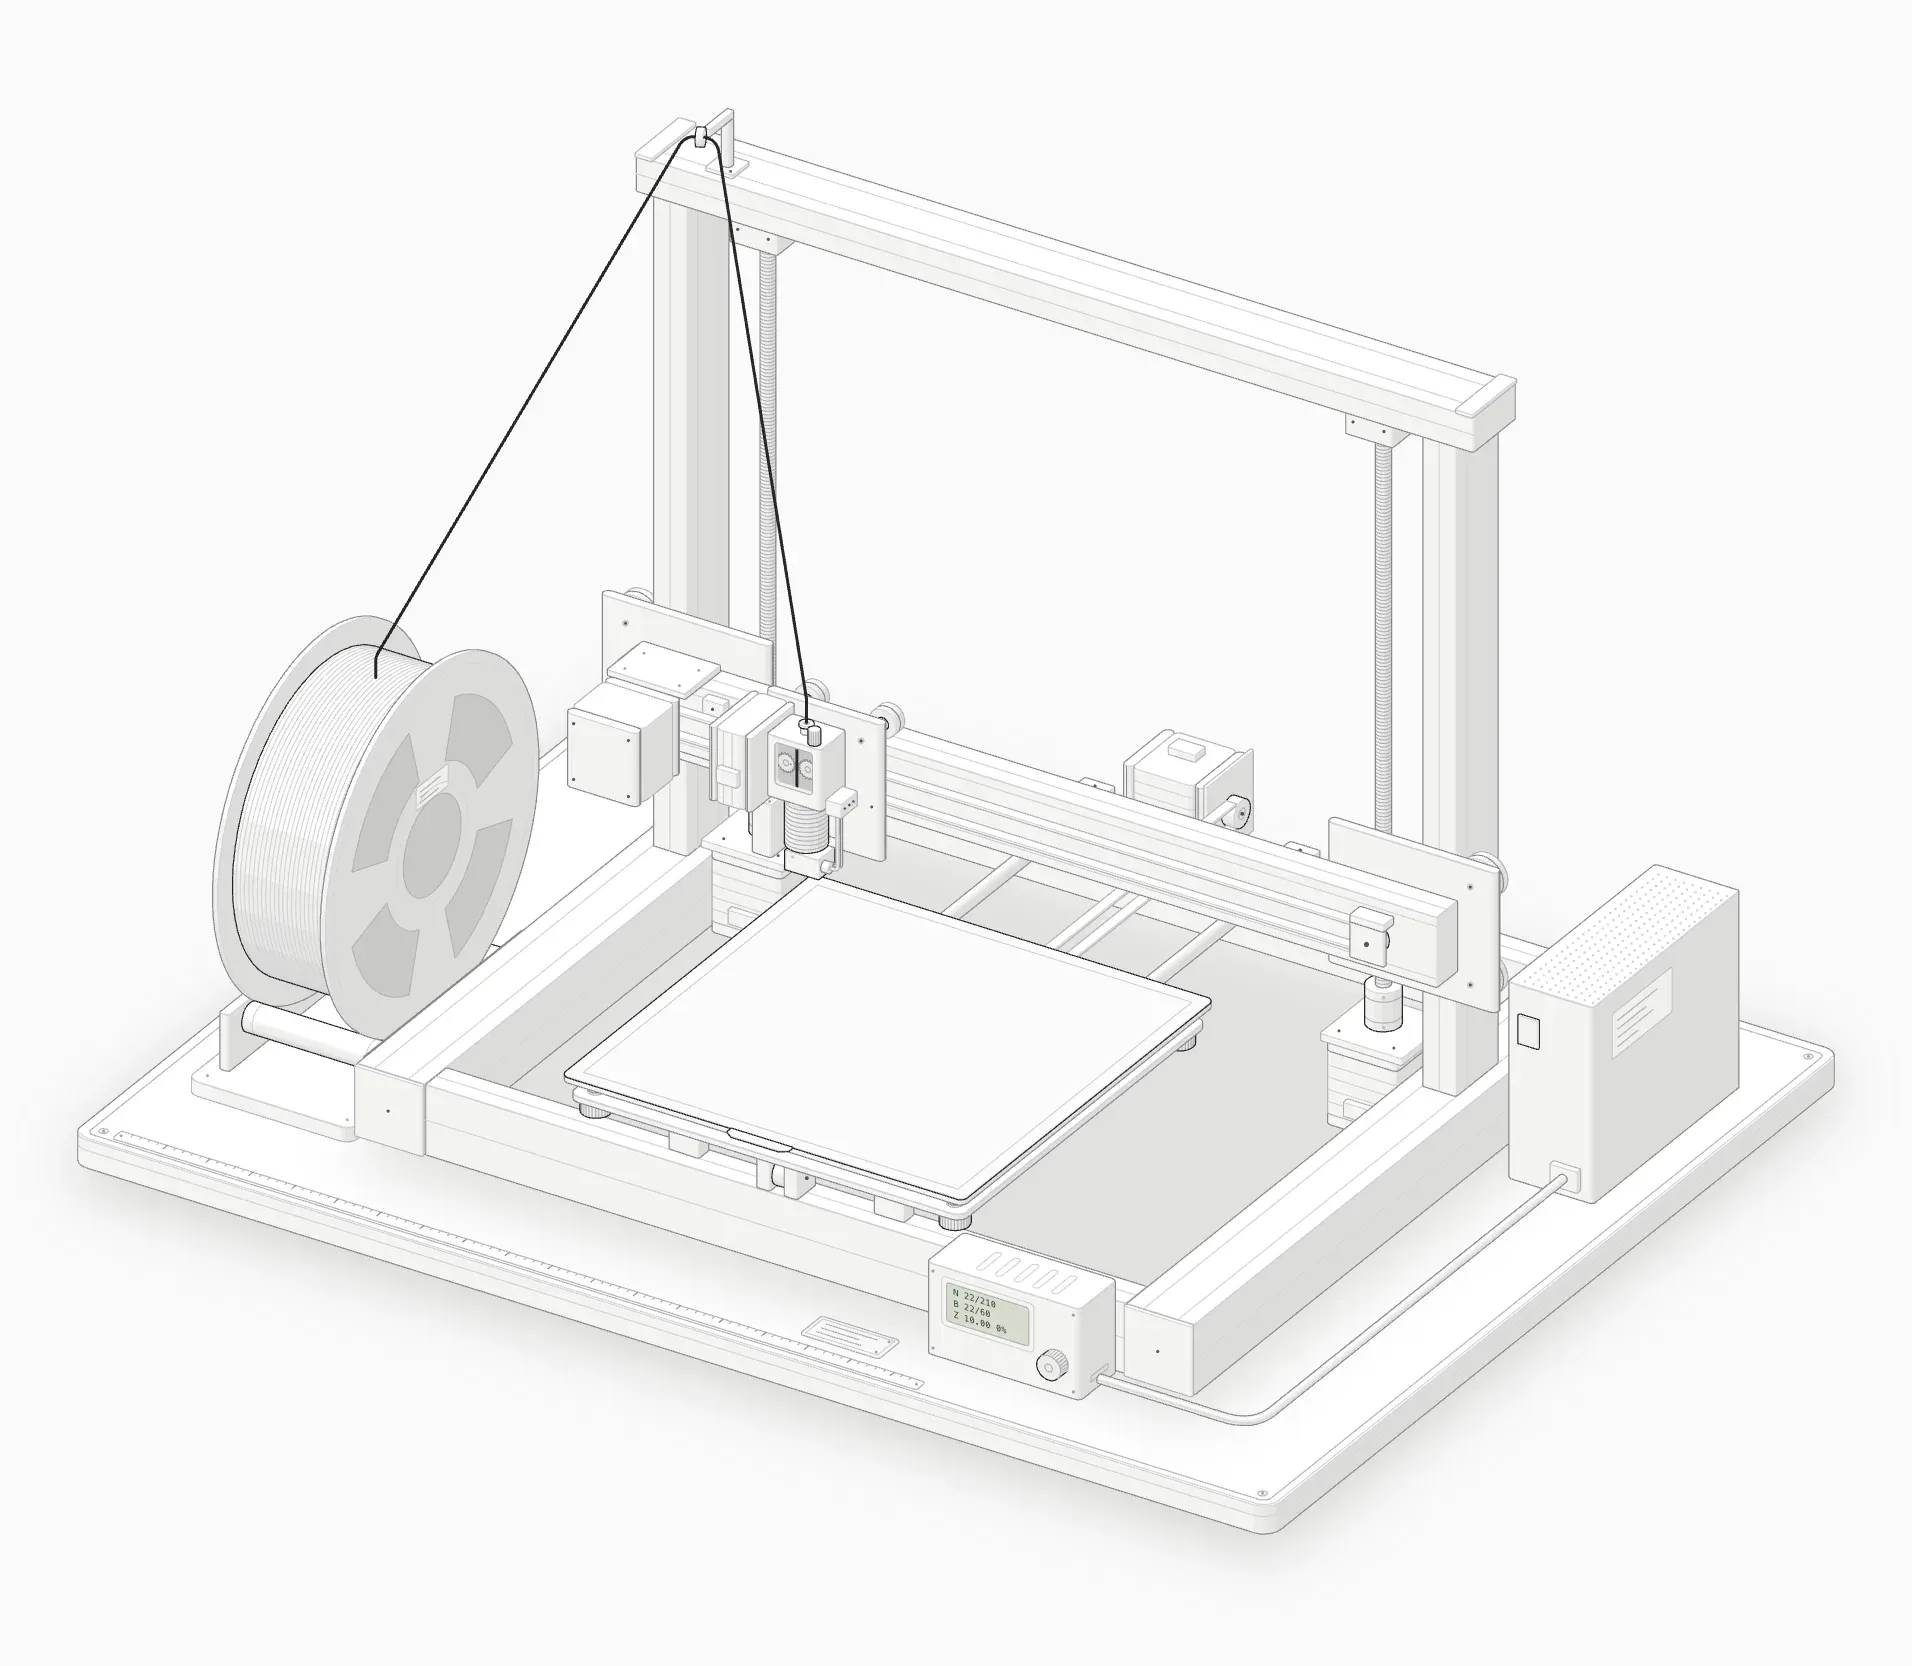 Cold start: the bed is empty and nothing has heated yet.
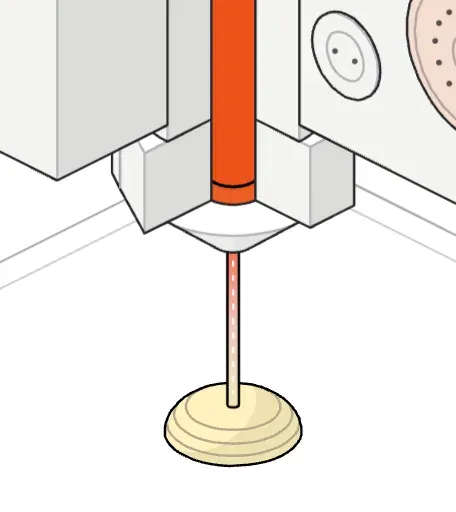 A brass 0.4 mm nozzle laying a thin strand.
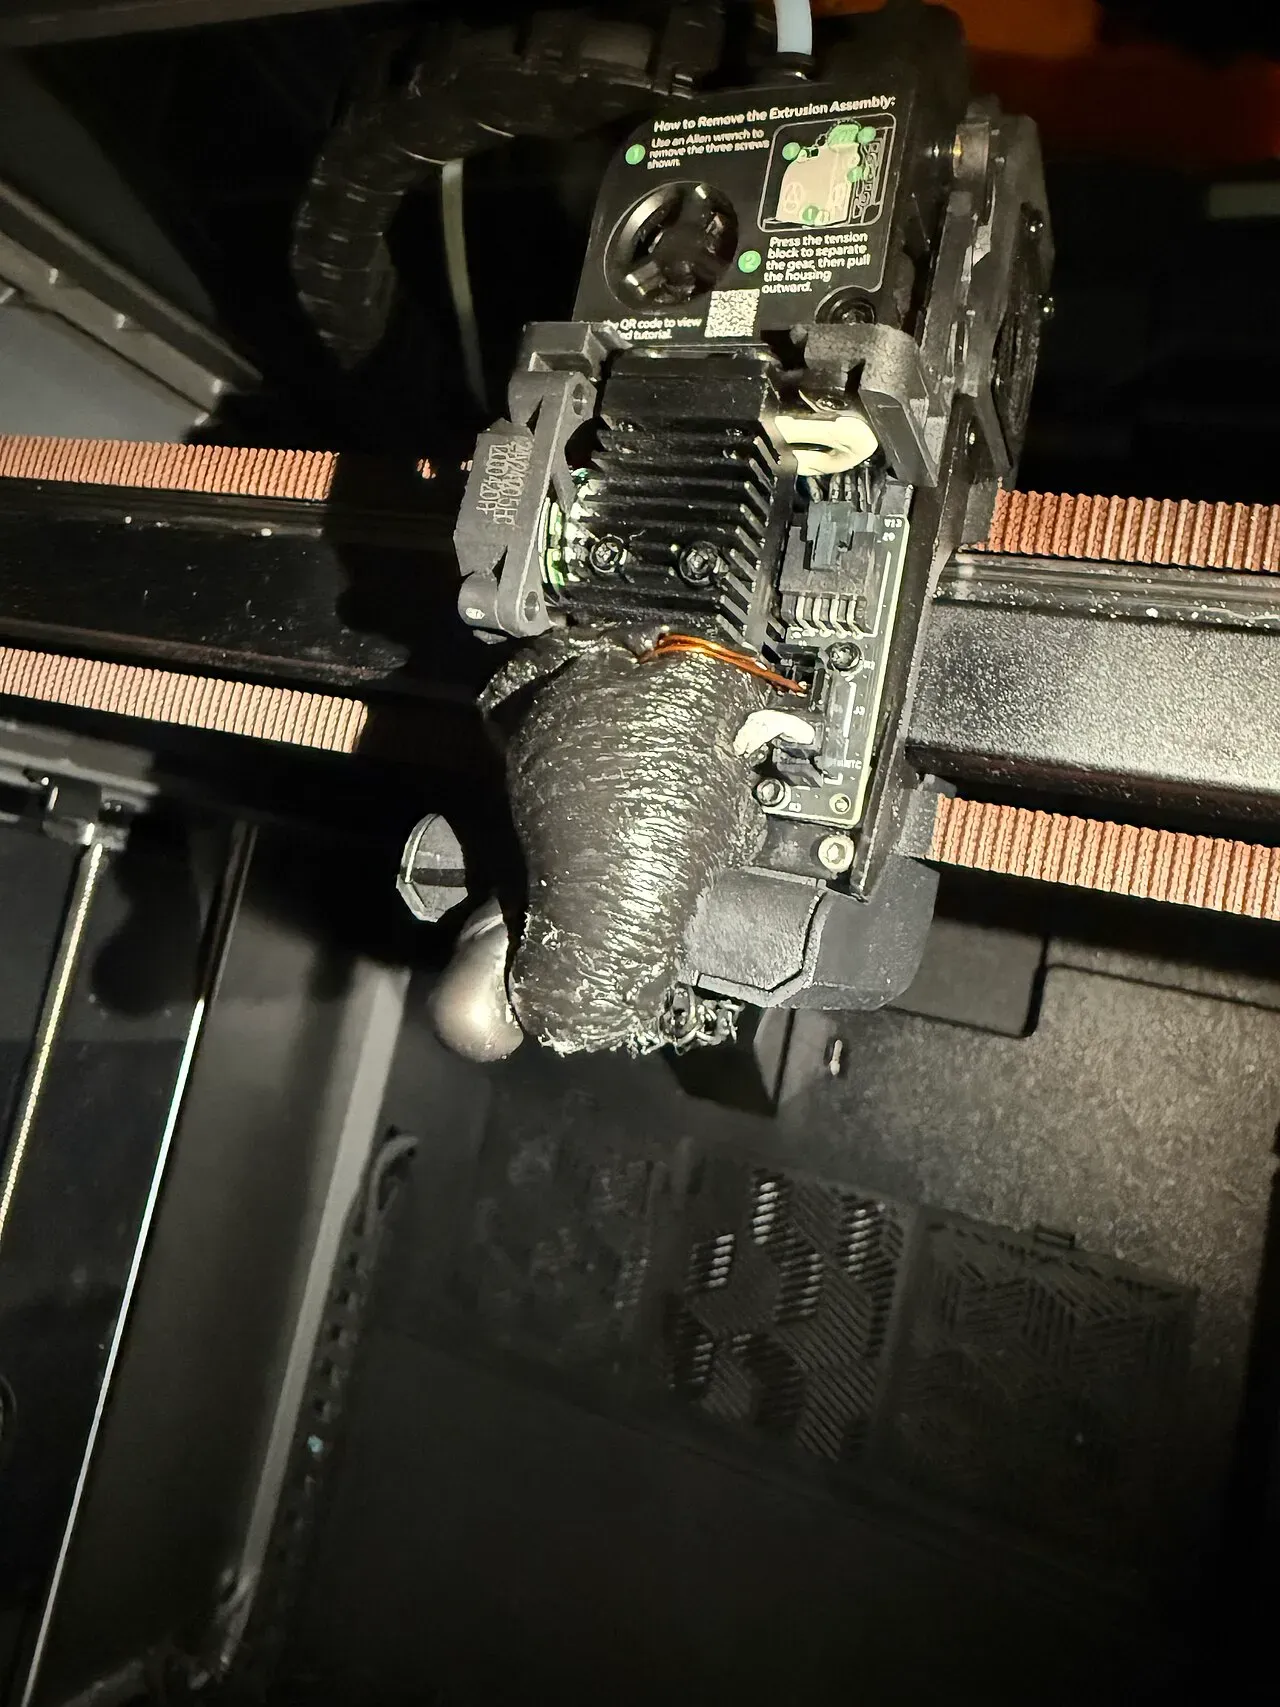 The "blob of death": plastic that leaked and wrapped the hotend.Photo: LunaEatsTuna ·CC BY-SA 4.0 ·Wikimedia Commons
Step 2: The paper test
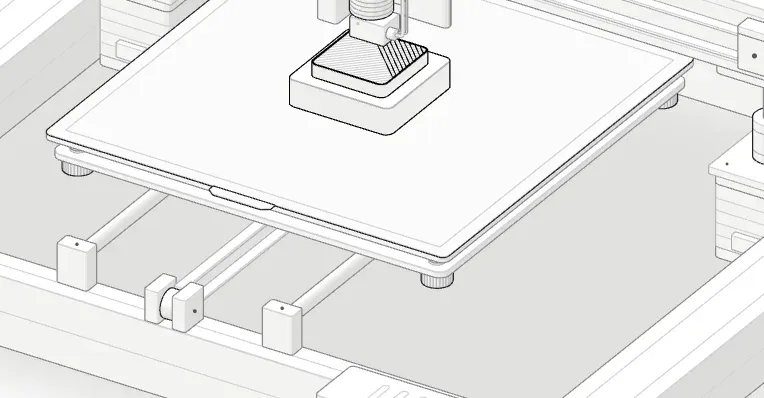
Most beginner printers without a probe have a knob under each corner of the bed, pressing against a spring.
- Move the nozzle over the first corner, about 30 mm in from each edge.
- Slide a sheet of ordinary printer paper between the nozzle and the bed.22Office paper is about 0.1 mm thick, so the paper test sets the gap close to a tenth of a millimetre. The Z offset then fine-tunes it.
- Turn that corner’s knob until the paper drags slightly as you slide it. It should still move, but you should feel the nozzle touching it.
- Repeat for the other three corners.
- A corner spring and knob: about half a millimetre per full turn.
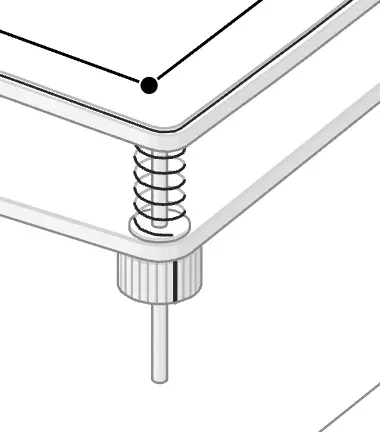 The front right knob, under the carriage.
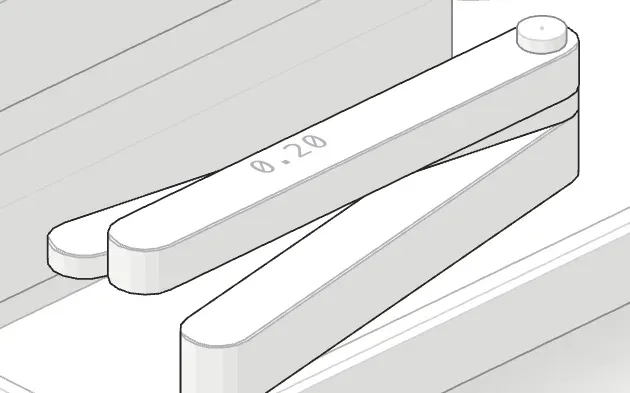 A 0.20 mm feeler leaf: the gap for a standard first layer.
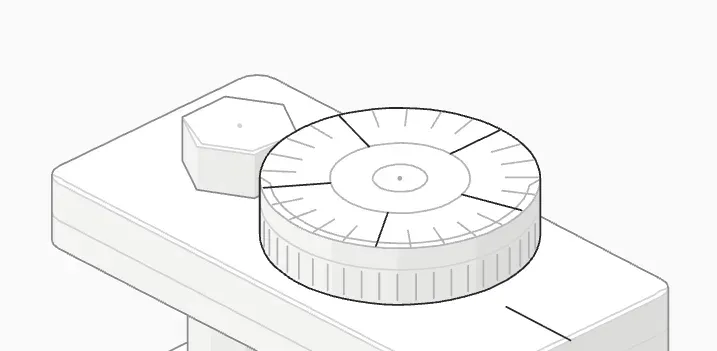 Each click of the babystep wheel moves the nozzle 0.02 mm.
Step 3: Work in the right order
Adjusting one corner tilts the bed slightly at the others, so the order matters:
- Start at the corner nearest you, then go round the bed in one direction.
- Do a full second round. Most beds settle on the second or third pass.
- Finish by checking the centre. If the centre is lower or higher than the corners, the bed isn’t flat, and a mesh (Step 5) will handle it.
 Front left knob turned −½ turn (about 0.25 mm): corner FL −0.13 mm · ¼ turn low · mesh out of date.
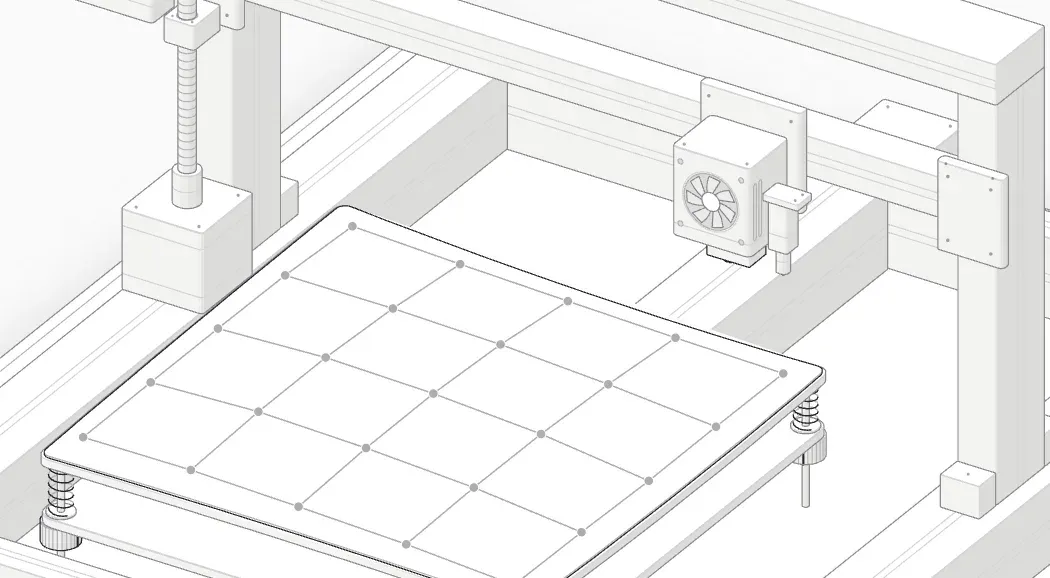 Front left knob turned −¼ turn (about 0.13 mm): corner FL +0.00 mm · level · mesh out of date.
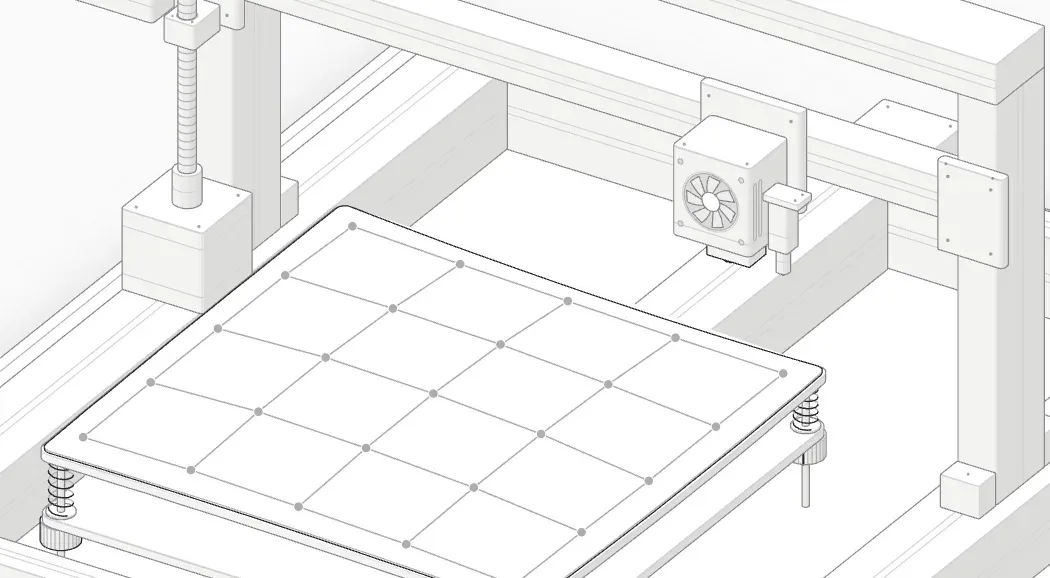 Front left knob turned −⅛ turn (about 0.06 mm): corner FL +0.06 mm · ⅛ turn high · mesh out of date.
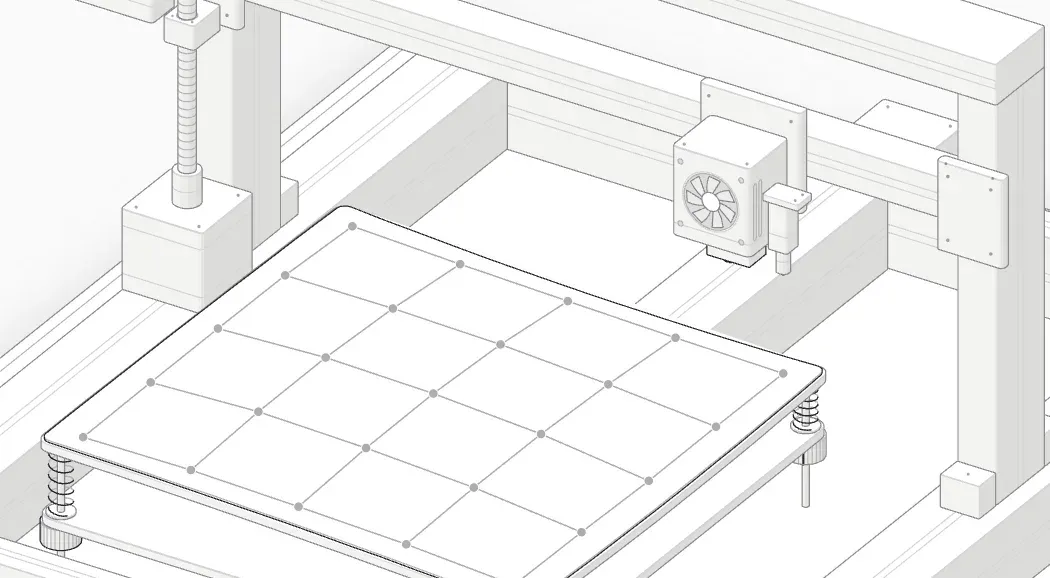 Front left knob turned +⅛ turn (about 0.06 mm): corner FL +0.18 mm · ⅜ turn high · mesh out of date.
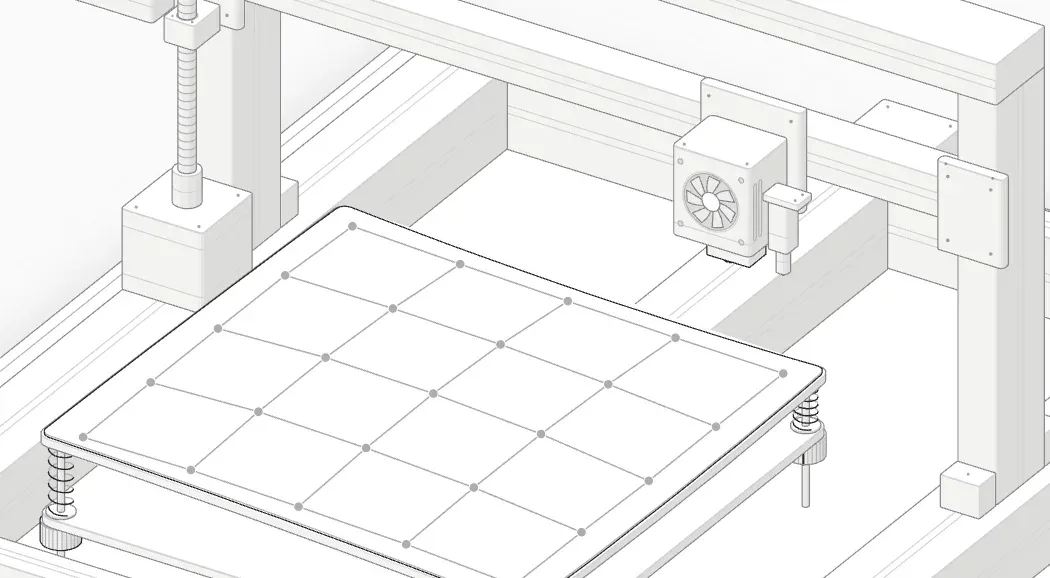 Front left knob turned +¼ turn (about 0.13 mm): corner FL +0.25 mm · ½ turn high · mesh out of date.
 Front left knob turned +½ turn (about 0.25 mm): corner FL +0.37 mm · ¾ turn high · mesh out of date.
Step 4: Re-check after printing
Springs relax and knobs can turn slightly from vibration, so re-check the corners after the first few long prints and whenever the first layer starts to look different at one side.
Step 5: Auto bed leveling and the mesh
A printer with auto bed leveling has a probe beside the nozzle. Before a print it taps the bed at a grid of points, often 5 × 5 or more, and records the height at each one. While printing, the firmware uses that mesh to raise and lower the nozzle slightly, so the first layer stays the same thickness on a bed that isn’t perfectly flat. As the print gets taller, the correction fades out so the top of the part comes out flat.33In Marlin firmware this is called the fade height. A common setting is 10 mm: above that, the printer stops correcting and prints flat.
Common probe types:
- Touch probes with a small pin that drops and taps the bed.
- Inductive probes that sense a metal bed without touching it.
- Nozzle or load-cell probing, where the printer feels the nozzle itself touching the bed. Many newer printers use this.
- A touch probe sits beside the nozzle and taps the bed.
- A probed 5 × 5 mesh across the bed.
- The mesh: 25 measured heights the printer follows on the first layer.
- Turn a knob and the old mesh no longer matches the bed. Probe again.
- The Z motor and lead screw raise and lower the gantry.
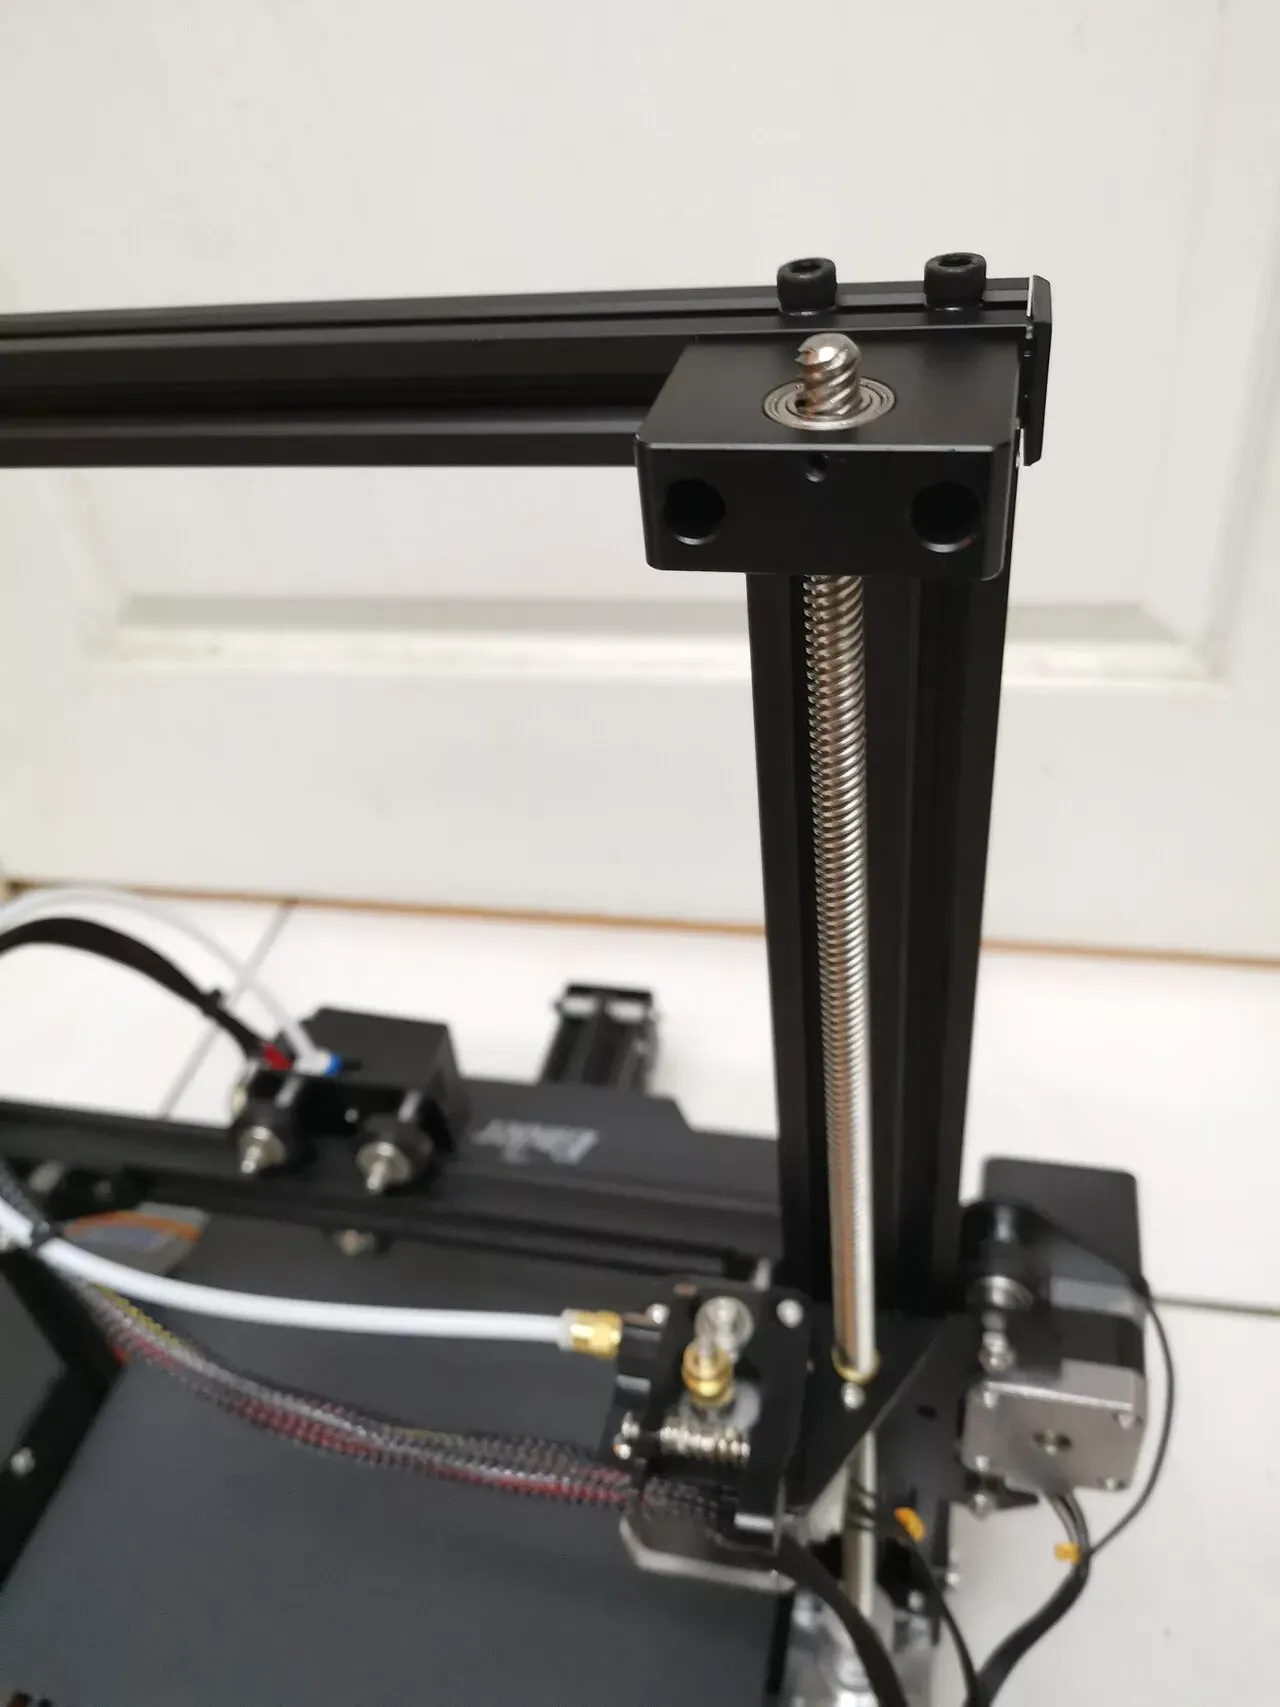 The Z lead screw lifts the gantry.Photo: kenming Wang ·CC BY-SA 2.0 ·Wikimedia Commons
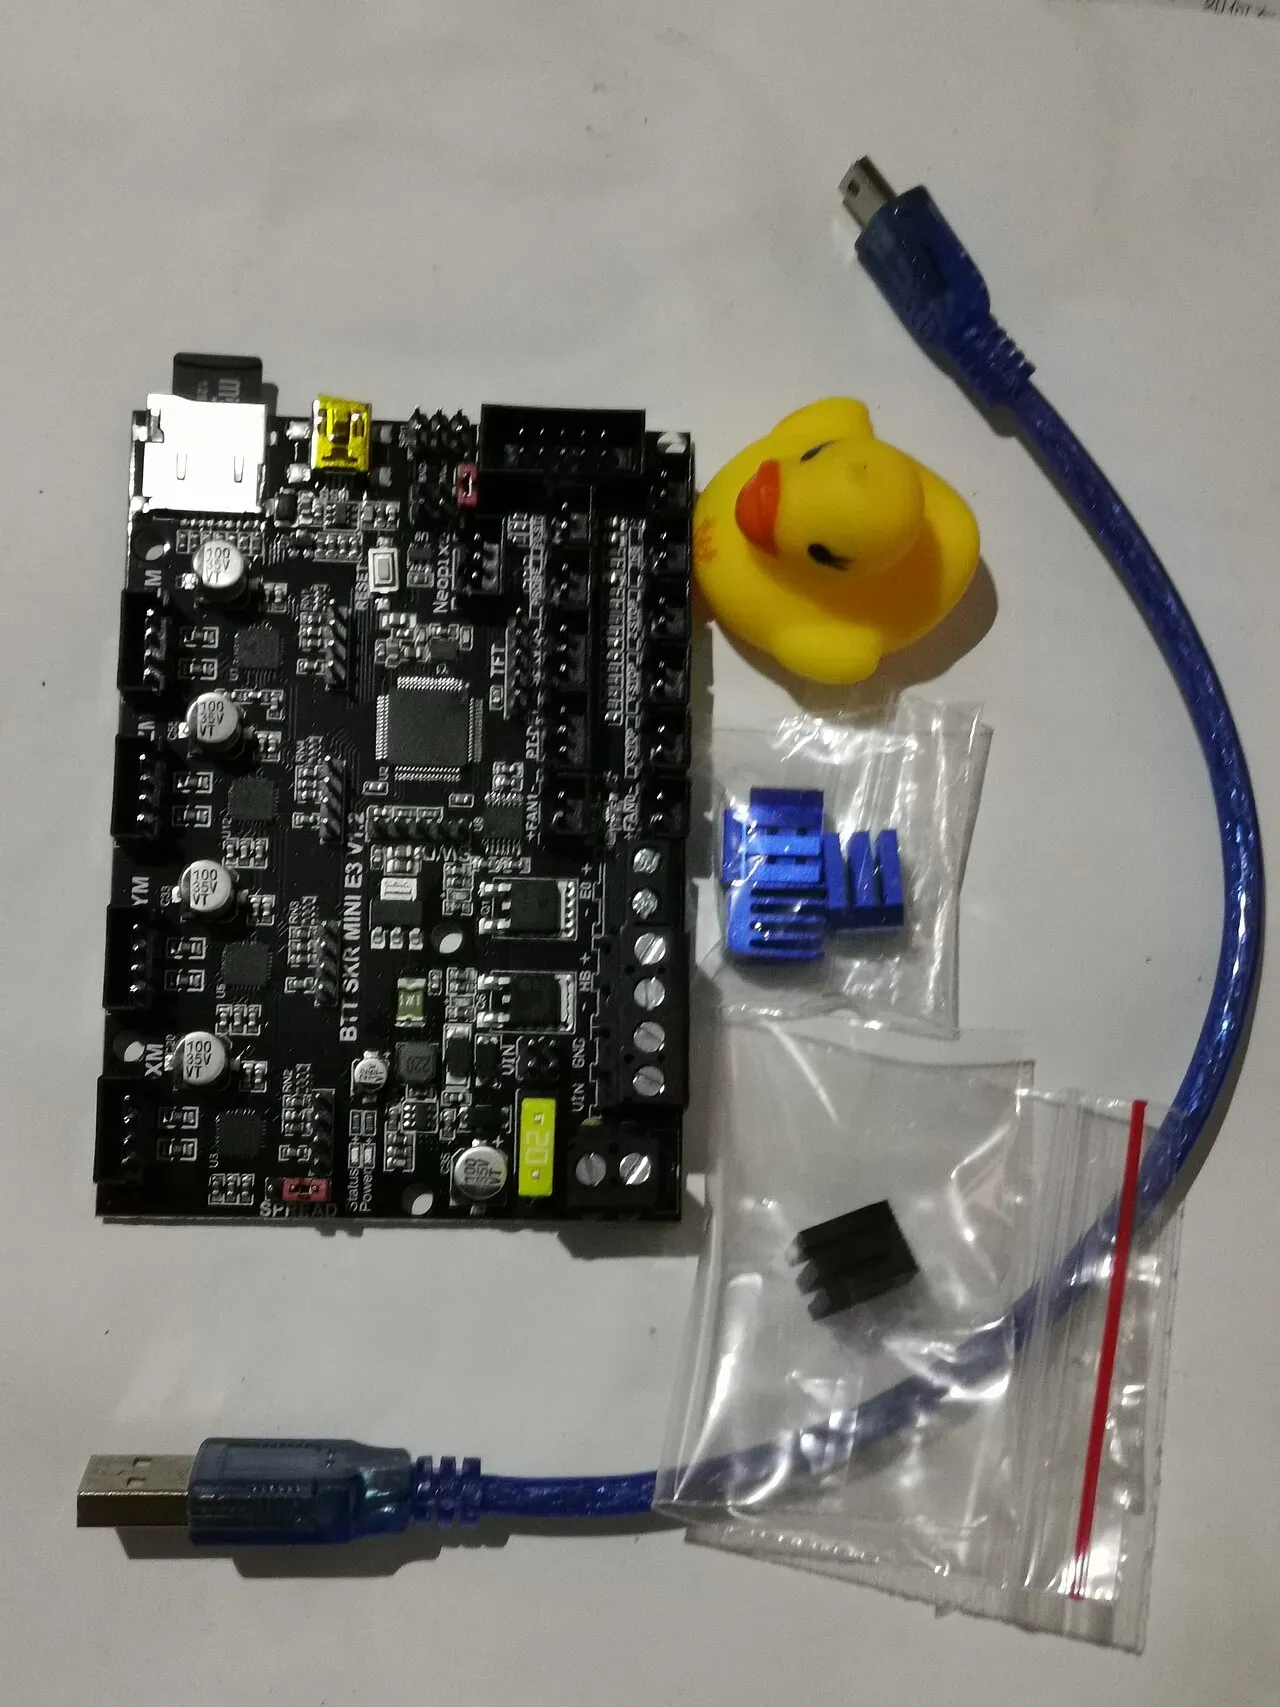 The mainboard: the printer's brain.Photo: kenming Wang ·CC BY-SA 2.0 ·Wikimedia Commons
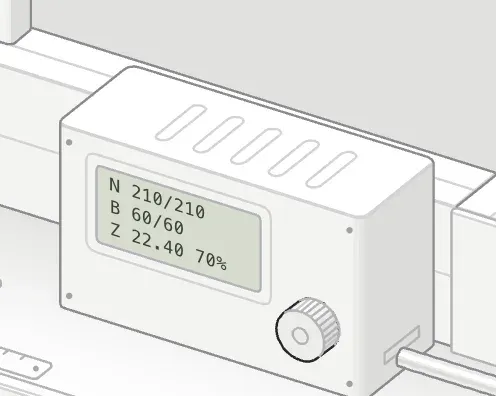 The control box shows nozzle and bed temperature, height and progress.
How to run leveling on common printers
| Printer or firmware | Where to find it |
|---|---|
| Marlin (many Creality and similar printers) | Menu → Motion or Prepare → Bed Leveling (often “Auto Build Mesh”), or the G-code G29 |
| Prusa (MK3/MK4 family) | Menu → Calibration; mesh probing runs at the start of each print by default |
| Bambu Lab | Tick Bed leveling in the print dialog before sending a print |
| Klipper | BED_MESH_CALIBRATE for a mesh; SCREWS_TILT_CALCULATE tells you how far to turn each corner screw (if configured) |
Menu names vary between printer models and firmware versions. Check your printer’s manual if the option isn’t where this table says.
Step 6: Check with a first-layer test
Print a single-layer square in each corner and one in the middle, or one large square covering most of the bed. Every part of it should look the same: flat lines that touch, with no gaps and no ridges. If one area looks different, adjust that corner and print again. If it’s equally wrong everywhere, adjust the Z offset instead.
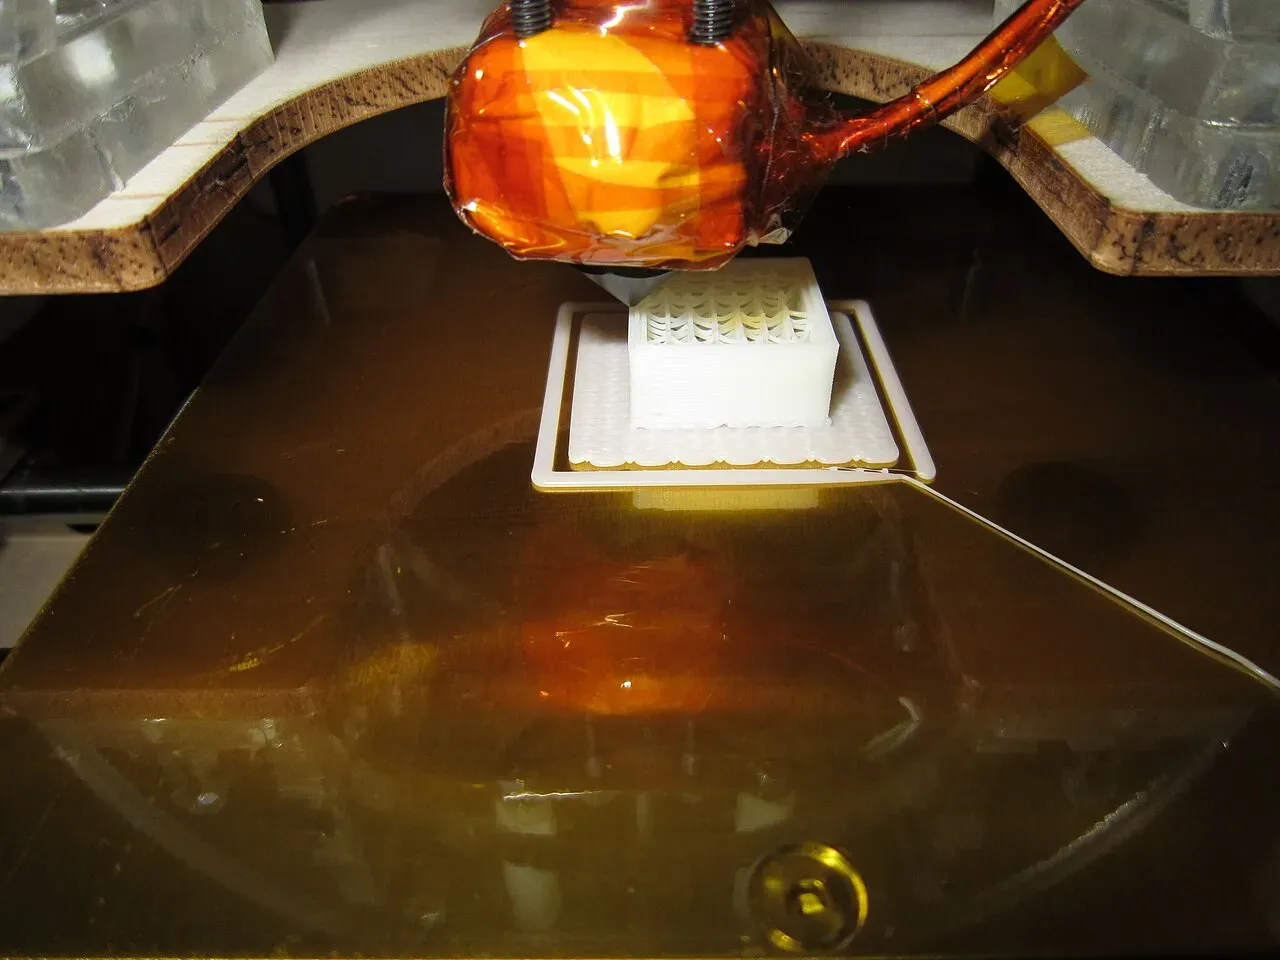 A 20 mm calibration cube, often the first print.Photo: syvwlch ·CC BY 2.0 ·Wikimedia Commons
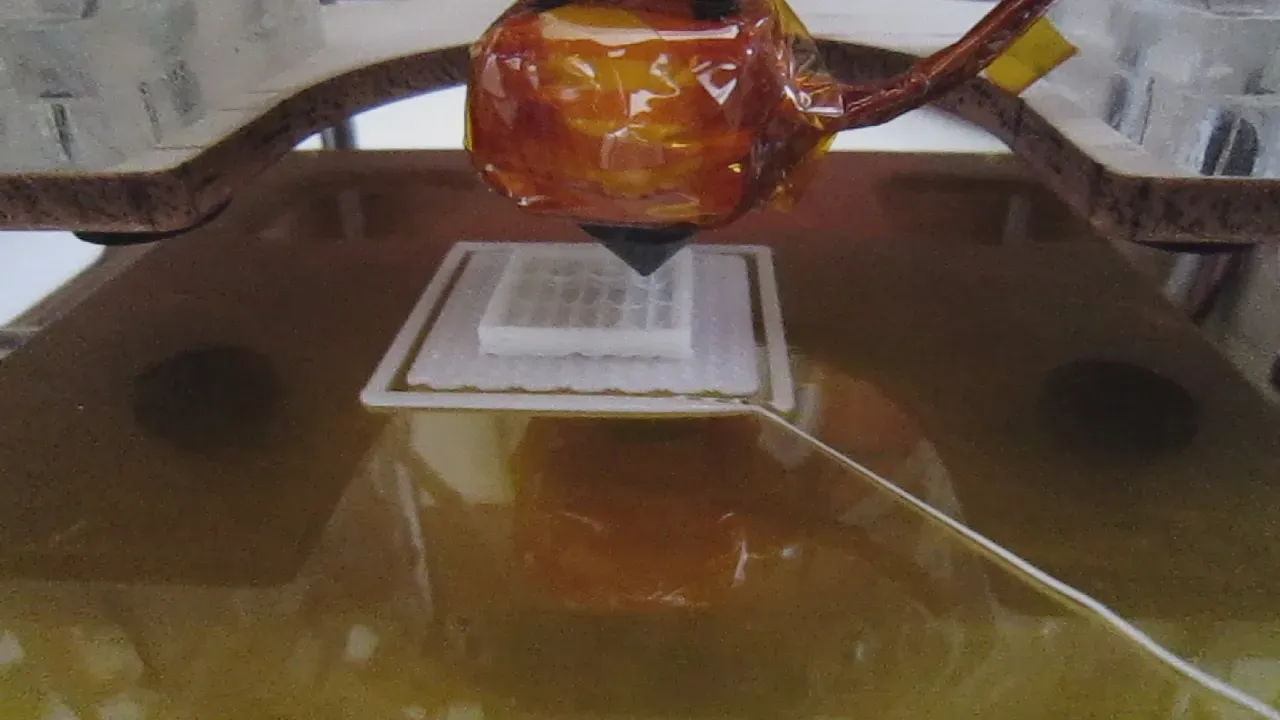 The calibration cube a few layers in.Photo: syvwlch ·CC BY 2.0 ·Wikimedia Commons
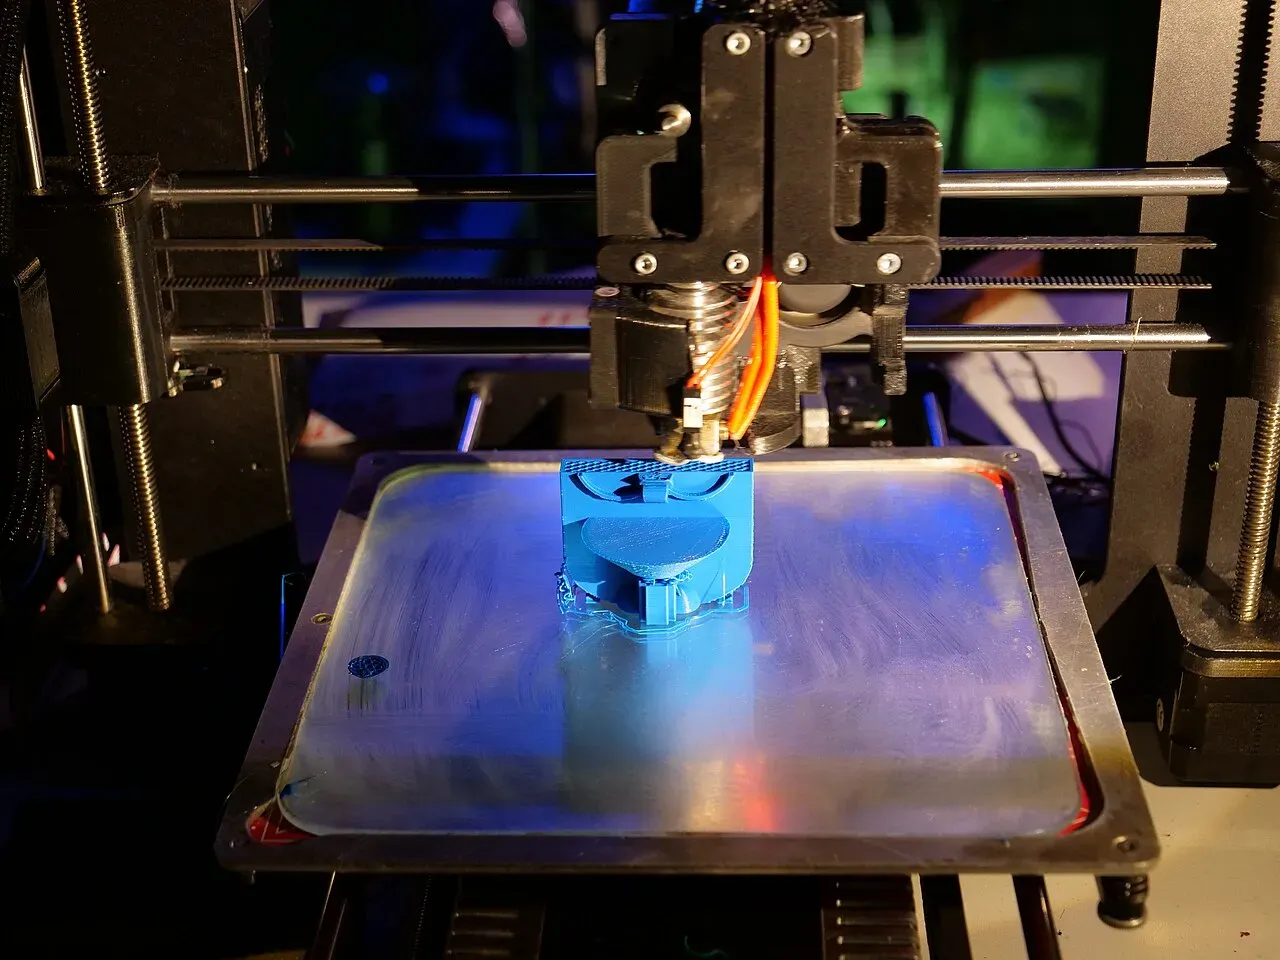 A part being printed on a spring-steel bed.Photo: Leonhard Lenz ·CC BY-SA 4.0 ·Wikimedia Commons
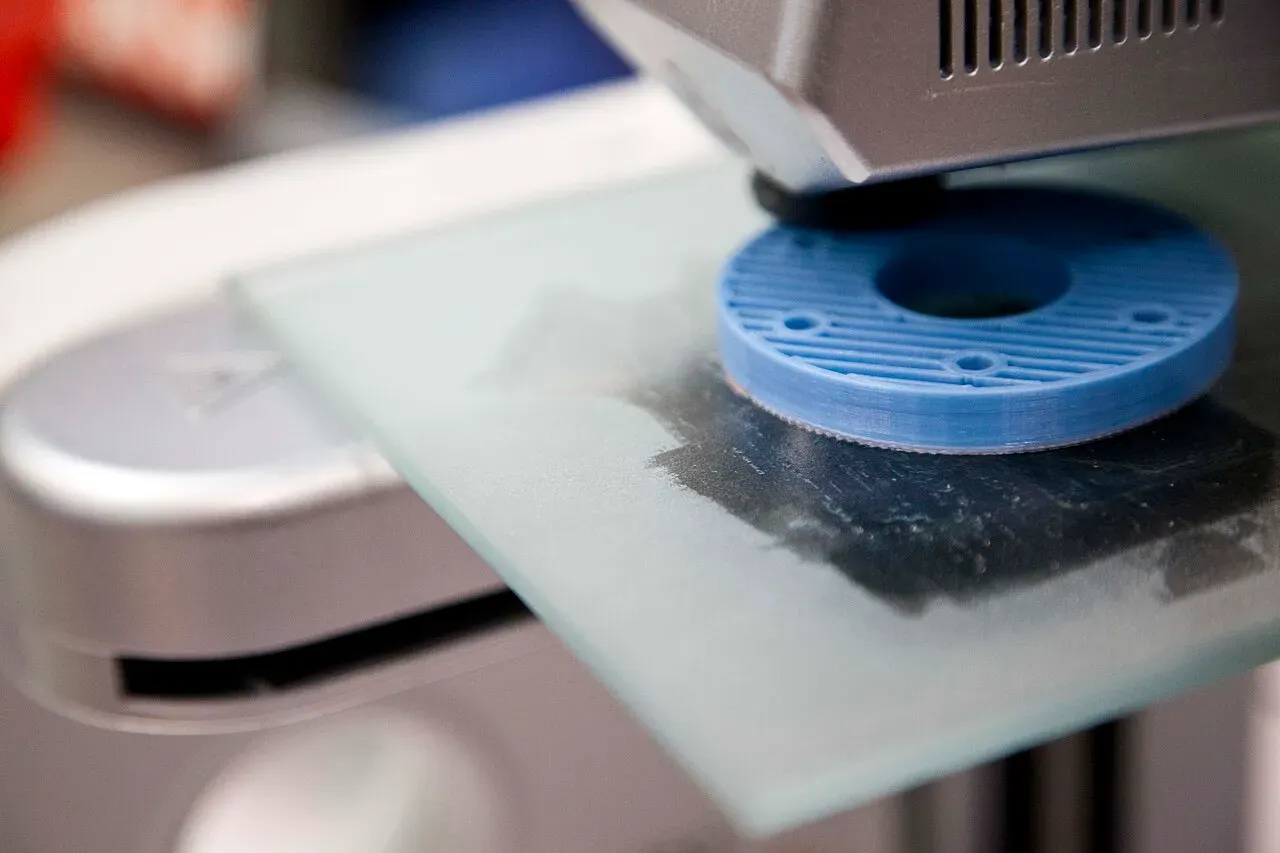 A print on a glass bed.Photo: ENERGY.GOV ·Public domain ·Wikimedia Commons
 Layer 1 of 225, z 0.2 mm.
 The first few layers.
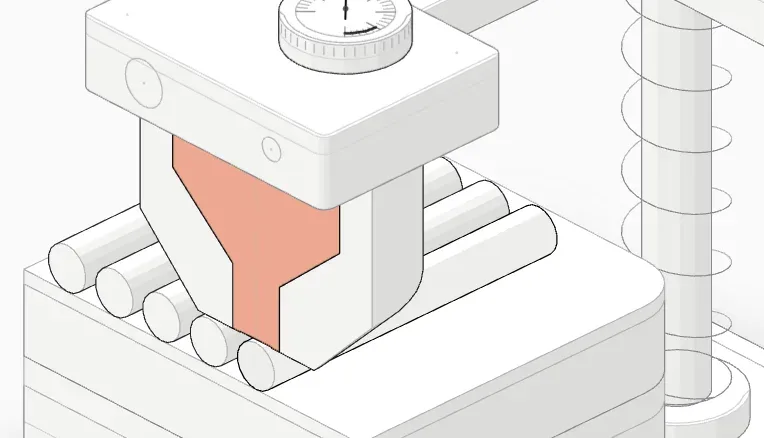 Cross-section, too high: the line stays round.
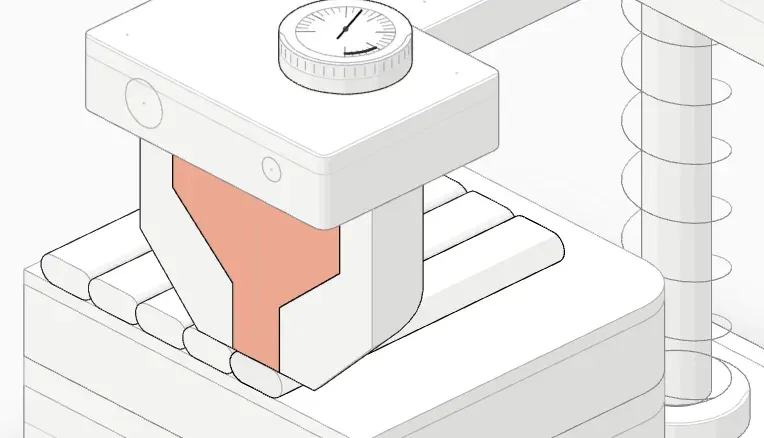 Cross-section, right height: a flattened line, about 0.45 × 0.20 mm.
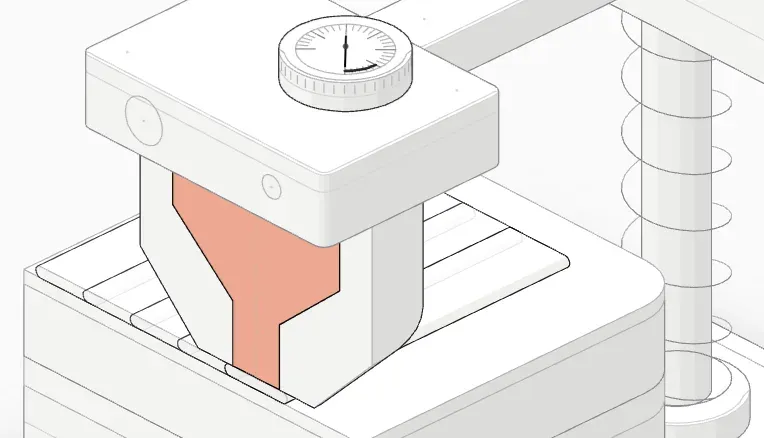 Cross-section, too low: the line is pressed into a sheet.
Useful numbers
| Thing | Typical value |
|---|---|
| First layer height | 0.2 mm (0.4 mm nozzle) |
| Office paper | about 0.1 mm |
| One full knob turn (M3 thread) | about 0.5 mm |
| Quarter knob turn | about 0.12 mm |
| Mesh grid on beginner printers | 3 × 3 to 7 × 7 points, often 5 × 5 |
| Marlin fade height | commonly 10 mm |
When it won’t go away
If you’ve leveled carefully and the first layer is still uneven:
- Check for a warped bed. Lay a steel ruler across it on its edge and look for light underneath. A slightly bowed bed is what a mesh is for; a badly warped one needs replacing.
- Tighten loose wheels. On printers that run on V-wheels, a loose eccentric nut lets the bed or gantry wobble. Adjust until the wheel turns with your fingers but doesn’t rock.
- Check the gantry is square. On printers with two Z lead screws, one side can drift. Lower the gantry to the bed and check both sides touch at the same time, or follow your printer’s Z sync procedure.
- Replace soft springs. Weak springs let the bed move. Stiffer springs or silicone spacers hold leveling much longer.
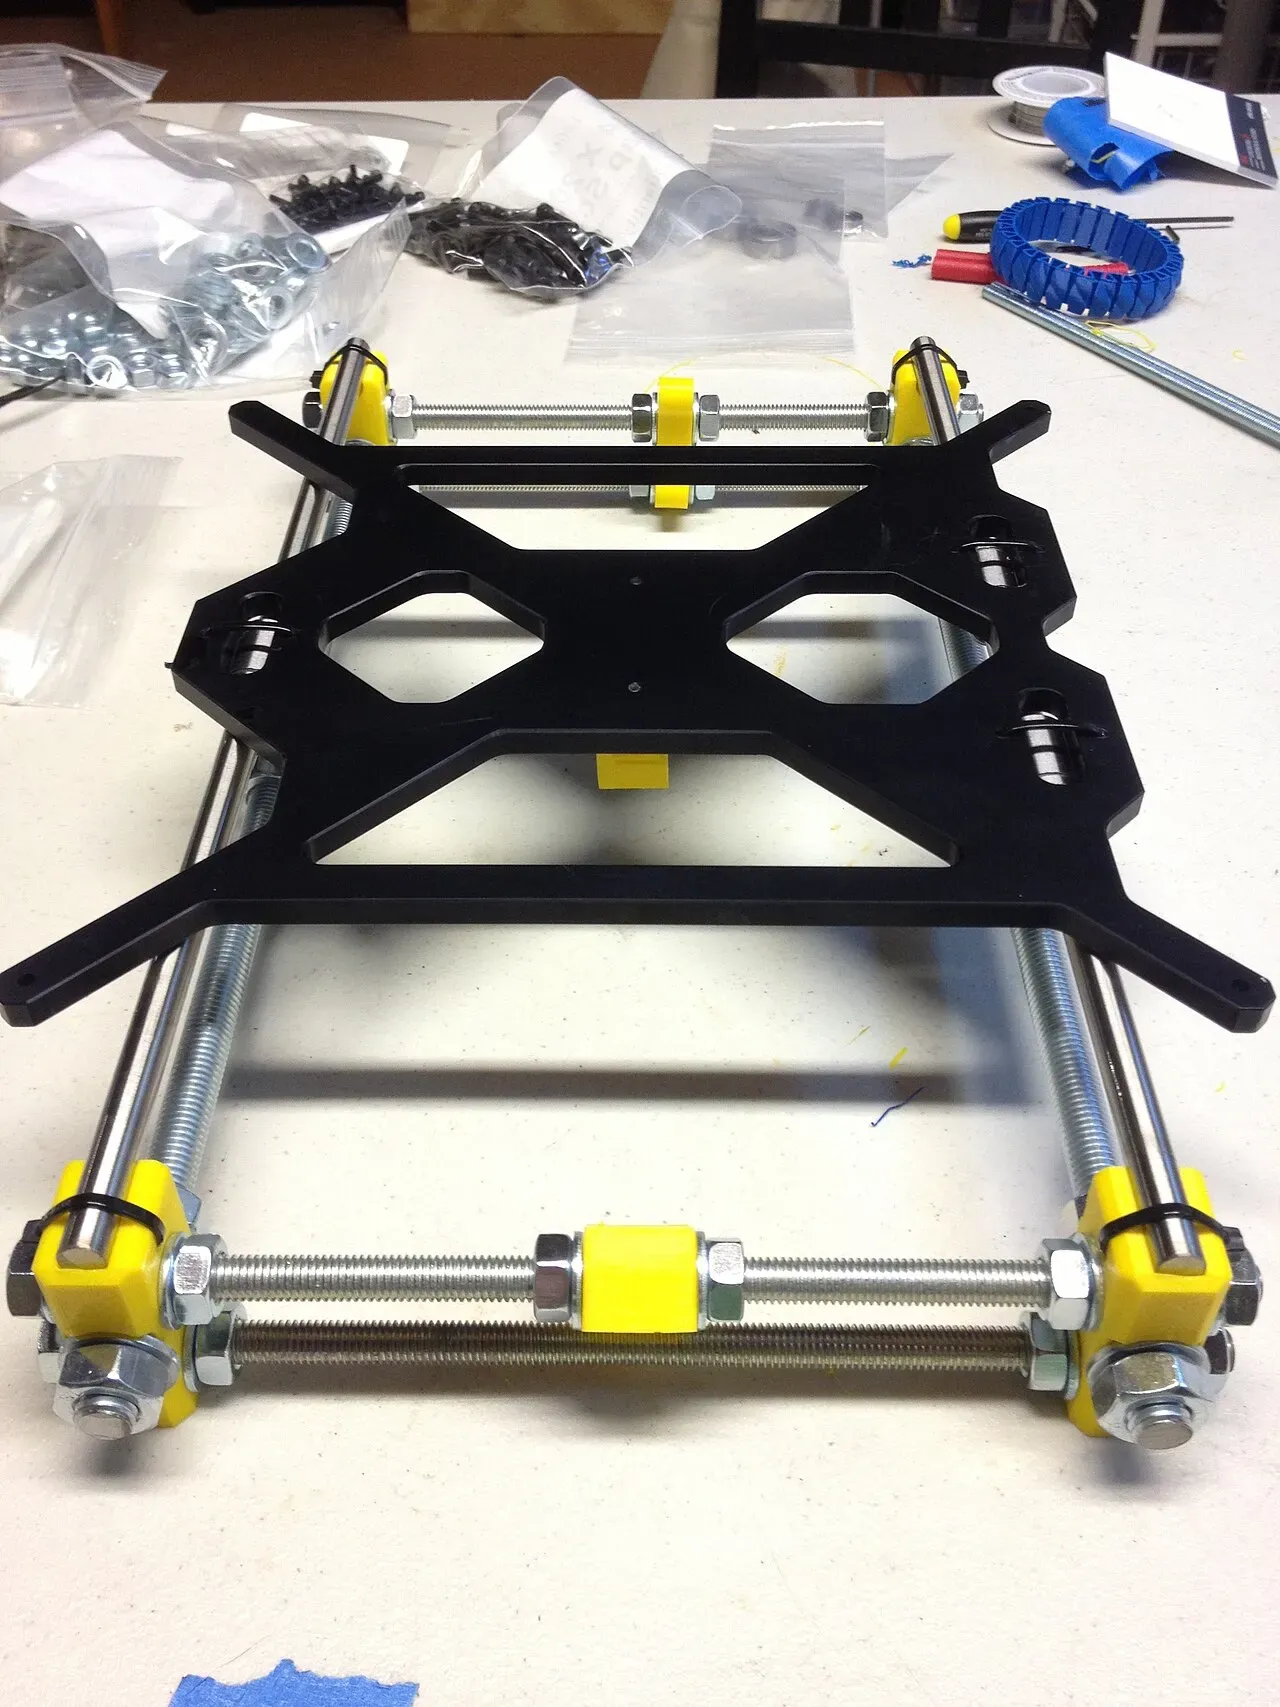 The Y axis assembled: smooth rods and the bed carriage.Photo: John Abella ·CC BY 2.0 ·Wikimedia Commons
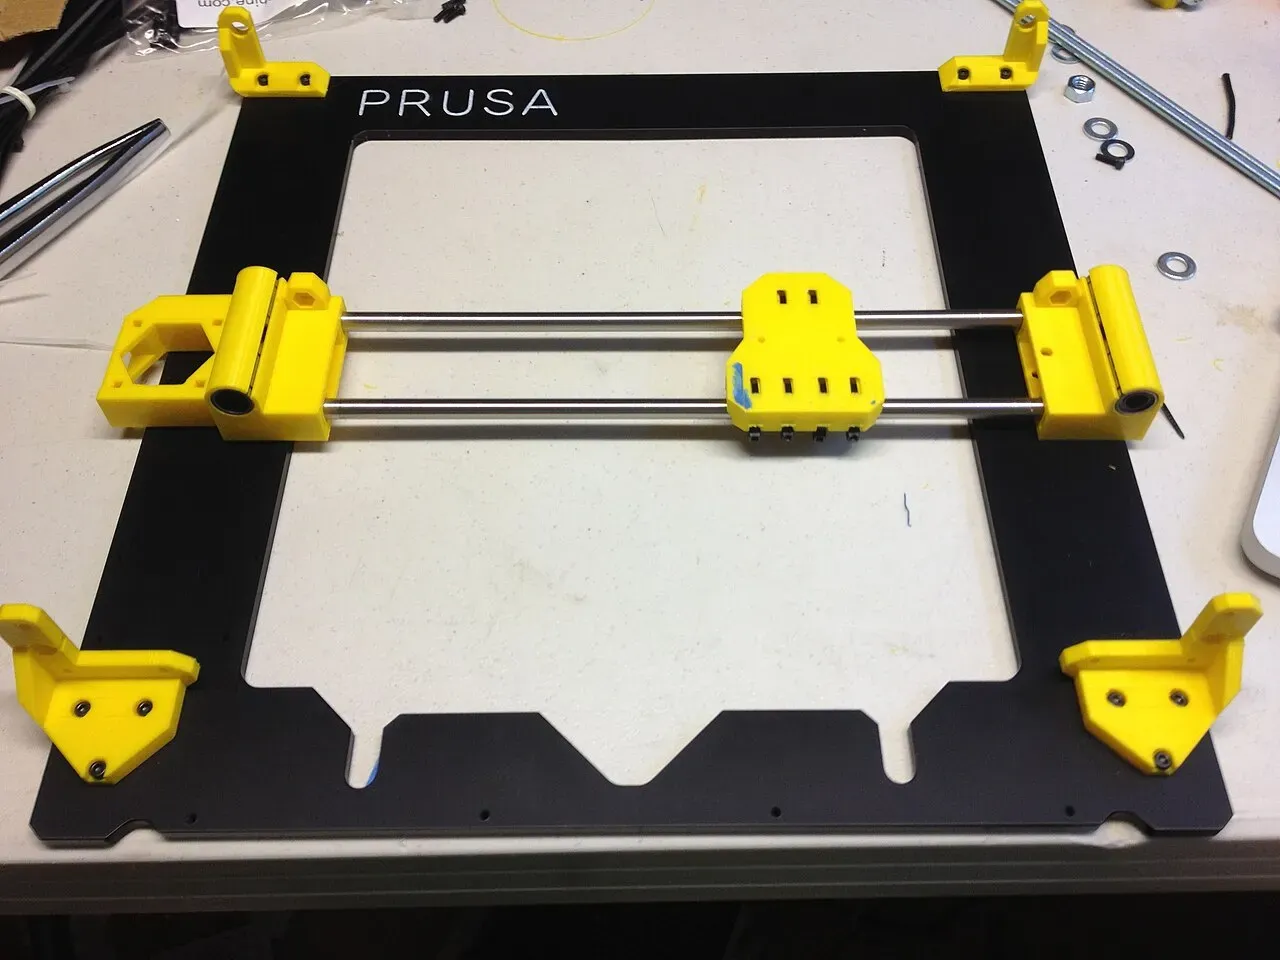 The frame and Y axis before assembly.Photo: John Abella ·CC BY 2.0 ·Wikimedia Commons
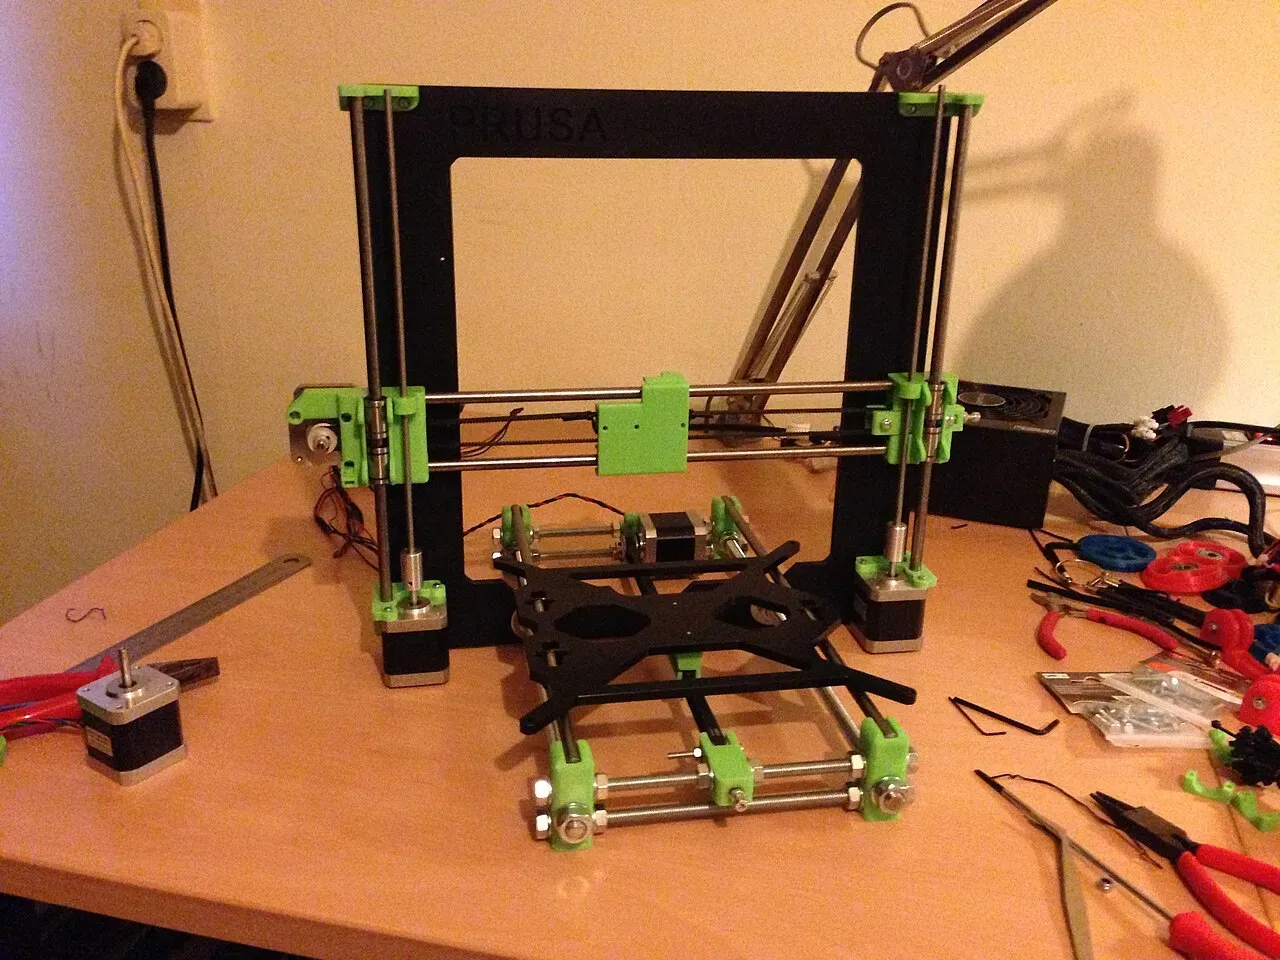 Part way through building the frame.Photo: John Rood ·CC BY 2.0 ·Wikimedia Commons
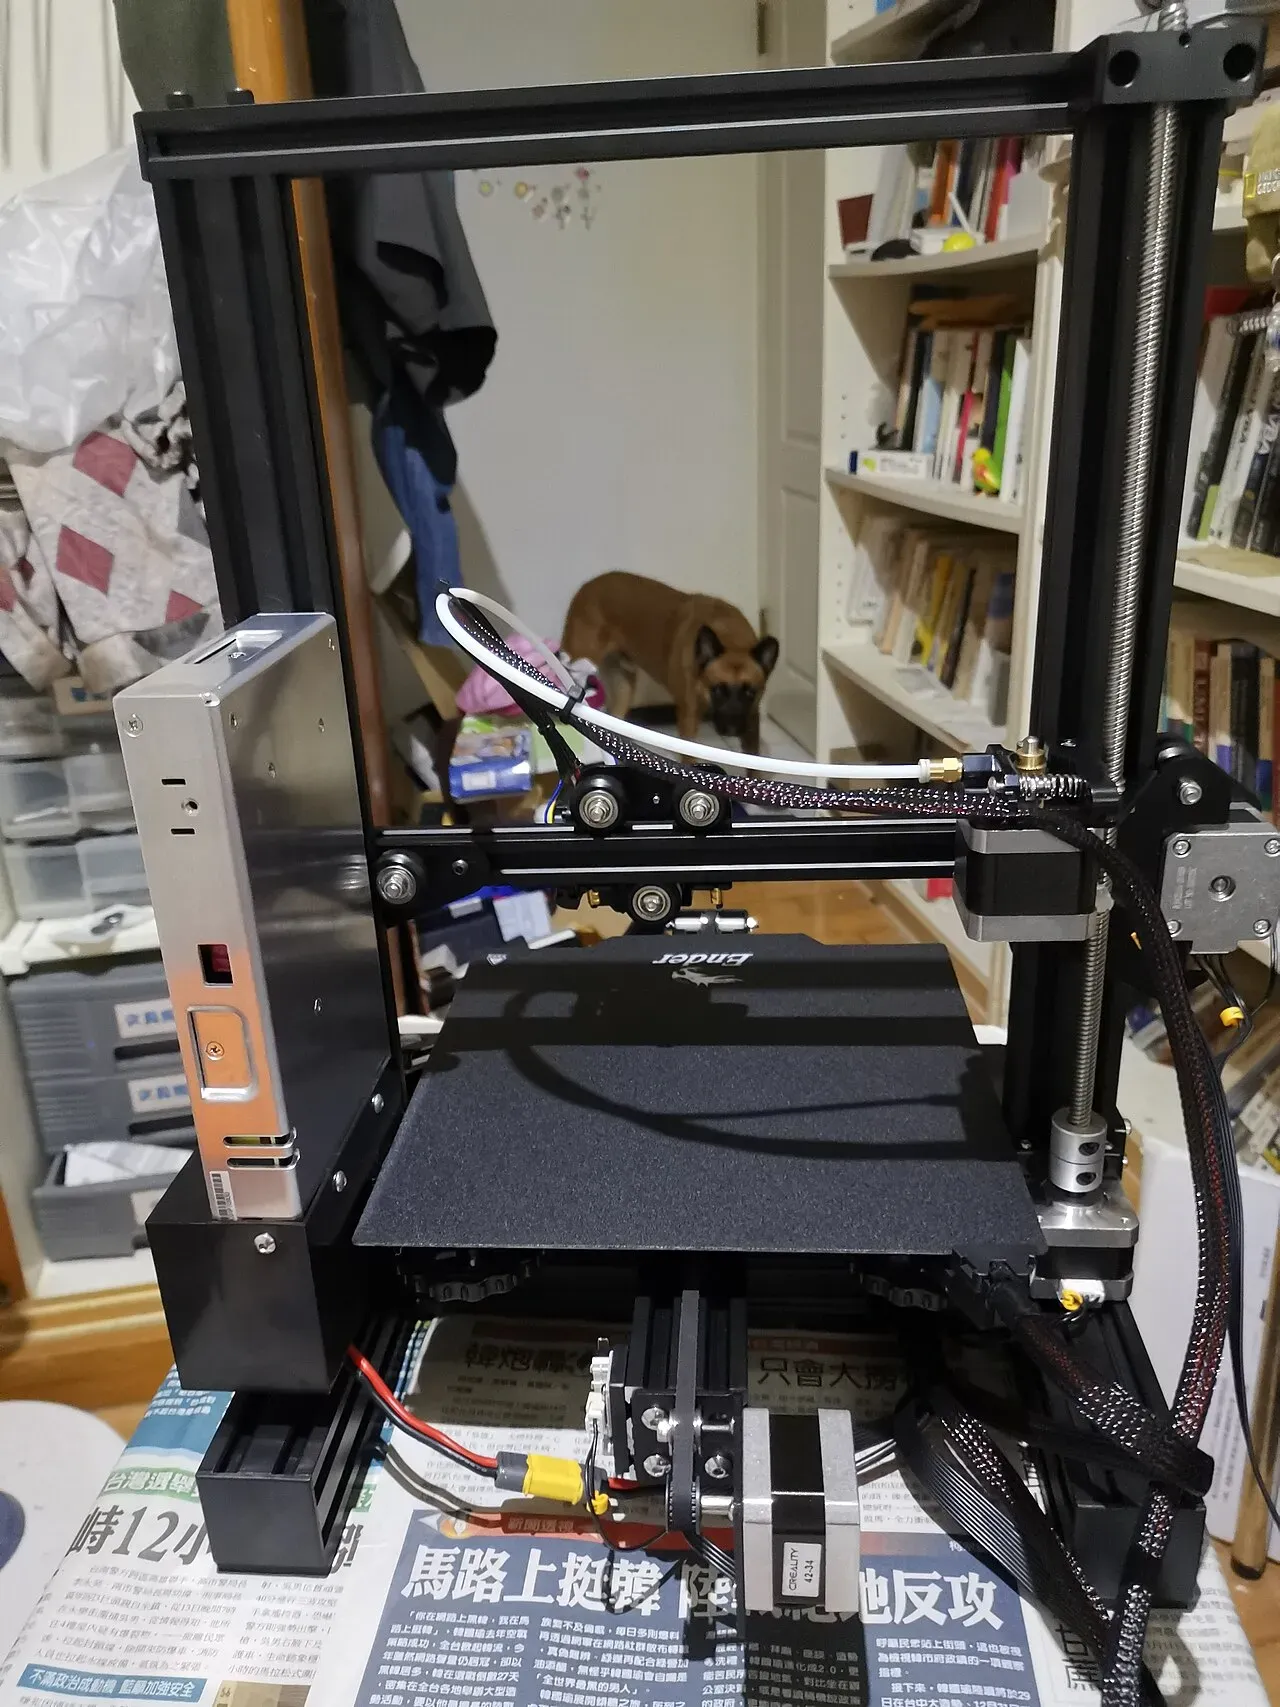 An assembled Ender 3: a classic bed-slinger.Photo: kenming Wang ·CC BY-SA 2.0 ·Wikimedia Commons
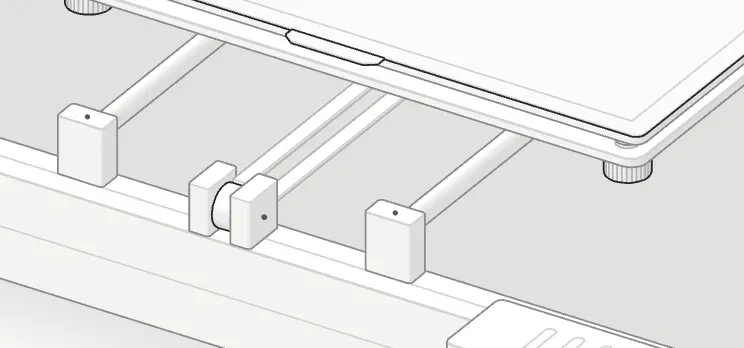 The bed slides front to back on two rods: this is the Y axis.
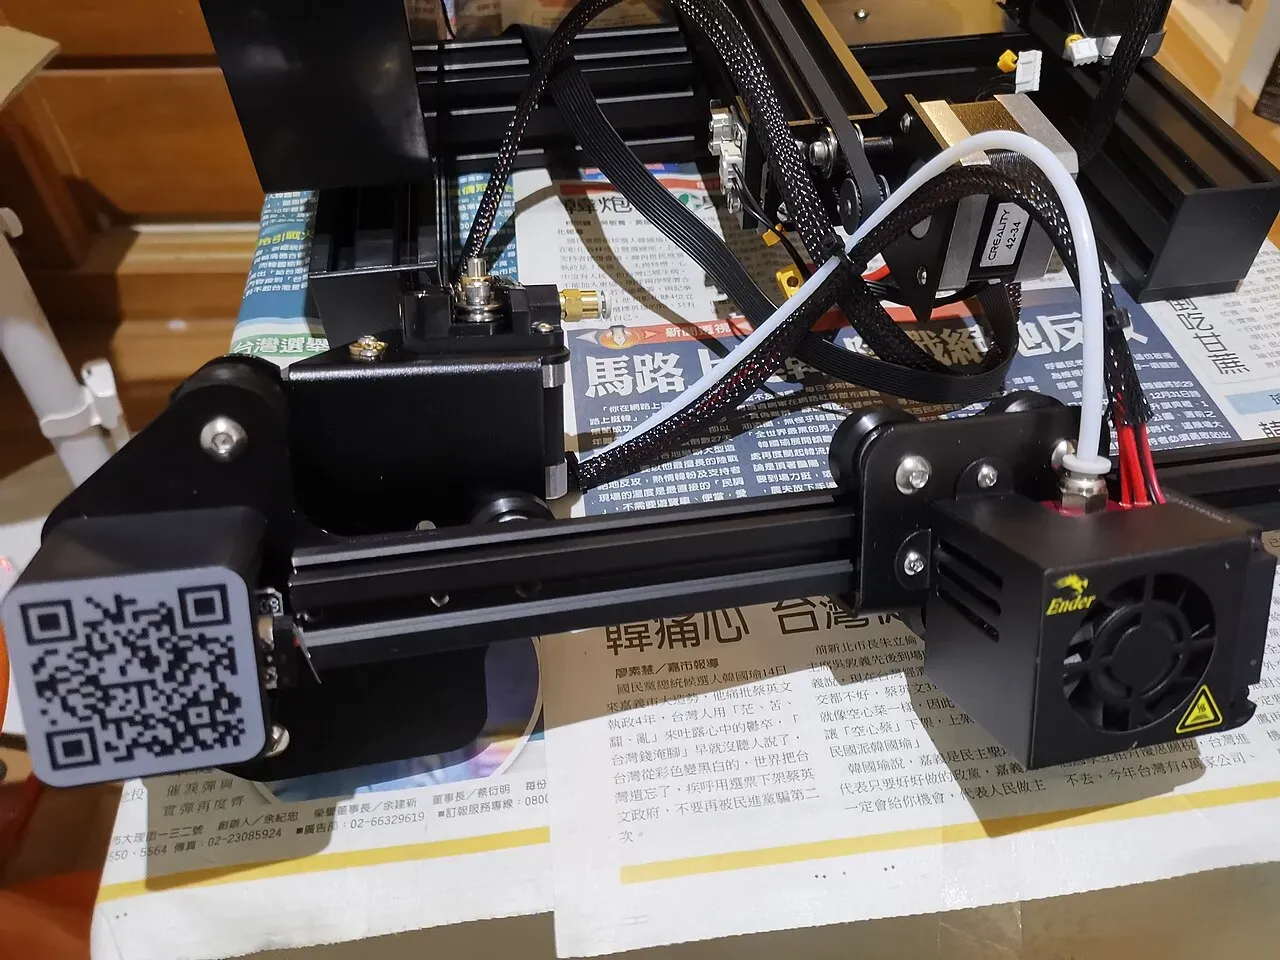 The gantry and print head of a bed-slinger.Photo: kenming Wang ·CC BY-SA 2.0 ·Wikimedia Commons
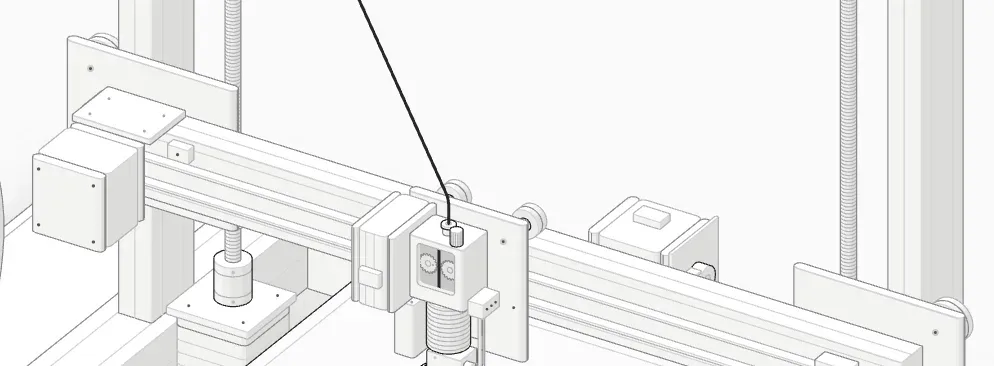 The X gantry: the print head rides along it on a belt.
- The Z lead screw lifts the gantry.Photo: kenming Wang ·CC BY-SA 2.0 ·Wikimedia Commons
Common mistakes
- Leveling cold. The bed changes shape slightly as it heats.
- Forgetting the second round. Corners affect each other.
- Pressing on the bed while measuring. It flexes on its springs.
- Turning knobs after a mesh and not re-probing. The mesh no longer matches the bed.
- Expecting auto leveling to fix a badly tilted bed. It corrects small errors, not big ones.
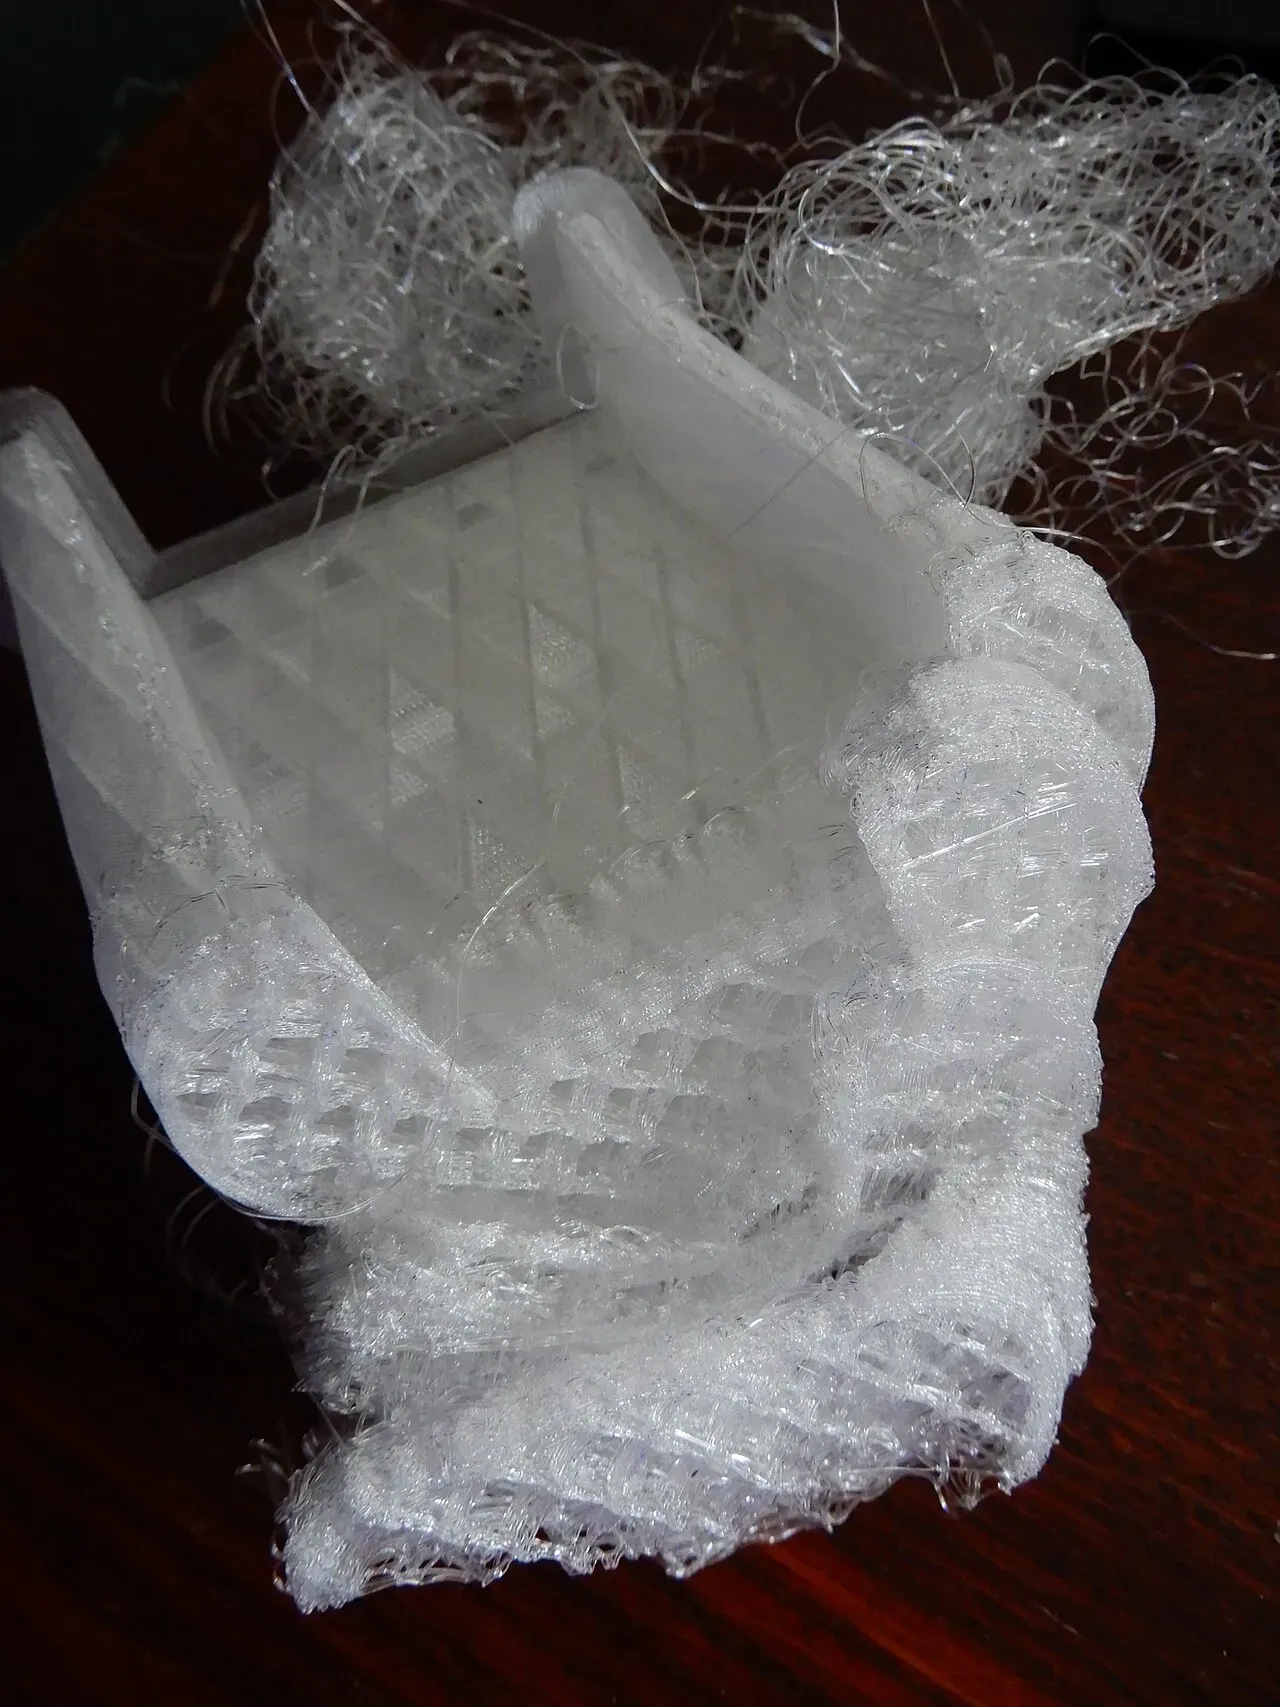 A print that broke loose partway through.Photo: EwkaC ·CC BY-SA 4.0 ·Wikimedia Commons
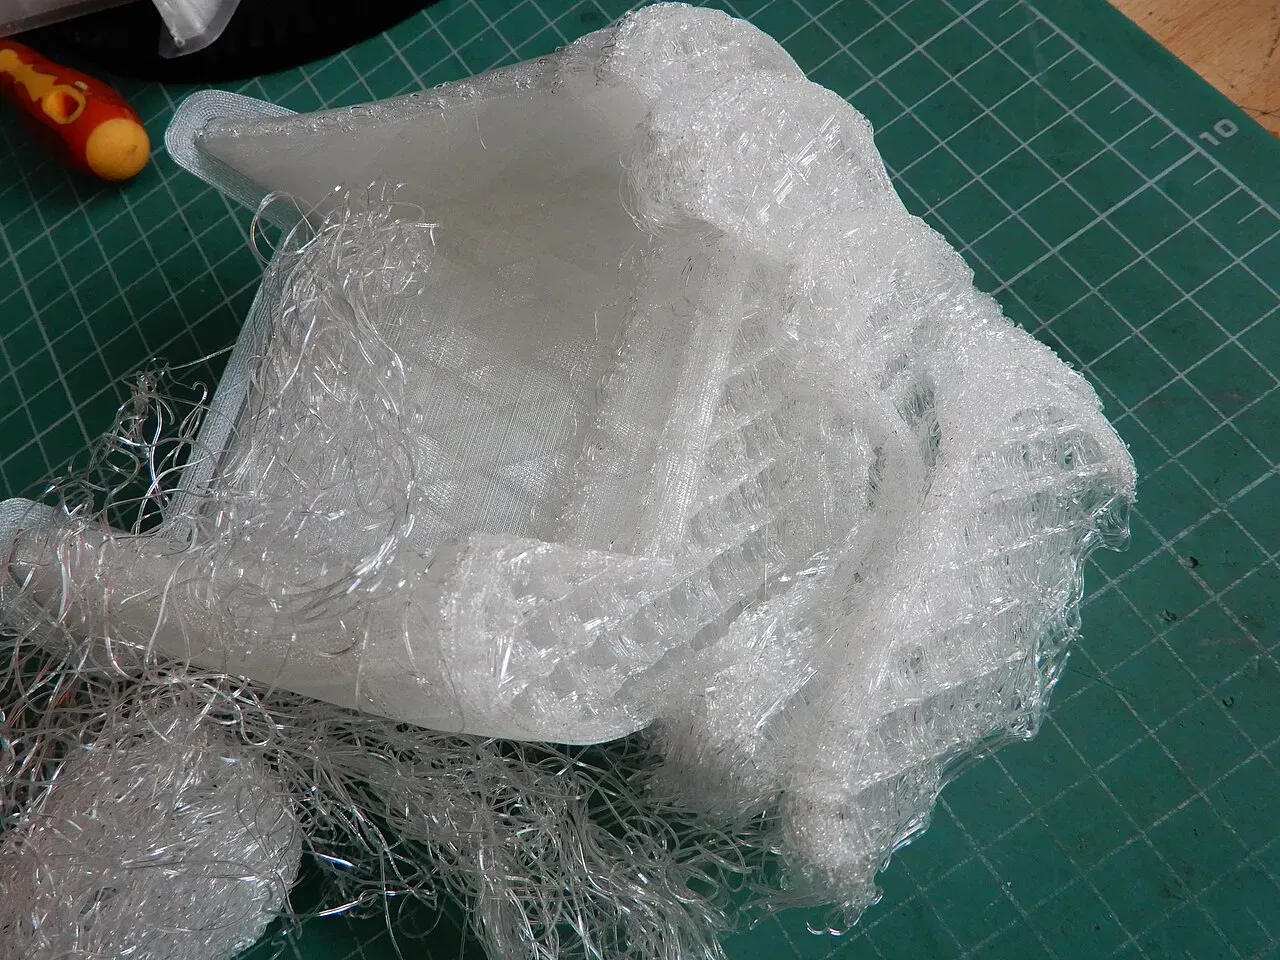 The same failure from the side: layers stop where the part moved.Photo: EwkaC ·CC BY-SA 4.0 ·Wikimedia Commons
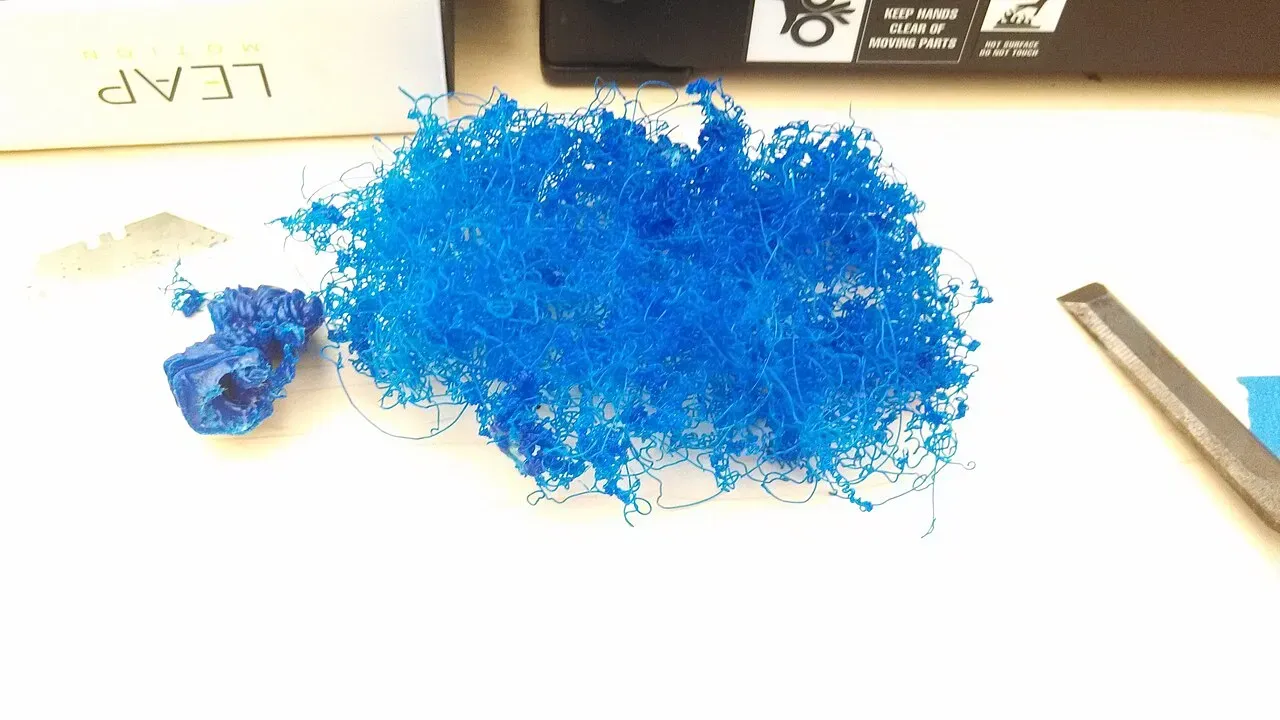 Spaghetti: the part came loose and the printer kept extruding into the air.Photo: SuperBlobMonster ·CC BY-SA 3.0 ·Wikimedia Commons
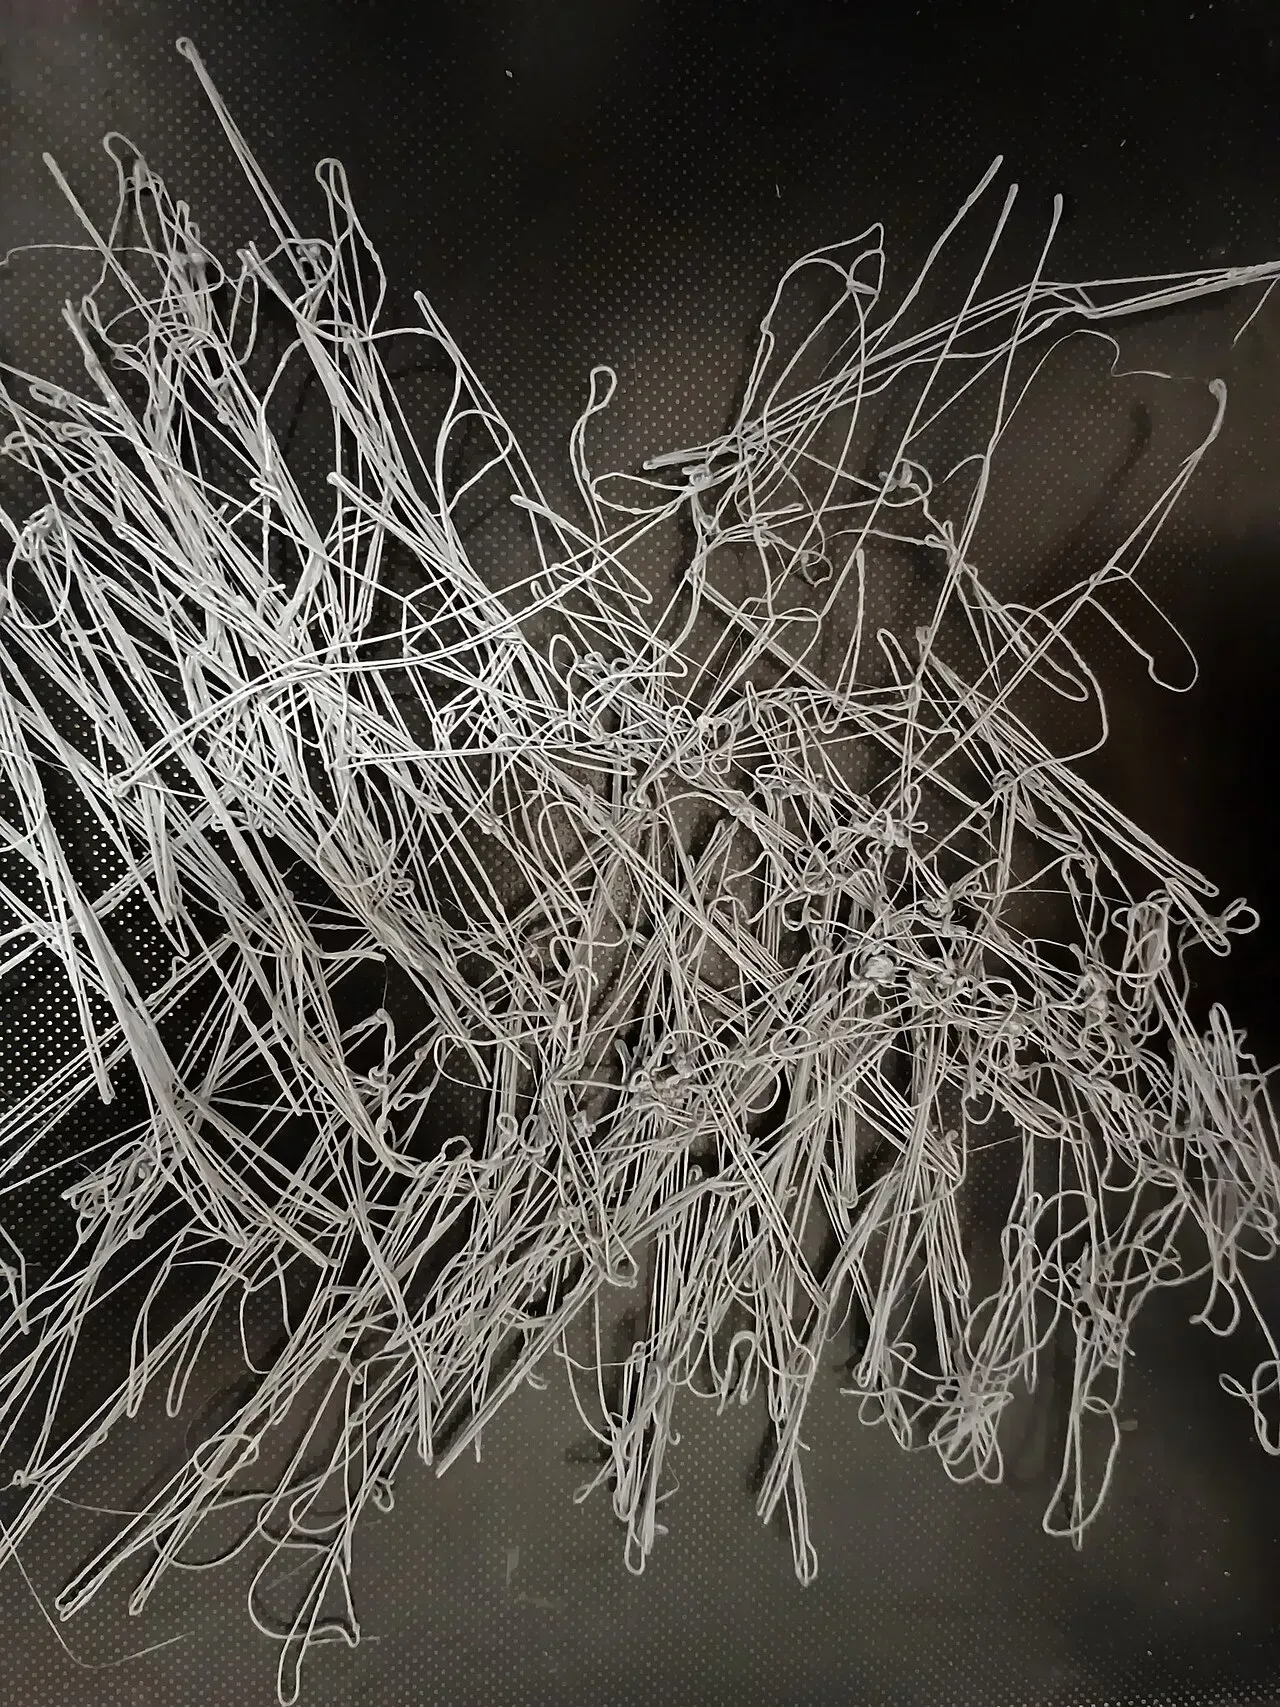 A "spaghetti monster": what a failed print looks like after hours of printing into nothing.Photo: A7N8X ·CC0 ·Wikimedia Commons
Your action plan
- Heat up, clean the nozzle, home.
- Paper test at each corner, two or three rounds.
- Check the centre.
- Probe a mesh (if you have a probe).
- Print a first-layer test.
- Fix uneven areas with the knobs; fix even-but-wrong with the Z offset.
FAQ
How often should I level my 3D printer bed?
Check it whenever the first layer looks uneven, and after moving the printer or changing the build plate. Printers with a probe and mesh re-measure automatically, so you rarely need to touch the knobs.
Do I still need to level if my printer has auto bed leveling?
Usually only roughly. Auto leveling compensates for small differences, but a bed that is badly tilted still needs a manual level first, and you still set the Z offset.
Why does my first layer stick in one corner but not another?
That’s a leveling problem: the gap is different in different places. Adjust the knob at the corner where the first layer is loose, then re-check the others.
Is the paper test accurate enough?
For most printers, yes. It gets the gap to roughly 0.1 mm at every corner; a first-layer test and Z offset adjustment take care of the rest.
Should I level the bed hot or cold?
Hot. Heat the bed and nozzle to printing temperature first, because both expand slightly and the bed can change shape as it warms.
What’s the difference between bed leveling and Z offset?
Leveling makes the gap the same everywhere; Z offset sets how big that gap is. If the first layer is equally wrong everywhere, it’s the Z offset.
Why does my bed keep going out of level?
Usually weak springs, knobs that turn from vibration, or loose wheels. Stiffer springs or silicone spacers and correctly adjusted wheels fix most cases.
Related guides
Set the gap with our Z offset guide. New to all this? Start with the complete beginner’s guide, or read what every part of a 3D printer does.