What Is Z Offset? How to Set It for a Perfect First Layer
What Z offset is, why it decides whether your first layer sticks, and how to set it on any printer with live adjustment, menus and test prints.
Z offset is the gap between the tip of your nozzle and the bed when the printer thinks it is at height zero. You set it so the first layer is slightly squished onto the bed: lower the nozzle in small steps (0.02–0.05 mm) while a first-layer test prints, until the lines are flat and touch each other, then save it.
This guide explains what Z offset is, how to read your first layer, and where to change it on common printers and in OrcaSlicer, Bambu Studio, PrusaSlicer and Cura.
Quick fix checklist
- Clean the bed with isopropyl alcohol before judging any first layer.
- Level the bed (or run auto bed leveling) first; Z offset can’t fix an uneven bed.
- Run your printer’s first-layer or Z calibration if it has one.
- Print a large single-layer square and watch it go down.
- Lower the nozzle in 0.02–0.05 mm steps if lines are round with gaps; raise it if they are thin, see-through or scraped.
- Save the value so it survives a restart.
- Re-check after changing the nozzle or the build plate.
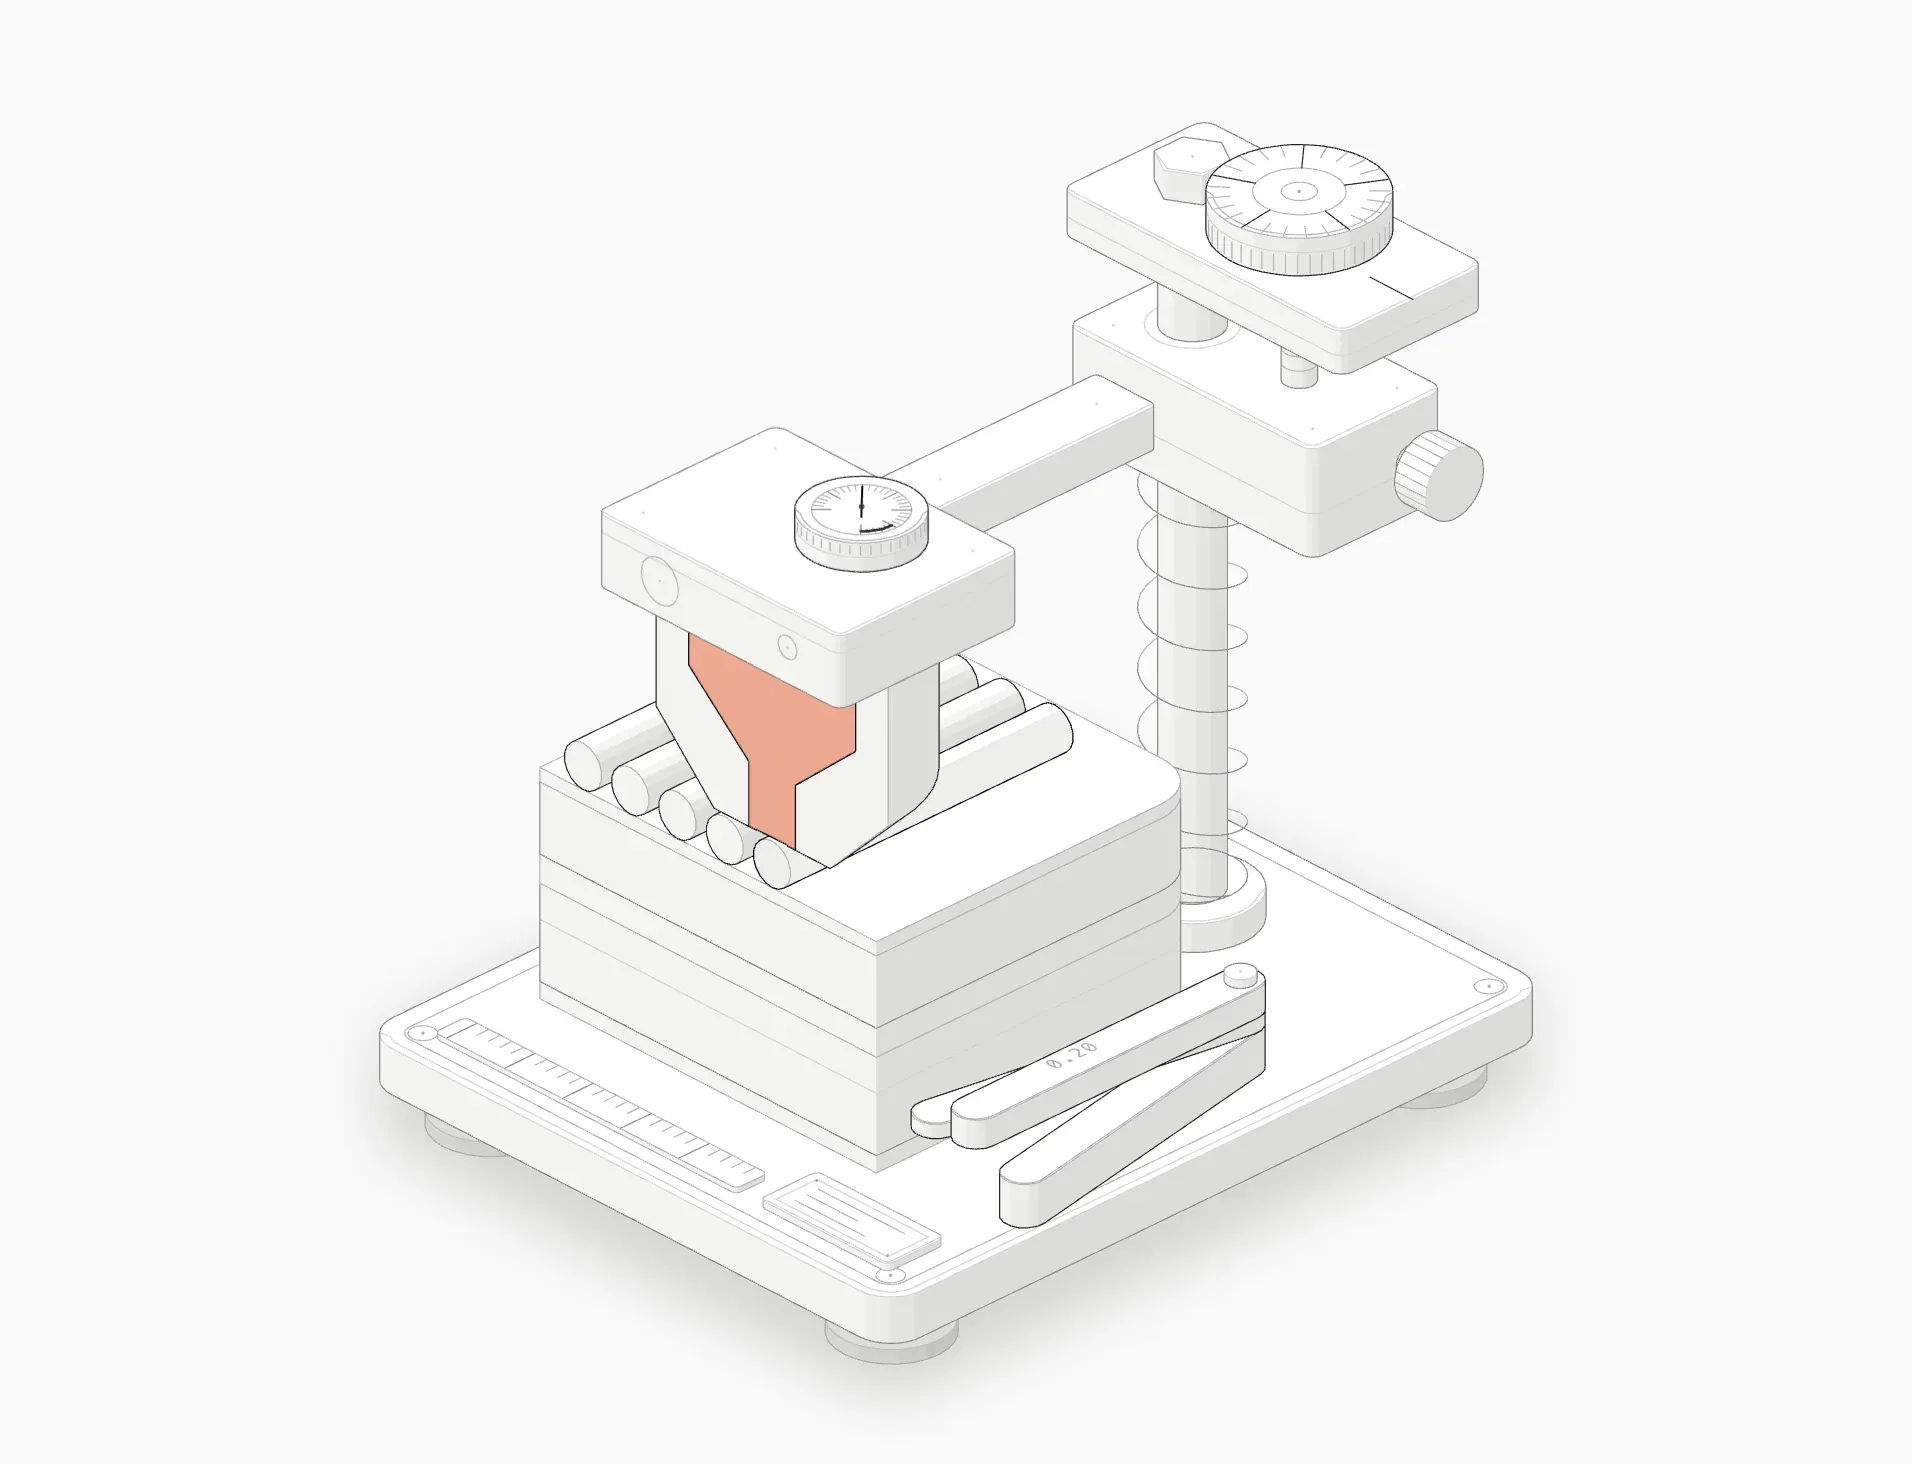 Too high: round lines that don't touch or stick.
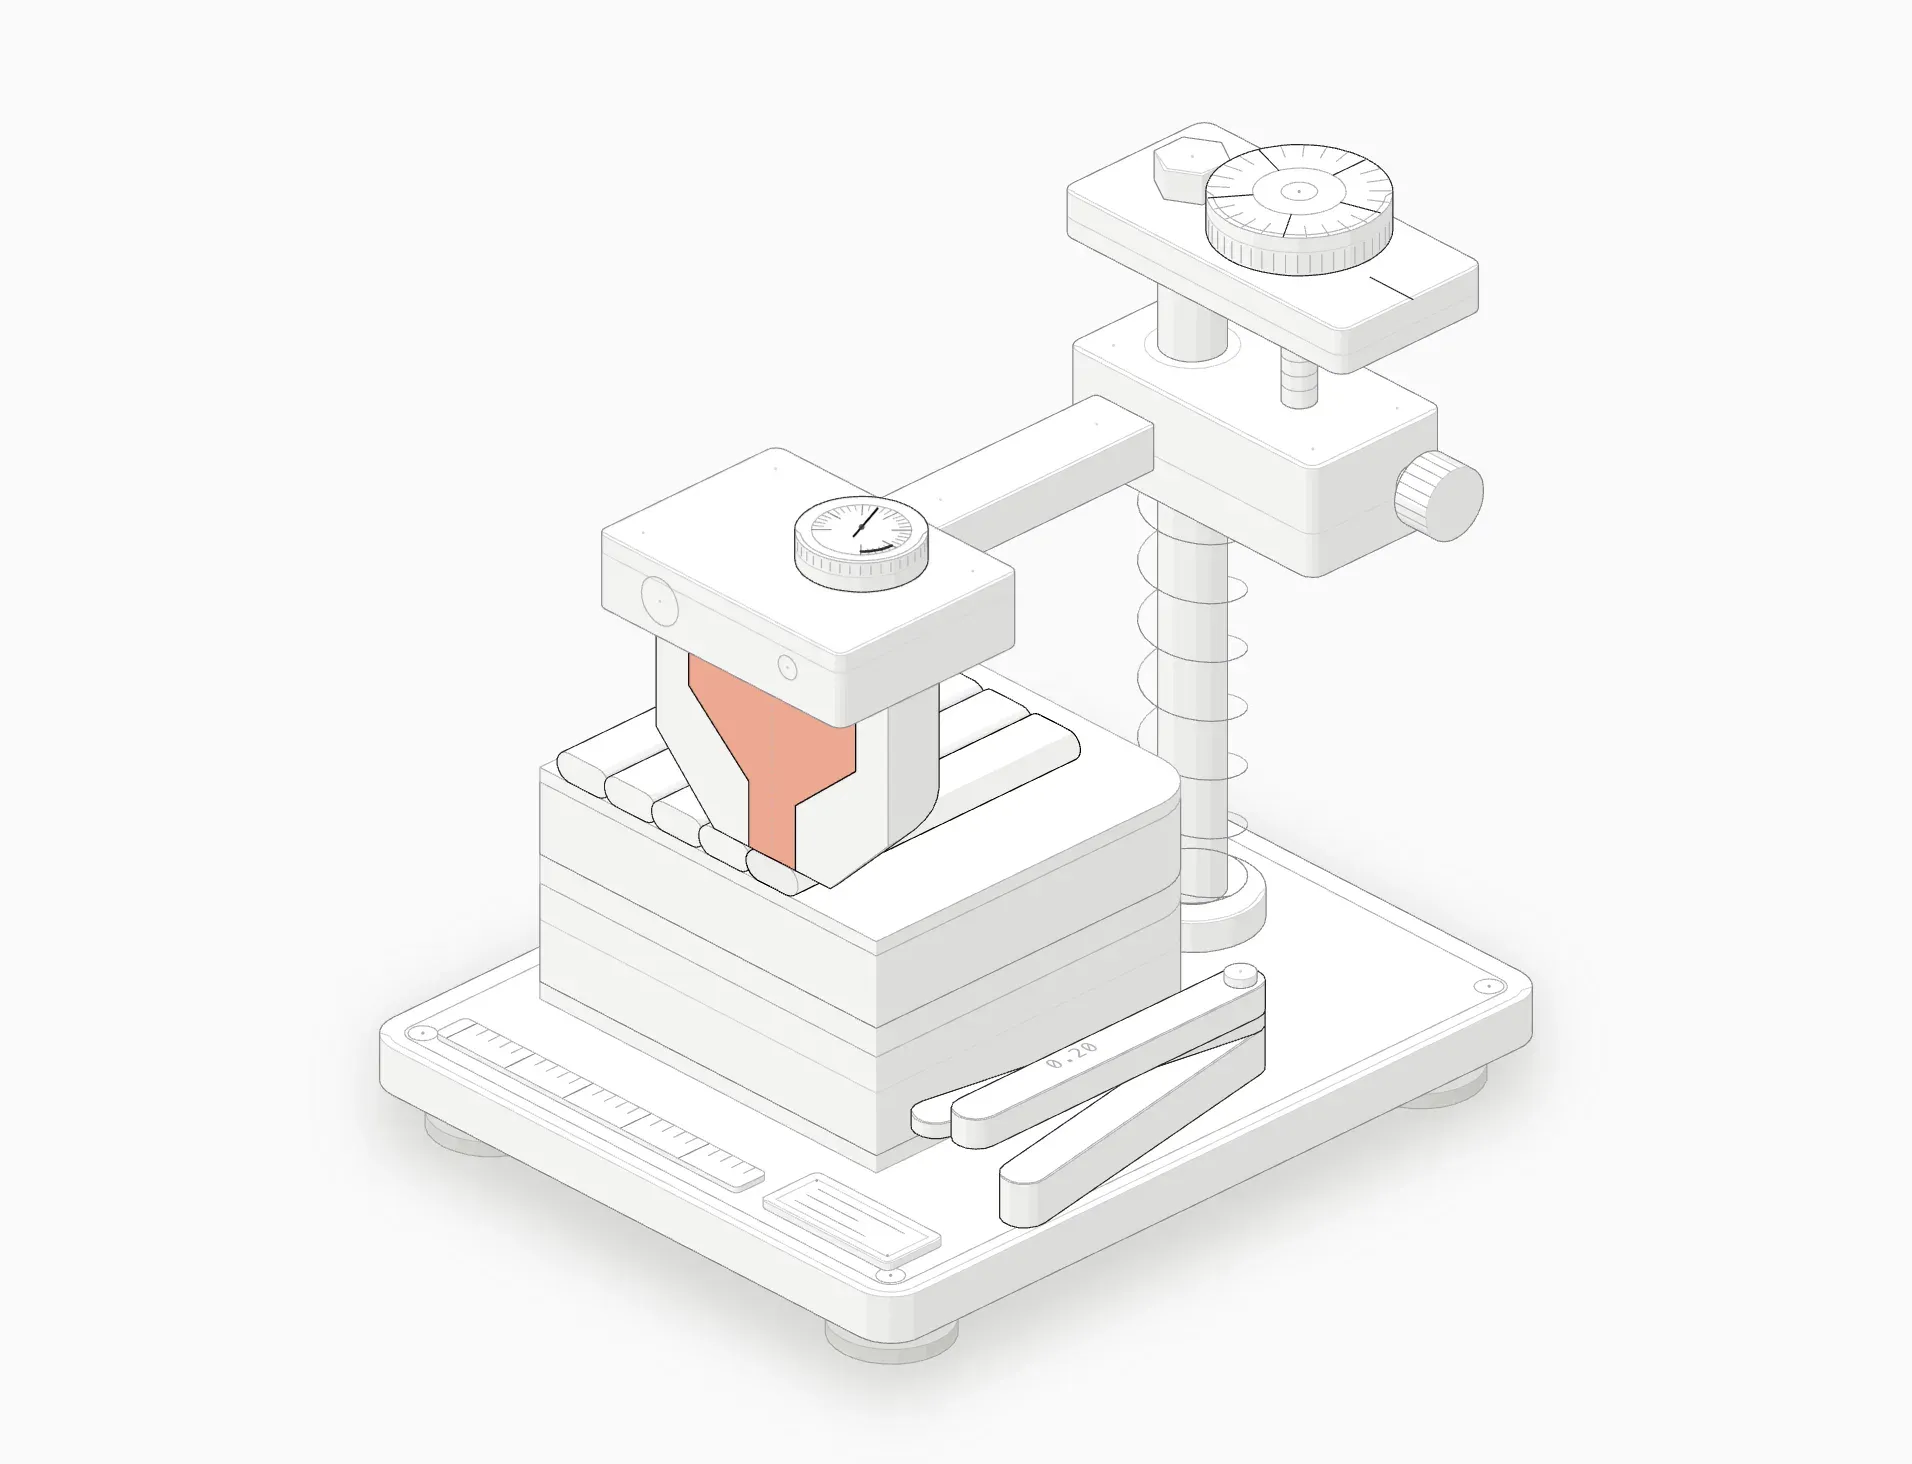 Z offset right: slightly squished lines that touch.
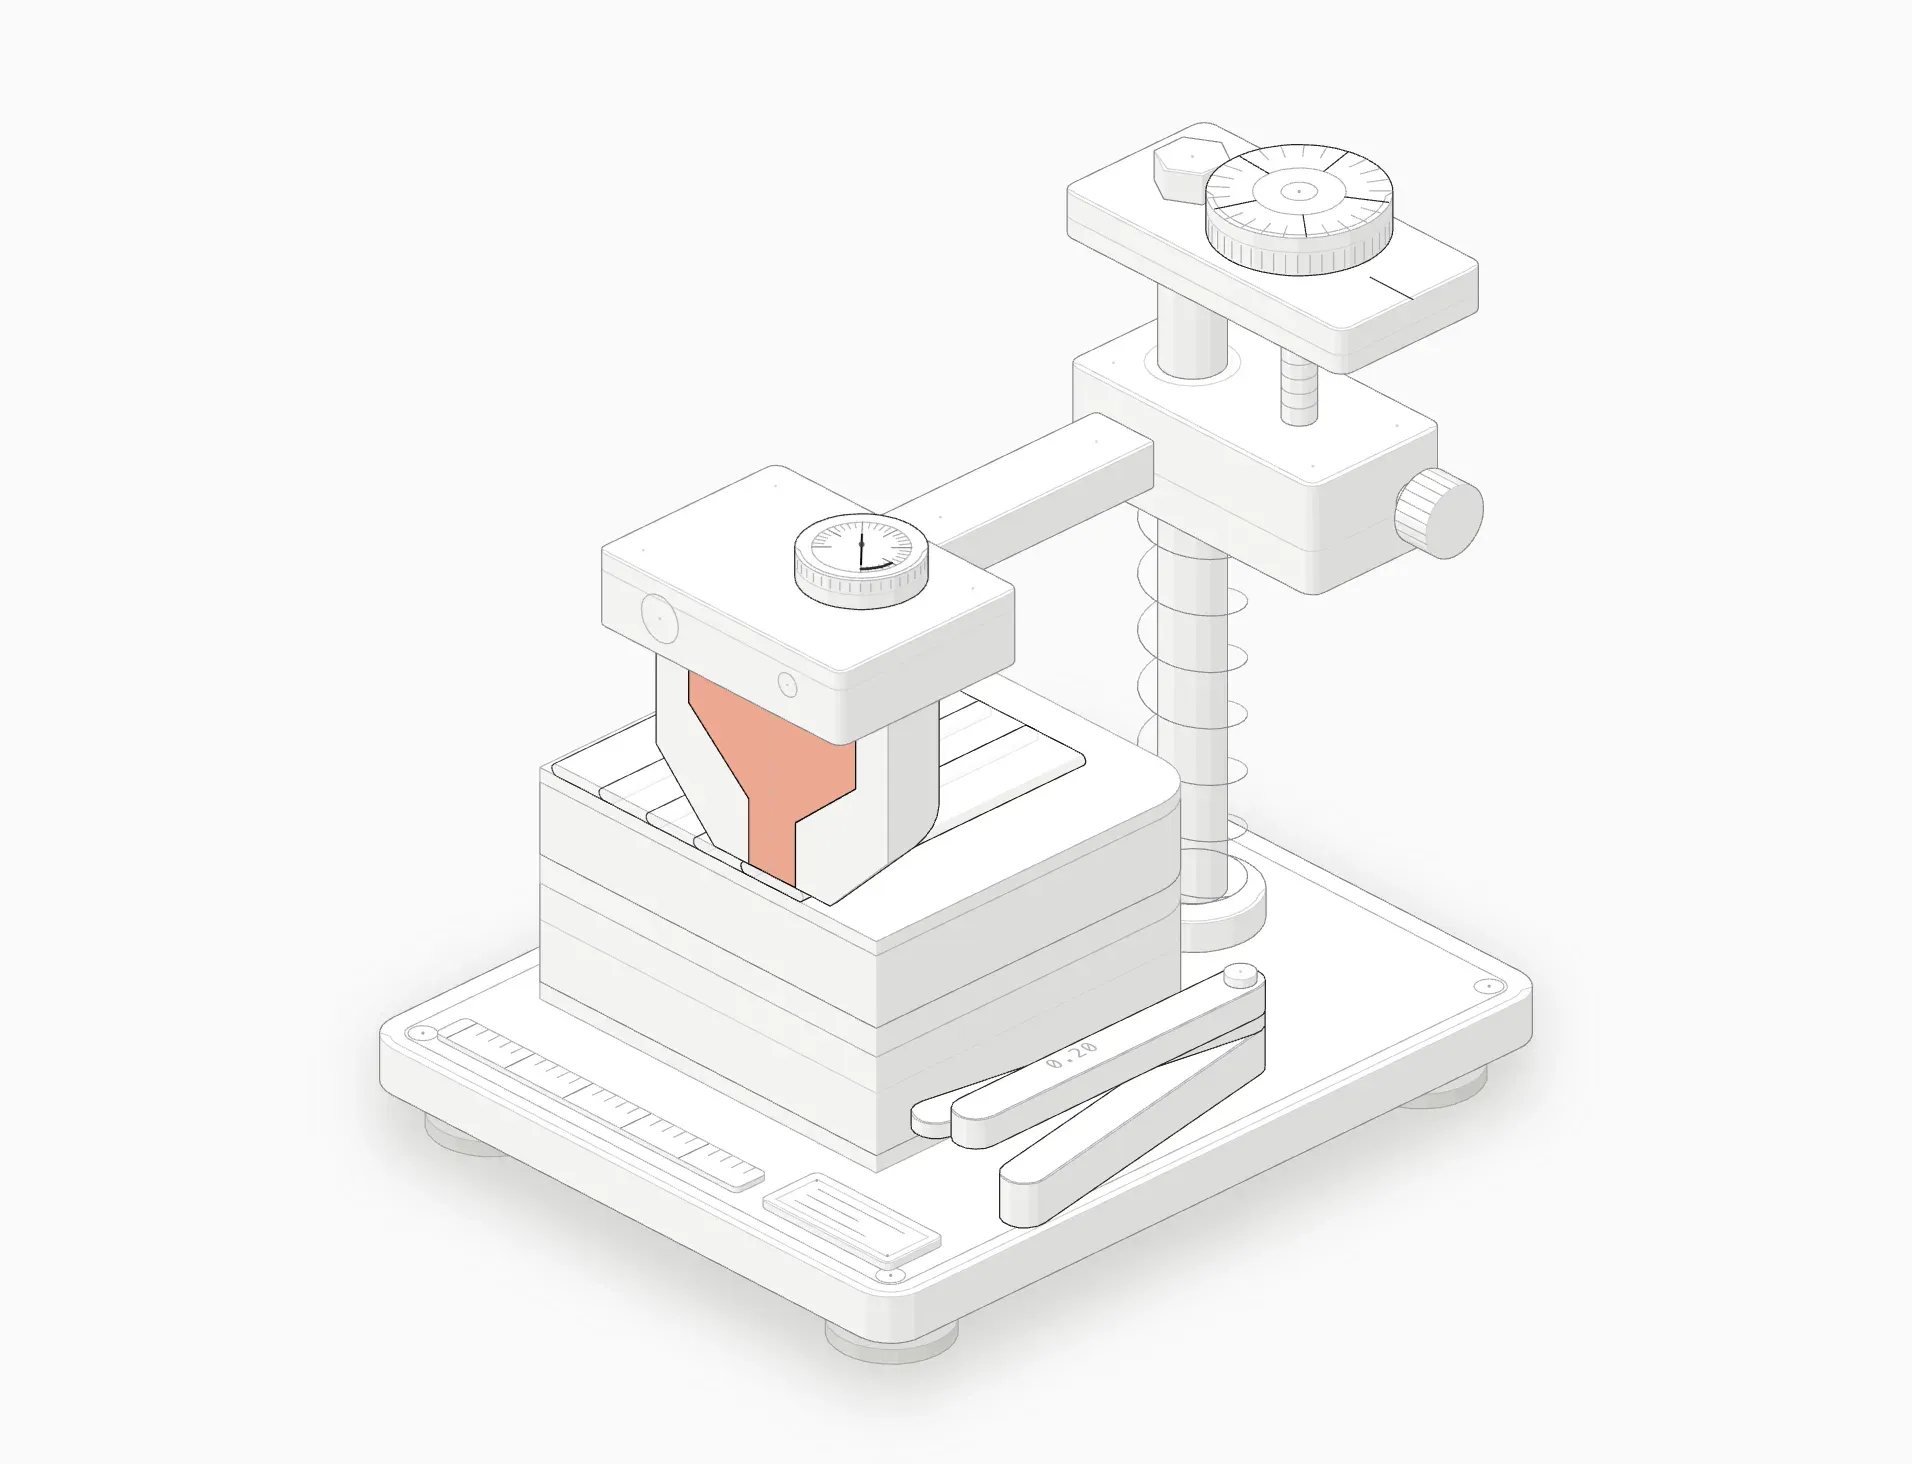 Too low: lines squashed thin, and the extruder struggles.
What is Z offset?
When your printer homes, it finds the bed with a switch or a probe. That trigger point is never exactly where the nozzle touches the bed: the probe sits beside the nozzle, the switch clicks a little early, and the nozzle is a slightly different length after you change it. Z offset is the correction that turns “where the sensor triggered” into “where the nozzle really is”.11On printers with a probe, the firmware stores this as the probe’s Z offset. On a printer with a plain end stop switch, you set it by moving the switch or with a firmware offset.
When the offset is right, the nozzle starts the first layer at the layer height your slicer asked for, usually 0.2 mm above the bed.
Z offset, bed leveling and first layer height are different things
- Z offset: how far the nozzle is from the bed at “zero”. The same everywhere.
- Bed leveling: whether that gap is the same everywhere on the bed.
- First layer height: a slicer setting for how thick the first layer is meant to be. Z offset decides whether the nozzle actually starts there.
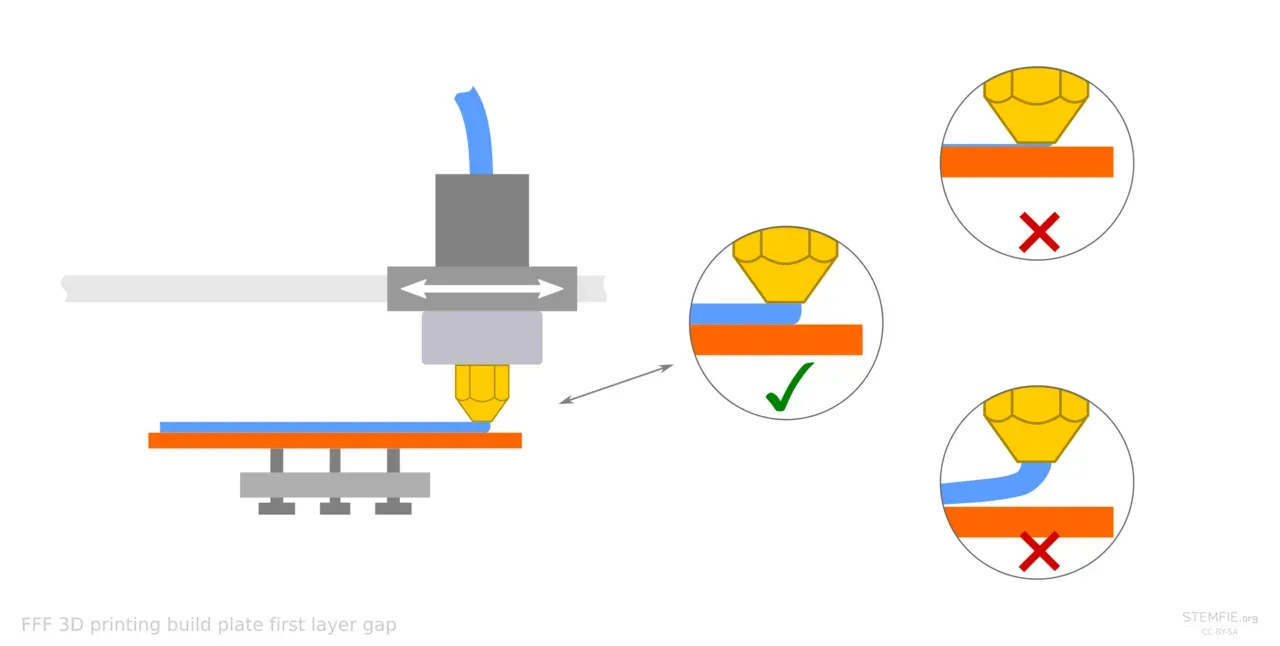 Nozzle height decides the first layer: too close, just right, too far.Photo: Stemfie3D ·CC BY-SA 4.0 ·Wikimedia Commons
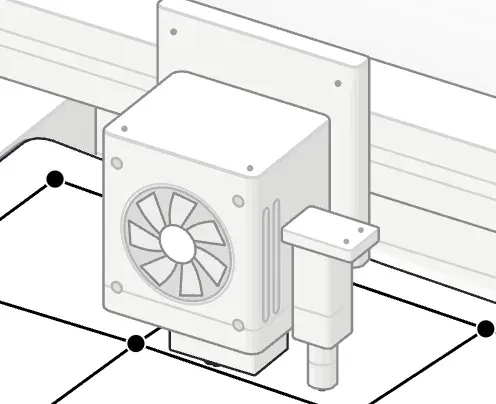 A touch probe sits beside the nozzle and taps the bed.
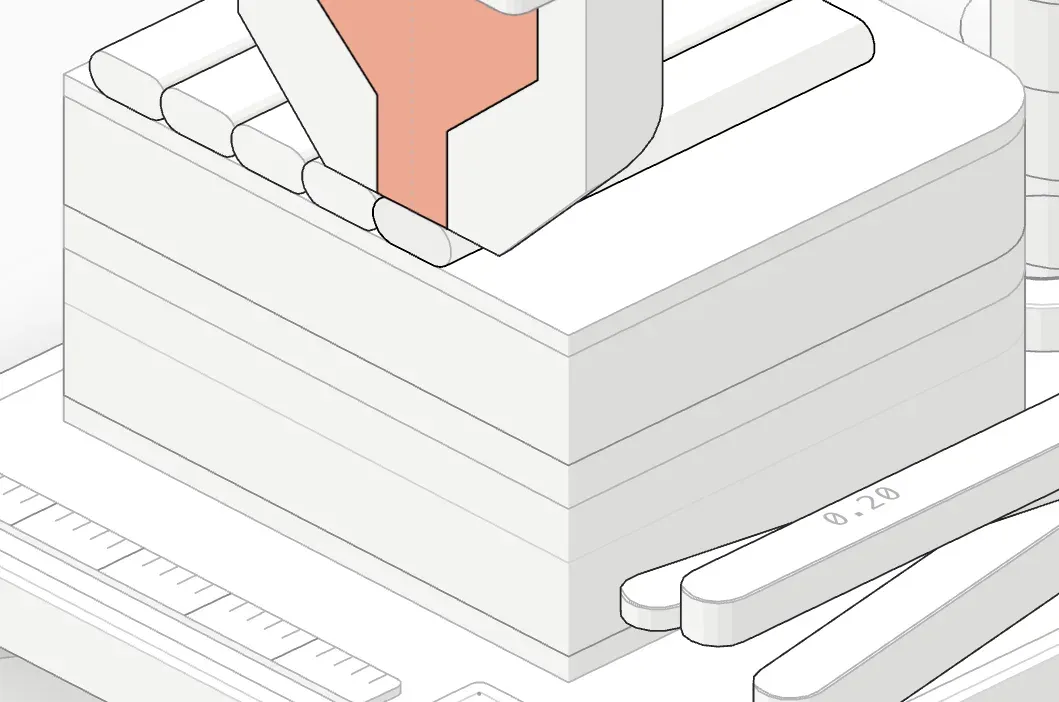
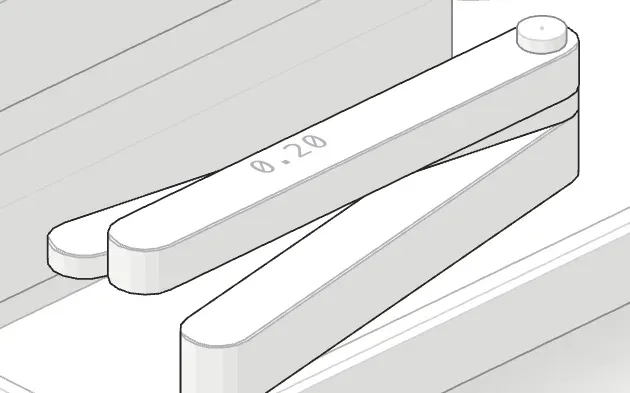 A 0.20 mm feeler leaf: the gap for a standard first layer.
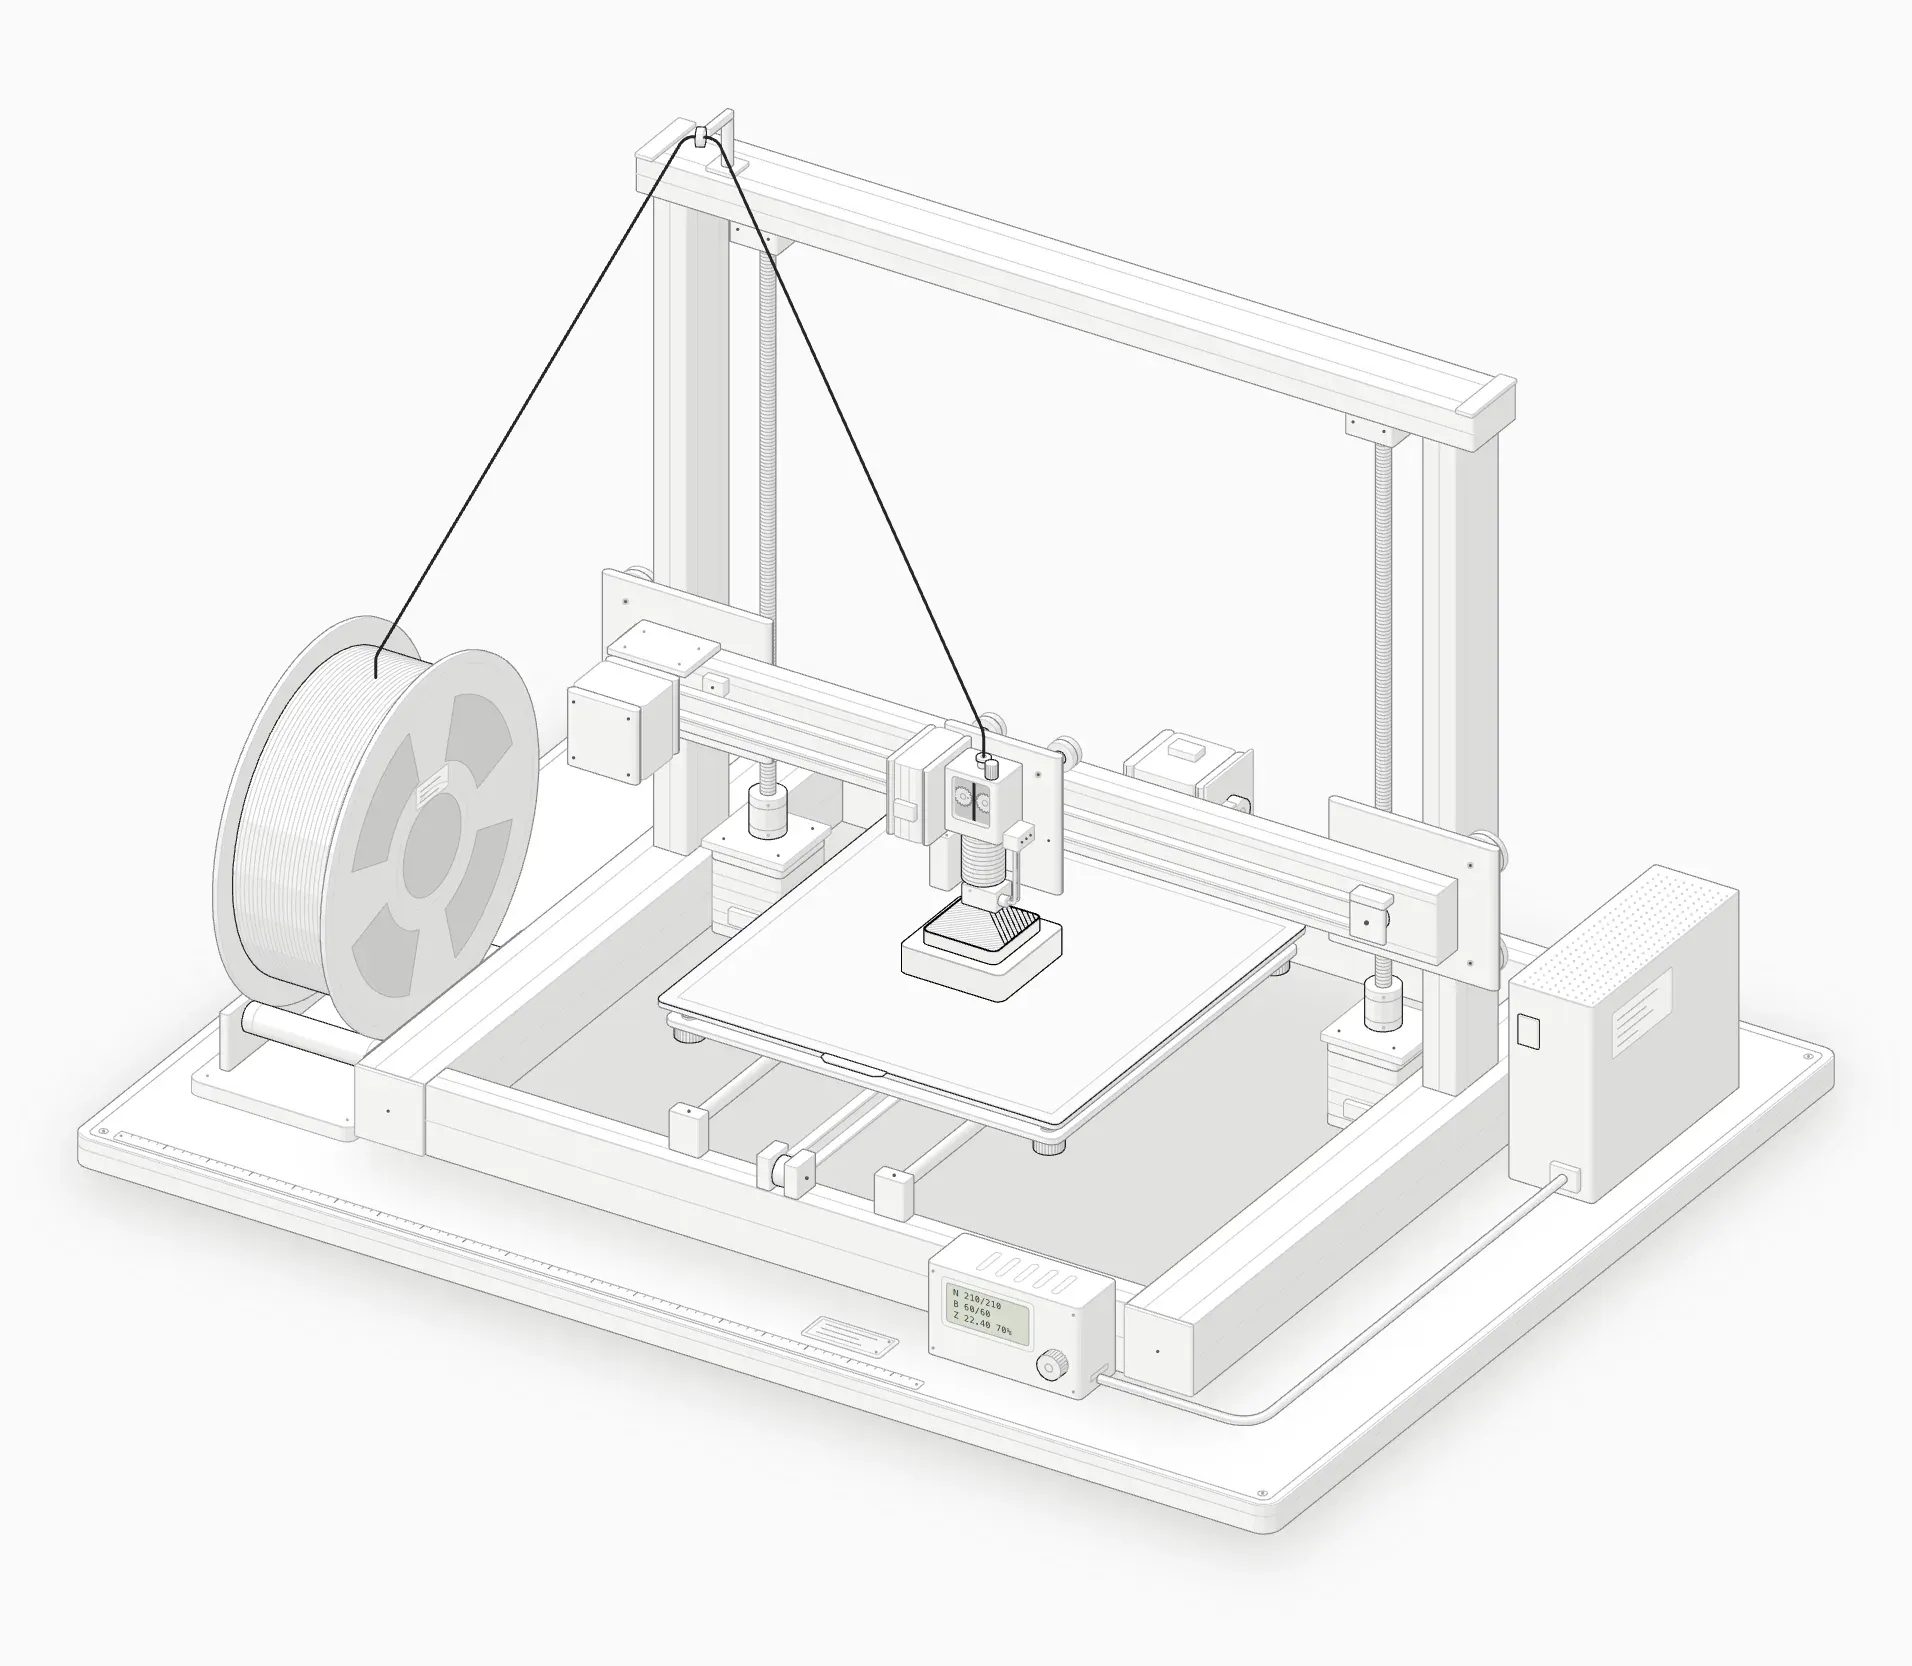
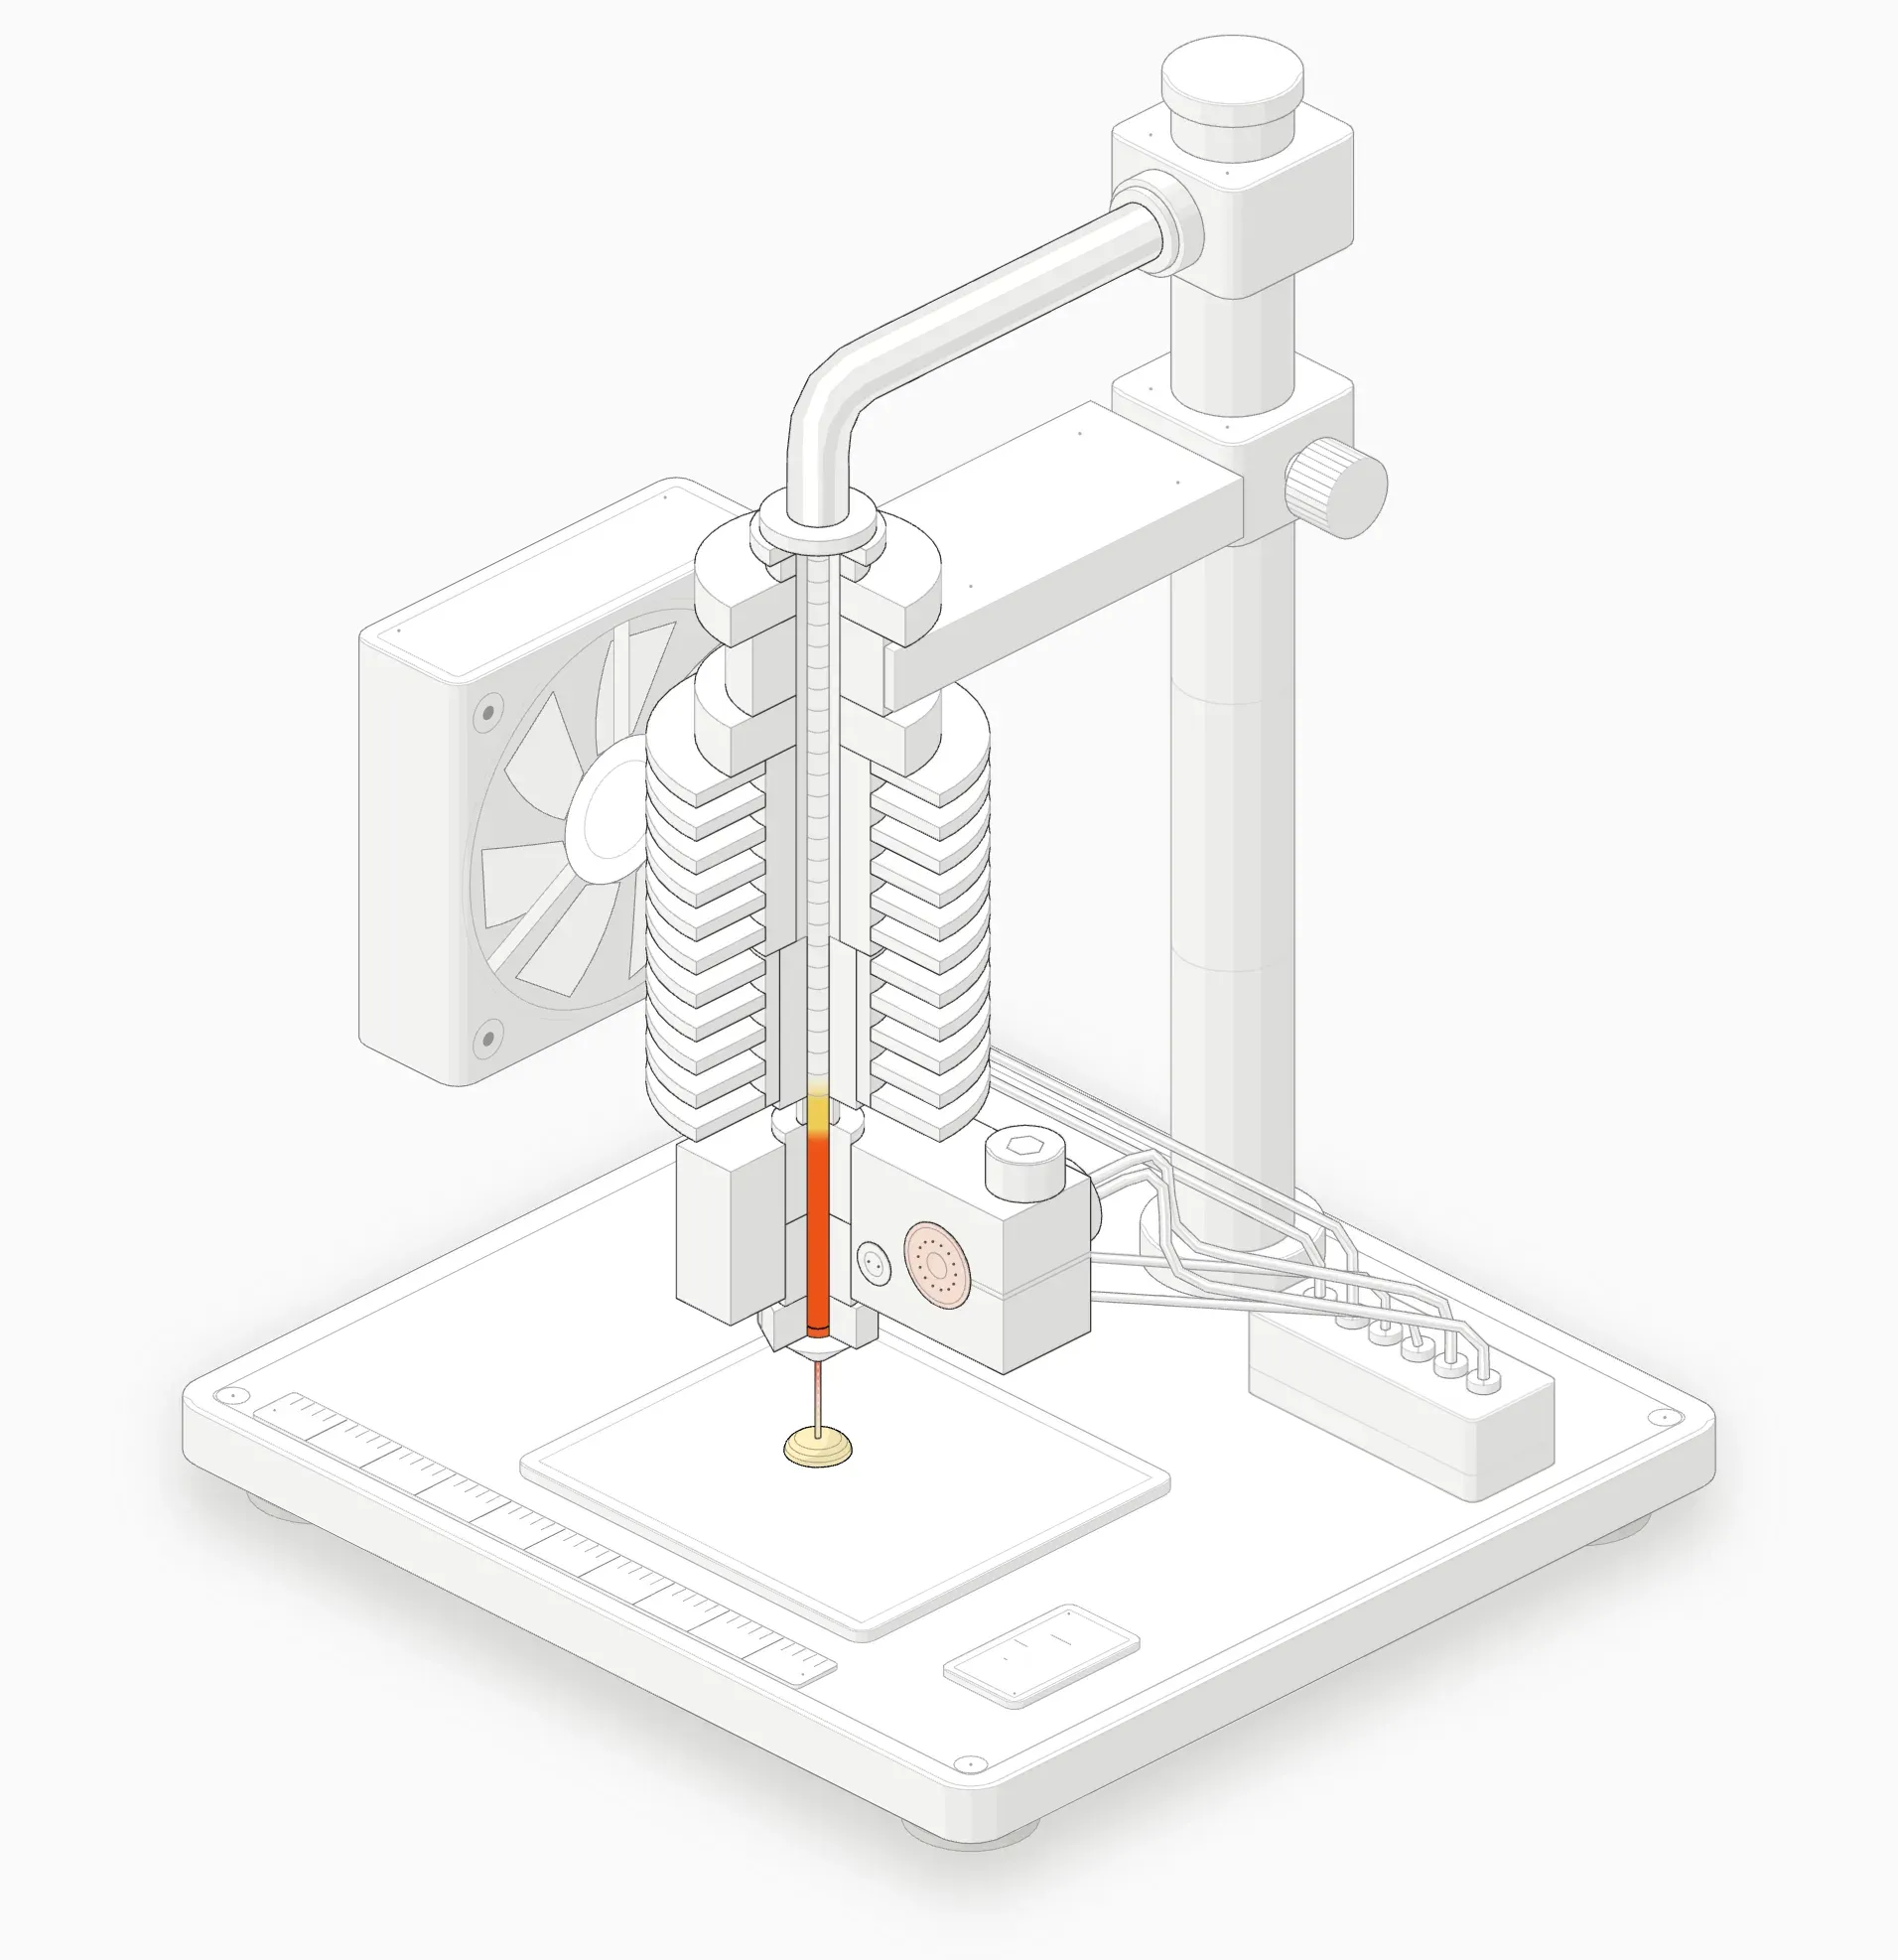
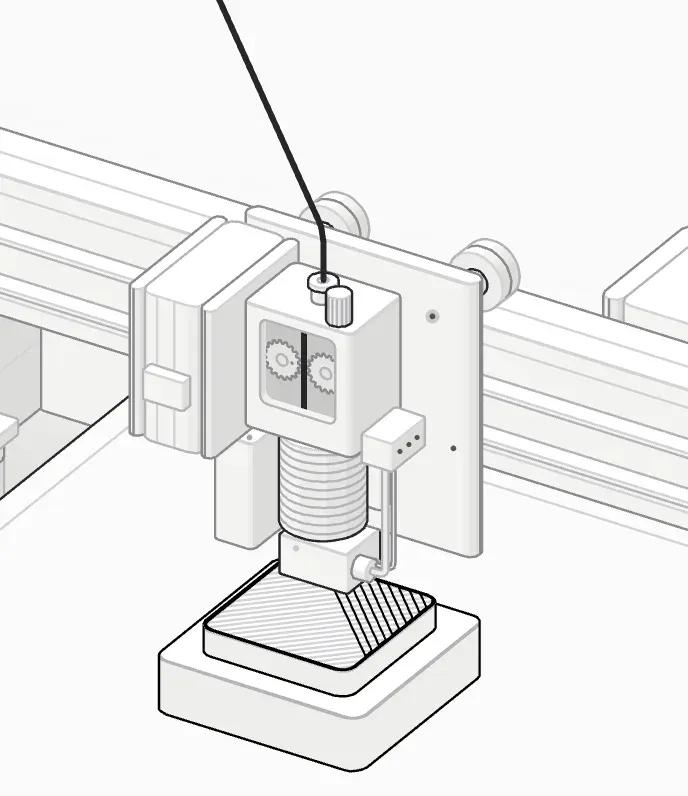 The print head: extruder on top, finned heatsink, heater block and nozzle.
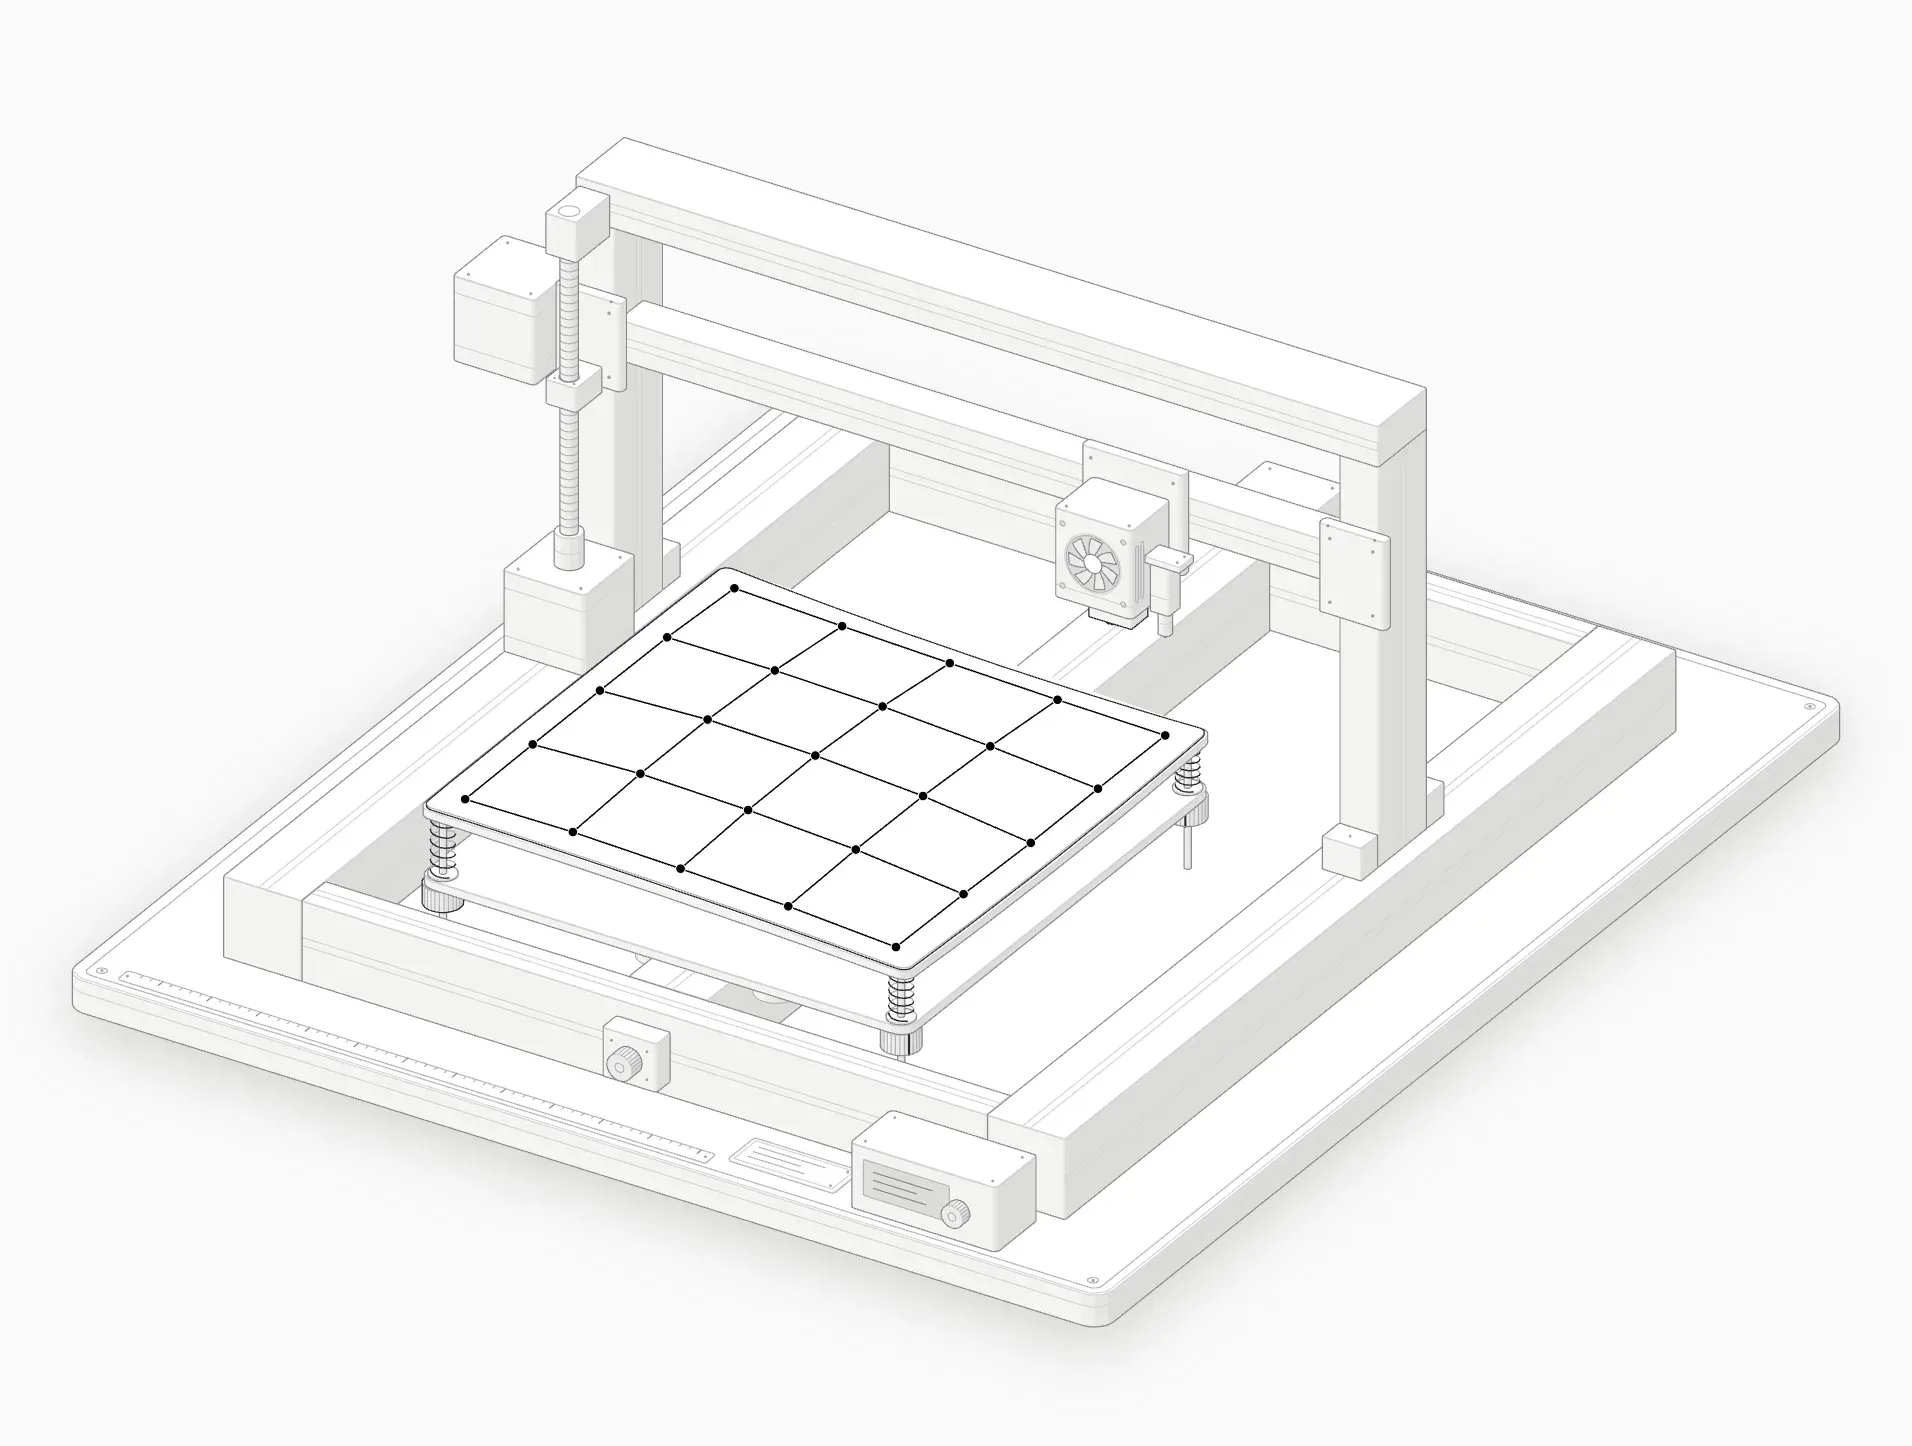 A probed 5 × 5 mesh across the bed.
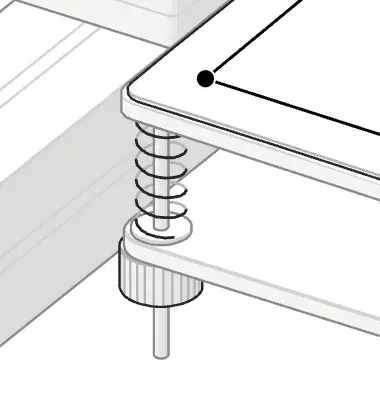 A corner spring and knob: about half a millimetre per full turn.
 A print bed in layers: heater, aluminium, magnet, spring steel, PEI.
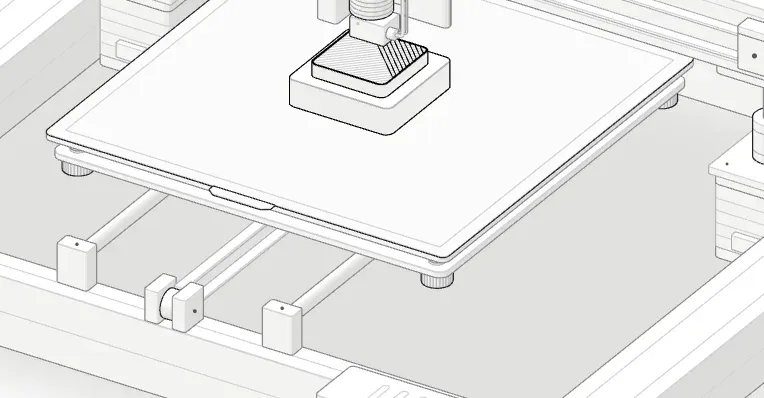 The heated bed with a PEI sheet. The part is the only thing printed on it.
Why the first layer needs a little squish
Plastic leaves a 0.4 mm nozzle as a round thread. If the nozzle is about 0.2 mm above the bed, that thread is pressed into a wider, flatter line. The squish does two jobs:
- It pushes molten plastic into the texture of the bed, which is what makes it stick.
- It makes each line spread just enough to touch the one beside it, so the first layer is a solid sheet with no gaps.
The amount of plastic coming out stays the same, so a smaller gap always means a wider, flatter line.22That’s why a nozzle far too close makes the extruder click: there is nowhere for the plastic to go, so pressure builds until the gears slip on the filament.
gap 0.20 mm · line 0.45 × 0.20 mm · good squish
- Drag ↕ raise / lower the nozzle
- ↑ ↓ one babystep, 0.02 mm (Shift: 0.10)
- 1 2 3 too high · good · too low
- Home back to 0.00
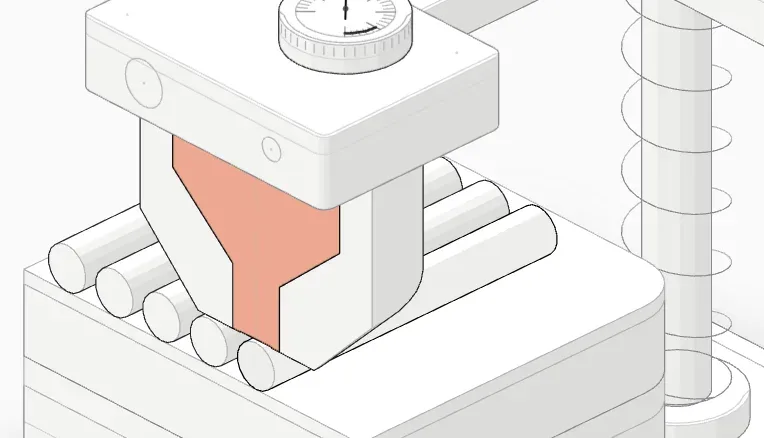 Cross-section, too high: the line stays round.
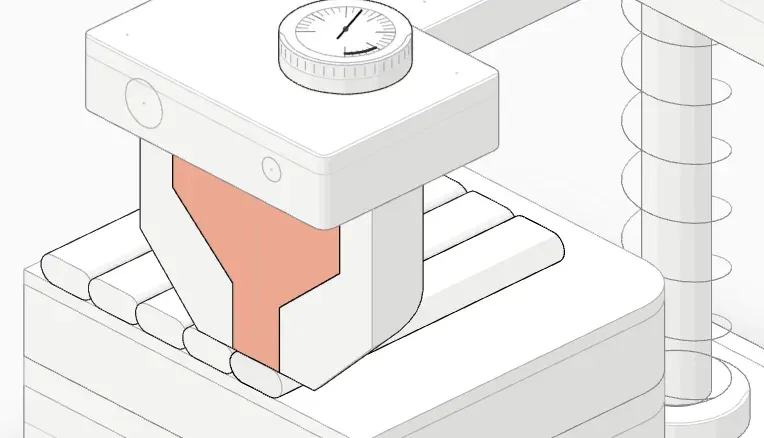 Cross-section, right height: a flattened line, about 0.45 × 0.20 mm.
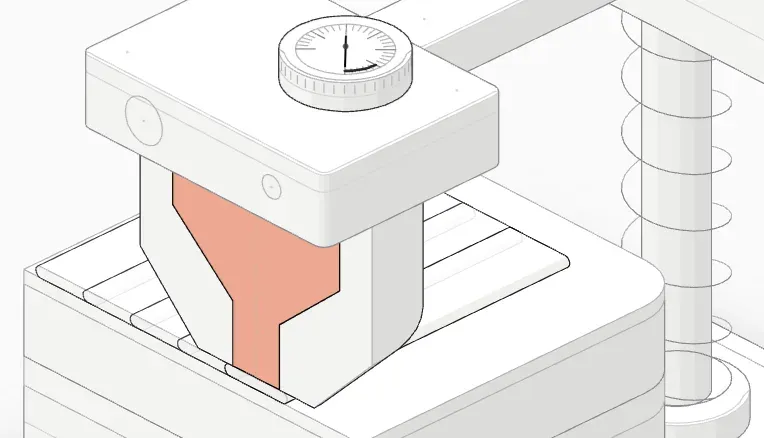 Cross-section, too low: the line is pressed into a sheet.
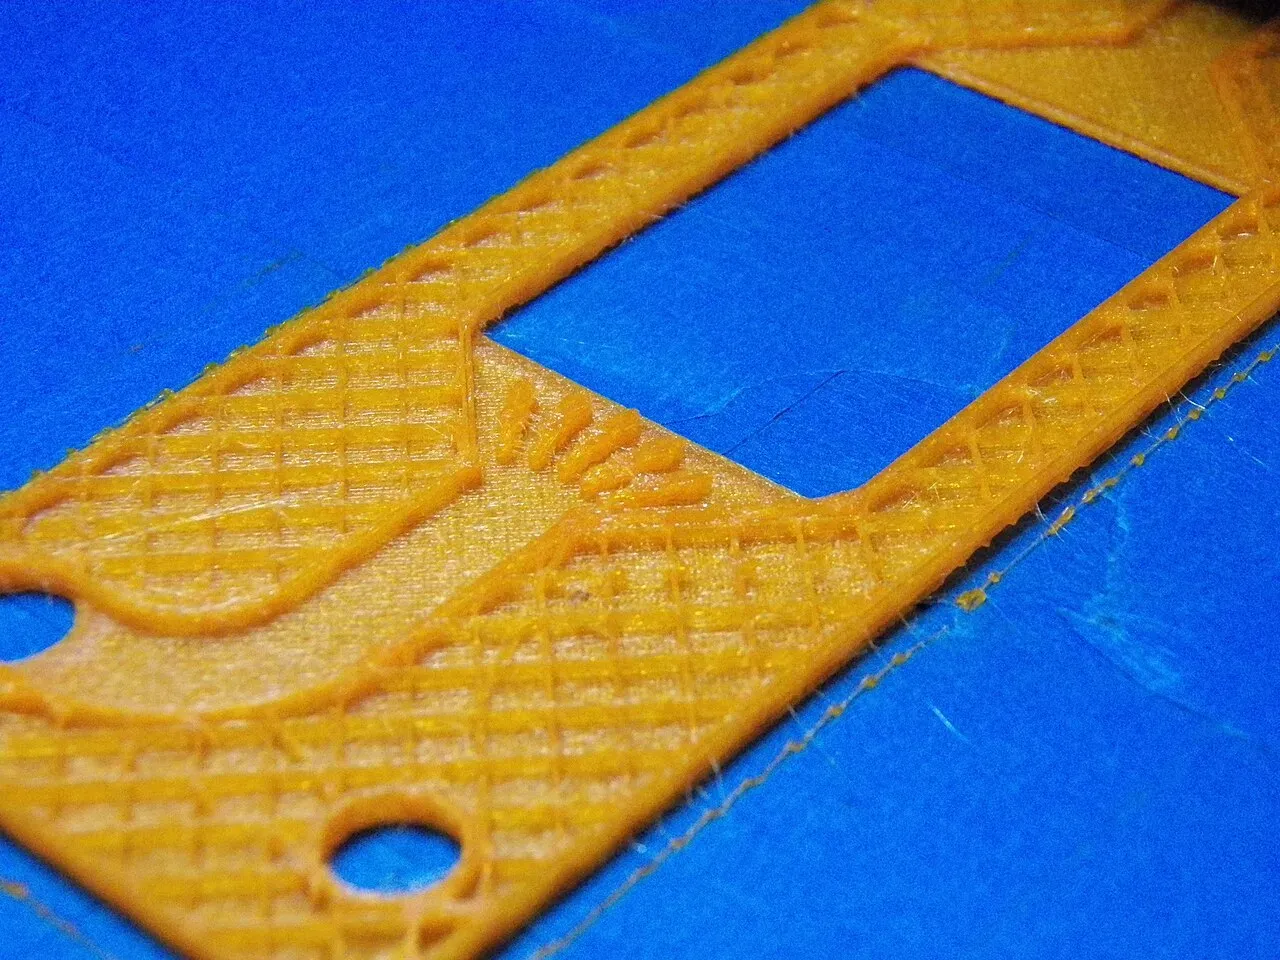 A first layer close up: lines pressed together on the bed.Photo: hdaniel ·CC BY-SA 2.0 ·Wikimedia Commons
How to read your first layer
| What you see | What it means | What to do | Step |
|---|---|---|---|
| Round lines with gaps between them | Nozzle too high | Lower the nozzle | 3 |
| First layer peels up or the part comes loose | Nozzle too high, or a dirty bed | Clean the bed, then lower the nozzle | 1, 3 |
| Flat lines that touch, smooth surface | Just right | Save it | 4 |
| Lines piling into ridges at their edges | Nozzle a little too low | Raise the nozzle slightly | 3 |
| Thin, see-through lines, scraping, extruder clicking | Nozzle far too low | Raise the nozzle | 3 |
| Good in one corner, bad in another | Bed not level | Level the bed first | 1 |
- Z offset +0.14 mm: gap 0.34 mm · line 0.32 × 0.32 mm · too high · round strand, won't stick.
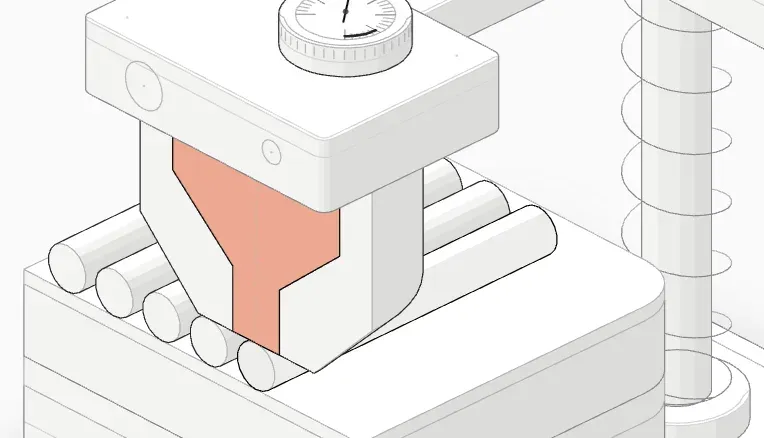 Z offset +0.12 mm: gap 0.32 mm · line 0.32 × 0.32 mm · too high · gaps between lines.
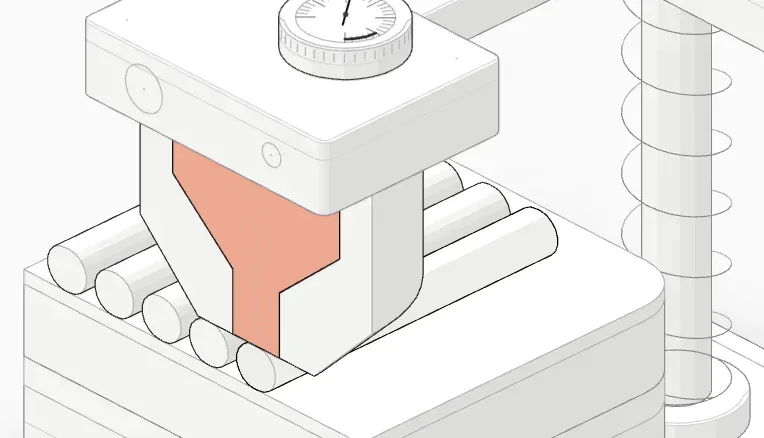 Z offset +0.10 mm: gap 0.30 mm · line 0.34 × 0.30 mm · too high · gaps between lines.
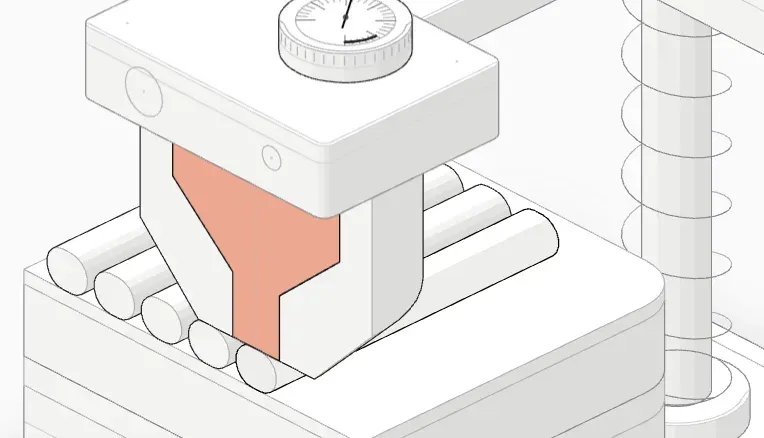 Z offset +0.08 mm: gap 0.28 mm · line 0.35 × 0.28 mm · too high · gaps between lines.
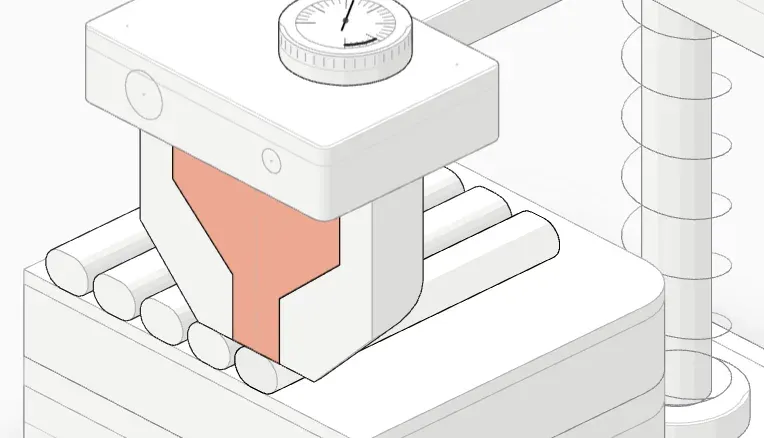 Z offset +0.06 mm: gap 0.26 mm · line 0.37 × 0.26 mm · too high · gaps between lines.
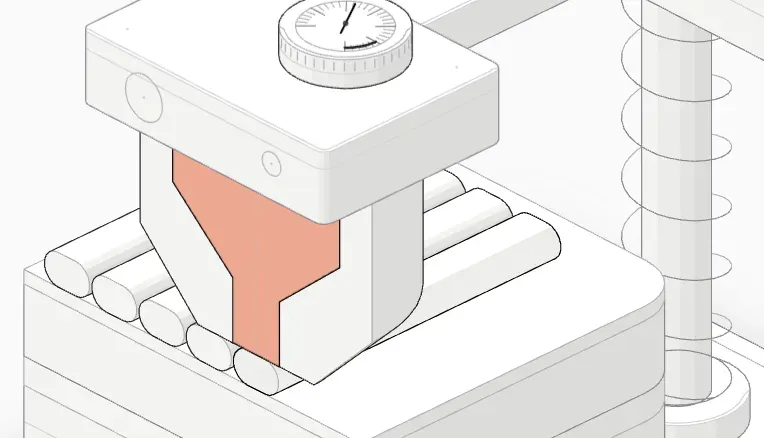 Z offset +0.04 mm: gap 0.24 mm · line 0.39 × 0.24 mm · too high · gaps between lines.
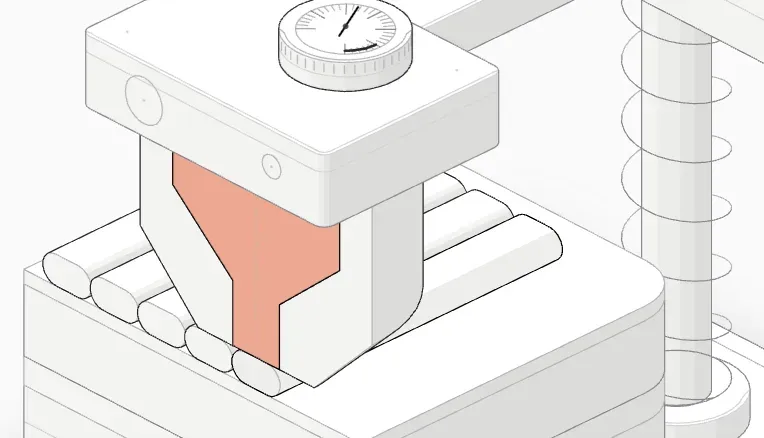 Z offset +0.02 mm: gap 0.22 mm · line 0.42 × 0.22 mm · good squish.
- Z offset 0.00 mm: gap 0.20 mm · line 0.45 × 0.20 mm · good squish.
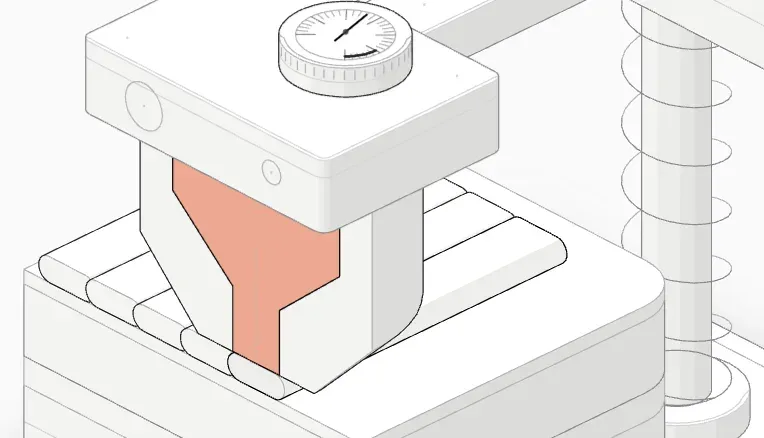 Z offset −0.02 mm: gap 0.18 mm · line 0.49 × 0.18 mm · good squish.
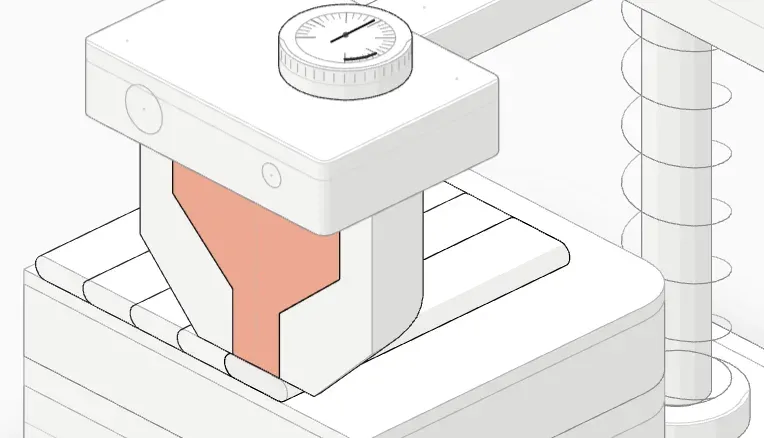 Z offset −0.04 mm: gap 0.16 mm · line 0.54 × 0.16 mm · good squish.
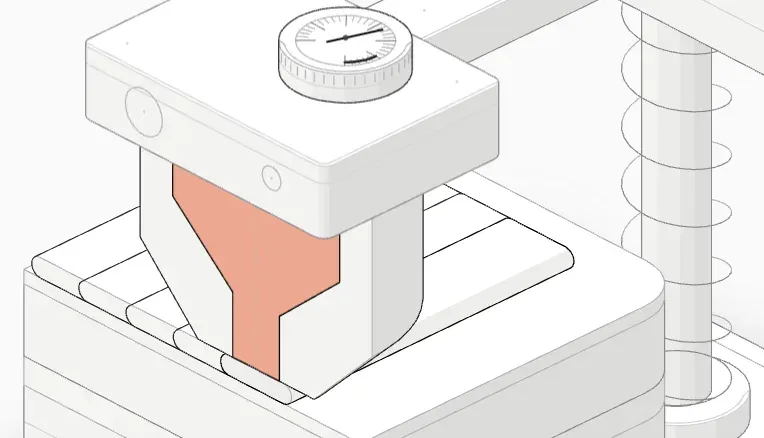 Z offset −0.06 mm: gap 0.14 mm · line 0.61 × 0.14 mm · good squish.
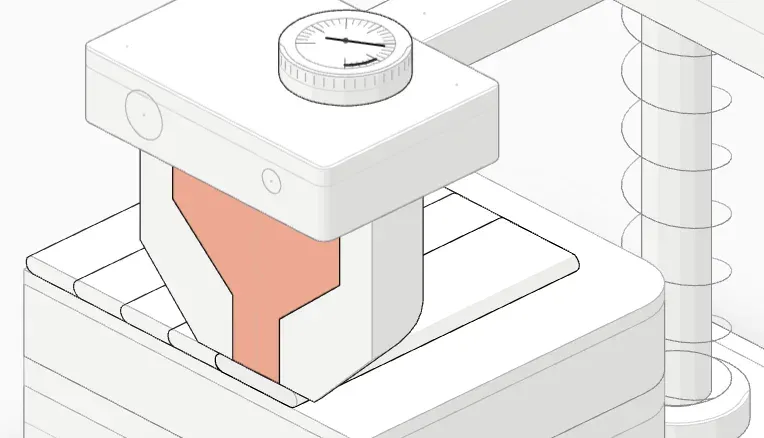 Z offset −0.08 mm: gap 0.12 mm · line 0.70 × 0.12 mm · too low · lines pile into ridges.
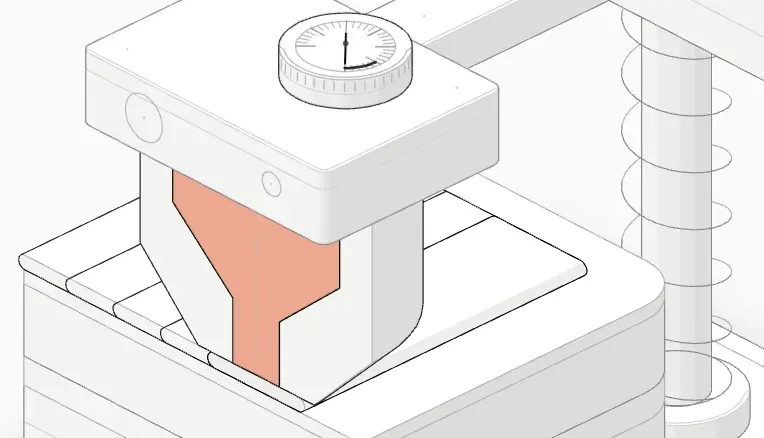 Z offset −0.10 mm: gap 0.10 mm · line 0.84 × 0.10 mm · too low · lines pile into ridges.
- Z offset −0.12 mm: gap 0.08 mm · line 0.54 × 0.08 mm · too low · extruder skipping.
Step 1: Prepare the bed
Z offset can only be judged on a clean, level bed.
- Clean the build plate with isopropyl alcohol. Fingerprints are oily and stop the first layer sticking, which looks like a Z offset problem but isn’t.
- Level the bed or run your printer’s auto bed leveling. Our guide to leveling your bed covers both.
- Heat the bed and nozzle to printing temperature. Both expand slightly as they heat.
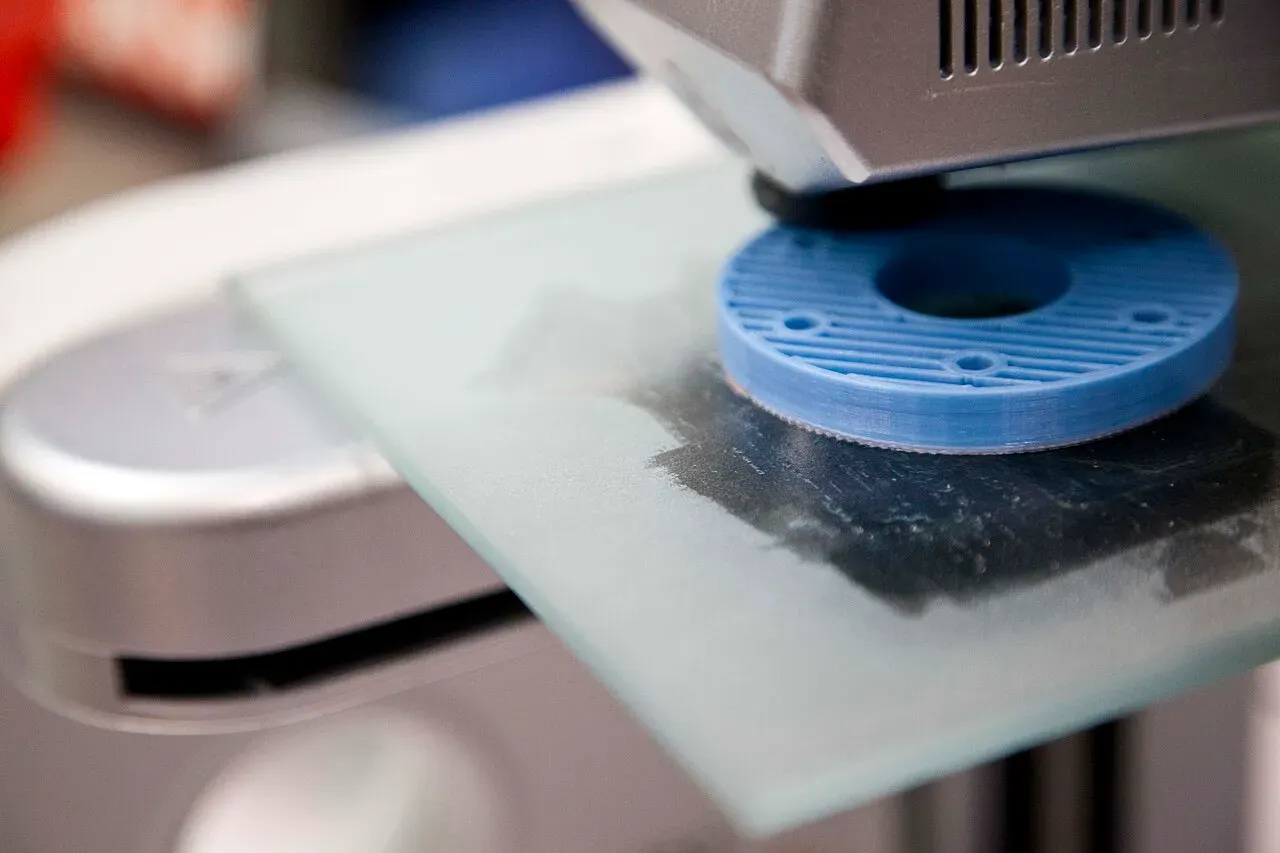 A print on a glass bed.Photo: ENERGY.GOV ·Public domain ·Wikimedia Commons
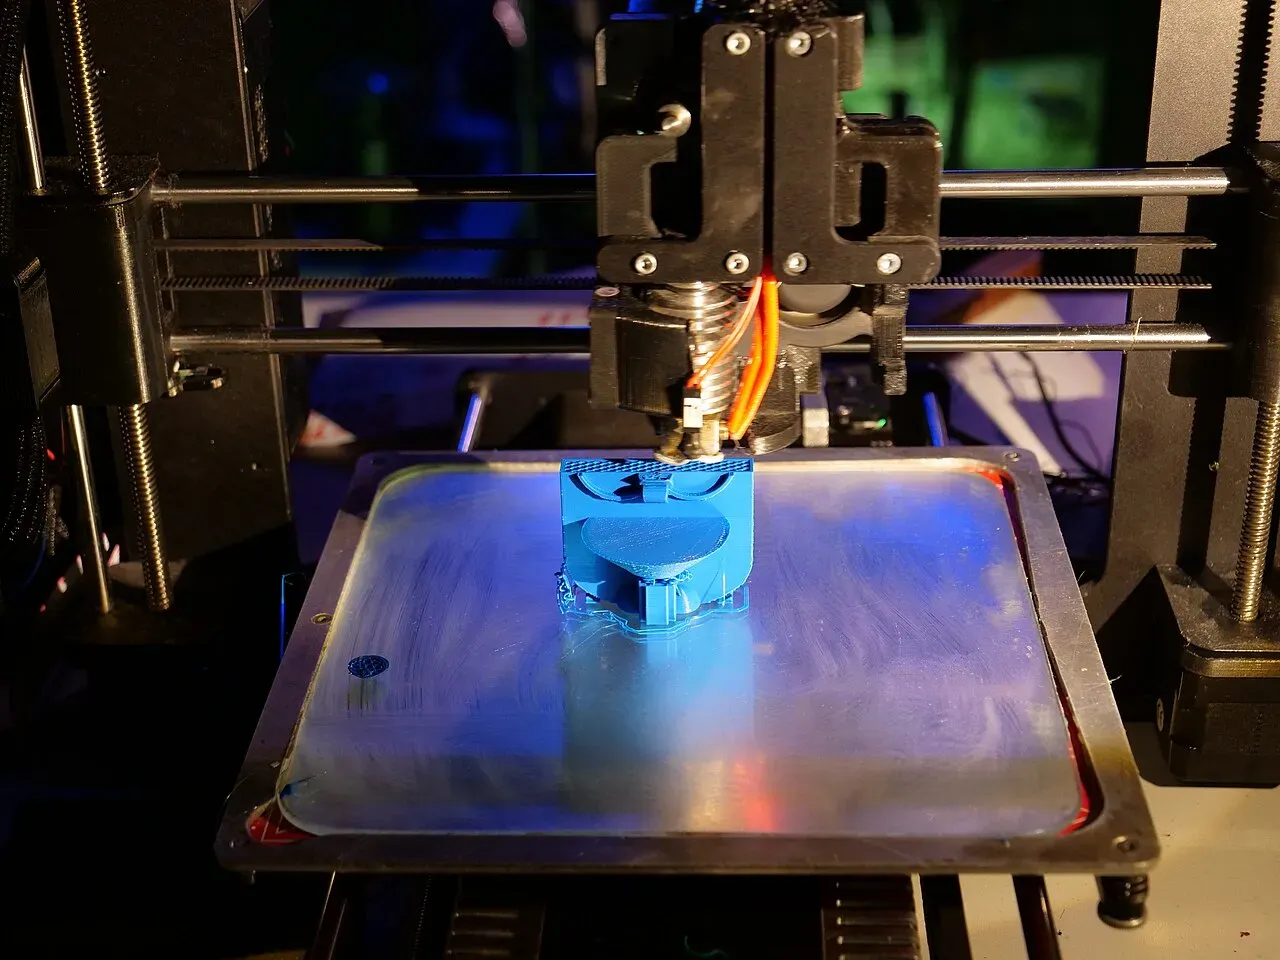 A part being printed on a spring-steel bed.Photo: Leonhard Lenz ·CC BY-SA 4.0 ·Wikimedia Commons
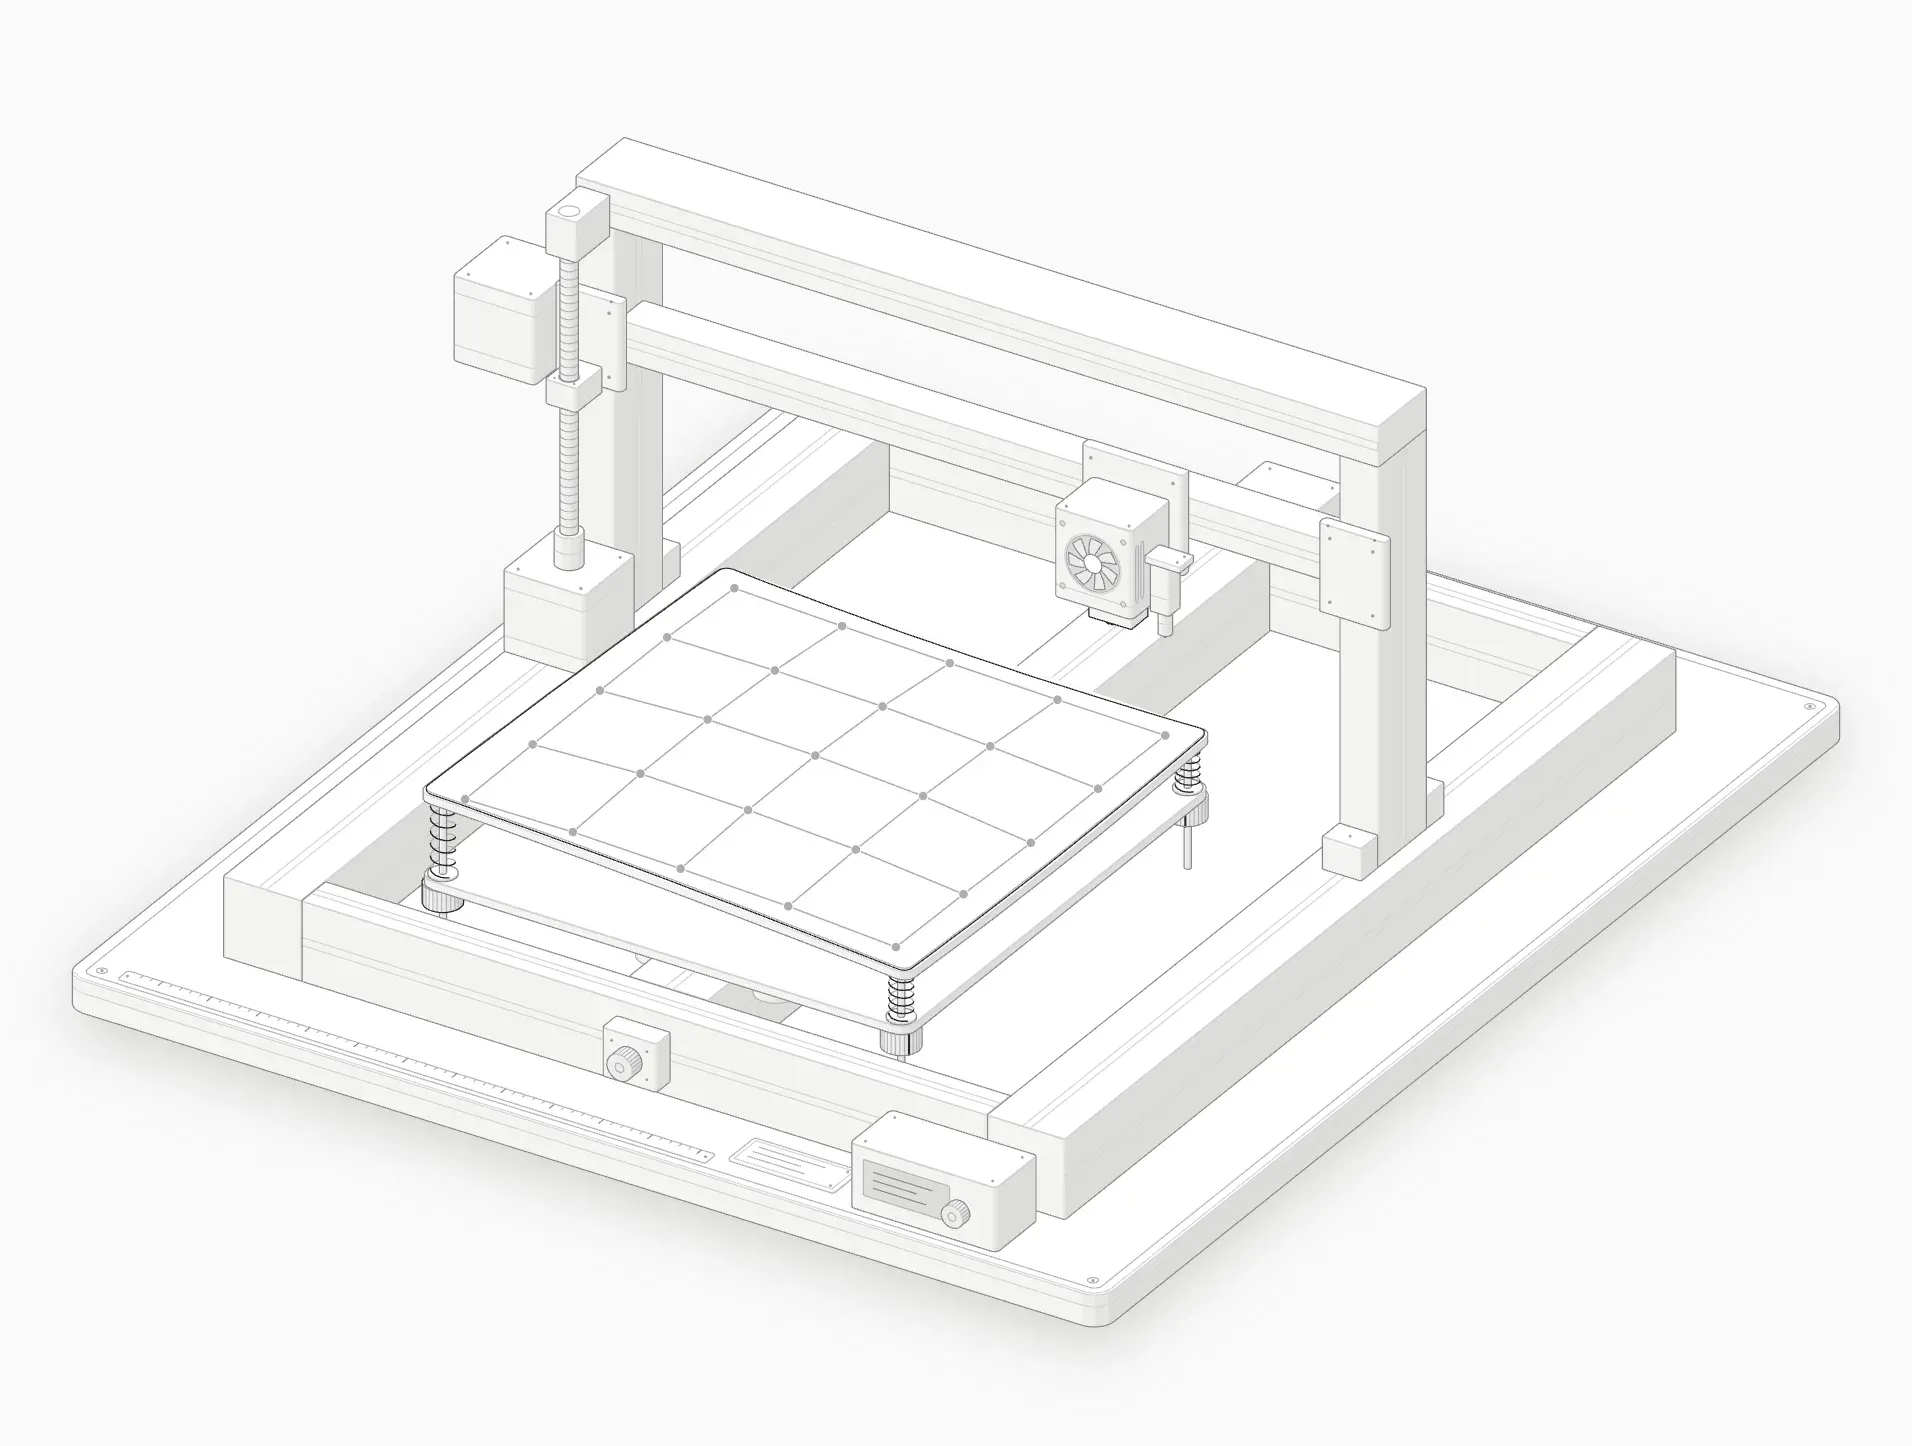 Turn a knob and the old mesh no longer matches the bed. Probe again.
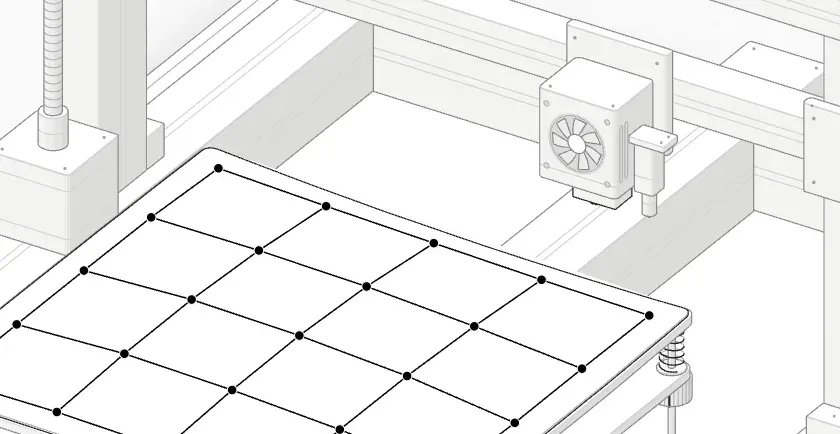 The mesh: 25 measured heights the printer follows on the first layer.
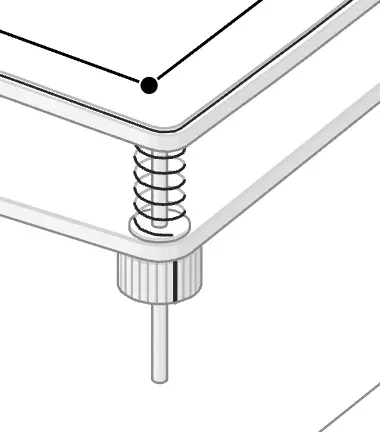 The front right knob, under the carriage.
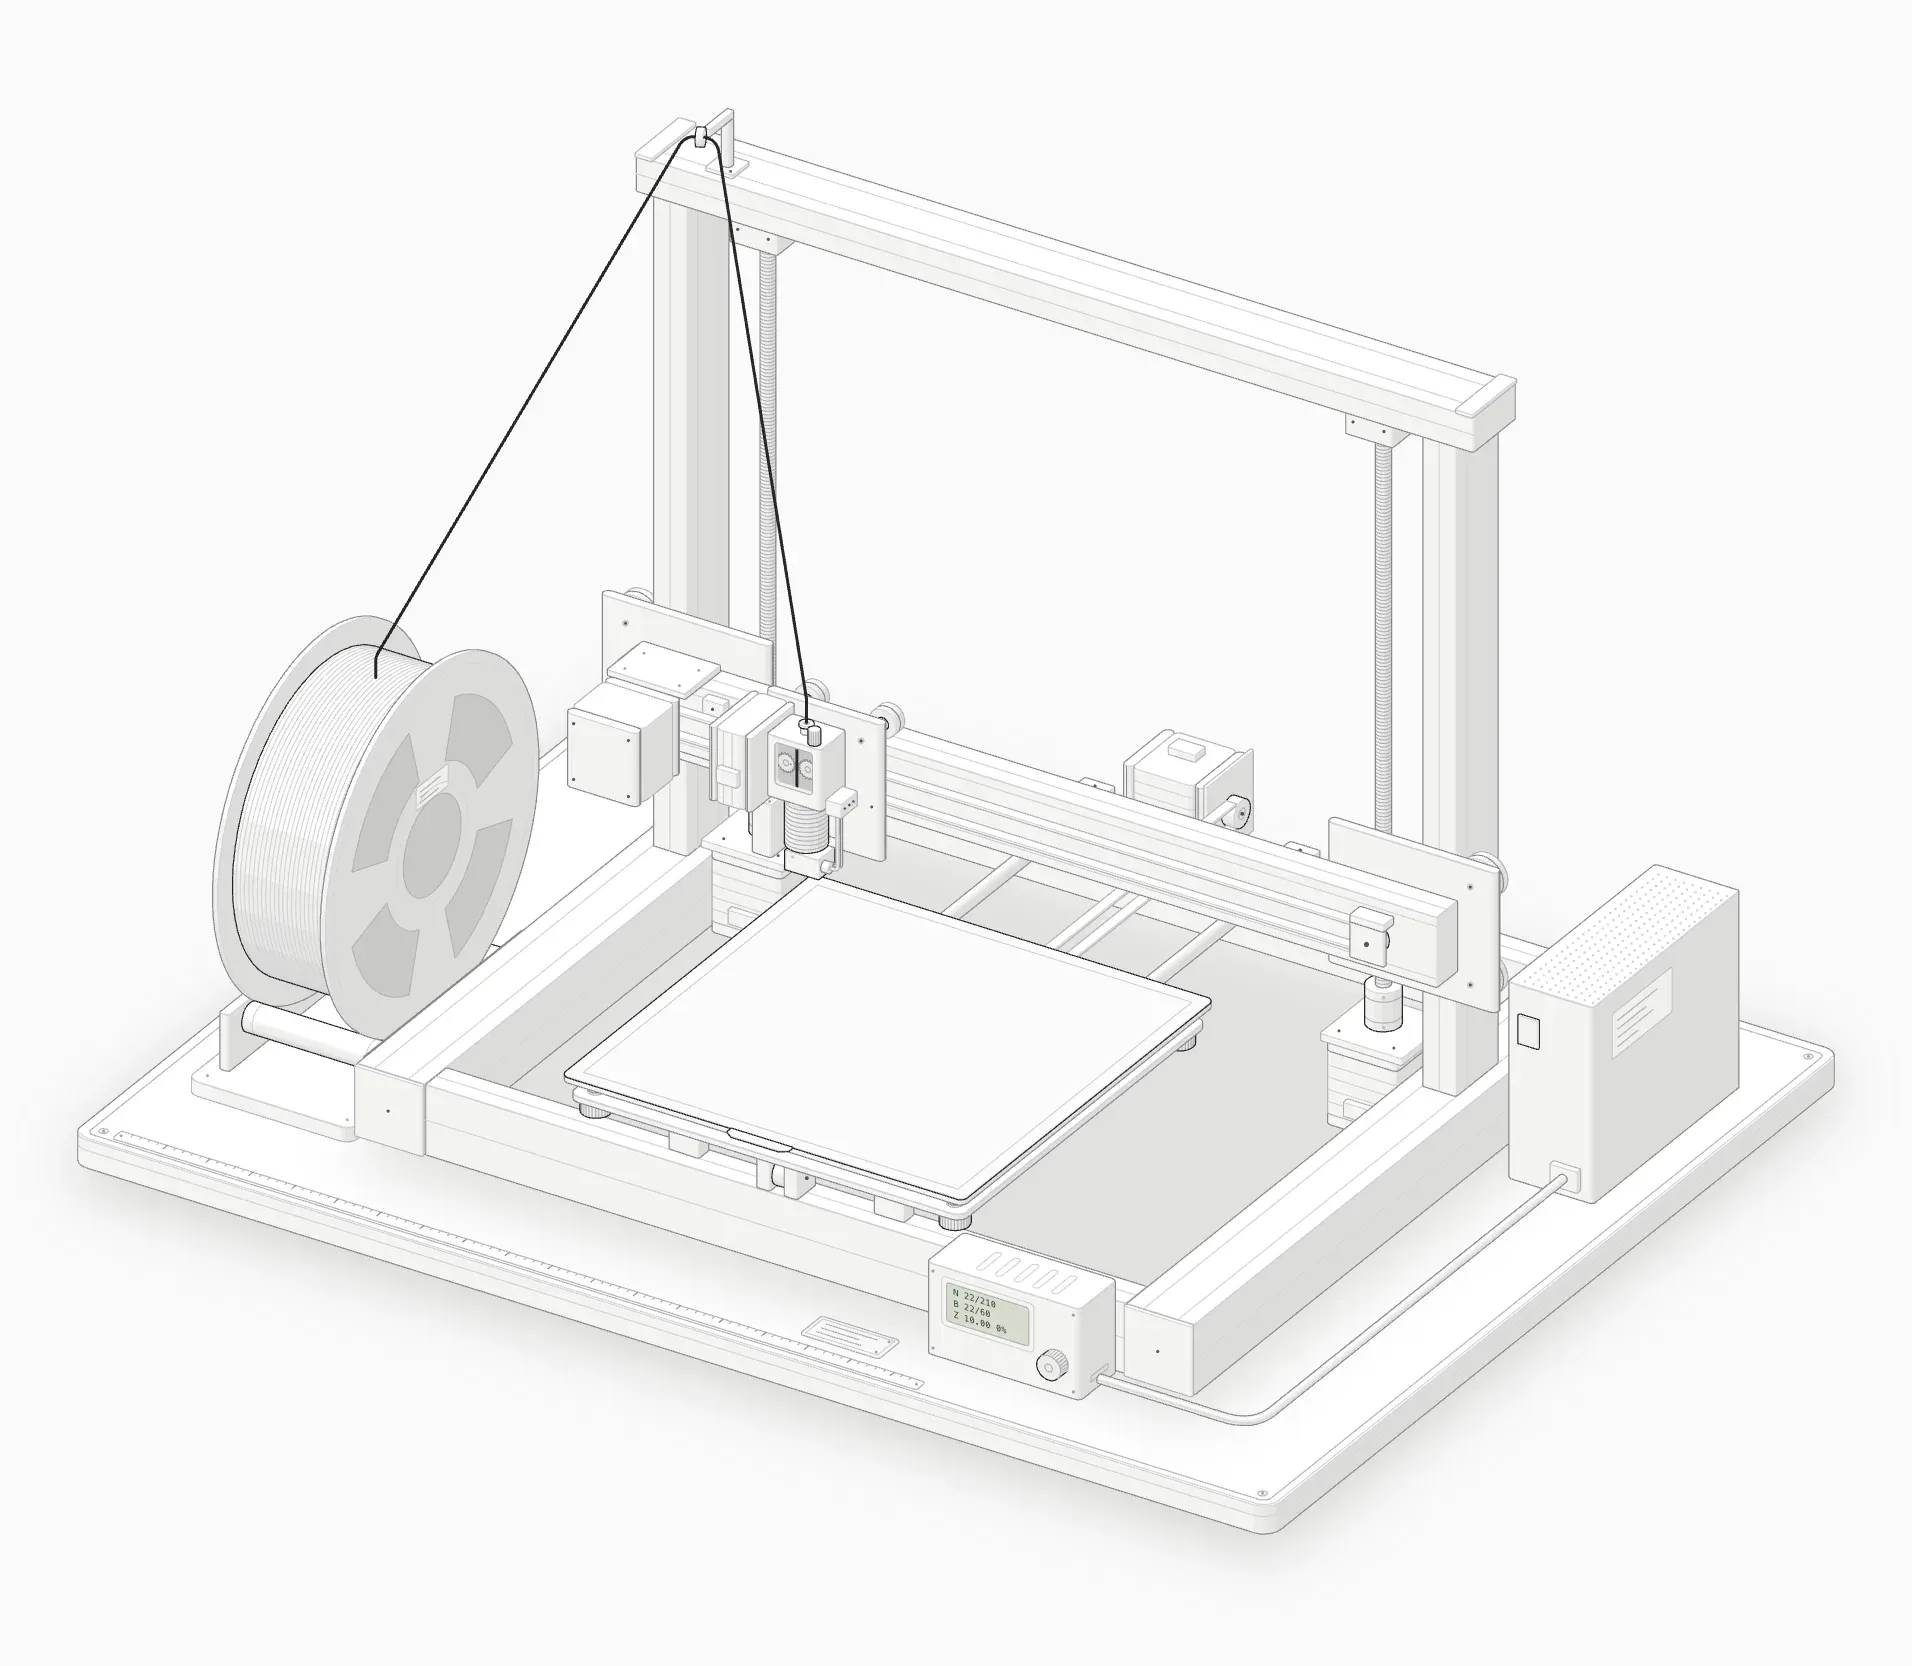 Cold start: the bed is empty and nothing has heated yet.
Step 2: Run your printer’s calibration
Most new printers have a first-layer or Z calibration routine in the menu. Run it first. It gets you close, and the next step only fine-tunes. Many recent printers, including Bambu Lab models, measure the nozzle height automatically before each print and don’t need a manual offset at all.
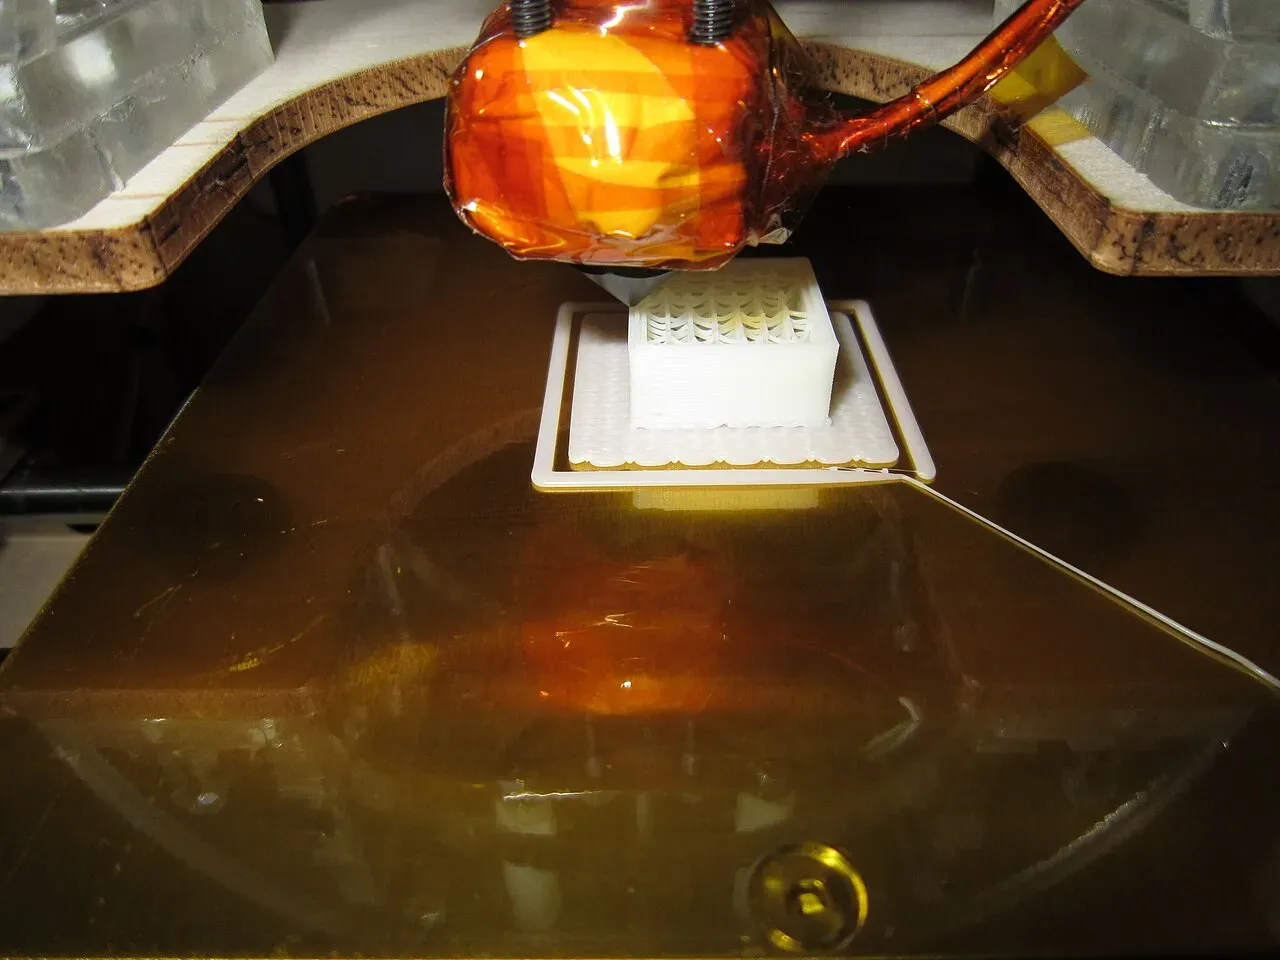 A 20 mm calibration cube, often the first print.Photo: syvwlch ·CC BY 2.0 ·Wikimedia Commons
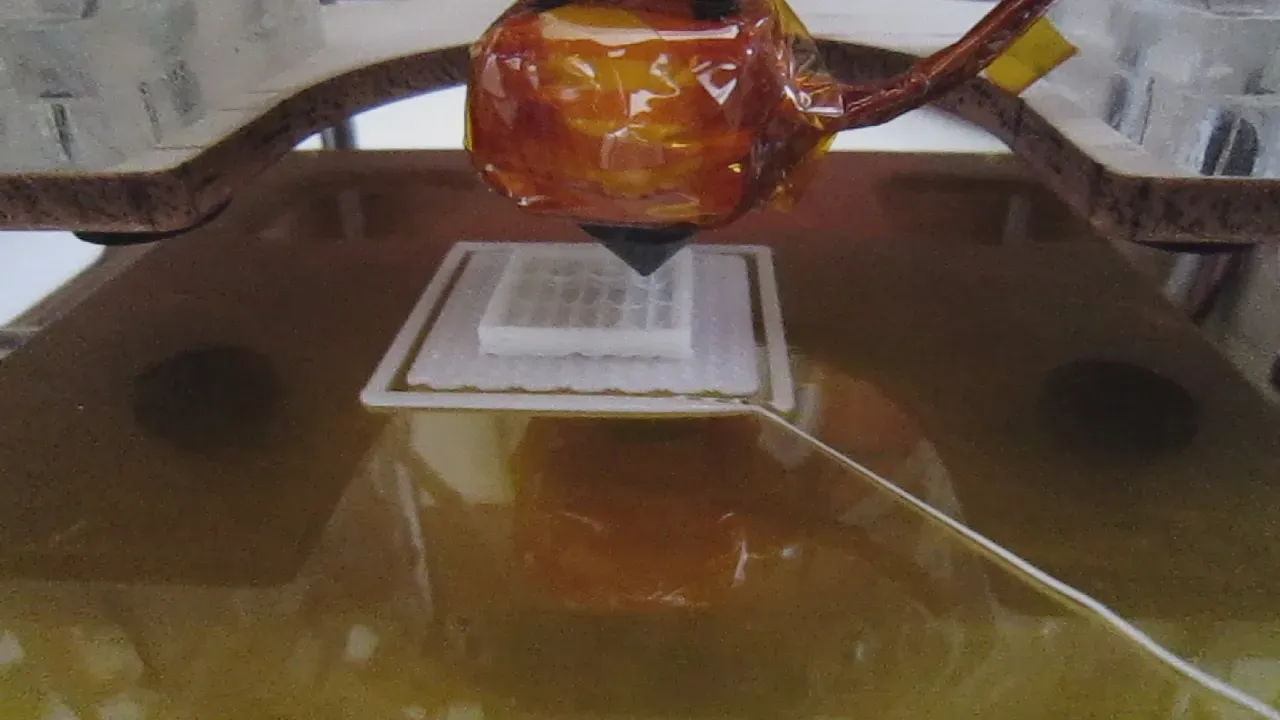 The calibration cube a few layers in.Photo: syvwlch ·CC BY 2.0 ·Wikimedia Commons
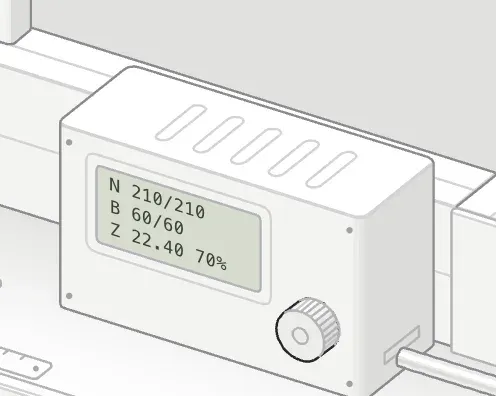 The control box shows nozzle and bed temperature, height and progress.
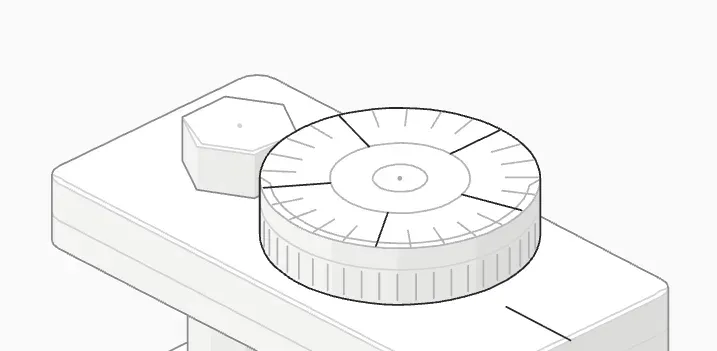 Each click of the babystep wheel moves the nozzle 0.02 mm.
Step 3: Adjust it live on a first-layer test
The fastest method is to print a large, single-layer square and change the offset while it prints. Look closely at the lines as they go down and adjust in steps of 0.02–0.05 mm until they match the “just right” row above.33Prusa printers call this Live Adjust Z, Marlin firmware calls it babystepping, and Klipper has Z offset buttons in its web interface. They all do the same thing.
On most printers a more negative number moves the nozzle closer to the bed. Check your printer’s manual, because the sign convention isn’t universal.
Where to find Z offset
| Where | How |
|---|---|
| Prusa printers | Calibration → First Layer Calibration, or Live Adjust Z while printing |
| Marlin firmware (many Creality and Ender printers) | Tune or Configuration → Z offset / Probe Z offset, or babystepping while printing |
| Klipper (Mainsail or Fluidd) | Z offset buttons during the print, then save the offset to the config |
| Bambu Lab printers | Measured automatically; no manual setting needed in normal use |
| OrcaSlicer | Printer settings → look for “Z offset” (applies an offset in the G-code) |
| PrusaSlicer | Printer Settings → General → Z offset |
| Cura | No built-in setting; a Z offset plugin from the Marketplace adds one |
Setting the offset on the printer is better than in the slicer: it stays with the machine for every file. Menu names change between firmware and slicer versions. If you can’t find a setting, check your printer’s manual or type “Z offset” into the slicer’s settings search box.
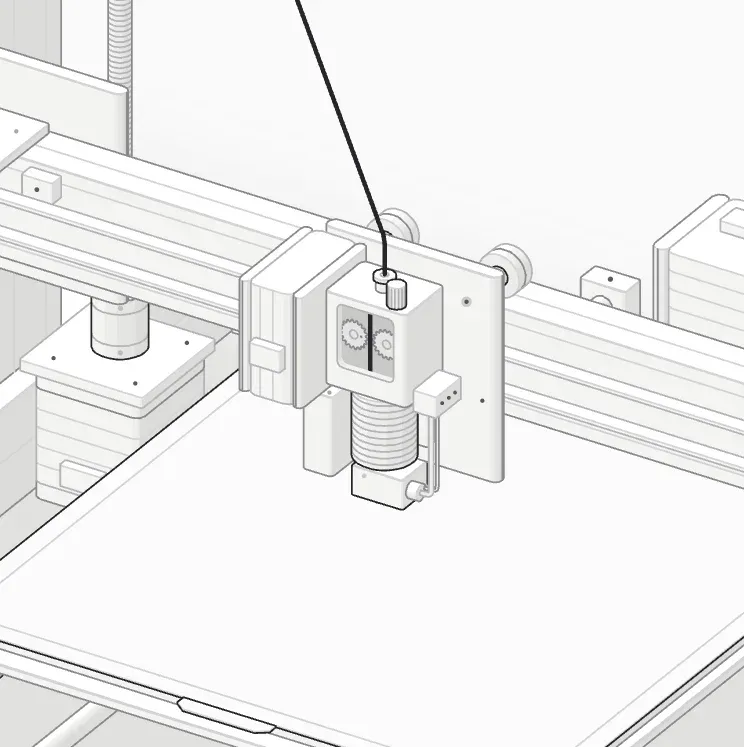 Layer 1 of 225, z 0.2 mm.
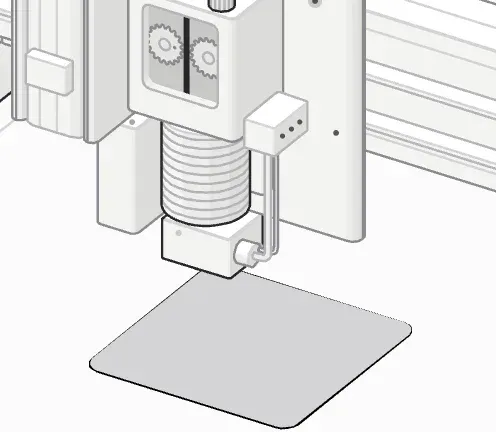 The first few layers.
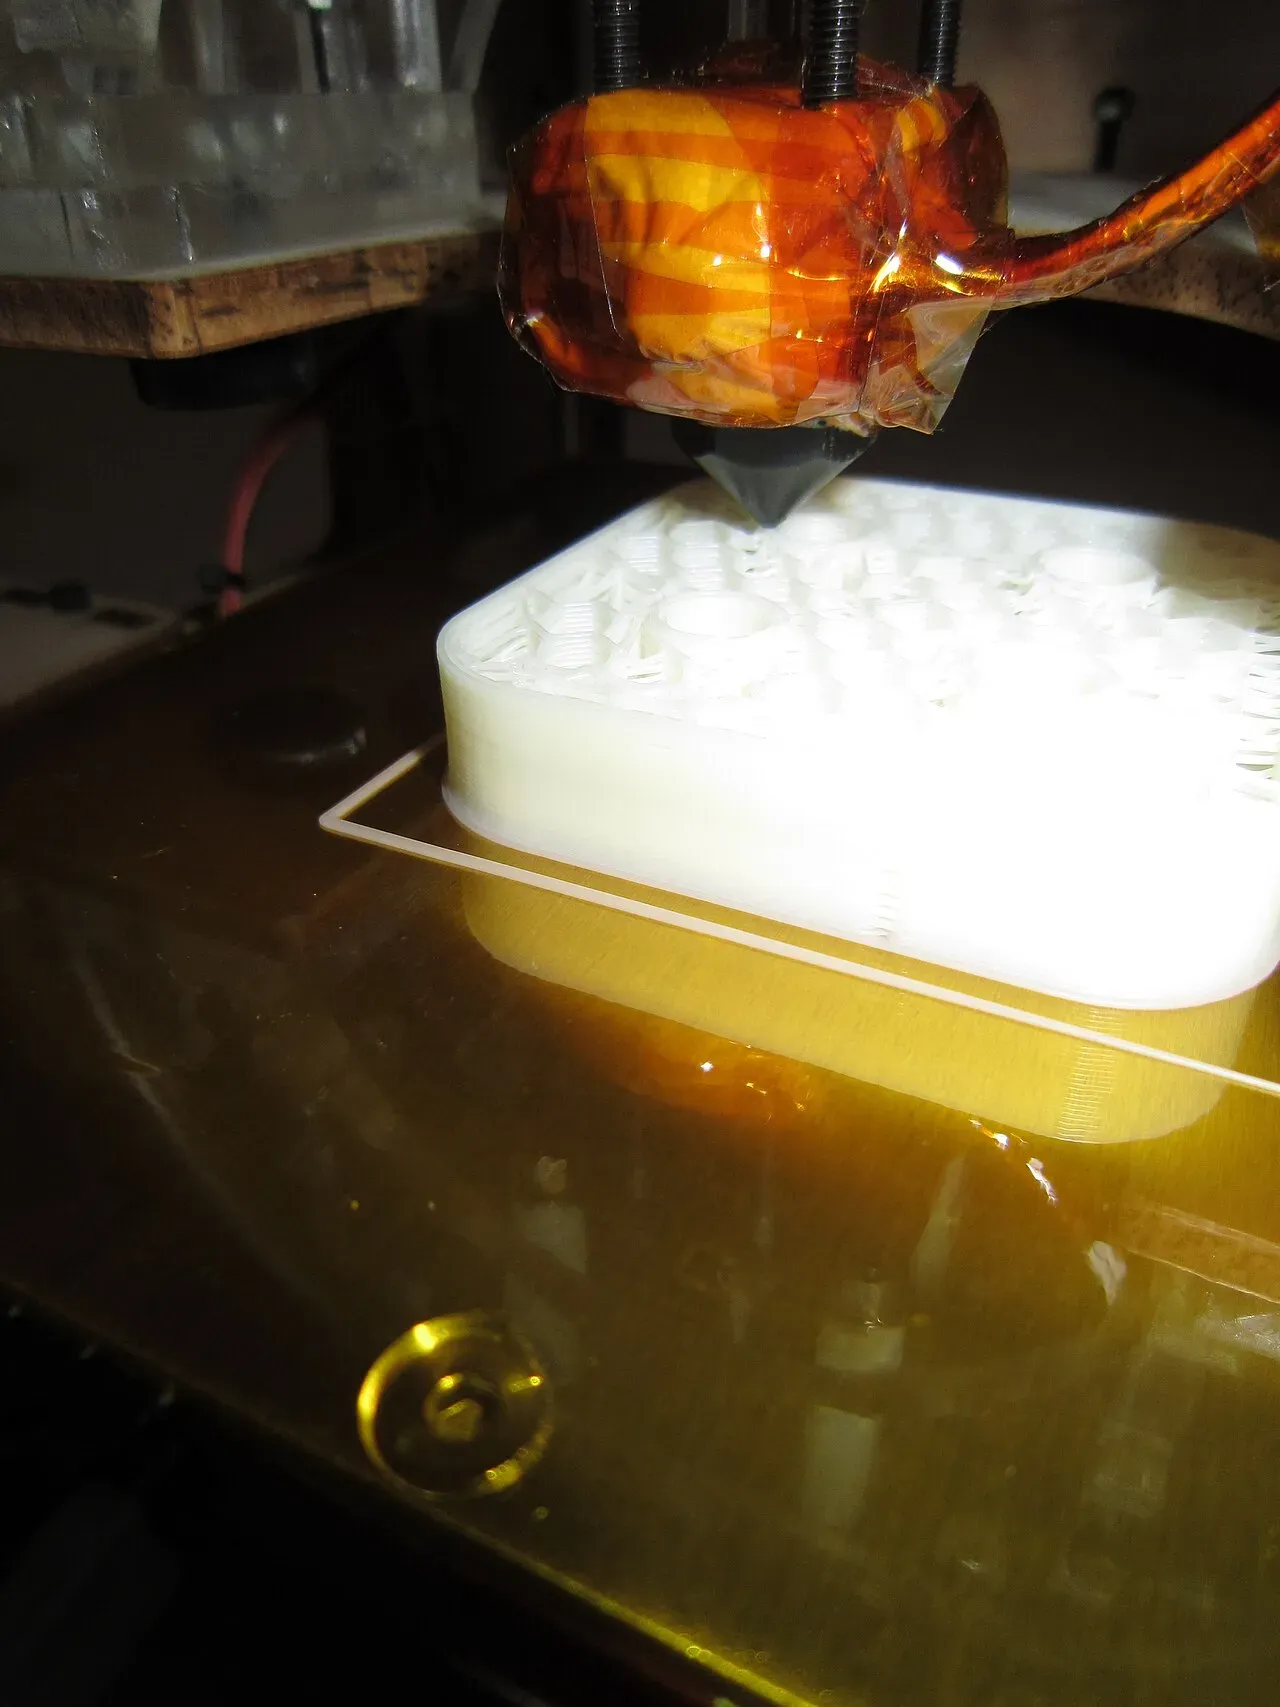 The first layers going down on a heated bed.Photo: syvwlch ·CC BY 2.0 ·Wikimedia Commons
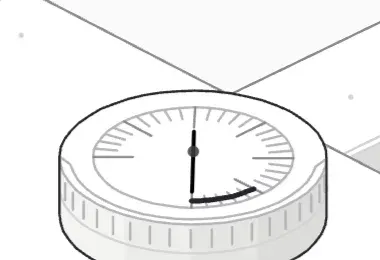 Too low, the pressure rises until the extruder skips.
Step 4: Save it
A live adjustment is lost when the printer restarts unless you save it. Look for “Store settings”, “Save” or a save button in your printer’s interface. On Klipper, apply the offset and save the configuration; on Marlin, store settings to EEPROM.
Typical values
| Thing | Typical value |
|---|---|
| Nozzle diameter | 0.4 mm |
| First layer height | 0.2 mm (0.2–0.3 mm is common) |
| First layer line width | about 0.42–0.45 mm |
| Adjustment step | 0.02–0.05 mm |
| Good first-layer gap, in our figure | about 0.14–0.22 mm |
| Office paper (for the paper test) | about 0.1 mm thick |
The Z offset number itself varies from printer to printer, so don’t copy someone else’s value. Only the gap it produces matters.
When the first layer still won’t come out right
- Clean the bed again and wash it with warm water and dish soap if alcohol isn’t enough.
- Re-level the bed. If one area always fails, it’s a leveling problem, not Z offset.
- Check the bed surface. A scratched or worn PEI sheet loses its grip.
- Check flow and temperature. Under-extrusion makes a correct gap look too high.
- Slow the first layer down. Most profiles already print it slowly; a slower first layer sticks better.
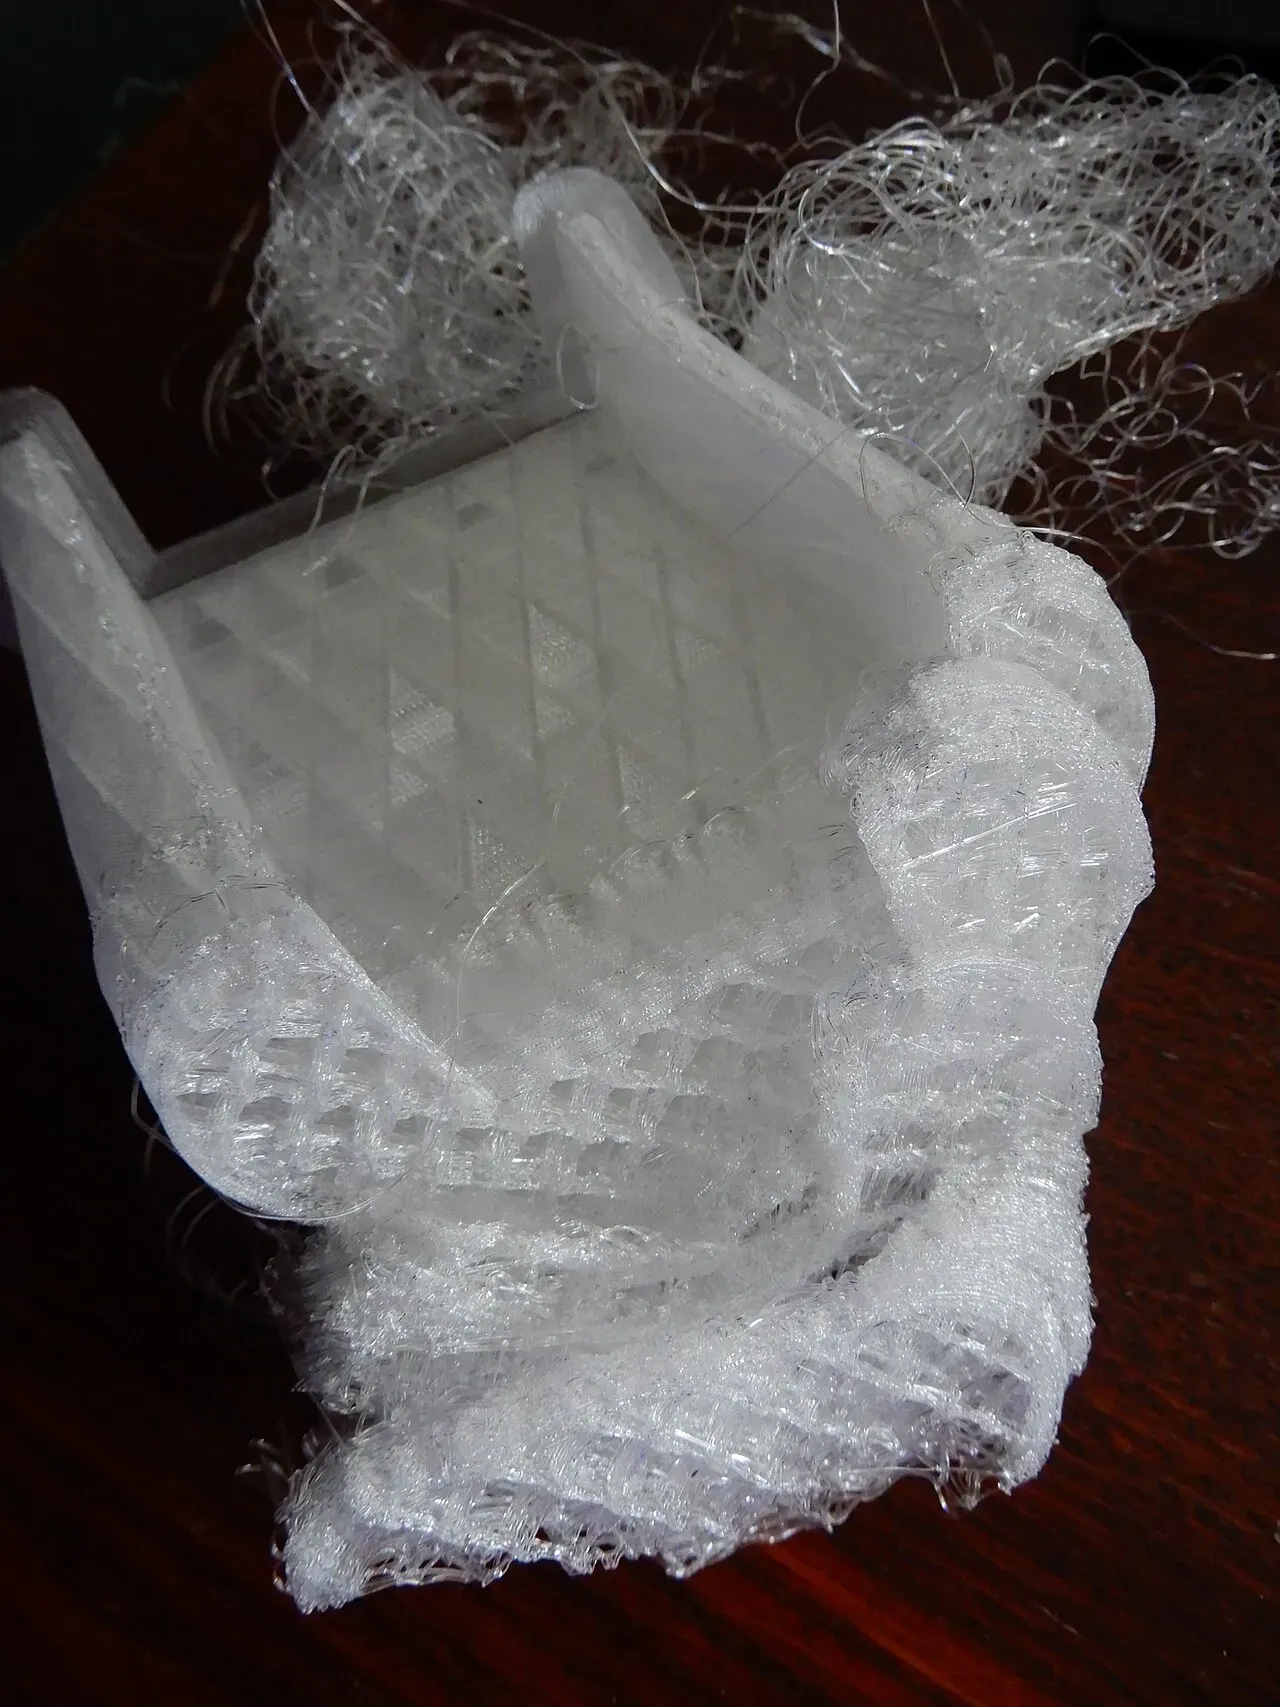 A print that broke loose partway through.Photo: EwkaC ·CC BY-SA 4.0 ·Wikimedia Commons
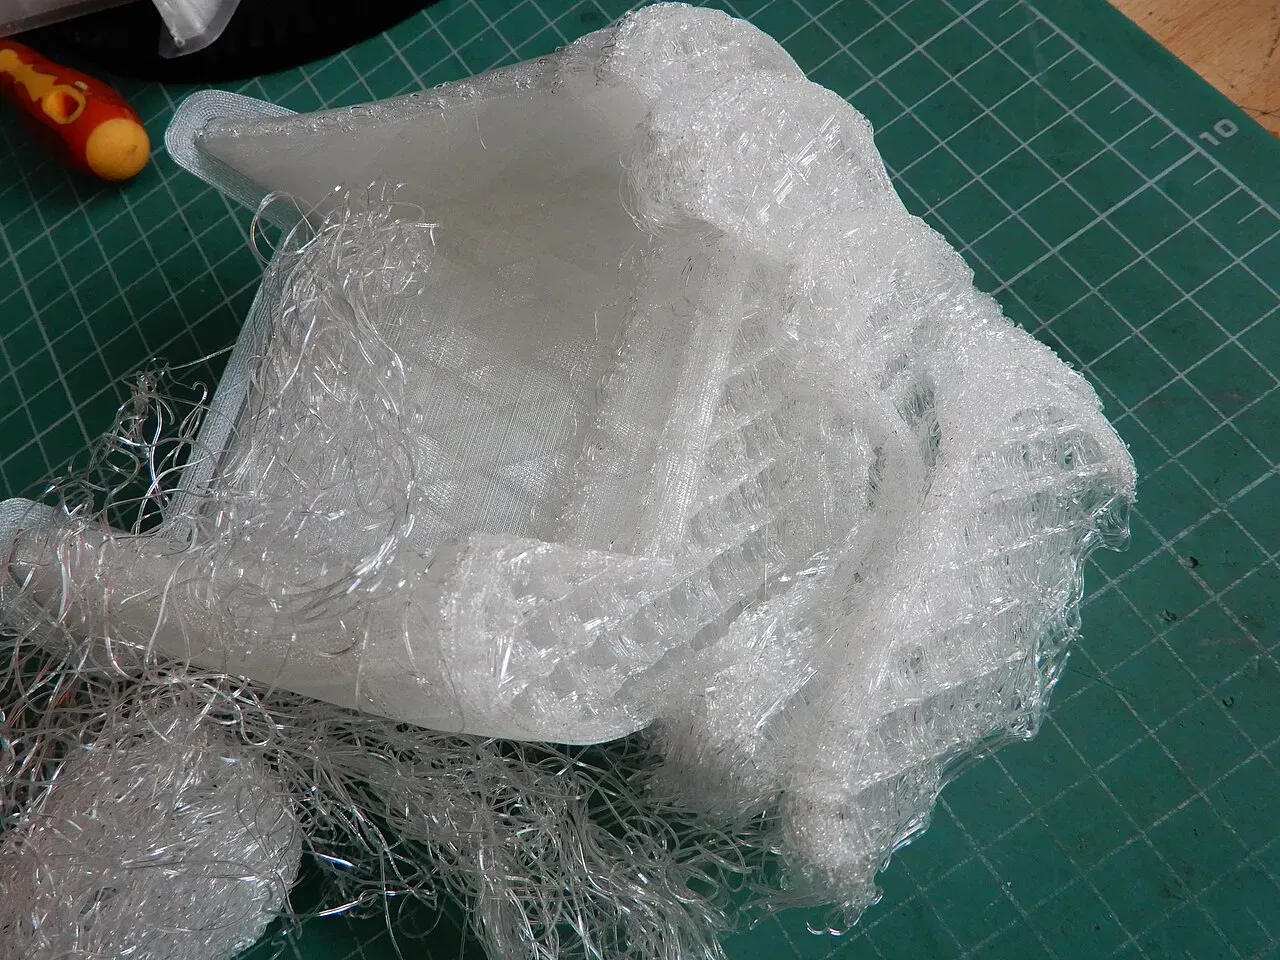 The same failure from the side: layers stop where the part moved.Photo: EwkaC ·CC BY-SA 4.0 ·Wikimedia Commons
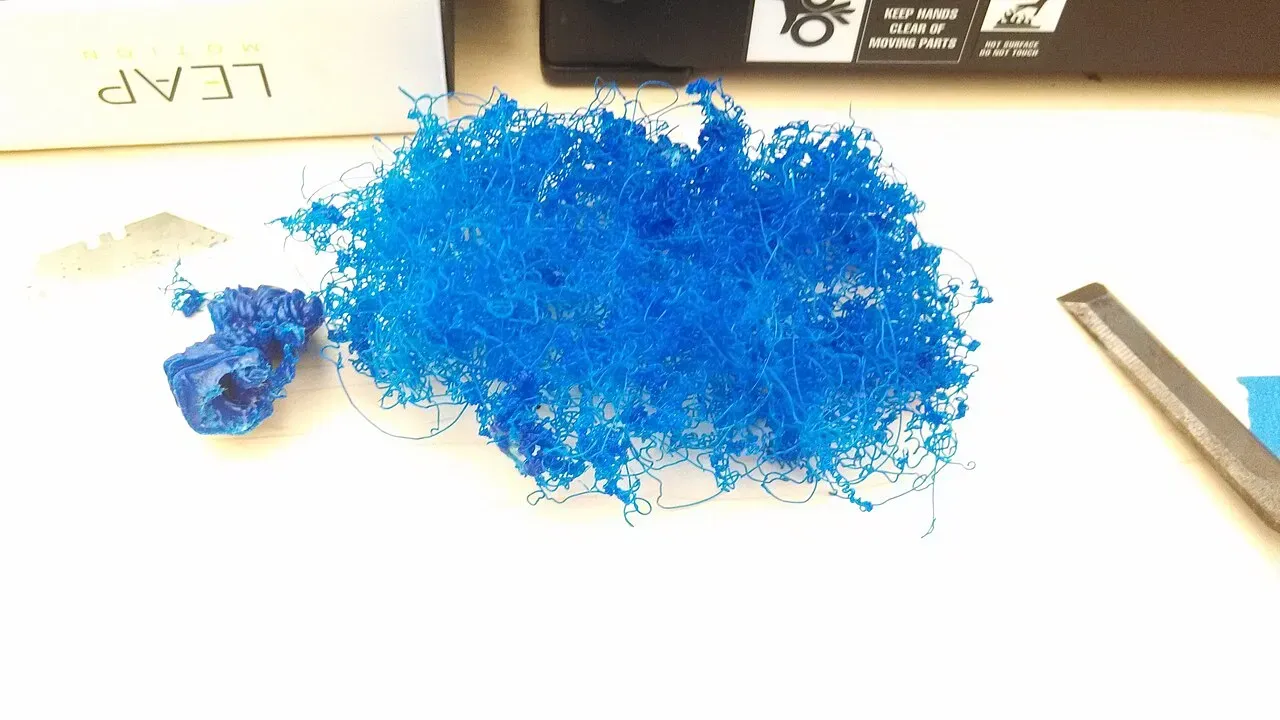 Spaghetti: the part came loose and the printer kept extruding into the air.Photo: SuperBlobMonster ·CC BY-SA 3.0 ·Wikimedia Commons
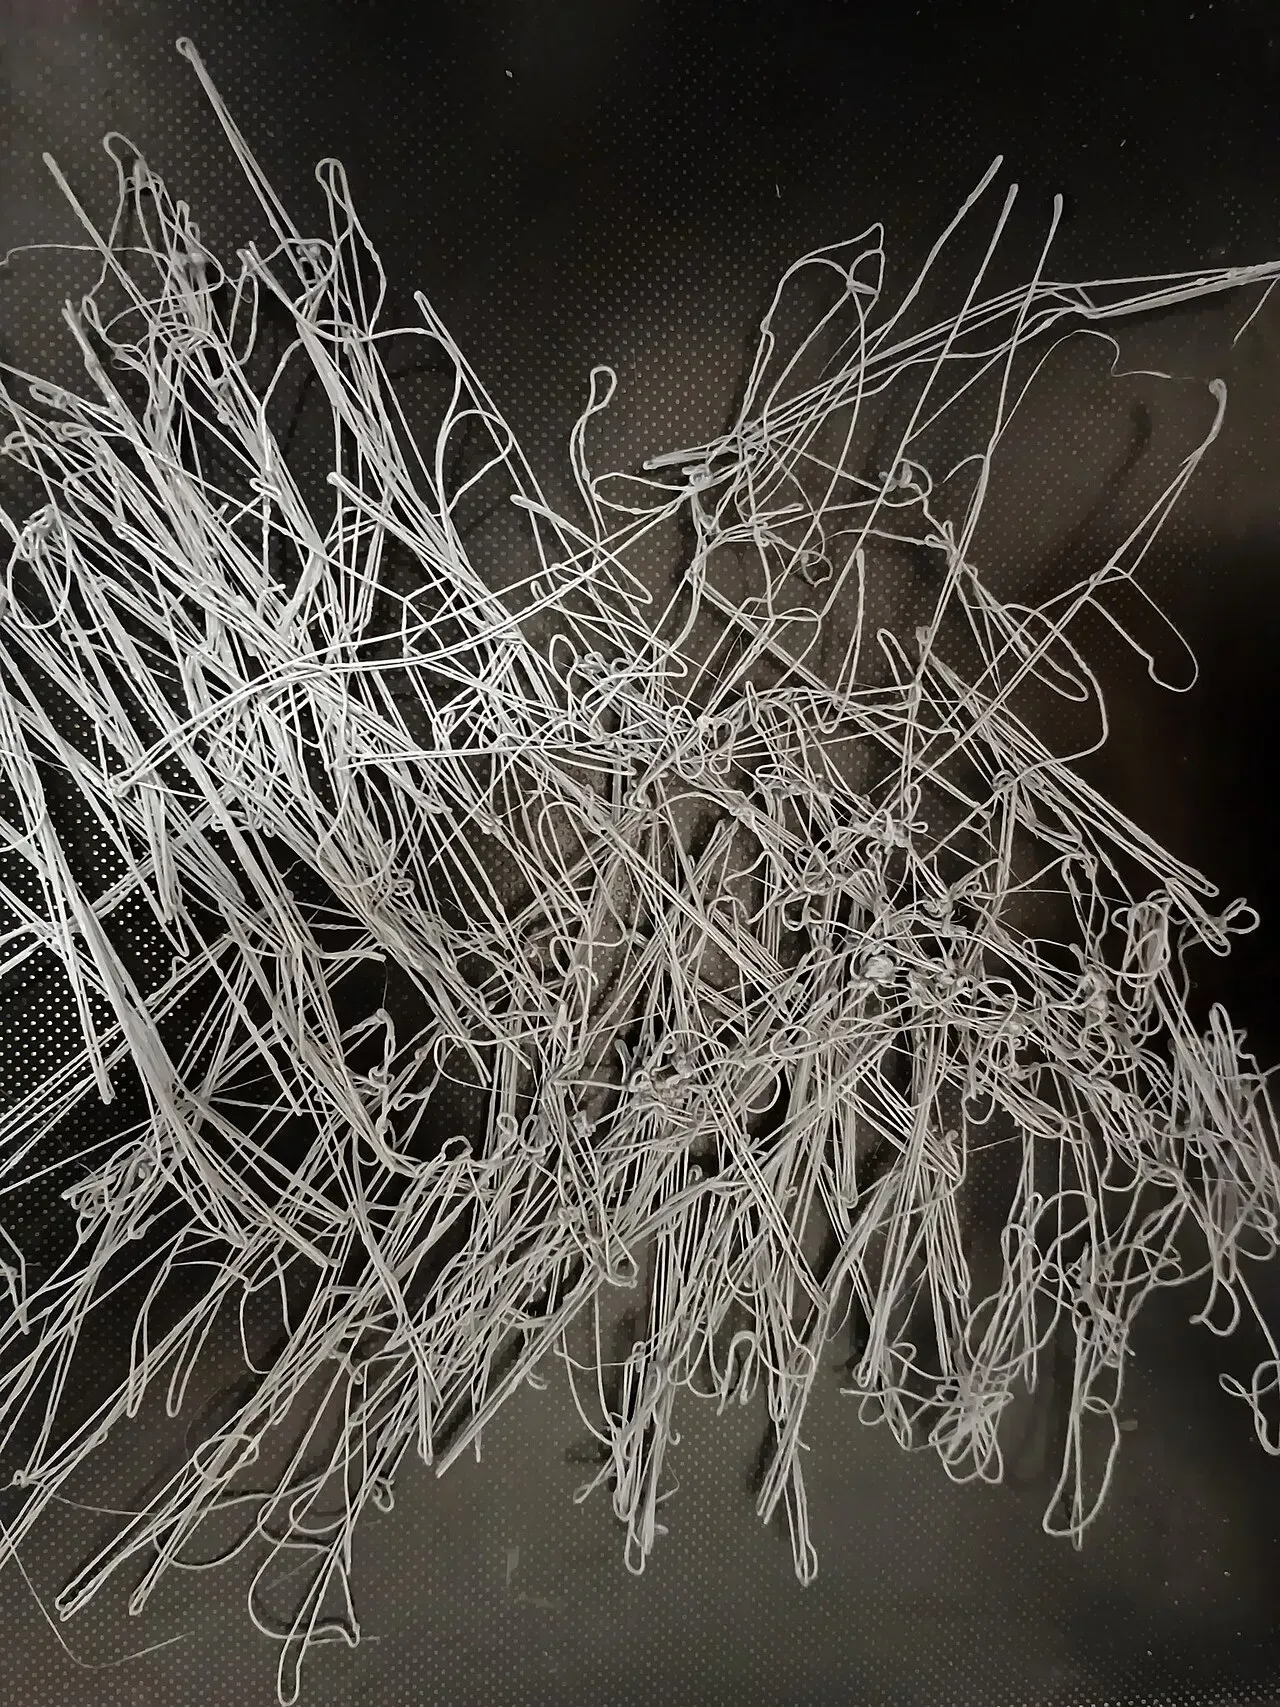 A "spaghetti monster": what a failed print looks like after hours of printing into nothing.Photo: A7N8X ·CC0 ·Wikimedia Commons
When to check it again
- After changing or tightening the nozzle.
- After swapping the build plate for one of a different thickness.
- When first layers that used to be good start failing.
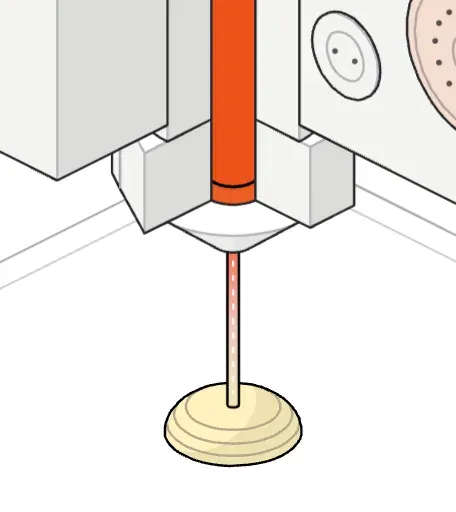 A brass 0.4 mm nozzle laying a thin strand.
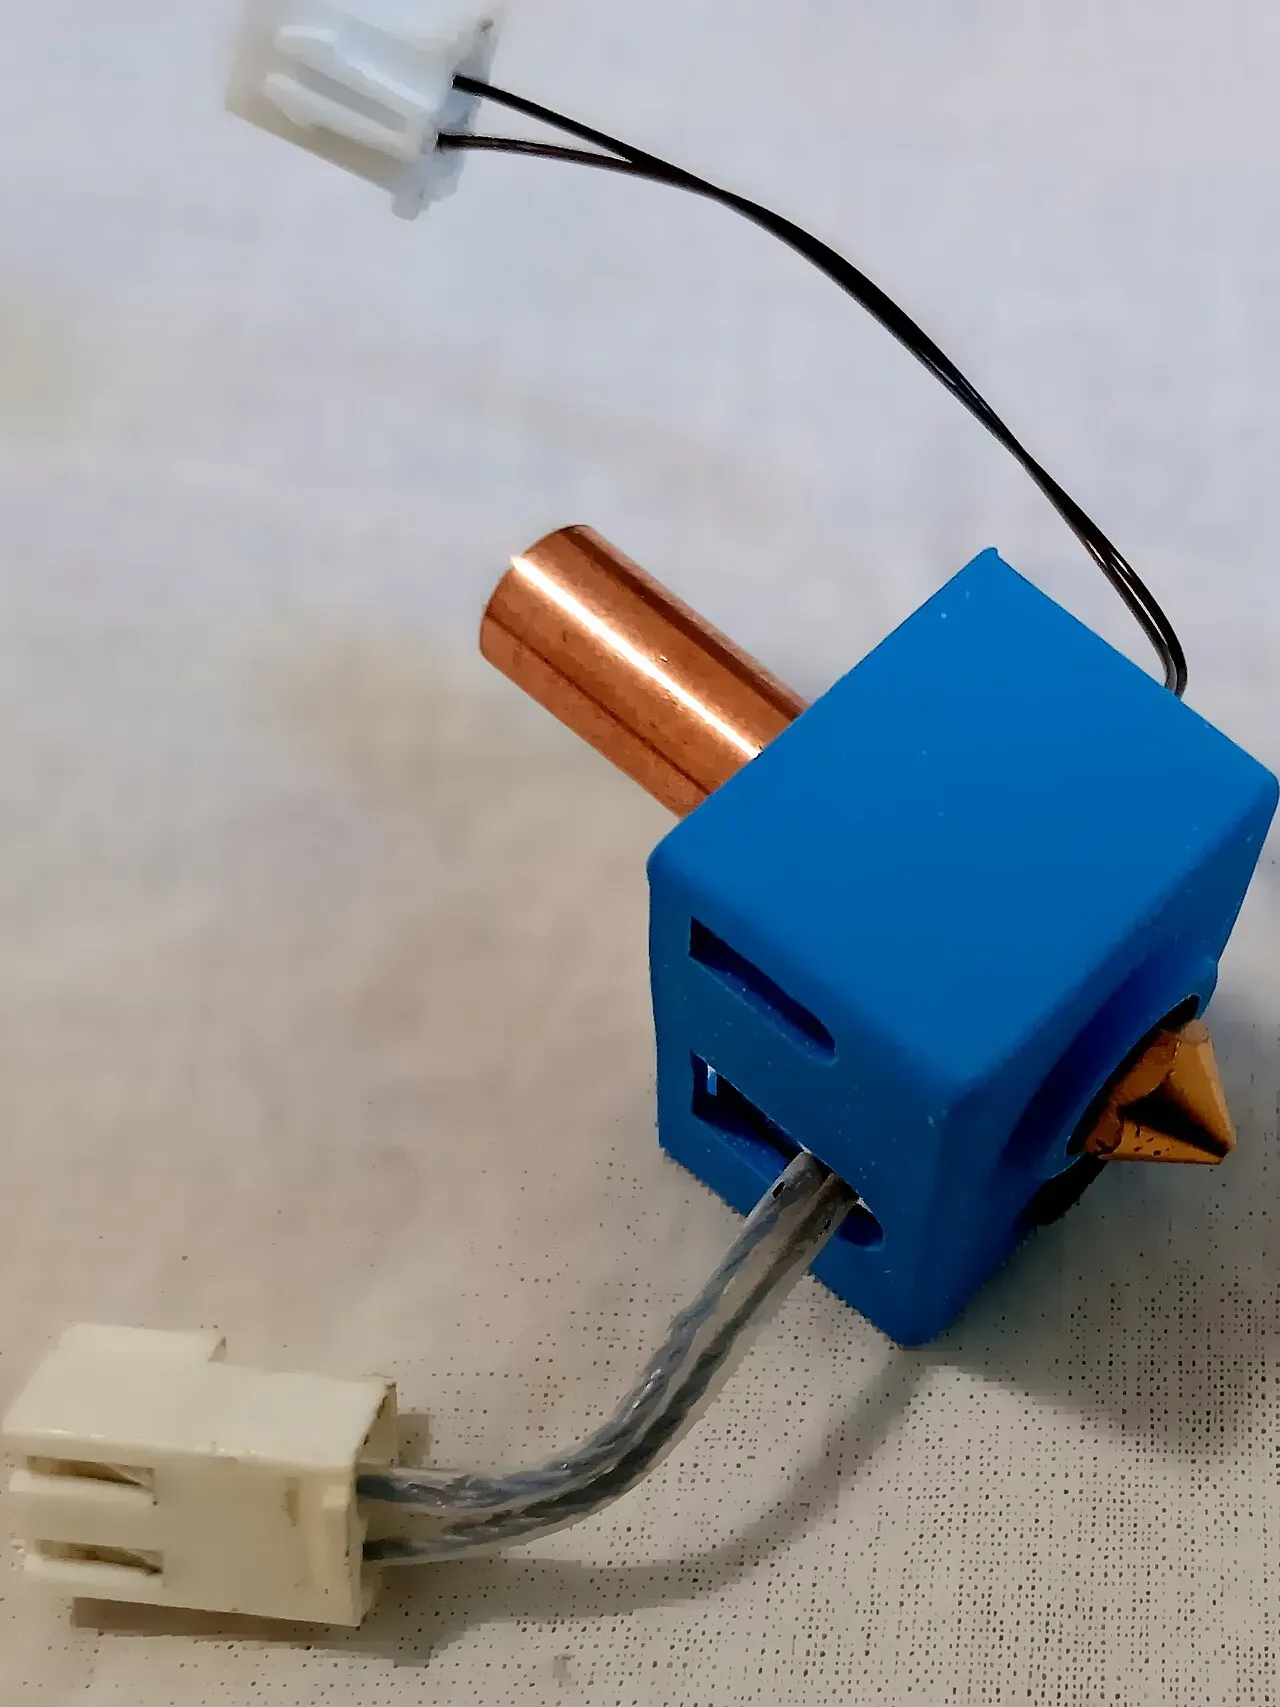 A heater block in a silicone sock, with the nozzle below and heat break above.Photo: A7N8X ·CC0 ·Wikimedia Commons
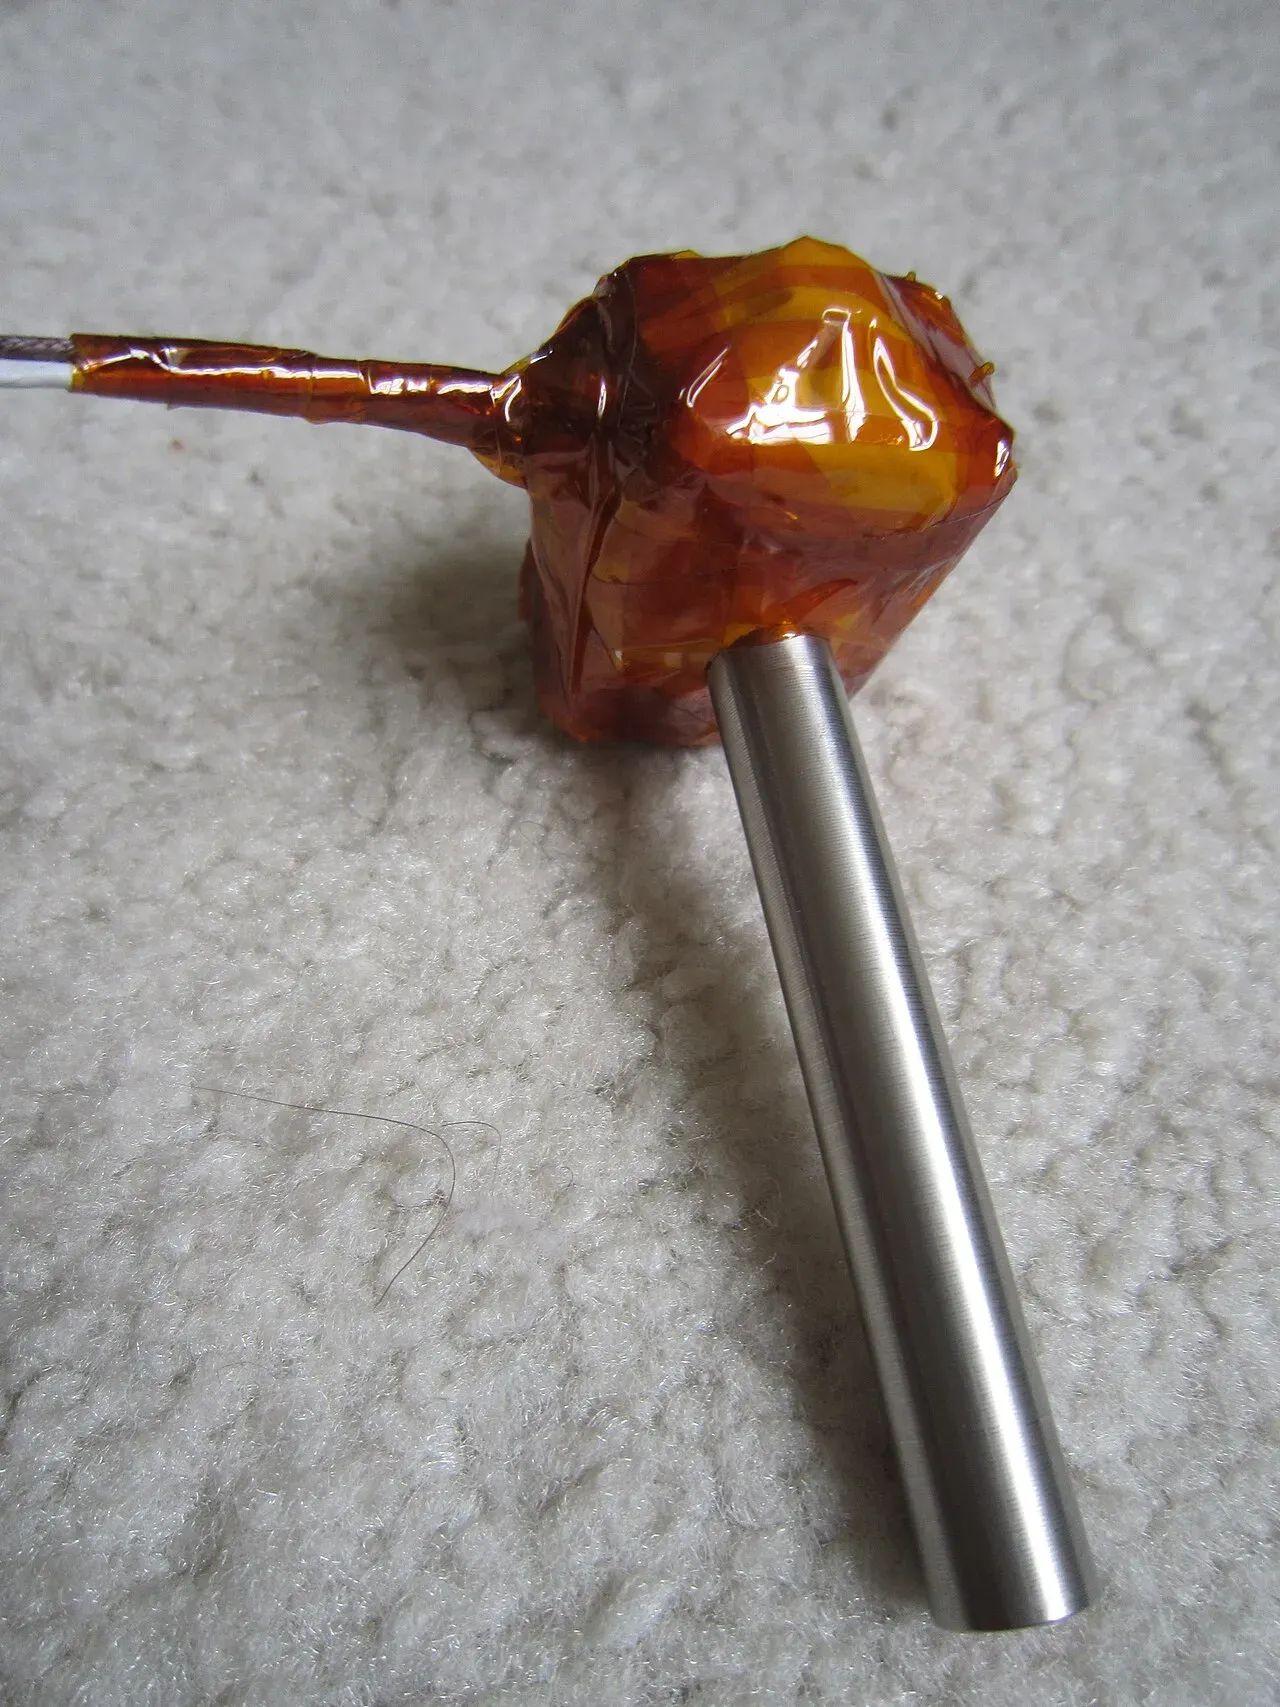 The nozzle threads into the heater block.Photo: syvwlch ·CC BY 2.0 ·Wikimedia Commons
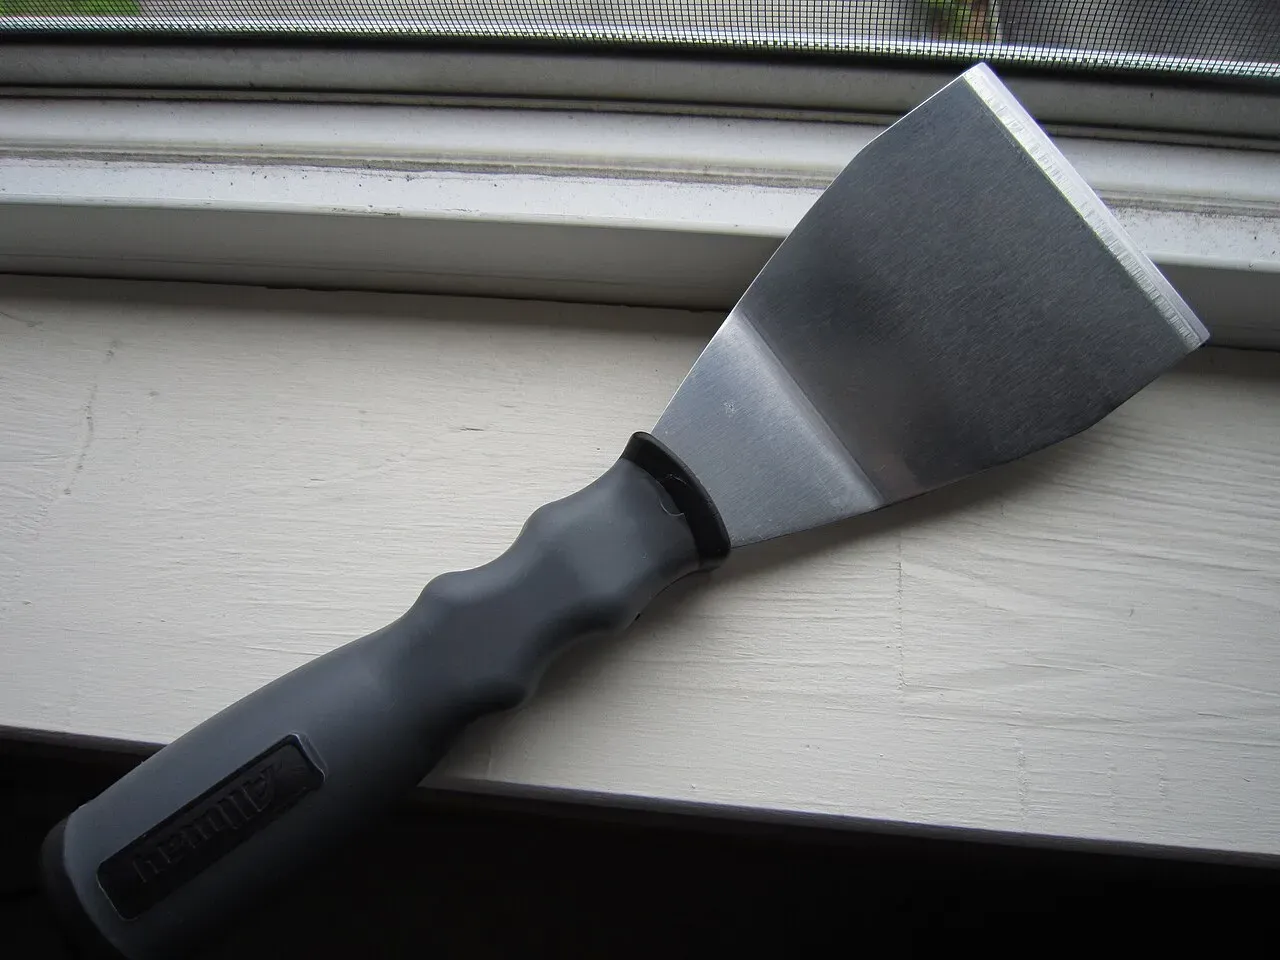 A scraper: lift prints off a rigid bed.Photo: syvwlch ·CC BY 2.0 ·Wikimedia Commons
Your action plan
- Clean and level the bed.
- Run your printer’s calibration.
- Print a single-layer square and adjust live in 0.02–0.05 mm steps.
- Stop when lines are flat and touching.
- Save the setting.
- Re-check after nozzle or plate changes.
FAQ
What is a good Z offset value?
There is no single good number: it depends on where your printer’s probe or switch triggers. What matters is the result, a first layer whose lines are slightly flattened and touch each other.
Should Z offset be negative or positive?
On most printers with a probe it’s negative, because the probe triggers above where the nozzle touches the bed. Whatever the sign, follow your printer’s convention: on most, a more negative value moves the nozzle closer.
Is Z offset the same as bed leveling?
No. Leveling makes the gap the same across the whole bed; Z offset sets how big that gap is. Level first, then set the Z offset.
Can I set Z offset in the slicer?
Yes, in OrcaSlicer and PrusaSlicer, and in Cura with a plugin. It’s better to set it on the printer, because then it applies to every print no matter which file or slicer you use.
Why does my first layer look different in each corner?
Because the bed isn’t level, or it isn’t flat. Z offset is one number for the whole bed, so it can’t fix that; level the bed or use auto bed leveling.
Do I need to change Z offset for different filaments?
Usually not. Some people raise it slightly for PETG, which sticks very strongly and can tear a PEI sheet if squished too hard. Start with your normal value and adjust only if the material needs it.
How do I know if the nozzle is too close?
Thin, see-through or missing lines, ridges, scraping sounds and a clicking extruder all mean the nozzle is too close. Raise it in small steps until the lines are flat but solid.
Related guides
Level your bed first with our bed leveling guide, see what every part of a 3D printer does, or go back to the complete beginner’s guide.