Parts of a 3D Printer: Every FDM Component Explained
What every part of an FDM 3D printer does, from extruder and hotend to stepper motors and the build plate, and what goes wrong when one fails.
An FDM 3D printer is a frame, a motion system that moves the nozzle in X, Y and Z, an extruder that pushes filament, a hotend that melts it, a fan that cools it, a build plate it sticks to, and electronics that run the whole thing. When a print fails, the cause is almost always one of those parts doing its job badly, so knowing what each one does tells you where to look first.
This guide walks through every part from the spool to the build plate: what it does, the signs it’s failing, and whether upgrading it is worth the money.
At a glance
| Part | What it does | What goes wrong | More |
|---|---|---|---|
| Frame | Holds everything square and rigid | Leaning prints, ringing, layer shifts | Frame |
| Motion system | Moves the nozzle or bed in X, Y and Z | Layer shifts, blurry details, Z banding | Motion |
| Extruder | Grips and pushes filament | Clicking, grinding, under-extrusion | Extruder |
| Hotend | Melts the filament | Clogs, heat creep, under-extrusion | Hotend |
| Part cooling fan | Sets each line as it’s laid | Droopy overhangs, blobby details | Cooling |
| Build plate | Holds the print while it’s made | Poor adhesion, warping | Build plate |
| Leveling sensor | Maps the bed’s height | Uneven first layer | Sensor |
| Electronics | Runs the firmware, motors and heaters | Errors, resets, temperature faults | Electronics |
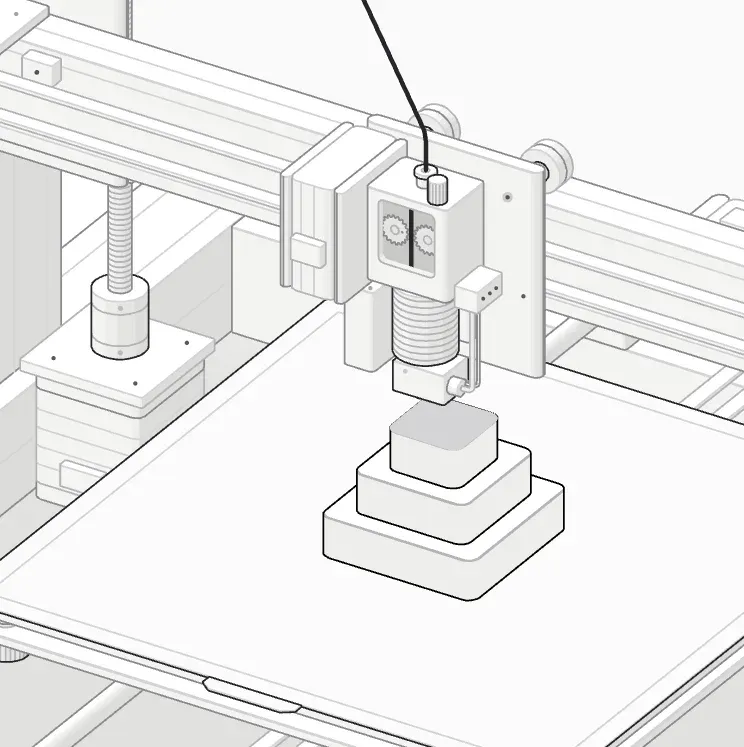
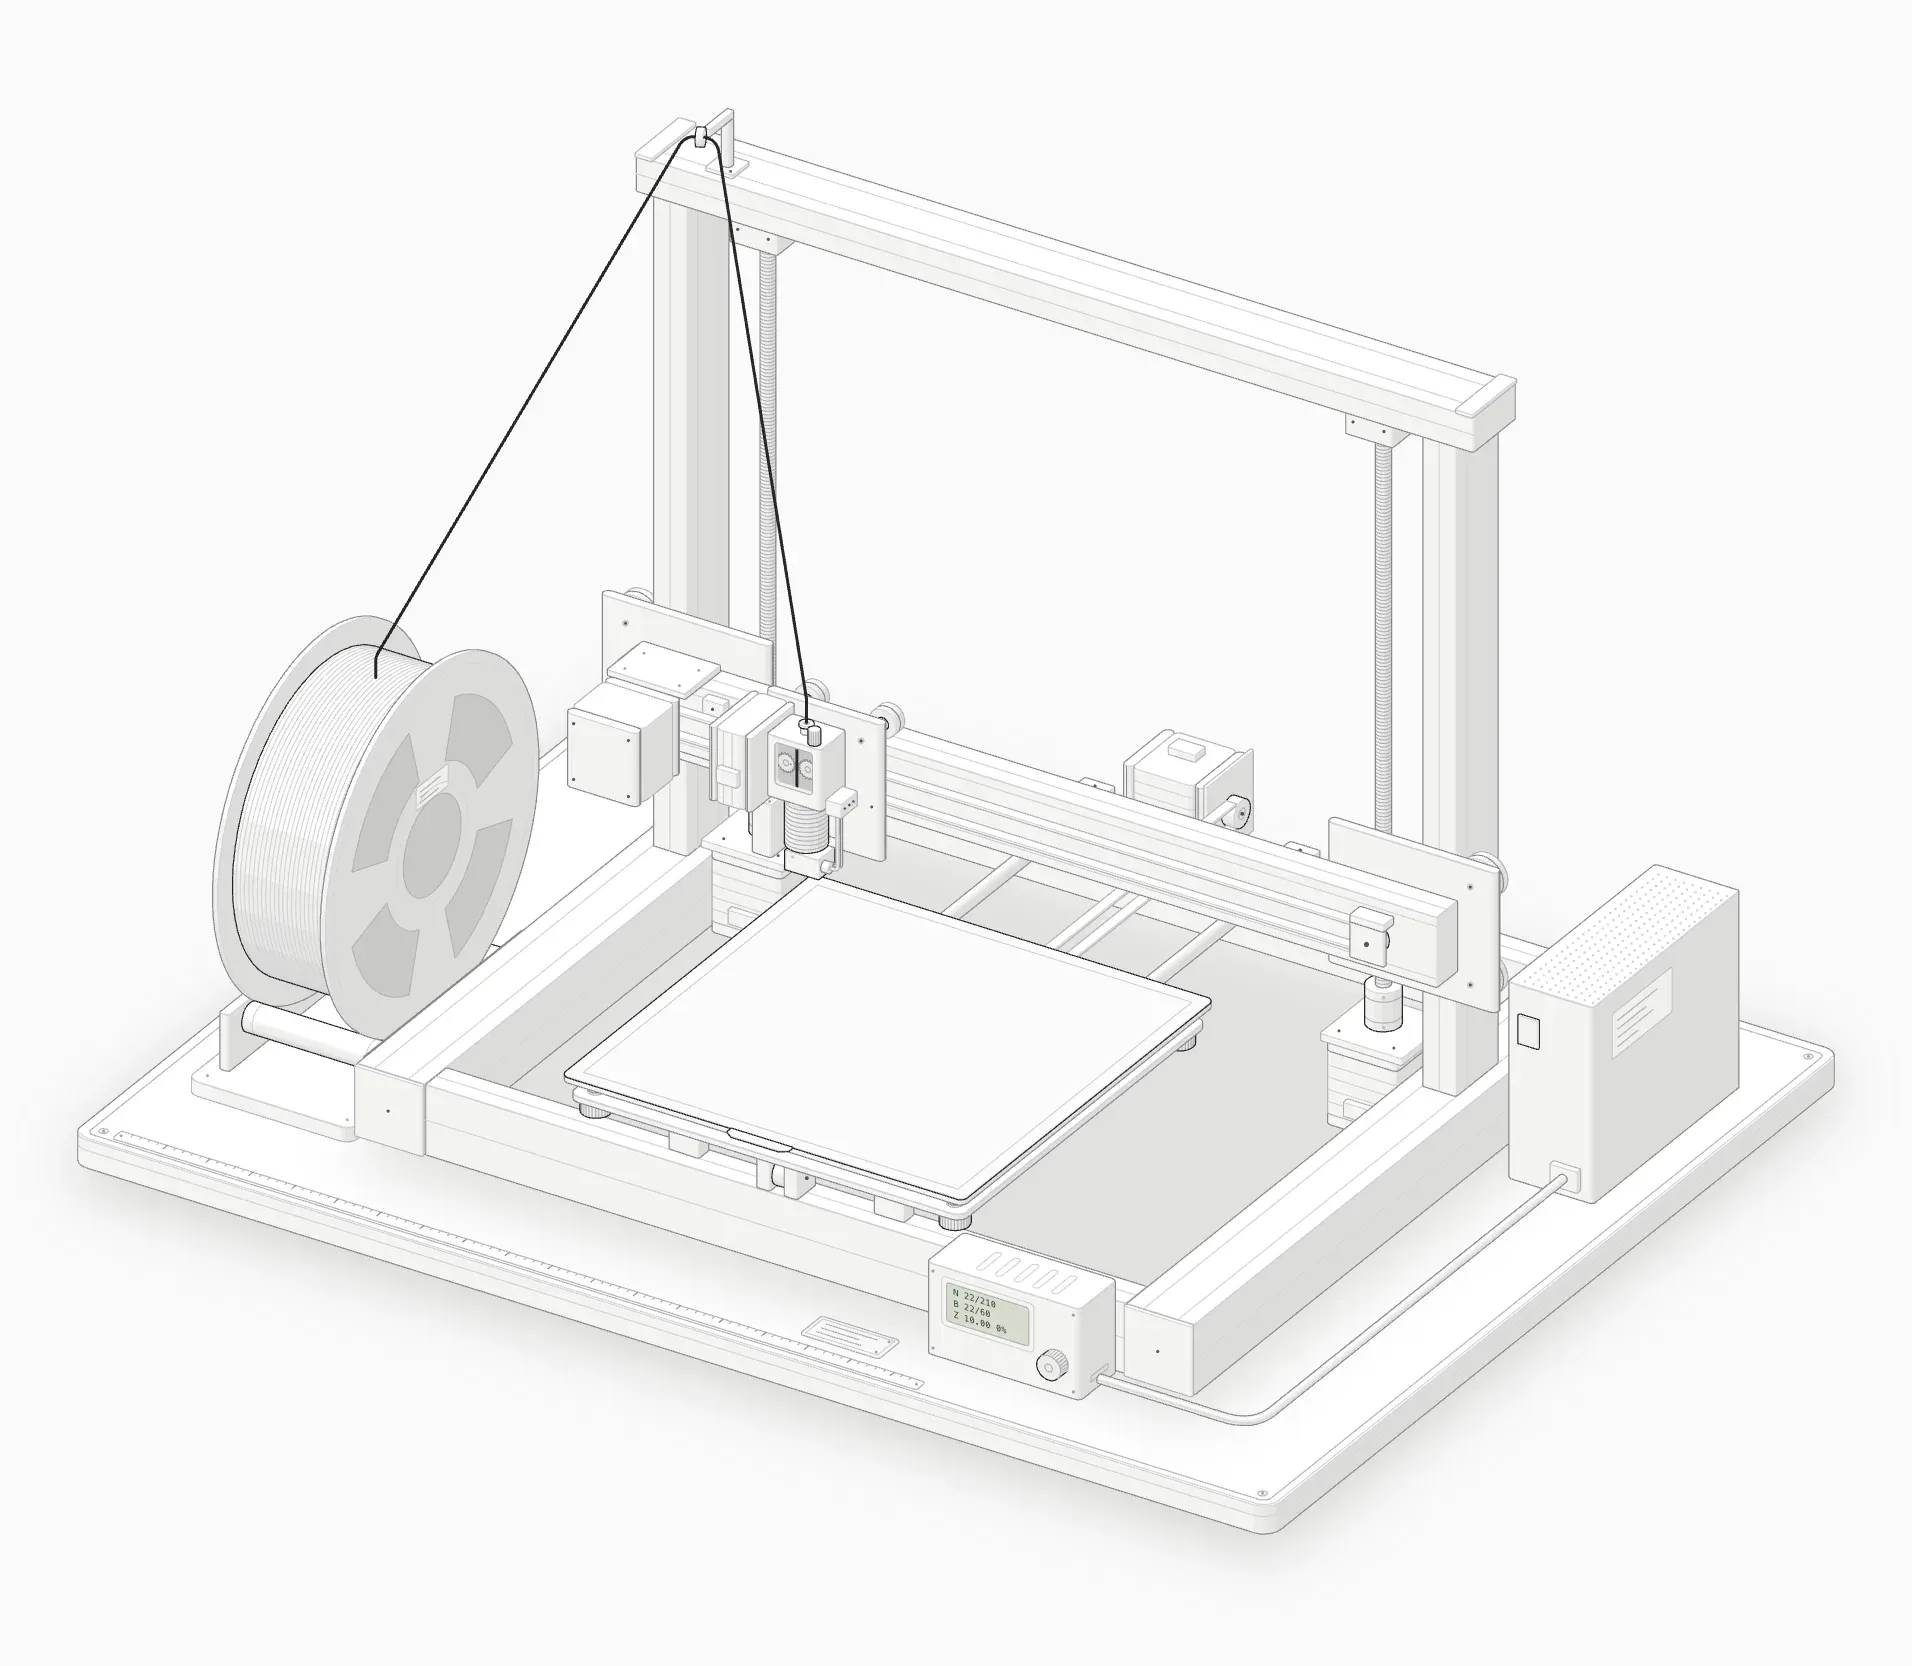 Cold start: the bed is empty and nothing has heated yet.
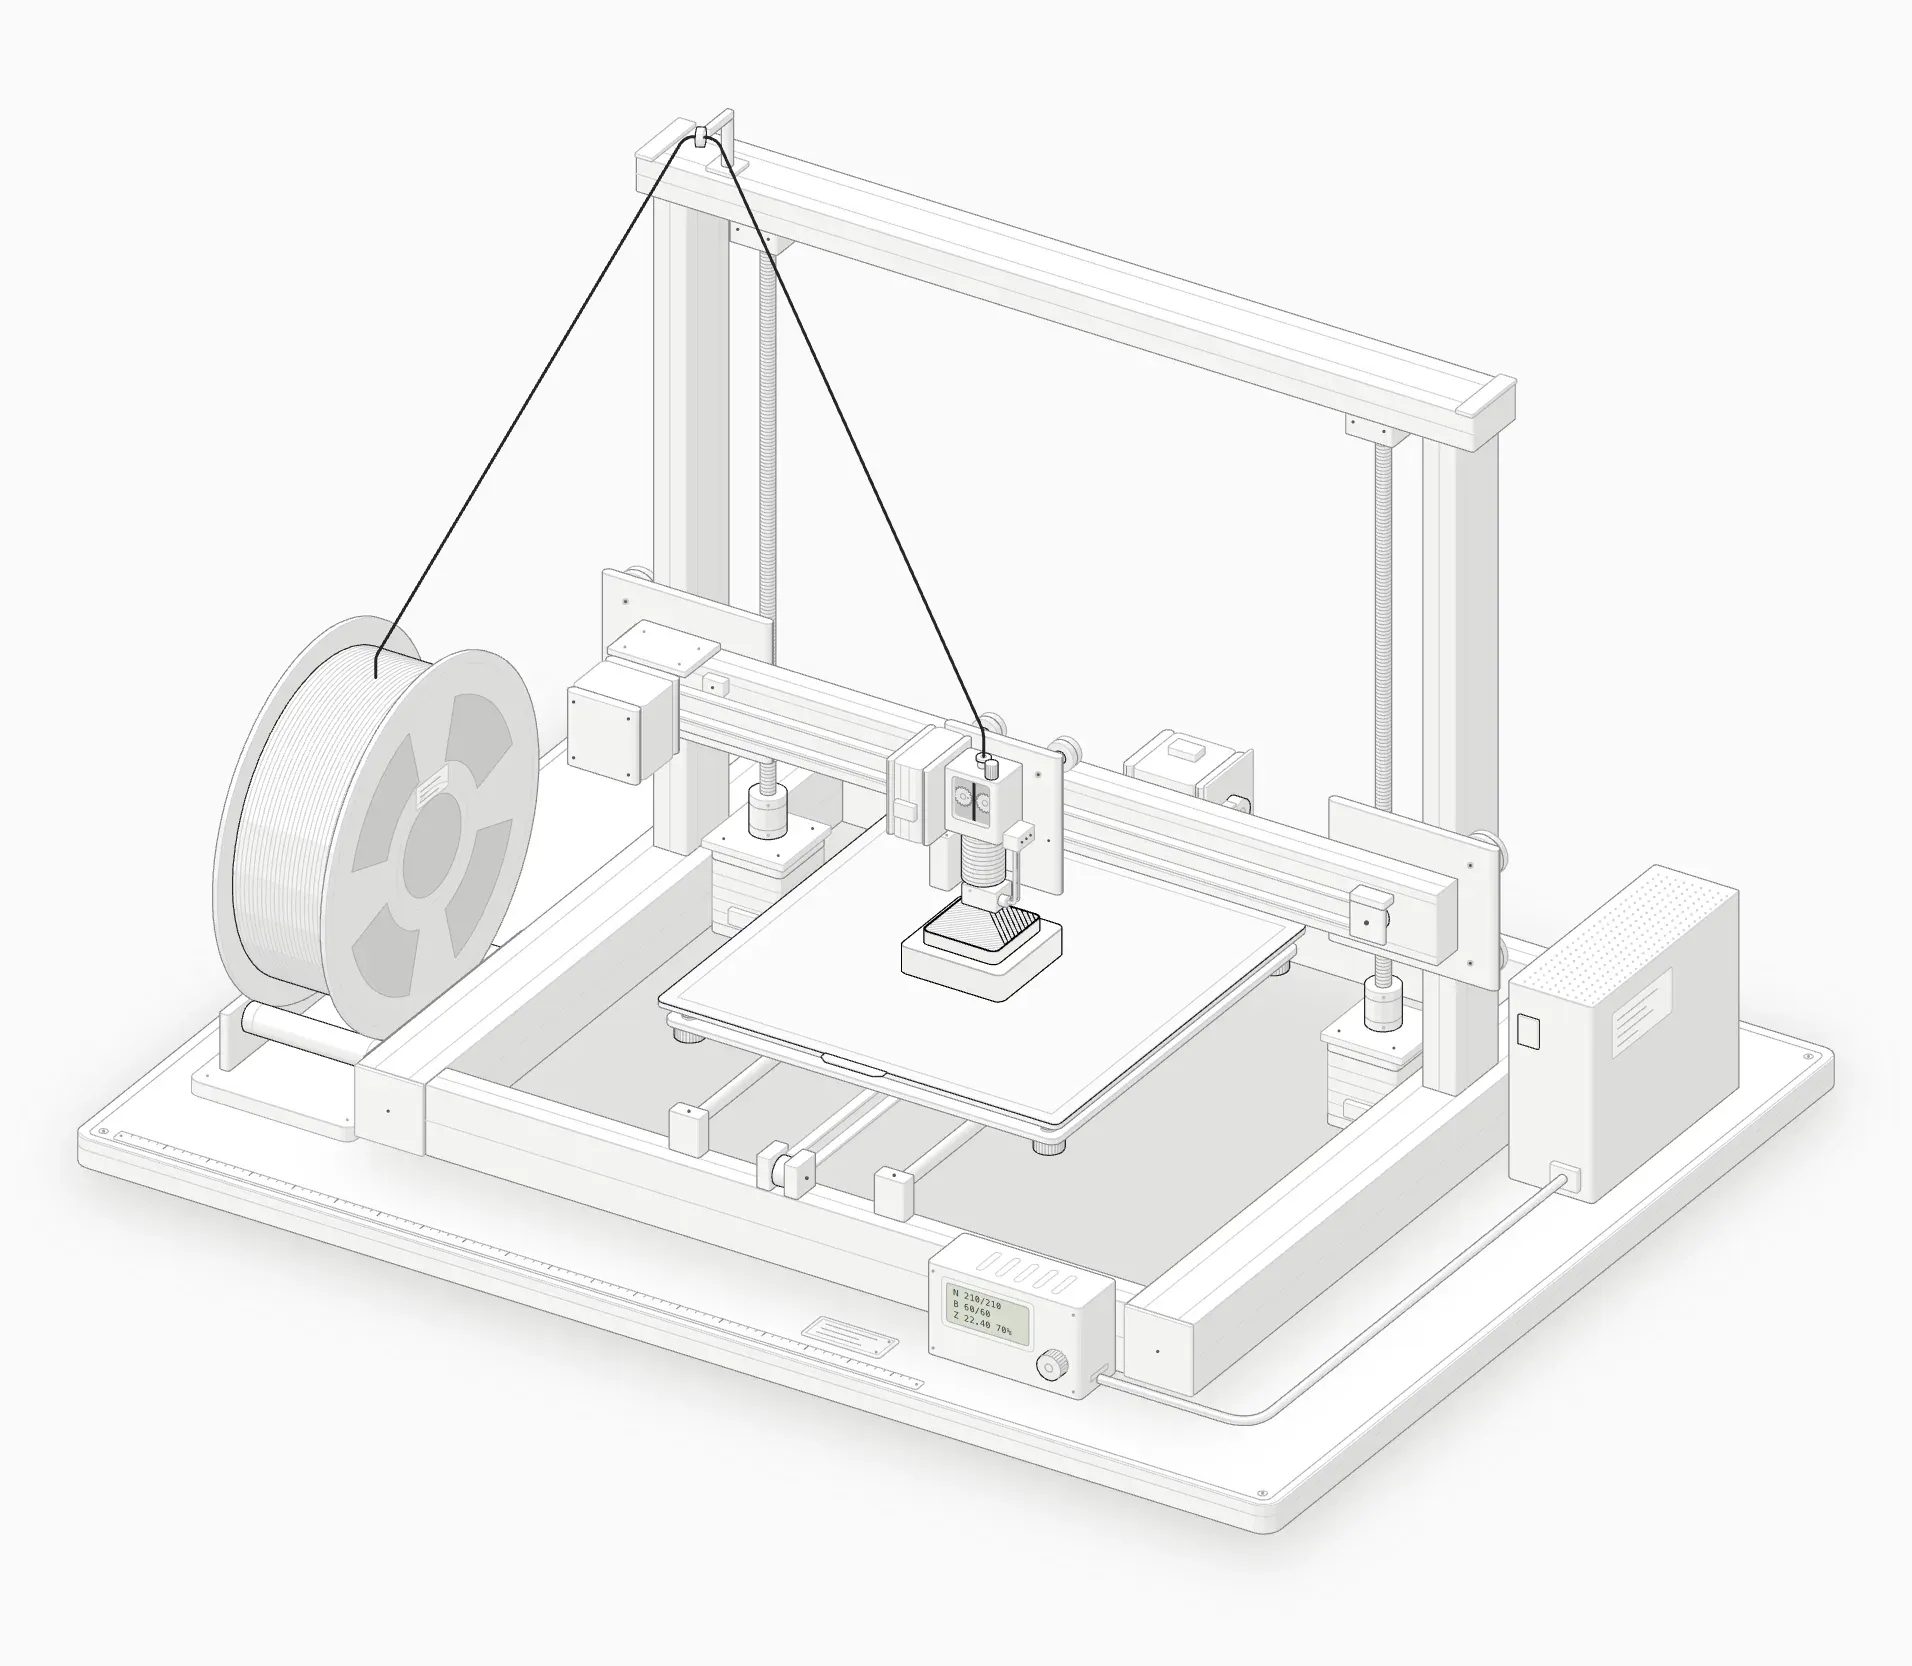 A bed-slinger FDM printer halfway through a 225-layer print.
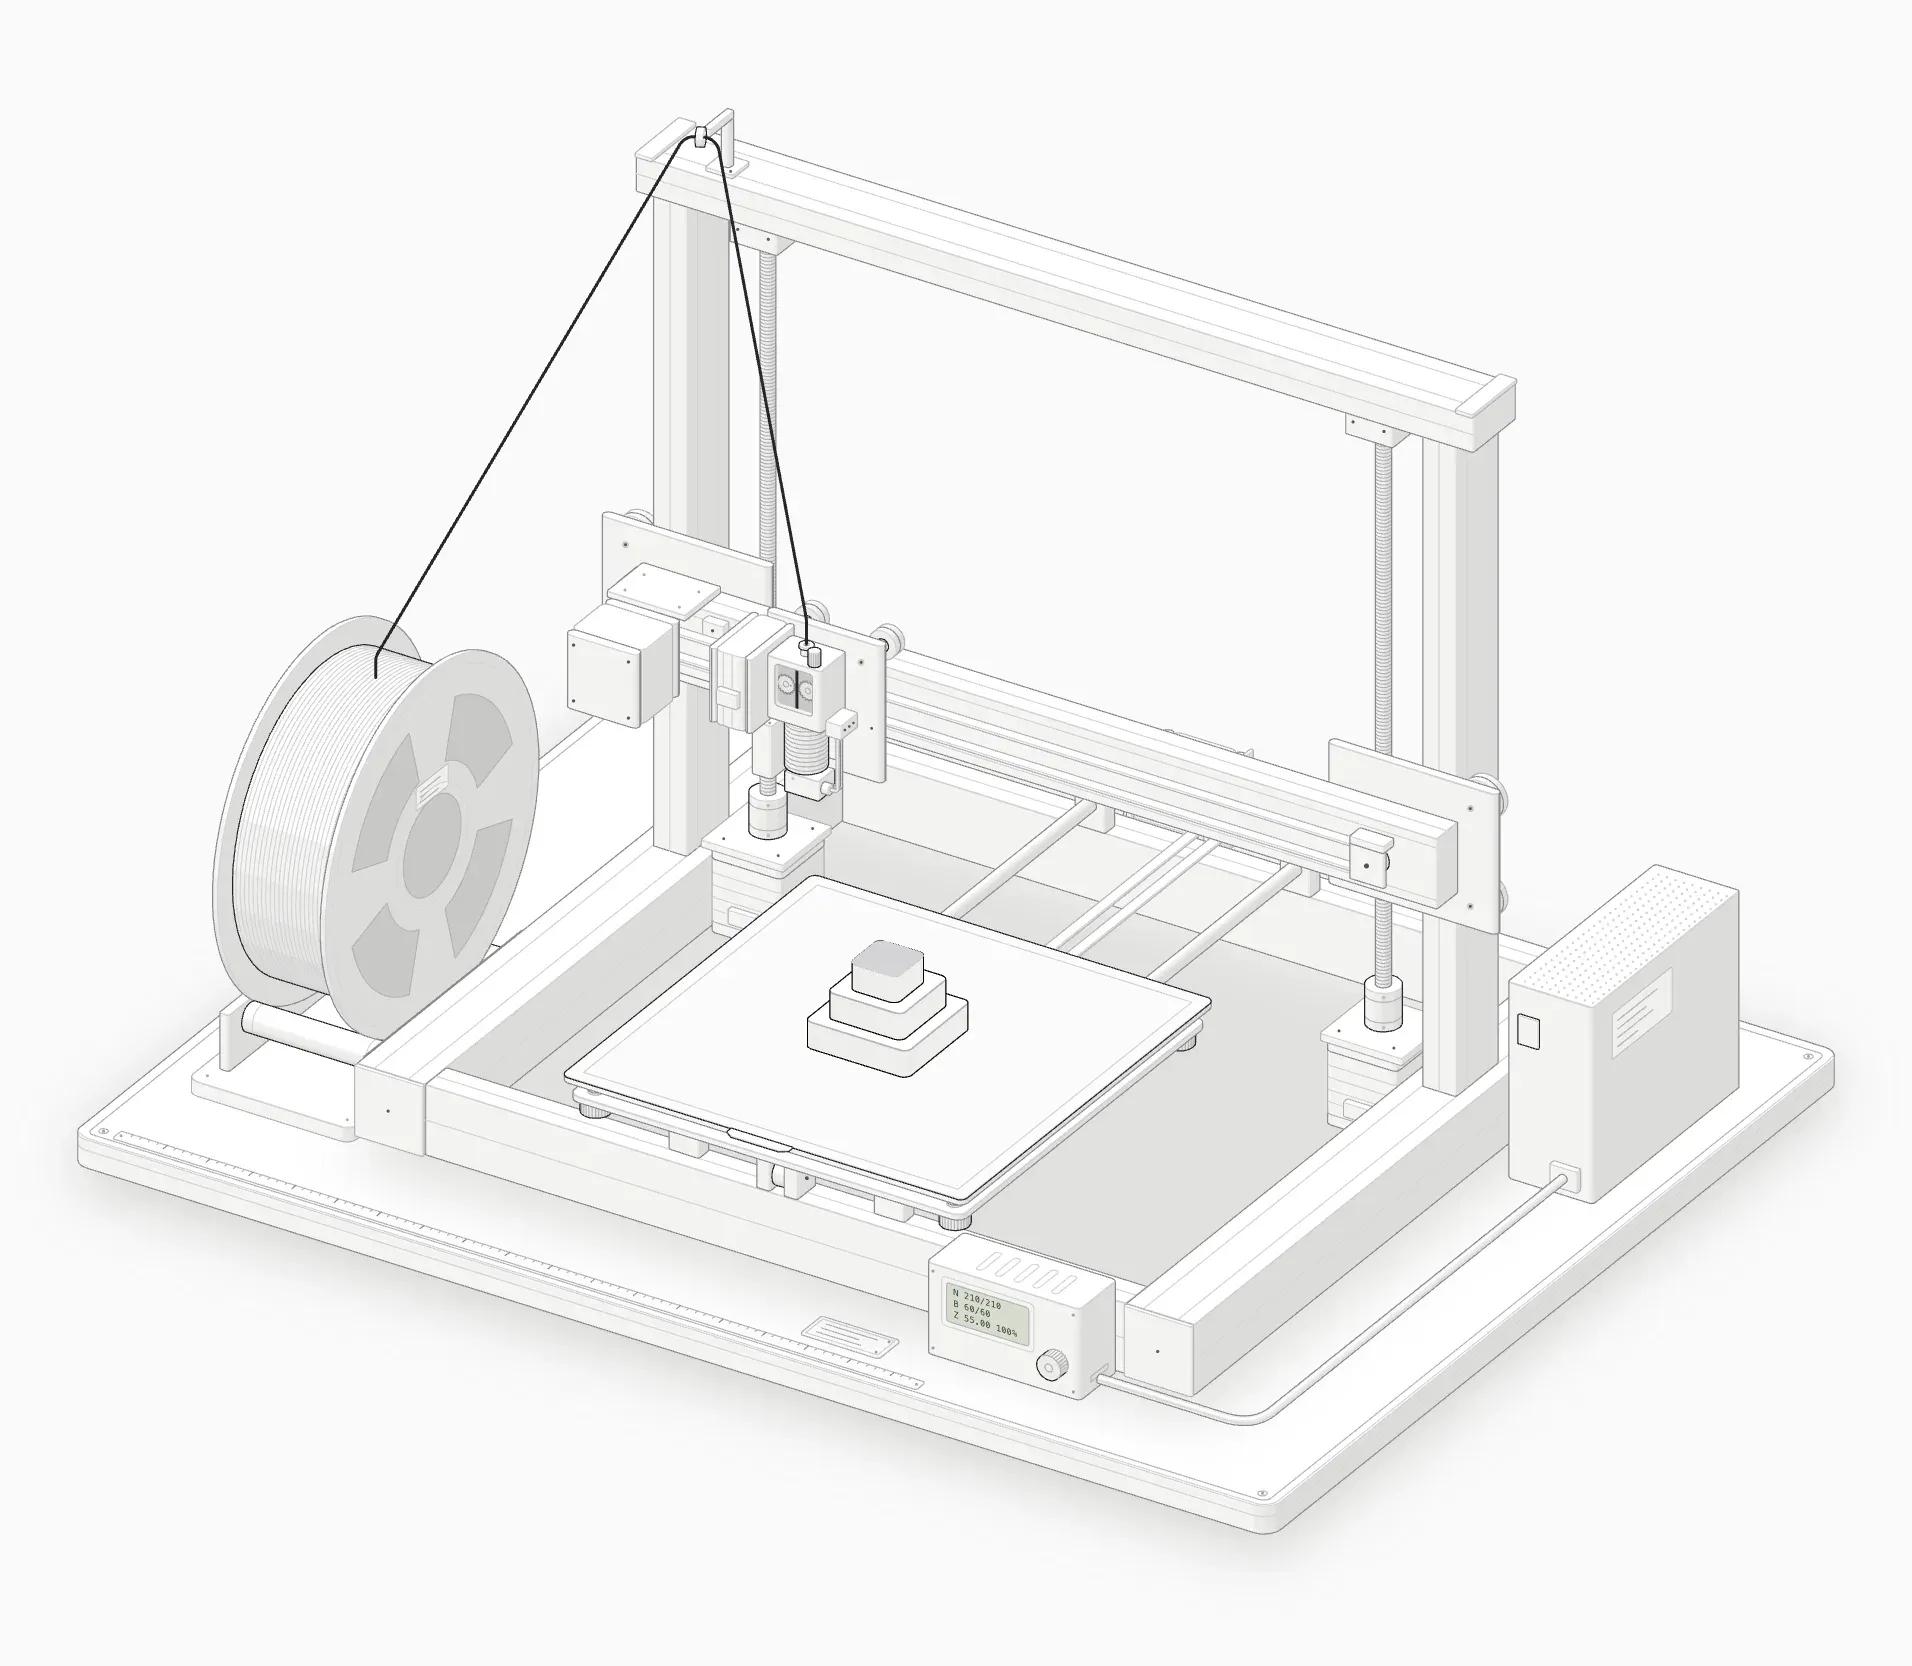 The finished part: 225 layers of 0.2 mm.
The frame
The frame holds everything in alignment. On most beginner bed slingers it’s aluminium extrusion; on CoreXY and enclosed printers it’s usually a steel or aluminium box. A rigid, square frame is what lets the motion system place the nozzle exactly where the slicer asked.
Signs it’s failing:
- Prints that lean or are slightly out of square.
- Ringing (ripples next to sharp corners) that gets worse at higher speeds.
- Layer shifts after the printer has been moved or bumped.
Upgrade worth it? Rarely. Checking that the frame bolts are tight every few months fixes most frame problems for free.
- A bed-slinger FDM printer halfway through a 225-layer print.
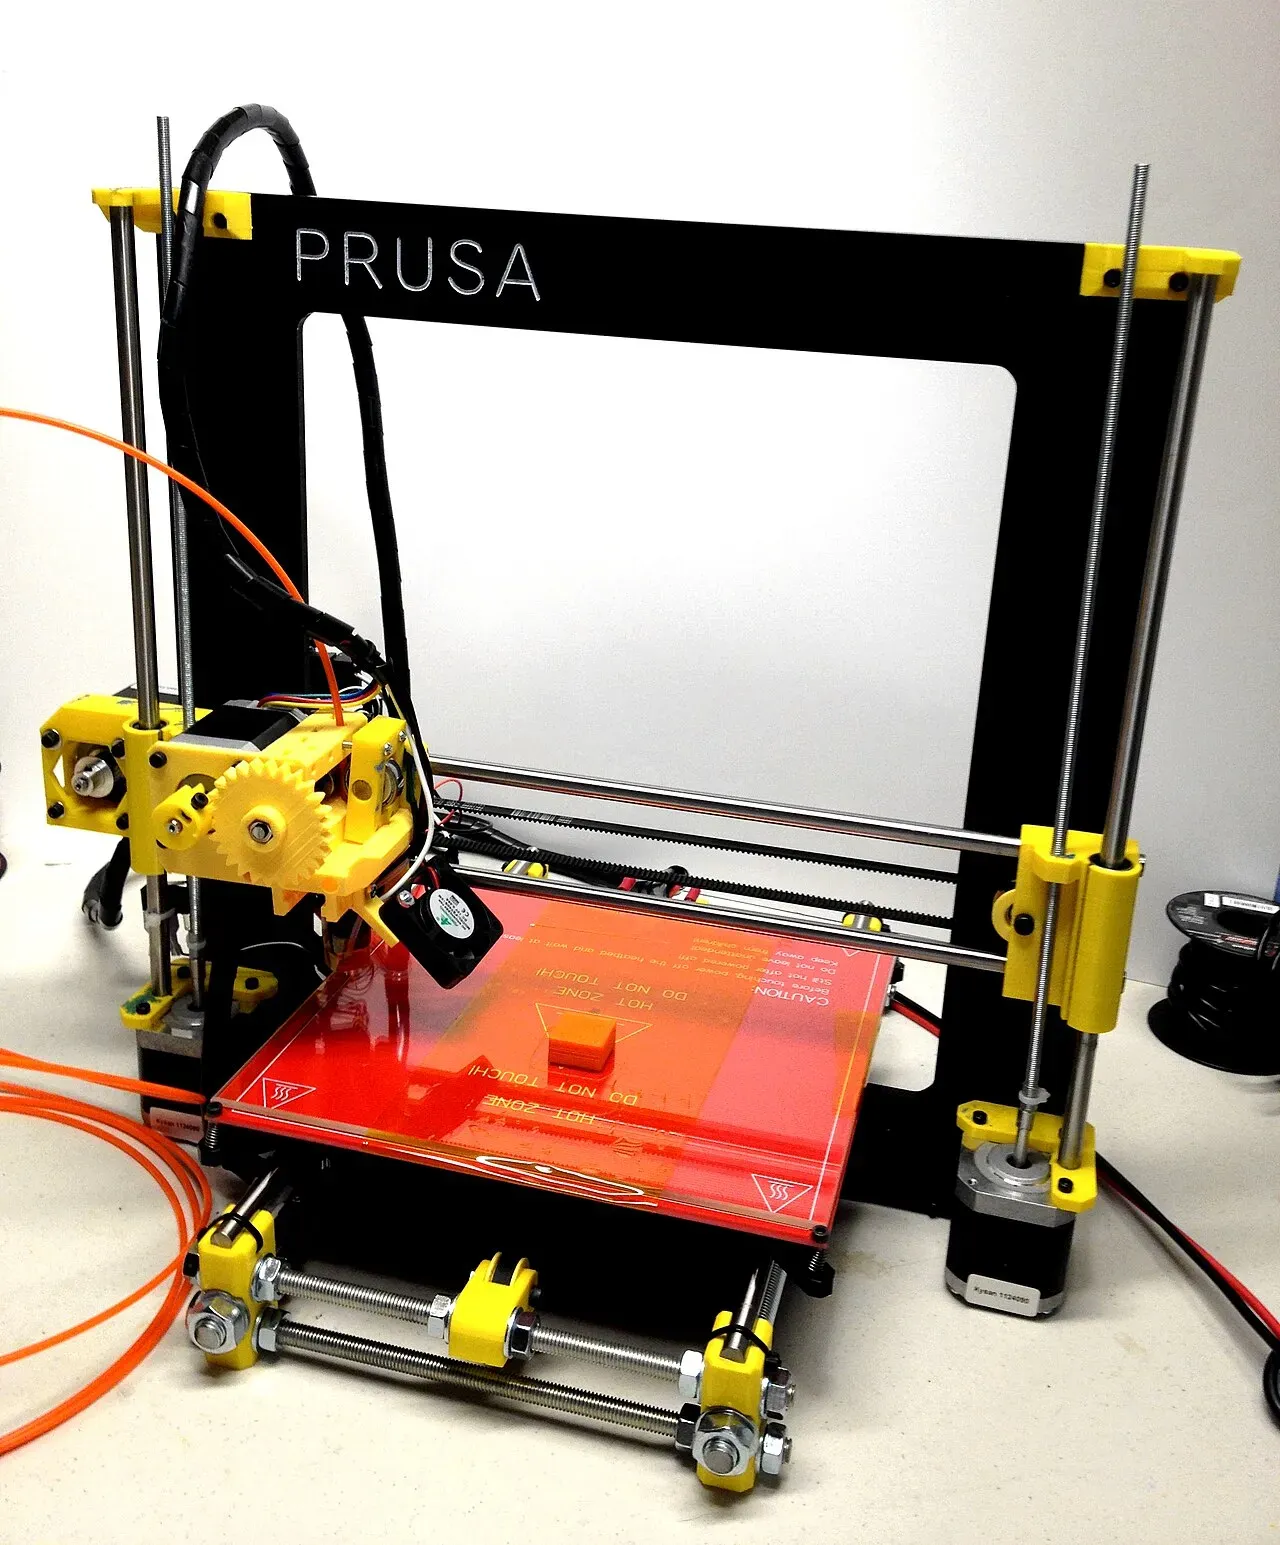 A Prusa i3, the design behind many beginner printers.Photo: John Abella ·CC BY 2.0 ·Wikimedia Commons
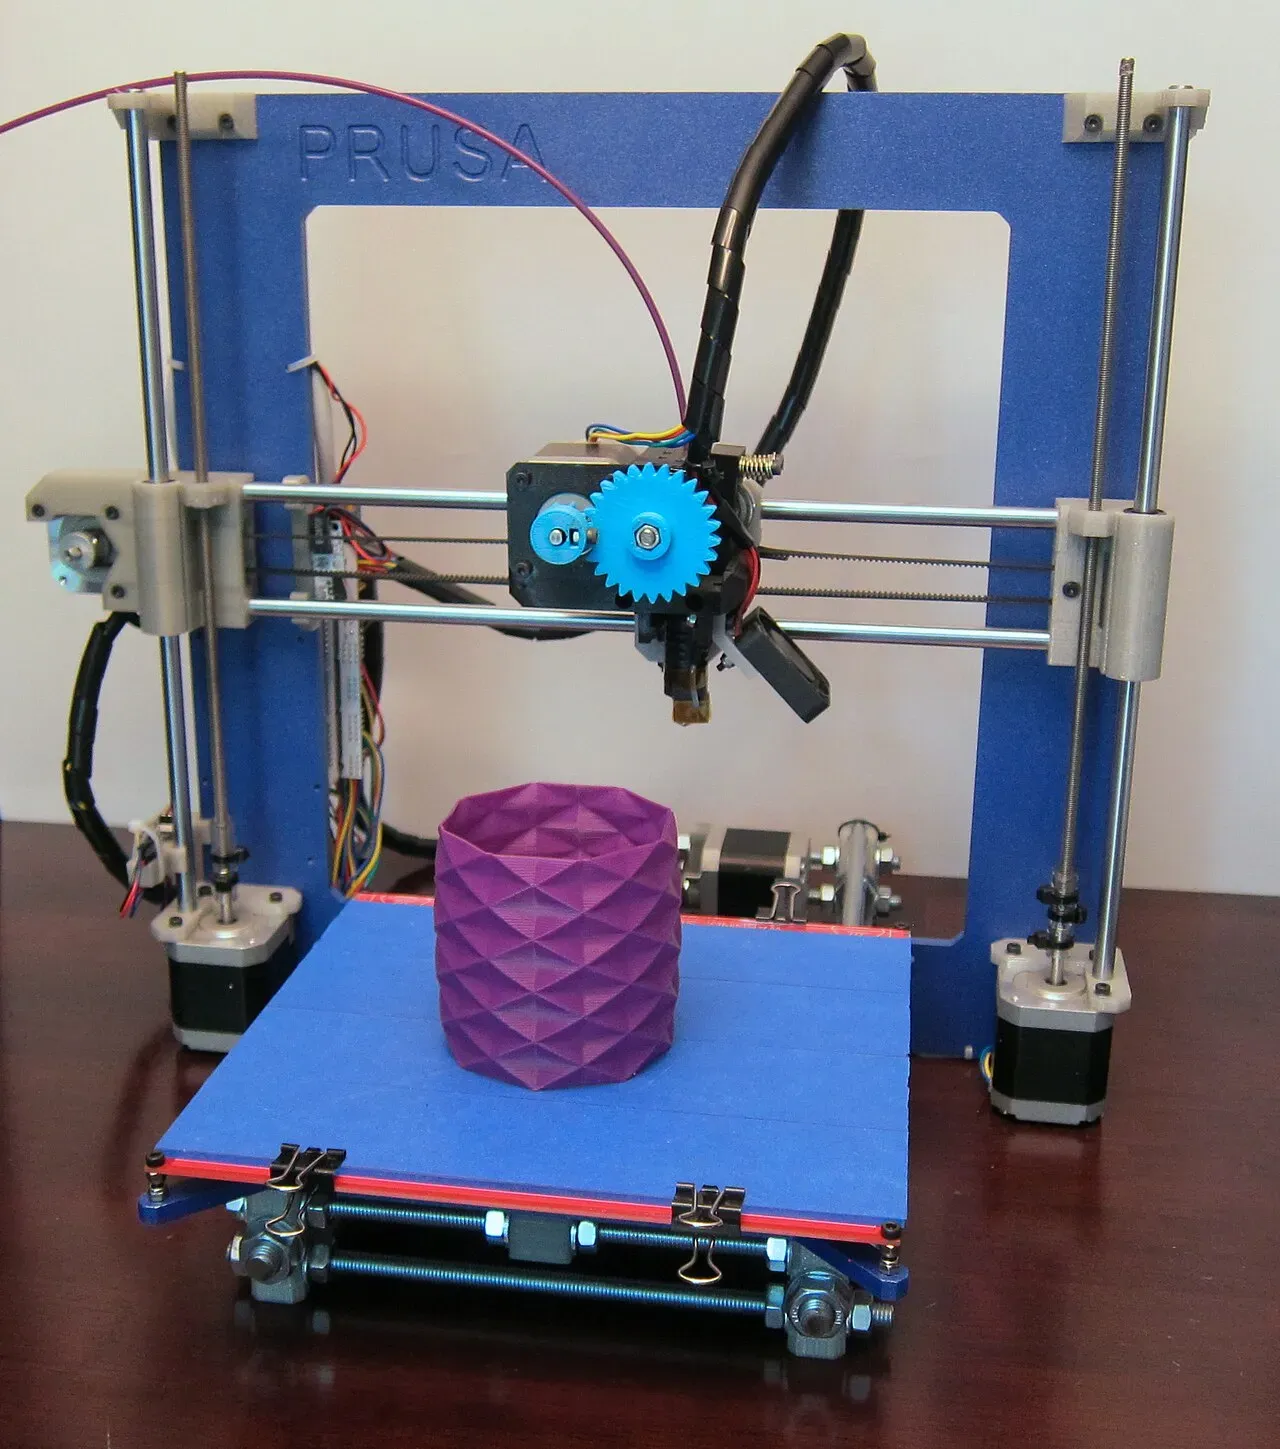 A metal-framed i3 printing a vase.Photo: John Abella ·CC BY 2.0 ·Wikimedia Commons
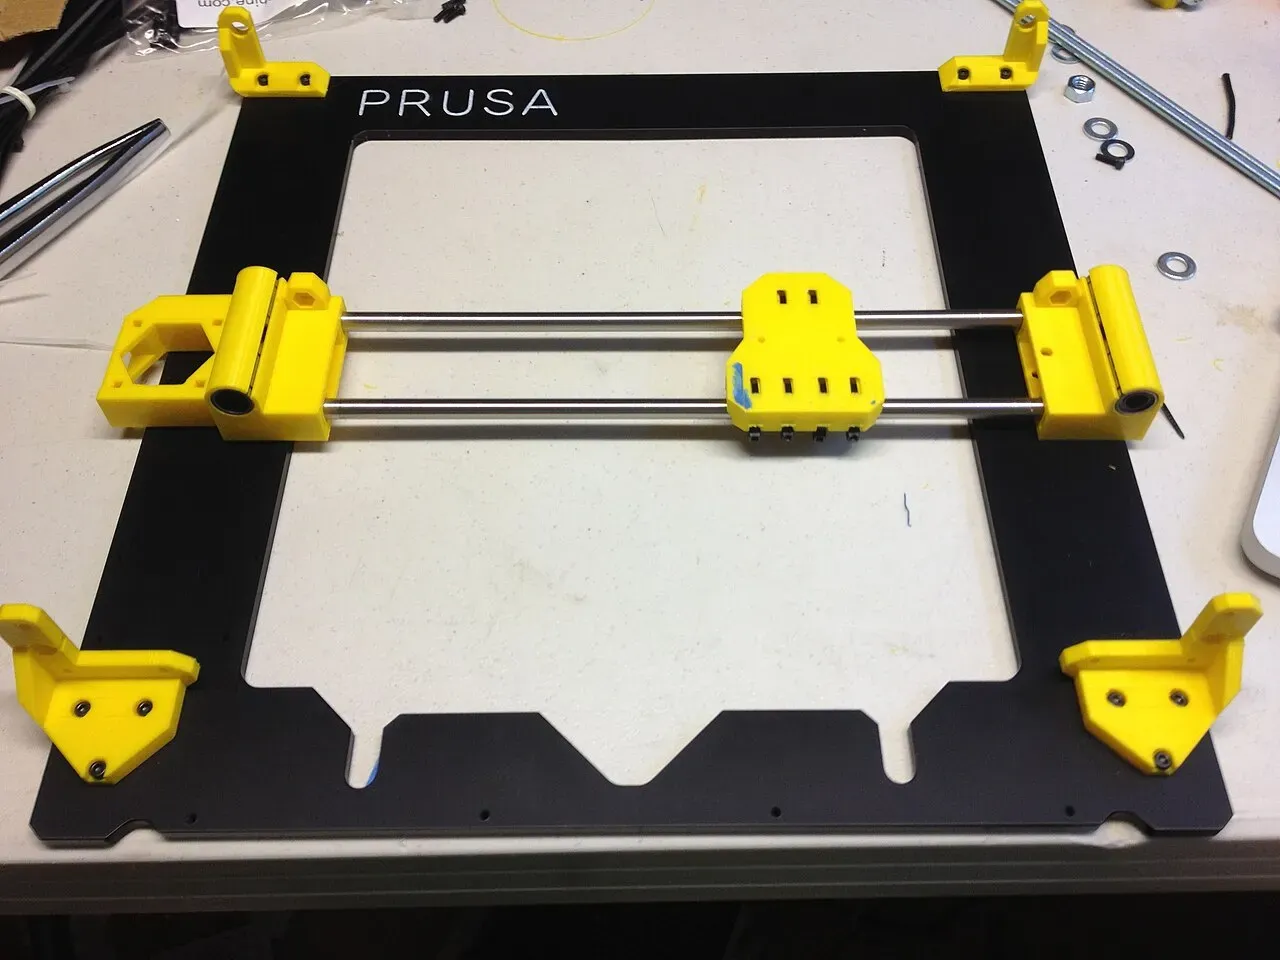 The frame and Y axis before assembly.Photo: John Abella ·CC BY 2.0 ·Wikimedia Commons
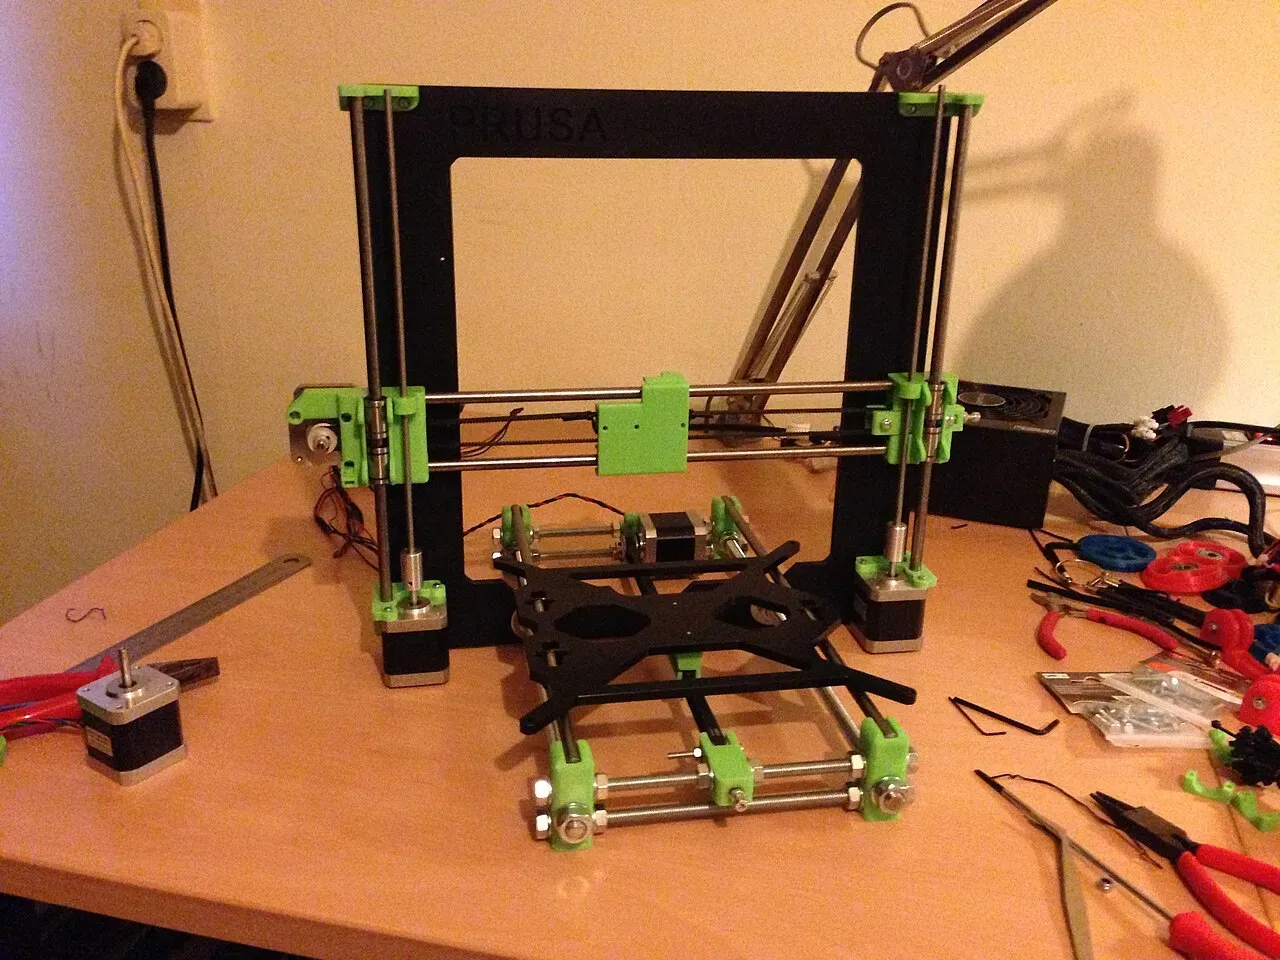 Part way through building the frame.Photo: John Rood ·CC BY 2.0 ·Wikimedia Commons
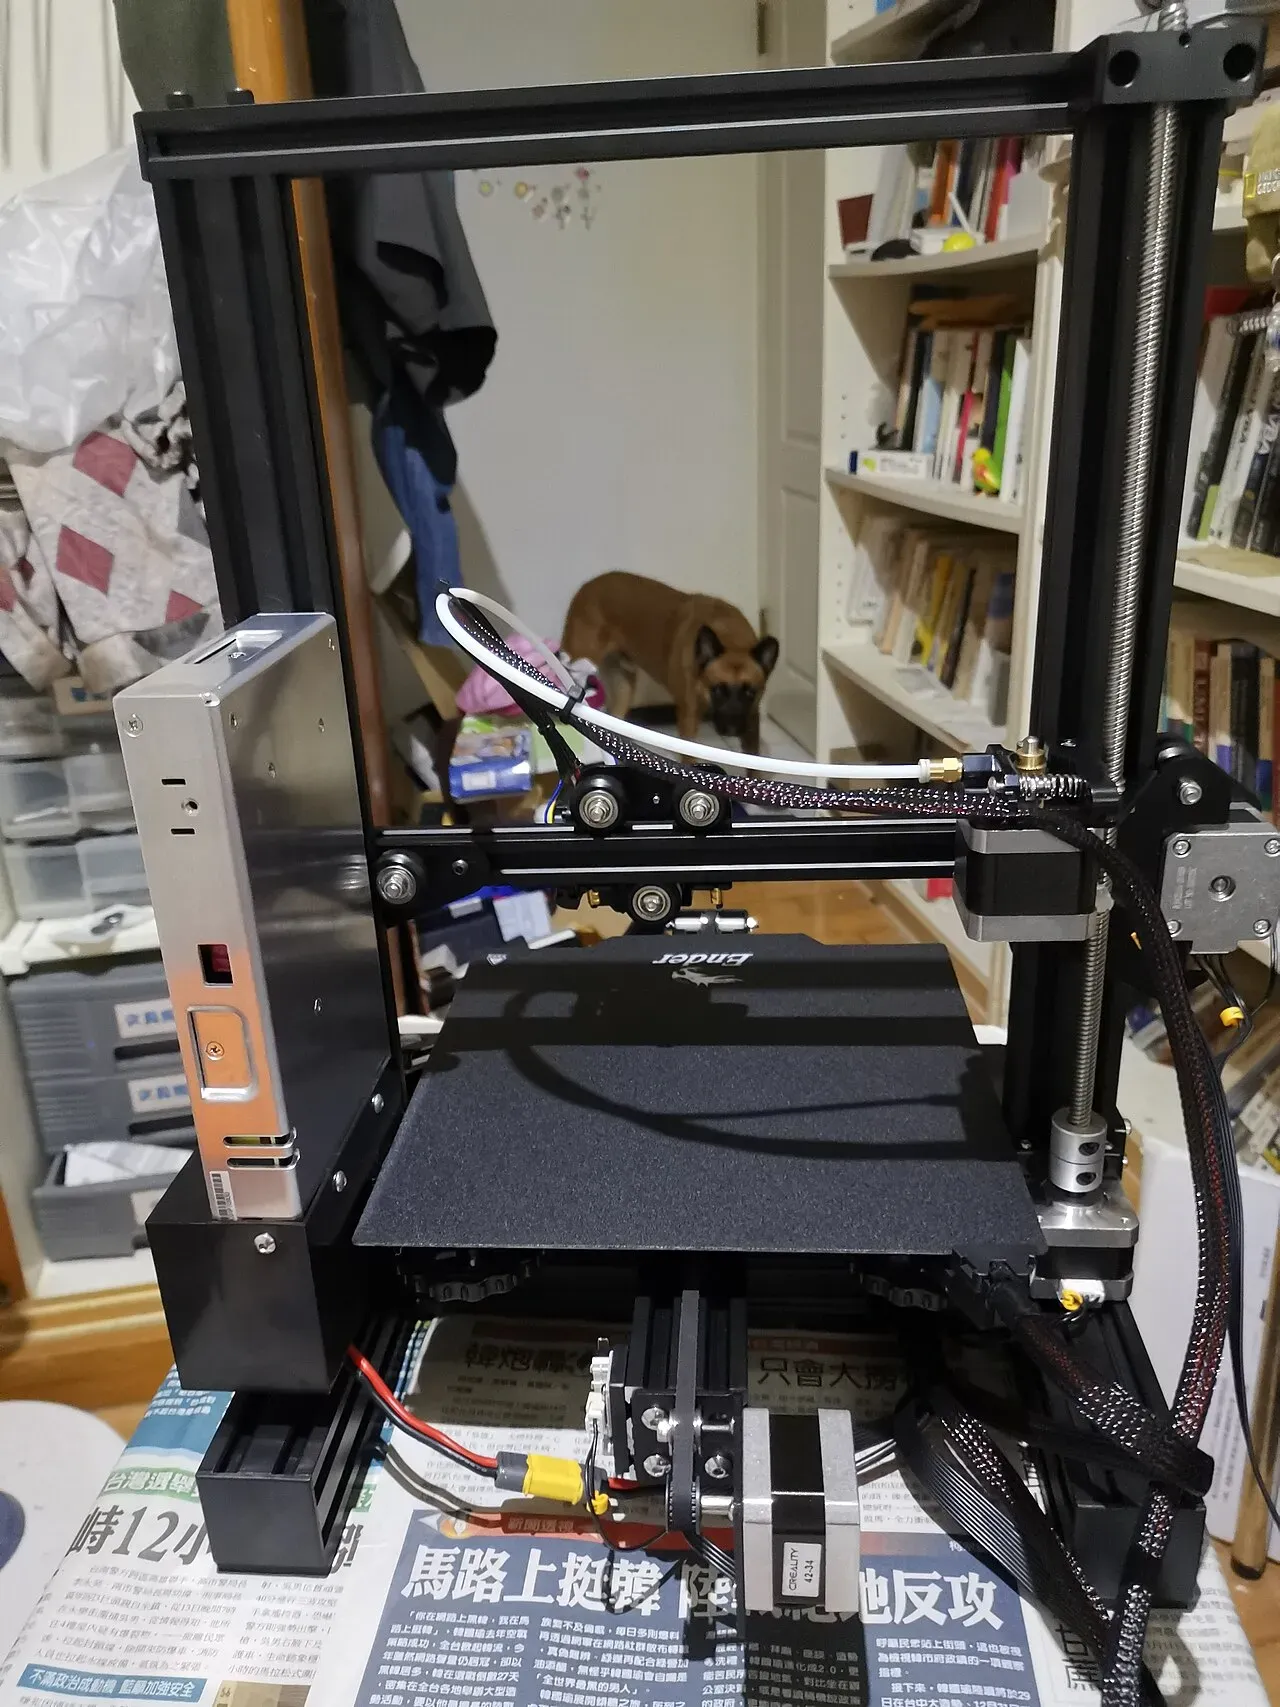 An assembled Ender 3: a classic bed-slinger.Photo: kenming Wang ·CC BY-SA 2.0 ·Wikimedia Commons
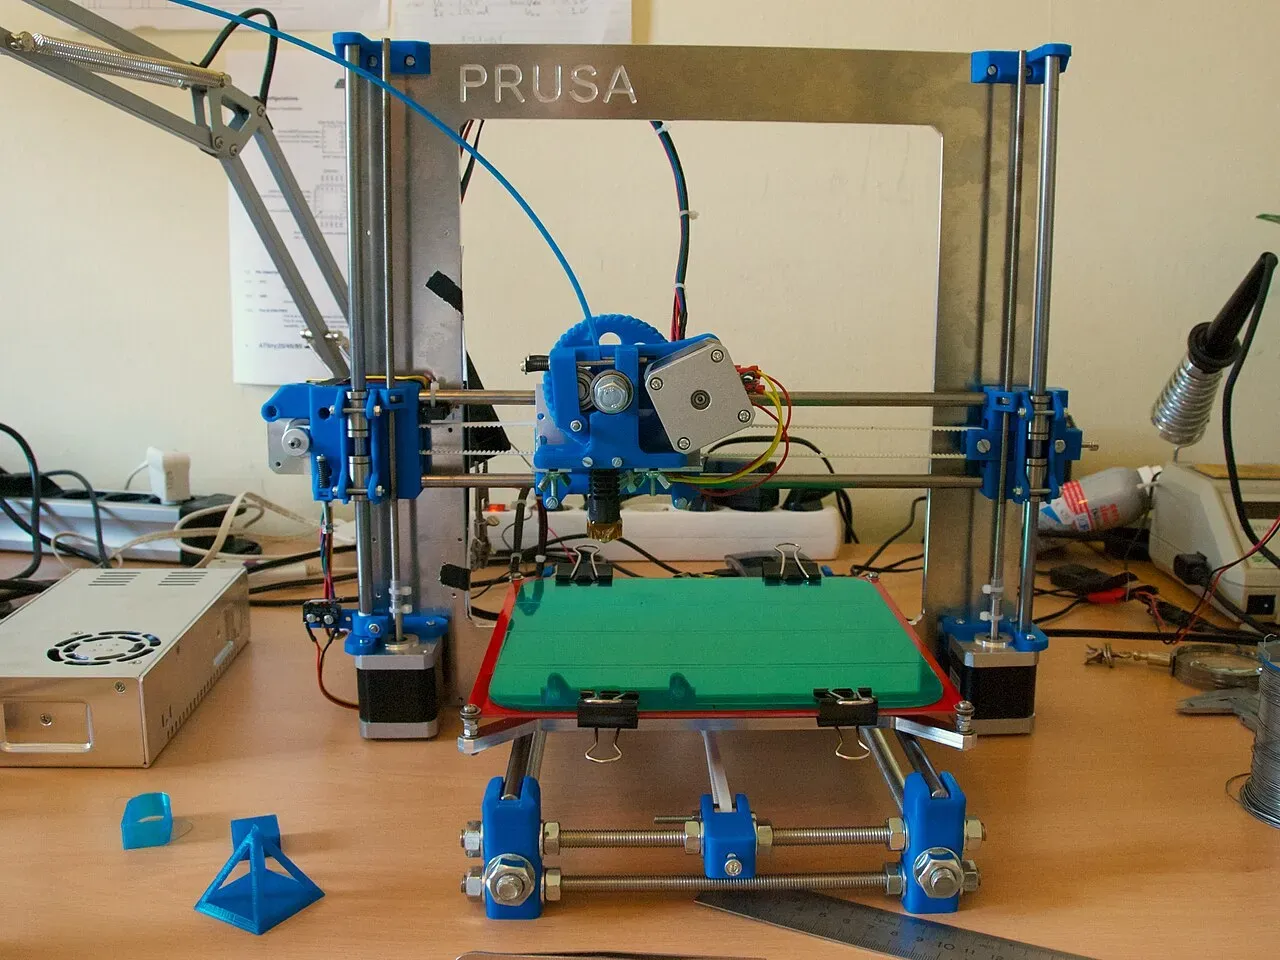 An i3 on a workbench, mid-print.Photo: John Rood ·CC BY 2.0 ·Wikimedia Commons
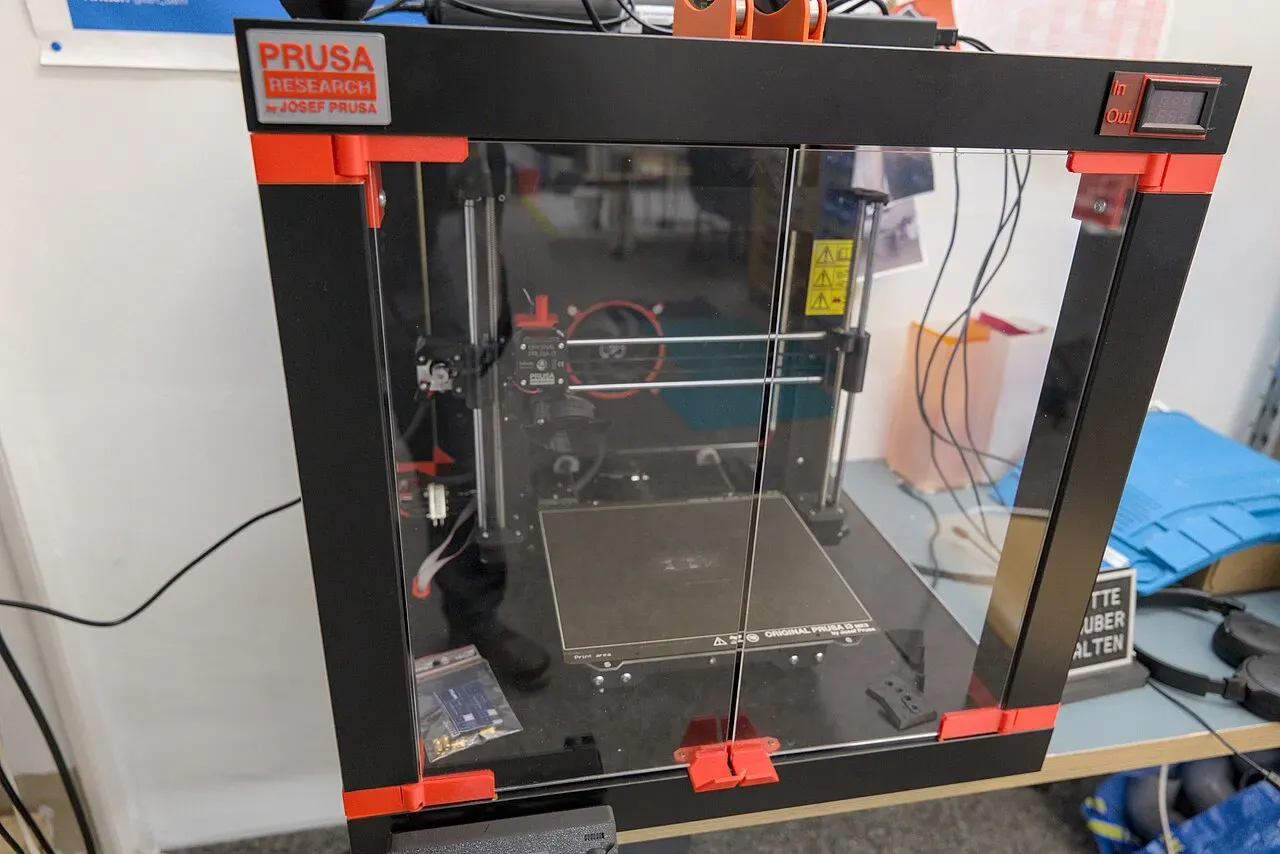 An enclosure keeps heat in for ABS and ASA.Photo: -stk ·CC BY-SA 4.0 ·Wikimedia Commons
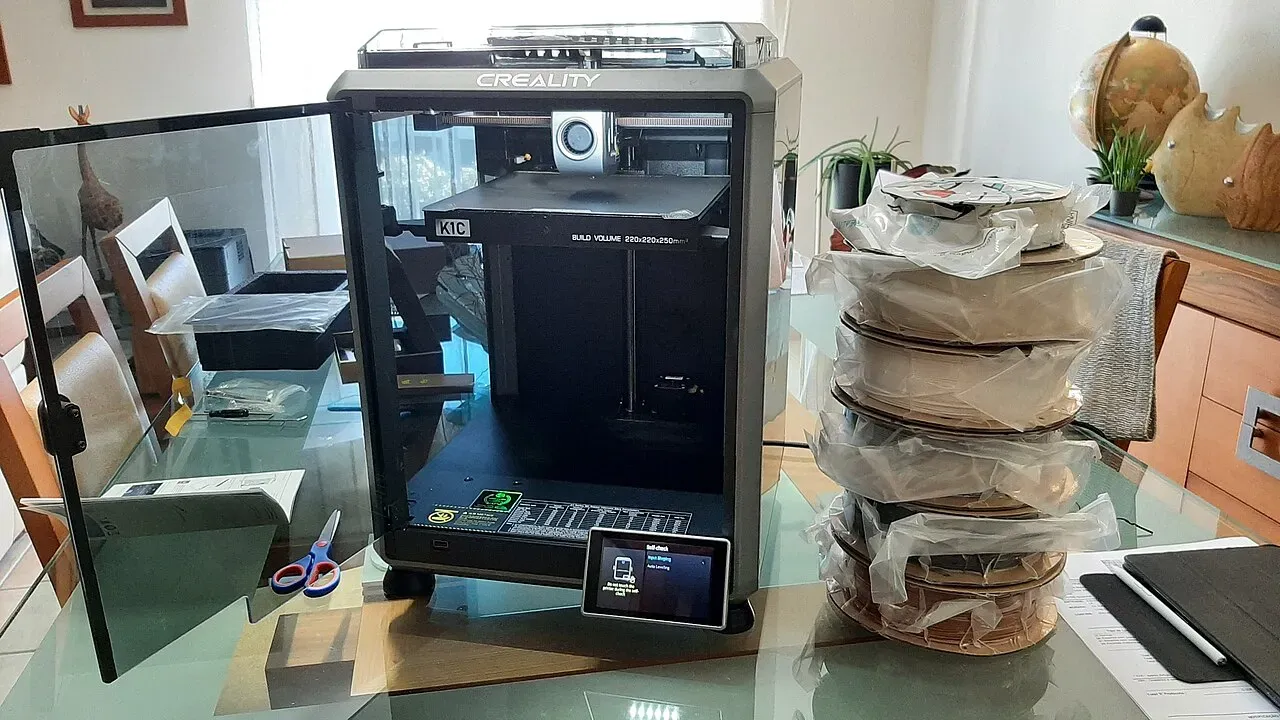 An enclosed CoreXY printer on a home desk.Photo: Mortymore ·CC BY 2.0 ·Wikimedia Commons
The motion system
Your printer moves in three directions:
- X: left and right
- Y: front to back
- Z: up and down (one layer at a time)
Stepper motors
Stepper motors move in small, precise steps, often 200 steps per full turn, divided further by the electronics.11Most printer steppers are 1.8° per step. The driver chips split each step into microsteps, commonly 16, so one turn becomes 3,200 tiny moves. They don’t know where they are, so the printer “homes” before each print by moving until it touches a switch or sensor.
Belts and pulleys
X and Y usually move on rubber belts with fibreglass or steel cords, driven by a toothed pulley on the motor. Belt tension matters: too loose causes blurry details and layer shifts, too tight wears out bearings.
Lead screws
Z usually moves on a threaded rod called a lead screw. Each turn of the motor lifts the gantry or bed a precise distance. A bent or dirty lead screw causes a regular ribbed pattern called Z banding.
Rails, rods and wheels
The moving parts glide on linear rails, smooth rods with bearings, or plastic V-wheels running in aluminium slots. Loose wheels make the head wobble; over-tight ones bind and cause skipped steps.
Signs it’s failing:
- Layer shifts: the layers jump sideways part way up. Usually a loose belt, a loose pulley grub screw, or the nozzle crashing into a curled print.
- Blurry or wavy walls: loose belts or wobbly wheels.
- Z banding: regular horizontal ribs, from a bent, dirty or misaligned lead screw.
- Grinding or skipping noises: something binding, or a motor working too hard.
Upgrade worth it? Linear rails are a popular upgrade on V-wheel printers, but most motion problems come from tension and cleanliness, not the parts themselves. Tighten and clean first.
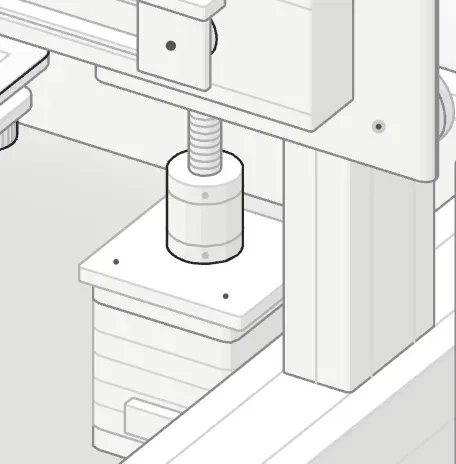
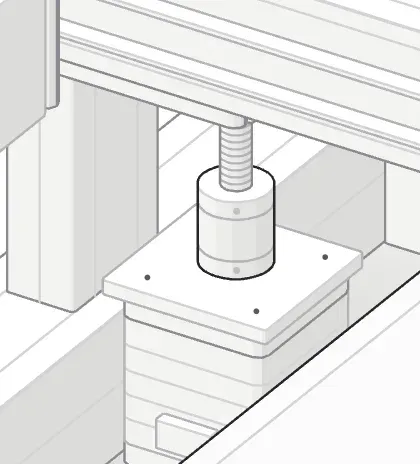 A Z motor turns the lead screw through a coupler.
 A second Z motor keeps the gantry level on the right side.
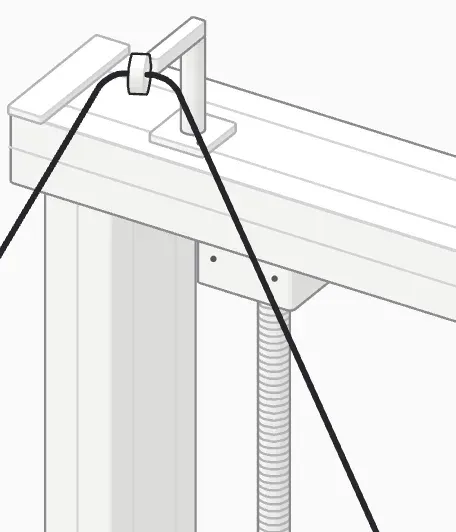 The top of a lead screw, held in a bearing under the frame.
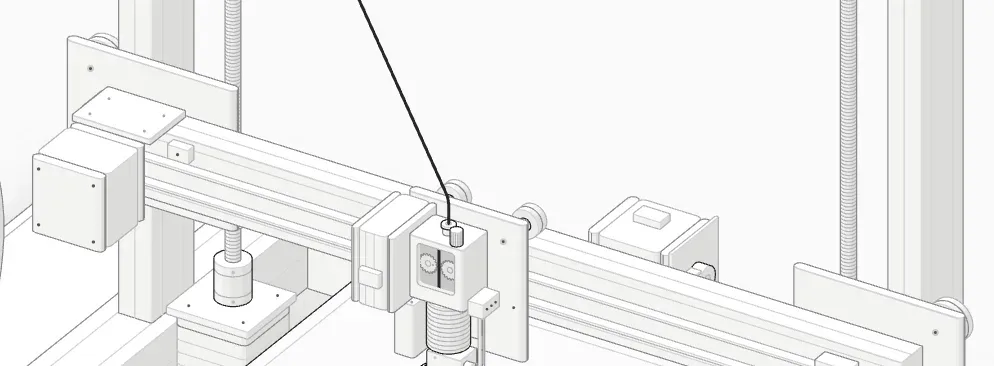 The X gantry: the print head rides along it on a belt.
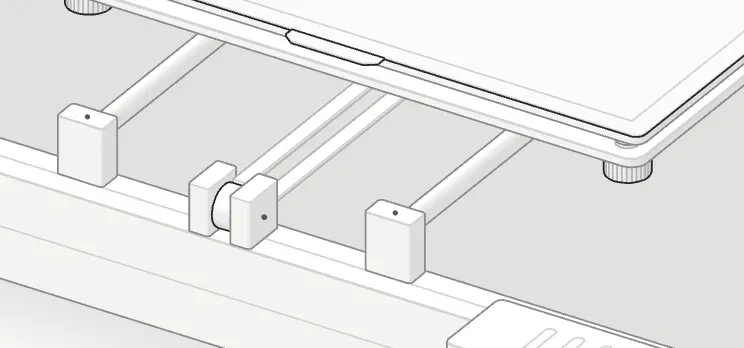 The bed slides front to back on two rods: this is the Y axis.
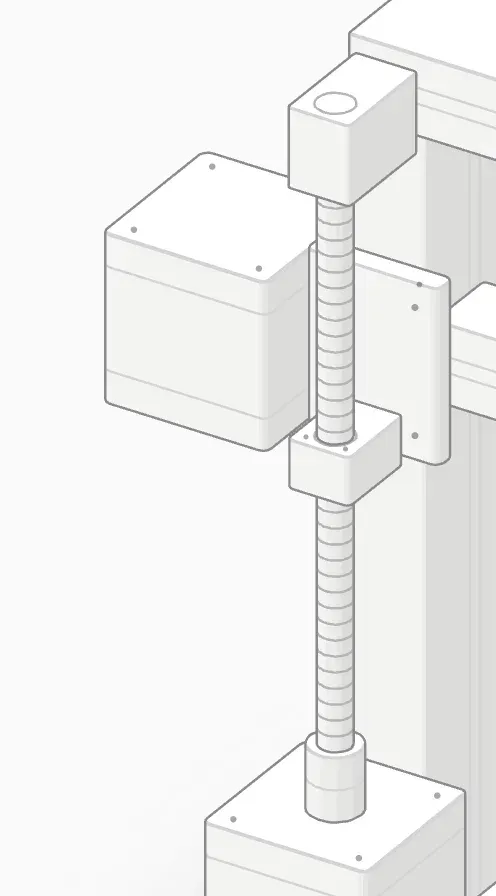 The Z motor and lead screw raise and lower the gantry.
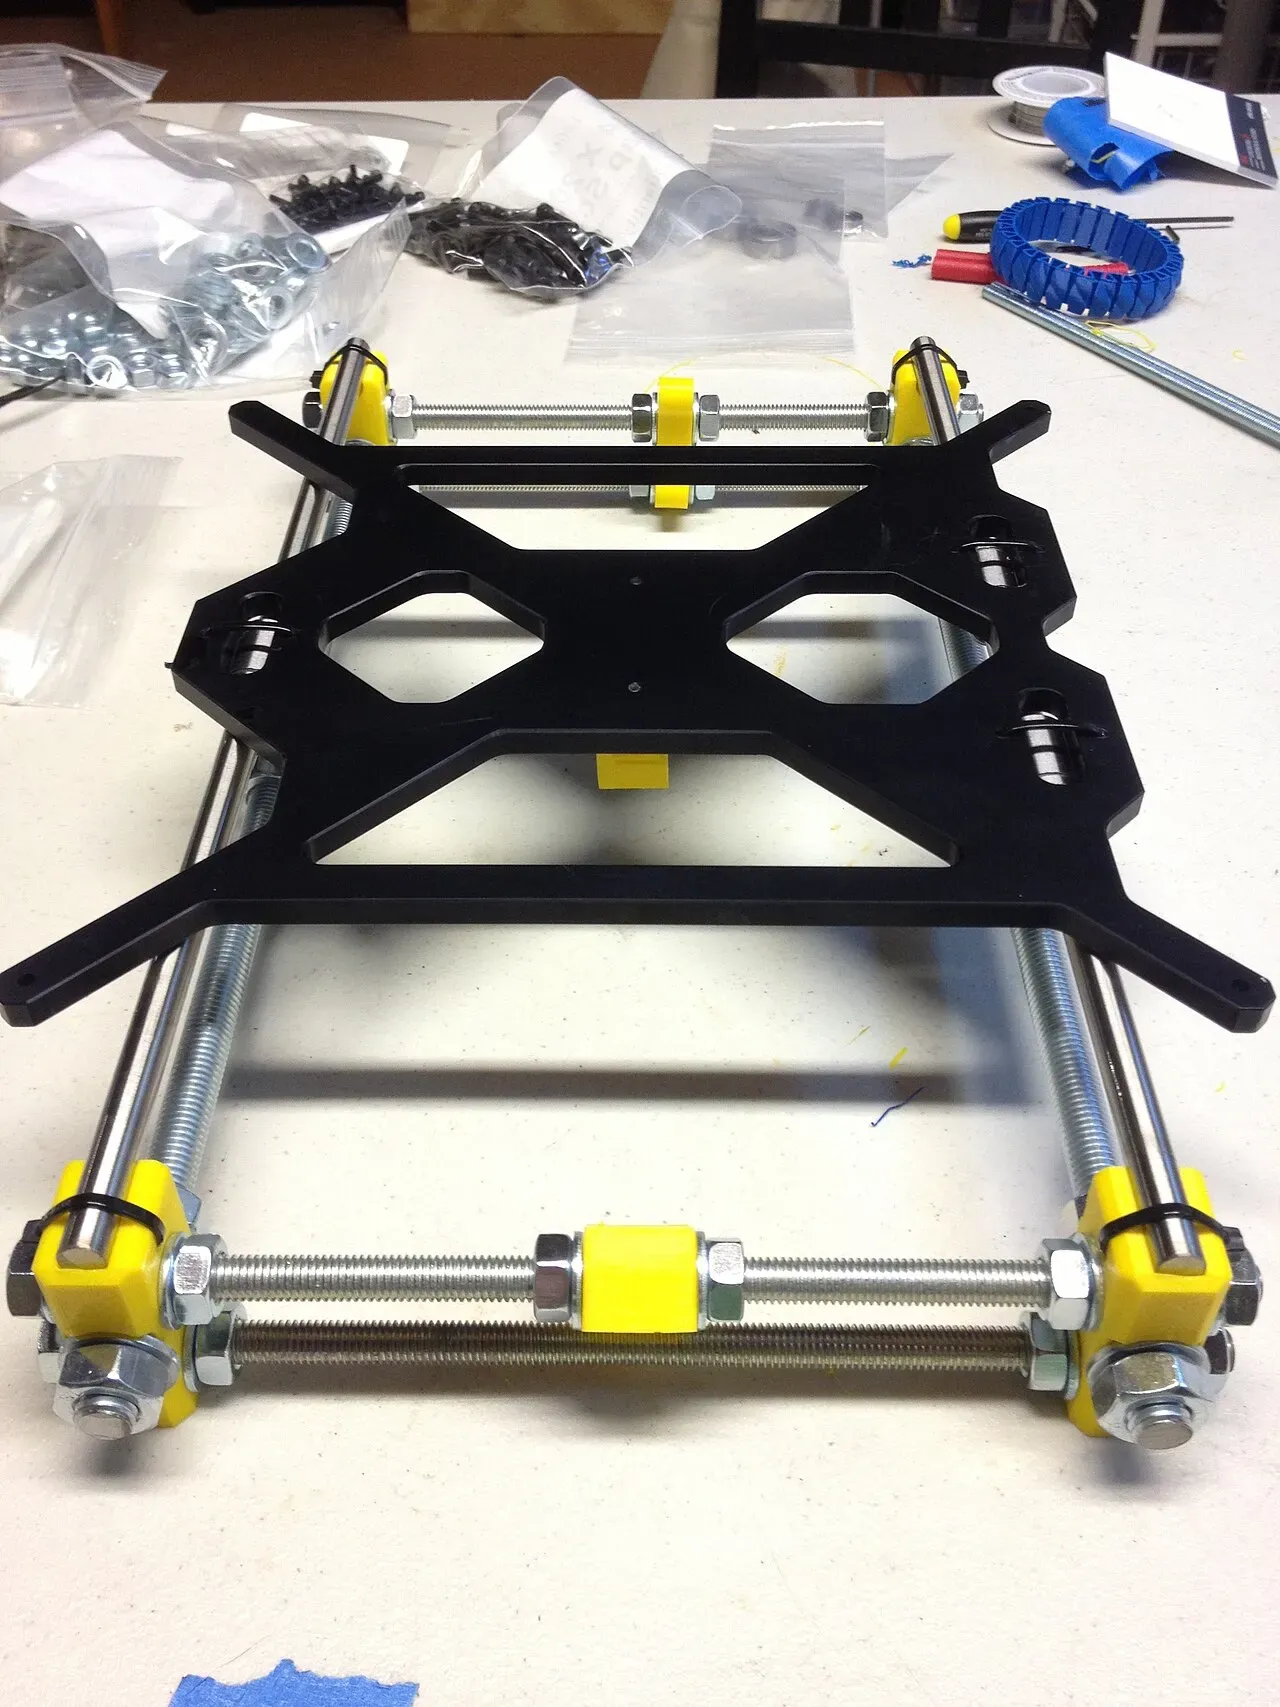 The Y axis assembled: smooth rods and the bed carriage.Photo: John Abella ·CC BY 2.0 ·Wikimedia Commons
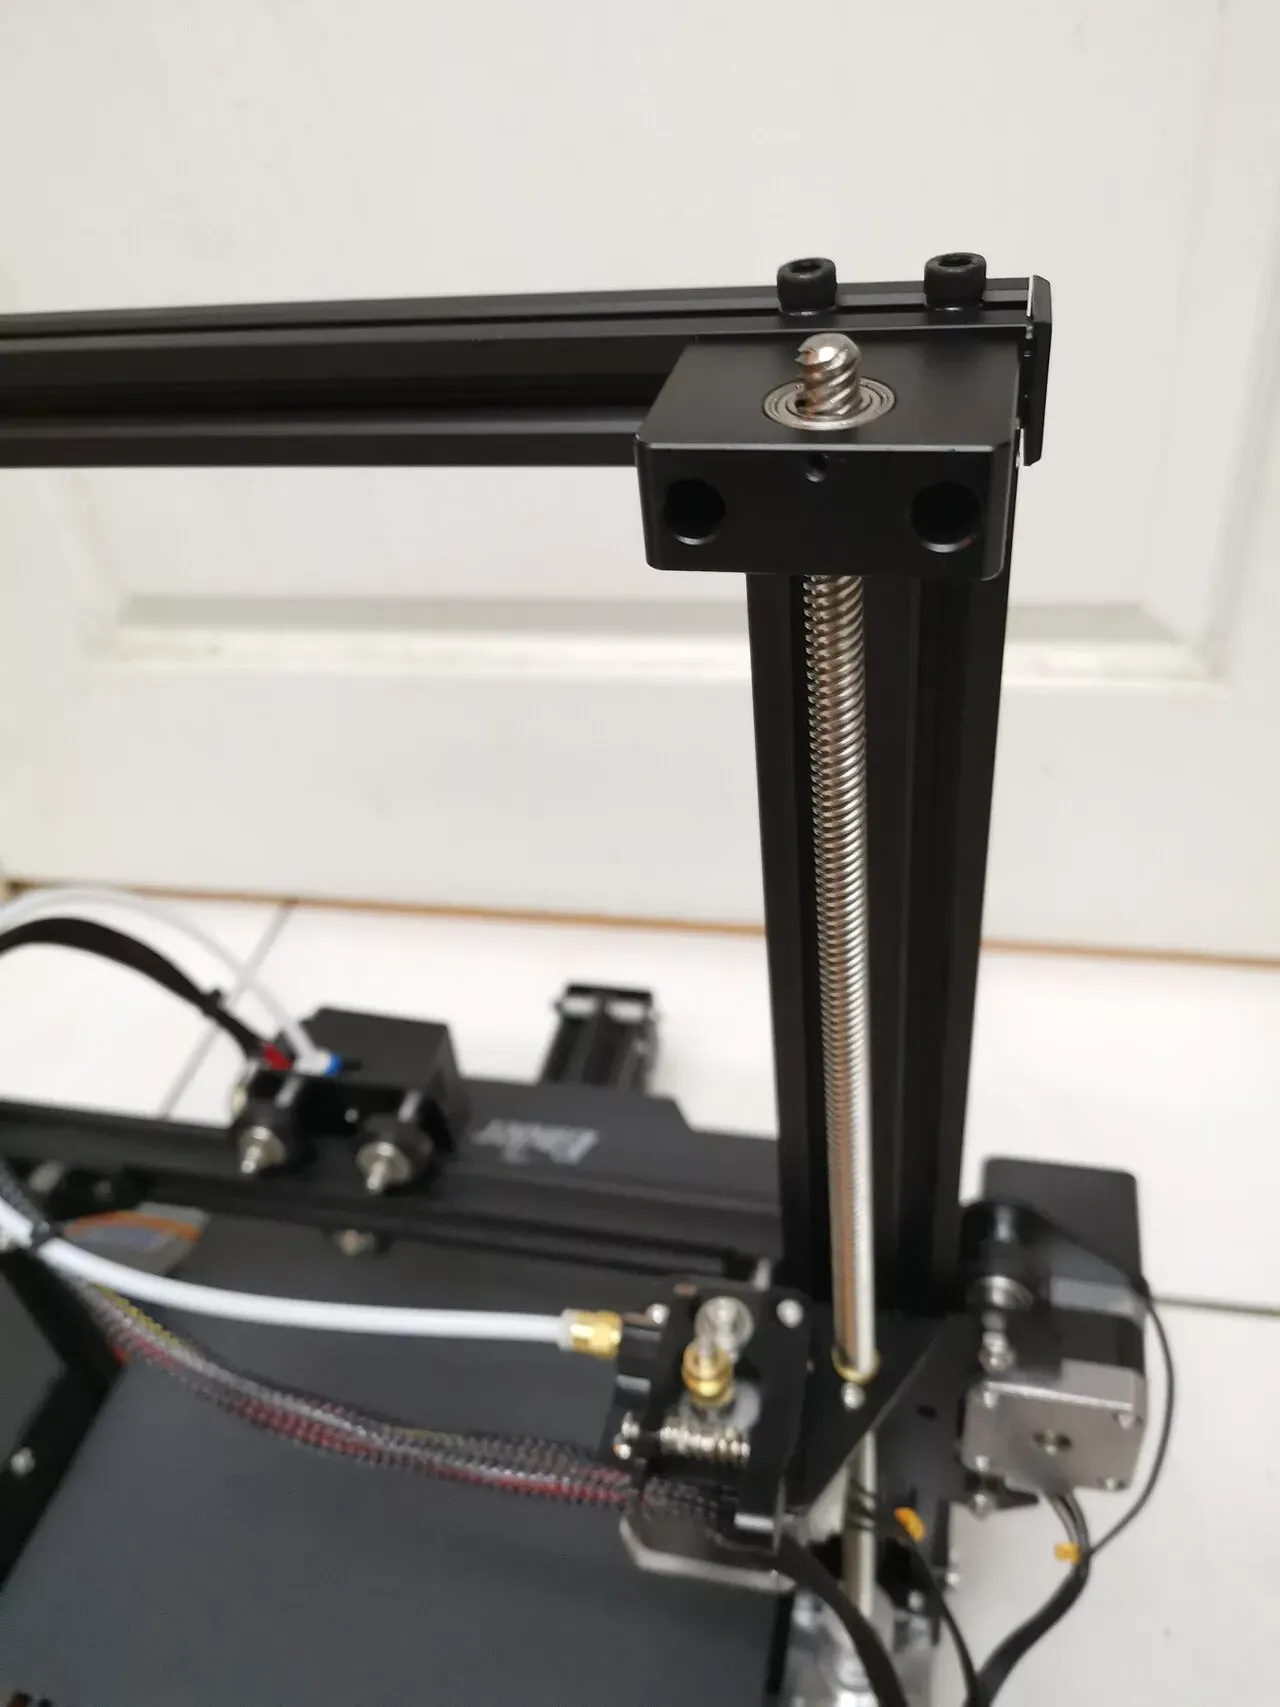 The Z lead screw lifts the gantry.Photo: kenming Wang ·CC BY-SA 2.0 ·Wikimedia Commons
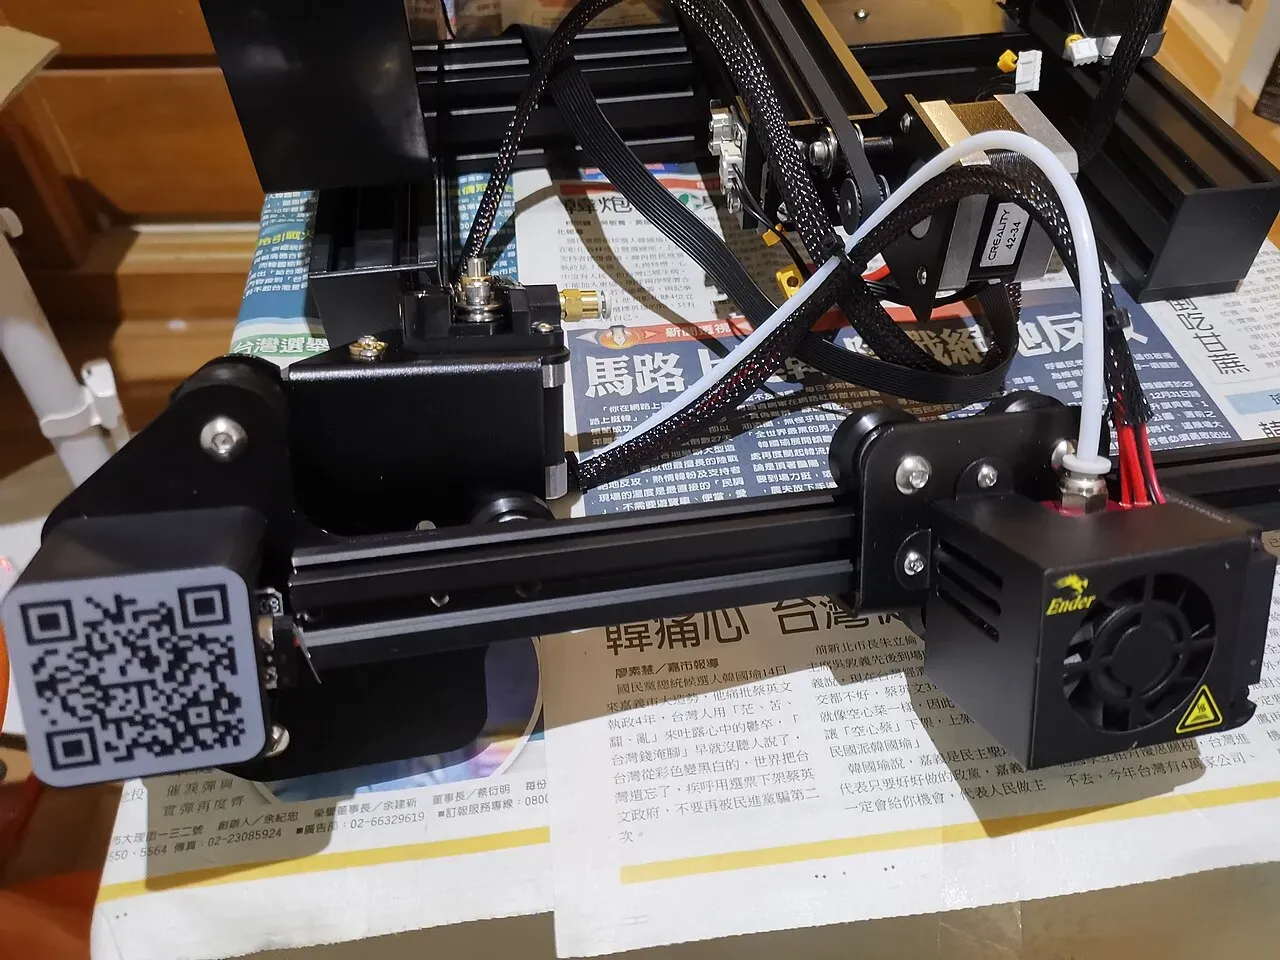 The gantry and print head of a bed-slinger.Photo: kenming Wang ·CC BY-SA 2.0 ·Wikimedia Commons
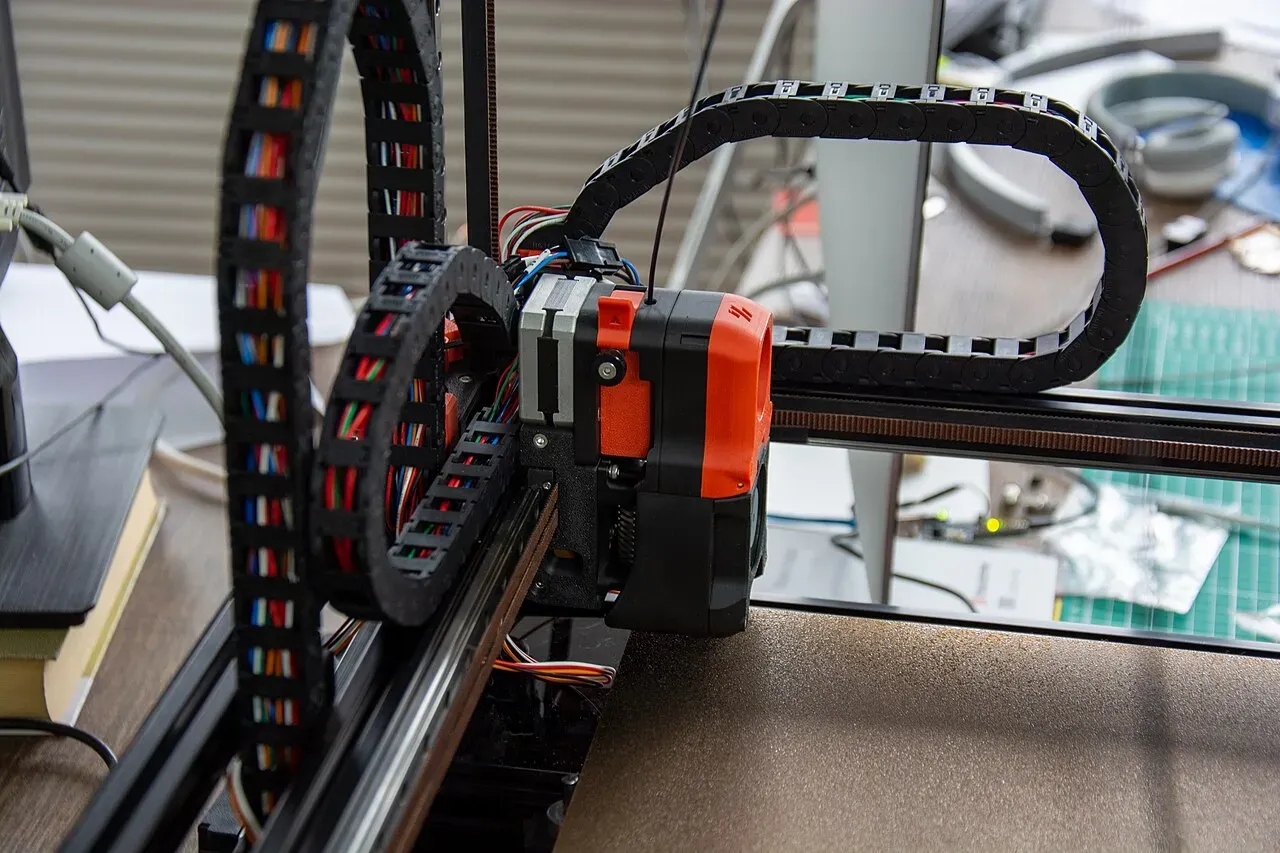 The toolhead rides the gantry; cable chains carry its wires.Photo: disinterpreter ·CC BY-SA 2.0 ·Wikimedia Commons
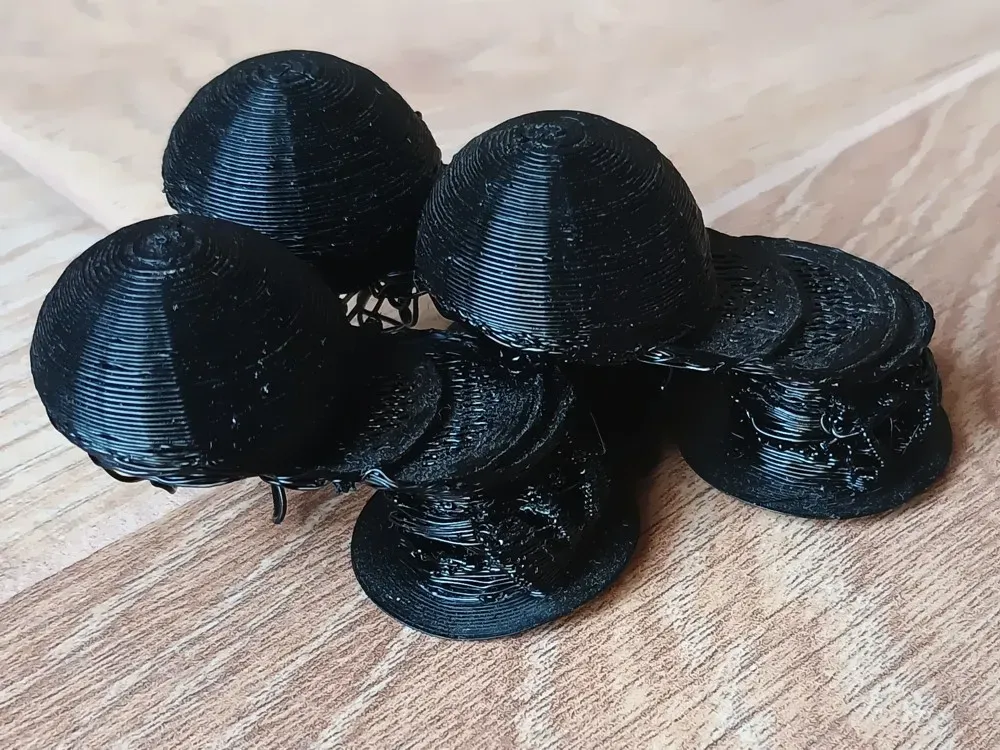 Layer shifting: the layers jump sideways part way up the print.Photo: A7N8X ·CC BY-SA 4.0 ·Wikimedia Commons
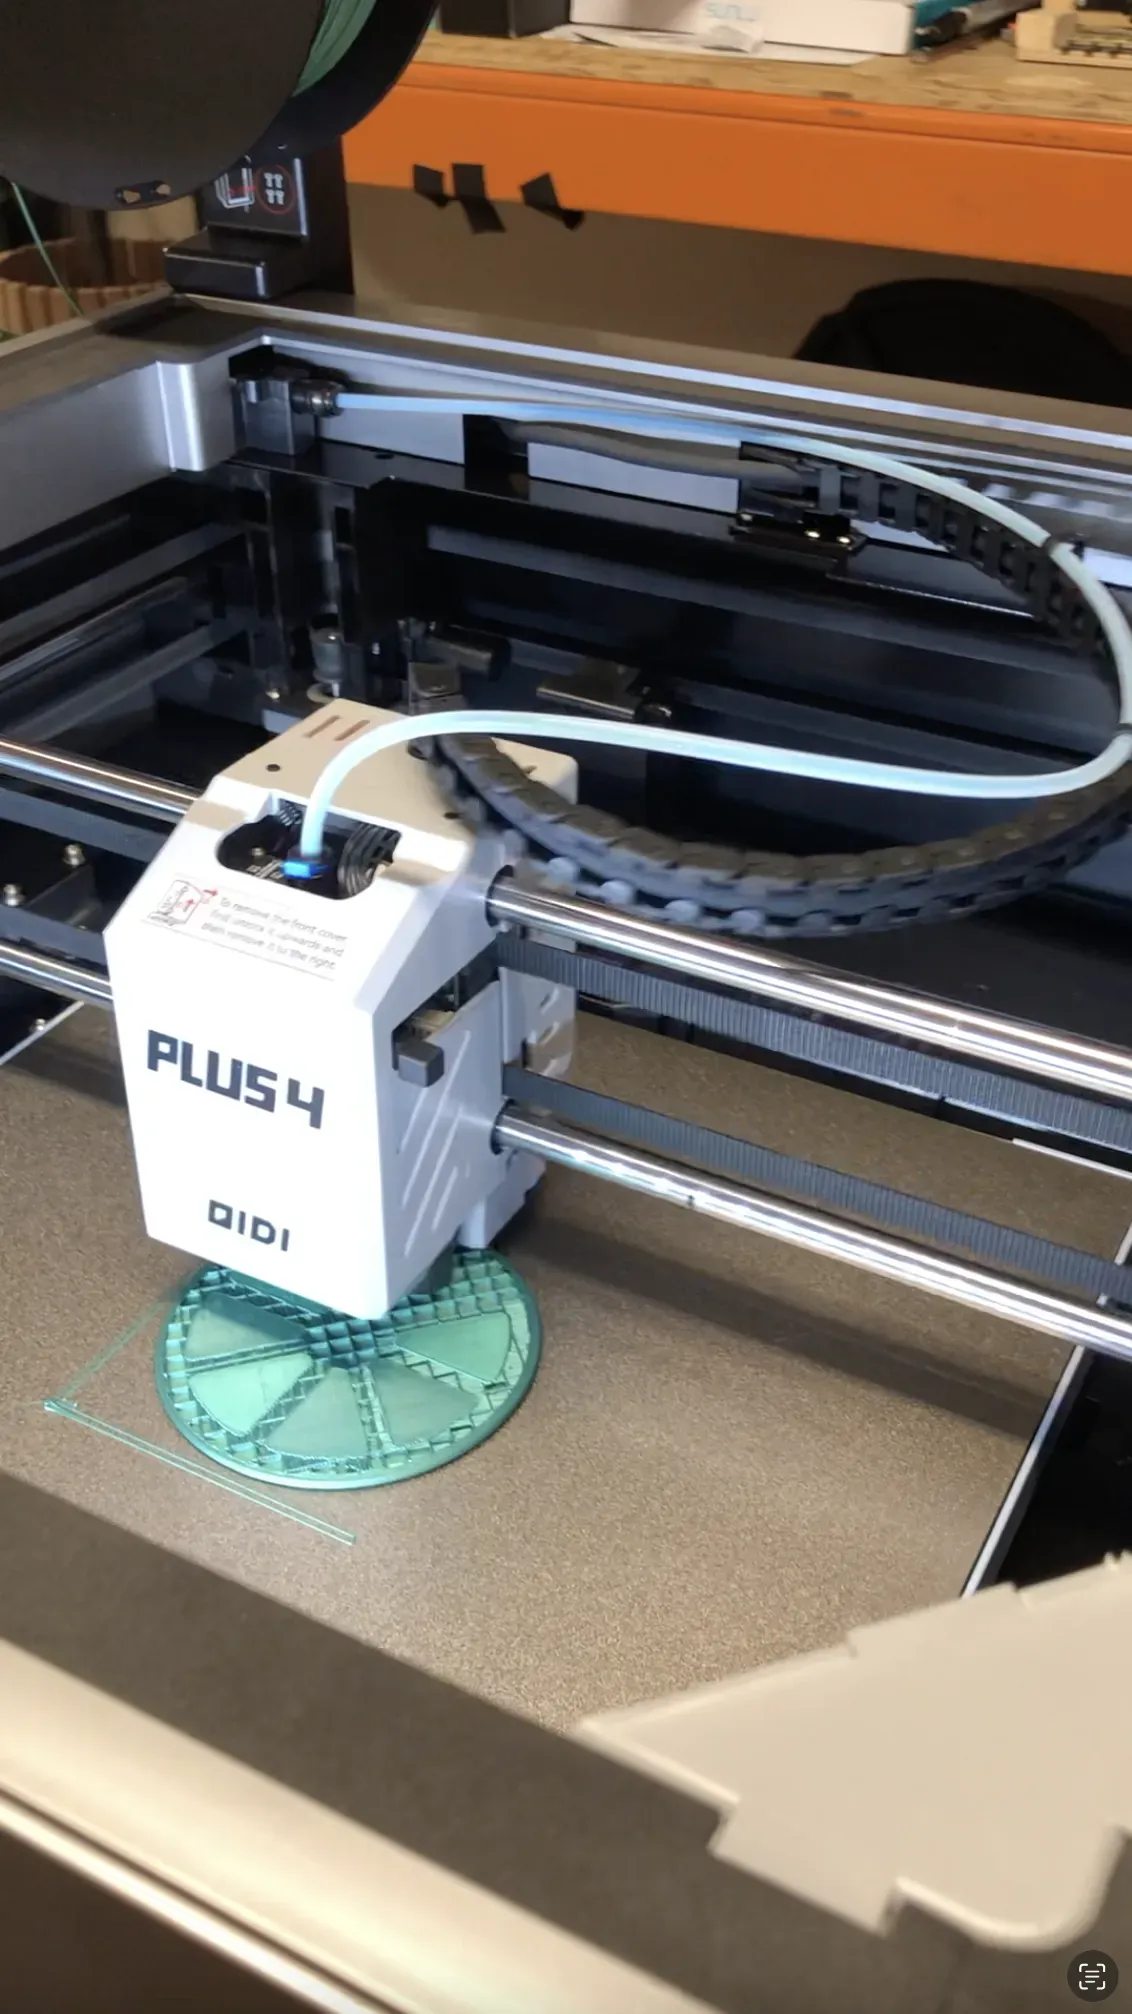 A CoreXY print head on a QIDI printer.Photo: Haroldbarlow8911 ·CC BY-SA 4.0 ·Wikimedia Commons
Bed slinger vs CoreXY
| Bed slinger | CoreXY | |
|---|---|---|
| How it moves | Bed moves front to back (Y), head moves side to side (X) | Head moves in X and Y; bed only moves down in Z |
| Speed | Slower; the moving bed and print limit acceleration | Faster; less moving mass |
| Price | Cheapest | Usually more expensive |
| Repairs | Simple, lots of parts and guides | More complex belt path |
| Good for | First printer on a budget | Fast printing, enclosed printers |
The extruder
The extruder grips the filament with toothed gears and pushes it forward into the hotend. It controls exactly how much plastic comes out, and it pulls filament back (retracts) before travel moves to stop oozing.
Direct drive vs Bowden
- Direct drive: the extruder sits right on top of the hotend. The short path gives precise control and handles flexible filament easily. The print head is heavier.
- Bowden: the extruder is on the frame and pushes filament through a PTFE tube to the hotend. The head is lighter and can move faster, but the long tube makes retraction less precise, so it strings more and struggles with flexible TPU.
| Direct drive | Bowden | |
|---|---|---|
| Where the extruder is | On the print head | On the frame |
| Retraction needed | Short, about 0.5–2 mm | Long, about 4–7 mm |
| Flexible filament (TPU) | Handles it well | Difficult |
| Stringing | Easier to control | More common |
| Print head weight | Heavier | Lighter |
Signs it’s failing:
- Clicking: the gears slip because filament can’t get through. Usually a partial clog, a temperature that’s too low, or printing faster than the hotend can melt.
- Grinding: the gears chew a notch into the filament. Often too much retraction or too much tension.
- Gaps and thin walls (under-extrusion): worn gears, wrong tension or a partial clog.
Upgrade worth it? A dual-gear extruder is worth it on an older single-gear printer. Most current beginner printers already ship with one.
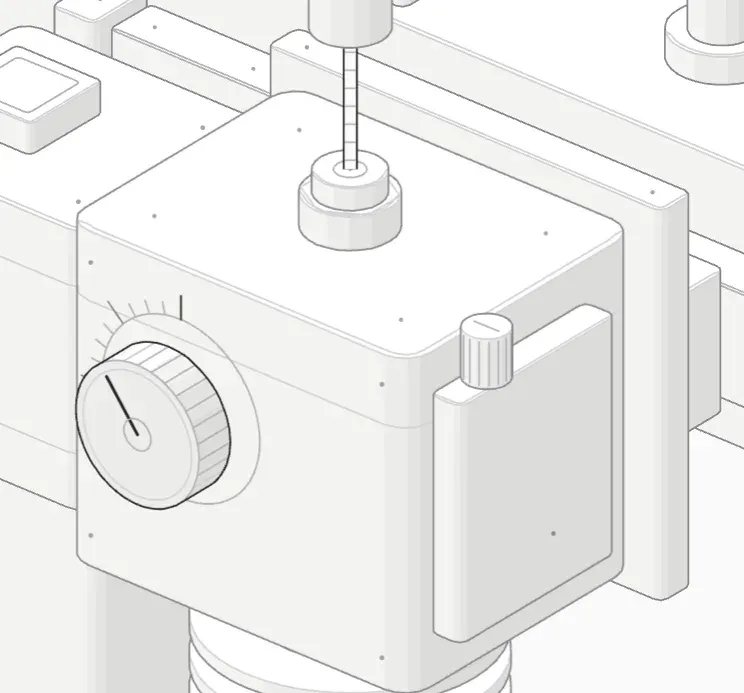 The extruder knob turns back by the retraction distance.
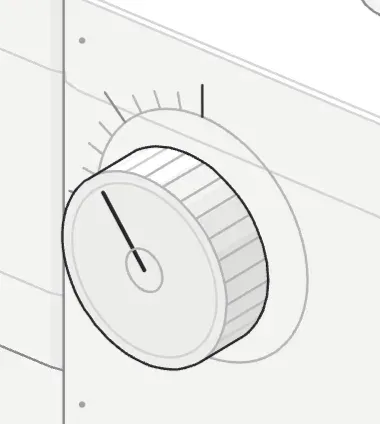 The dial reads retraction in 0.25 mm steps.
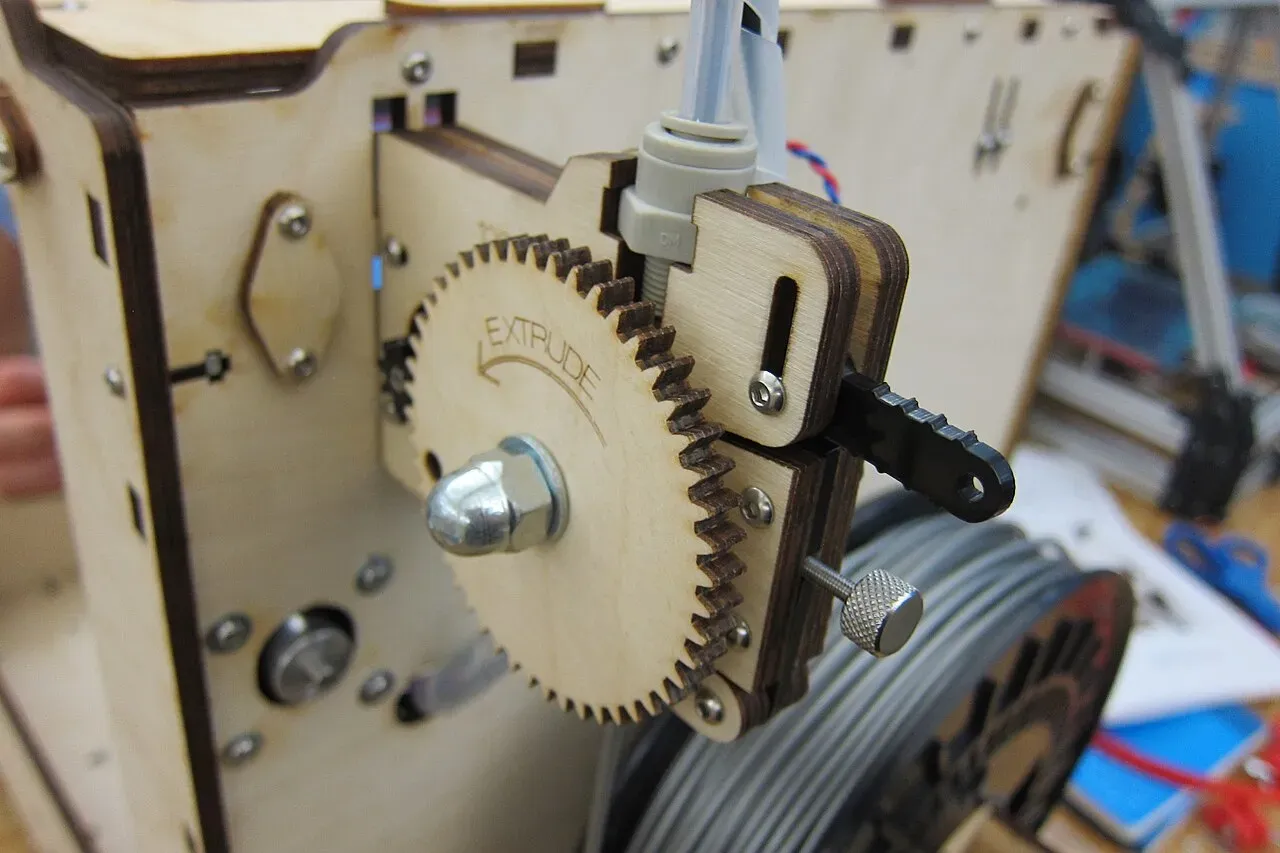 An early Ultimaker extruder: a big gear pushing filament.Photo: jabella ·CC BY 2.0 ·Wikimedia Commons
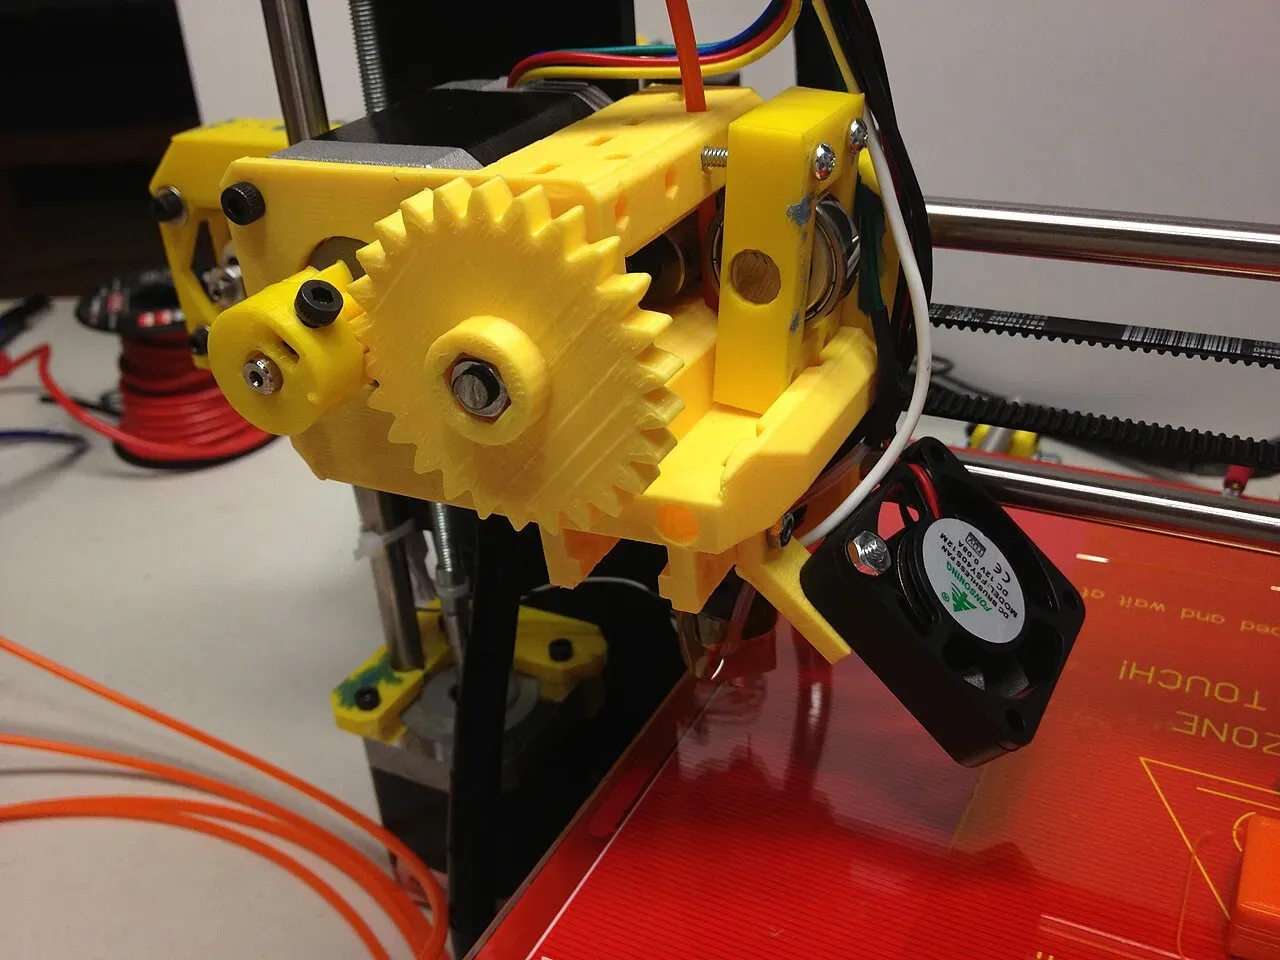 A geared extruder on a Prusa i3.Photo: John Abella from Outside Philadelphia, USA ·CC BY 2.0 ·Wikimedia Commons
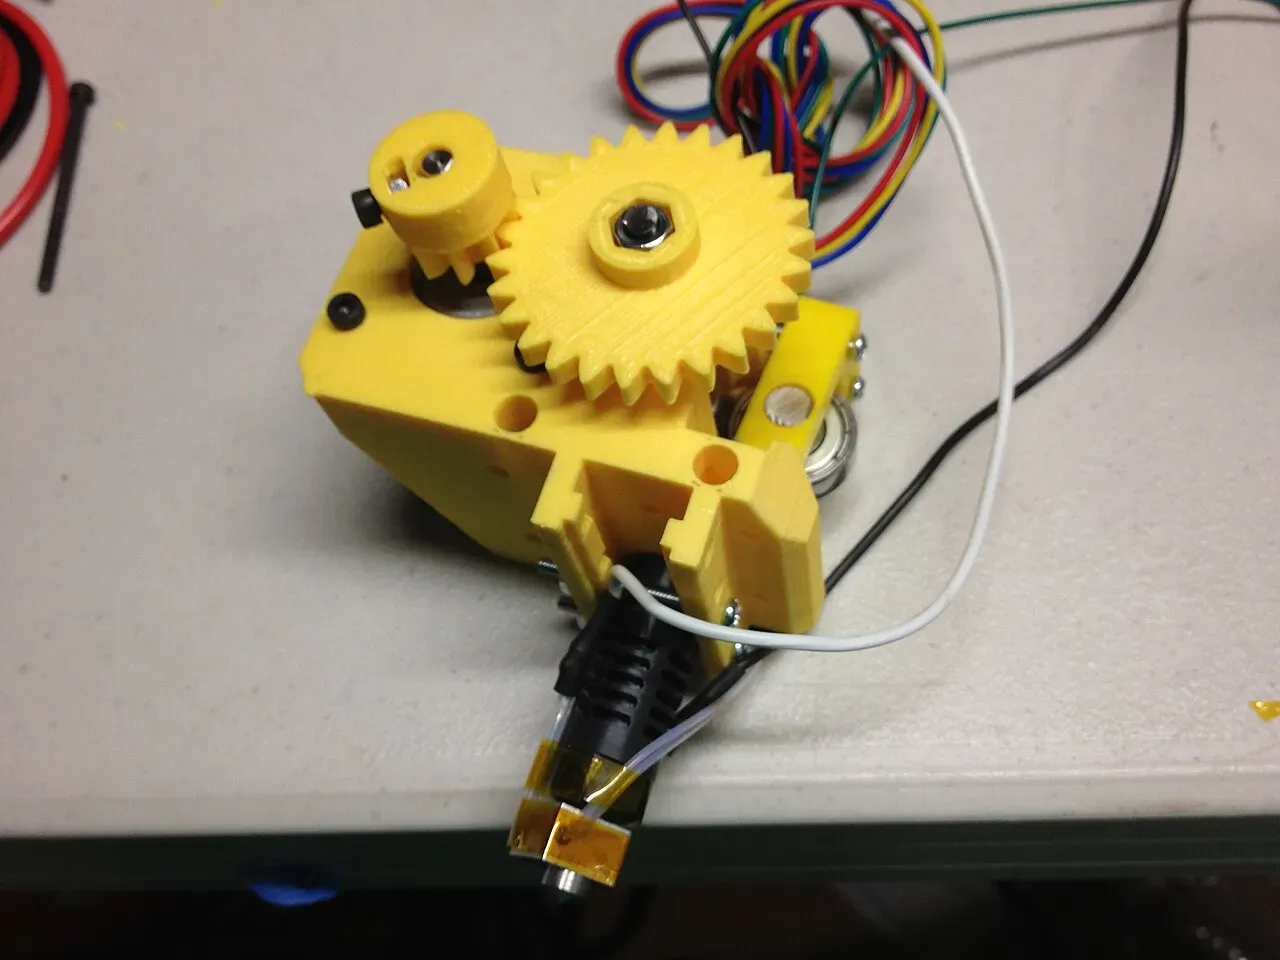 An assembled extruder before it goes on the printer.Photo: John Abella ·CC BY 2.0 ·Wikimedia Commons
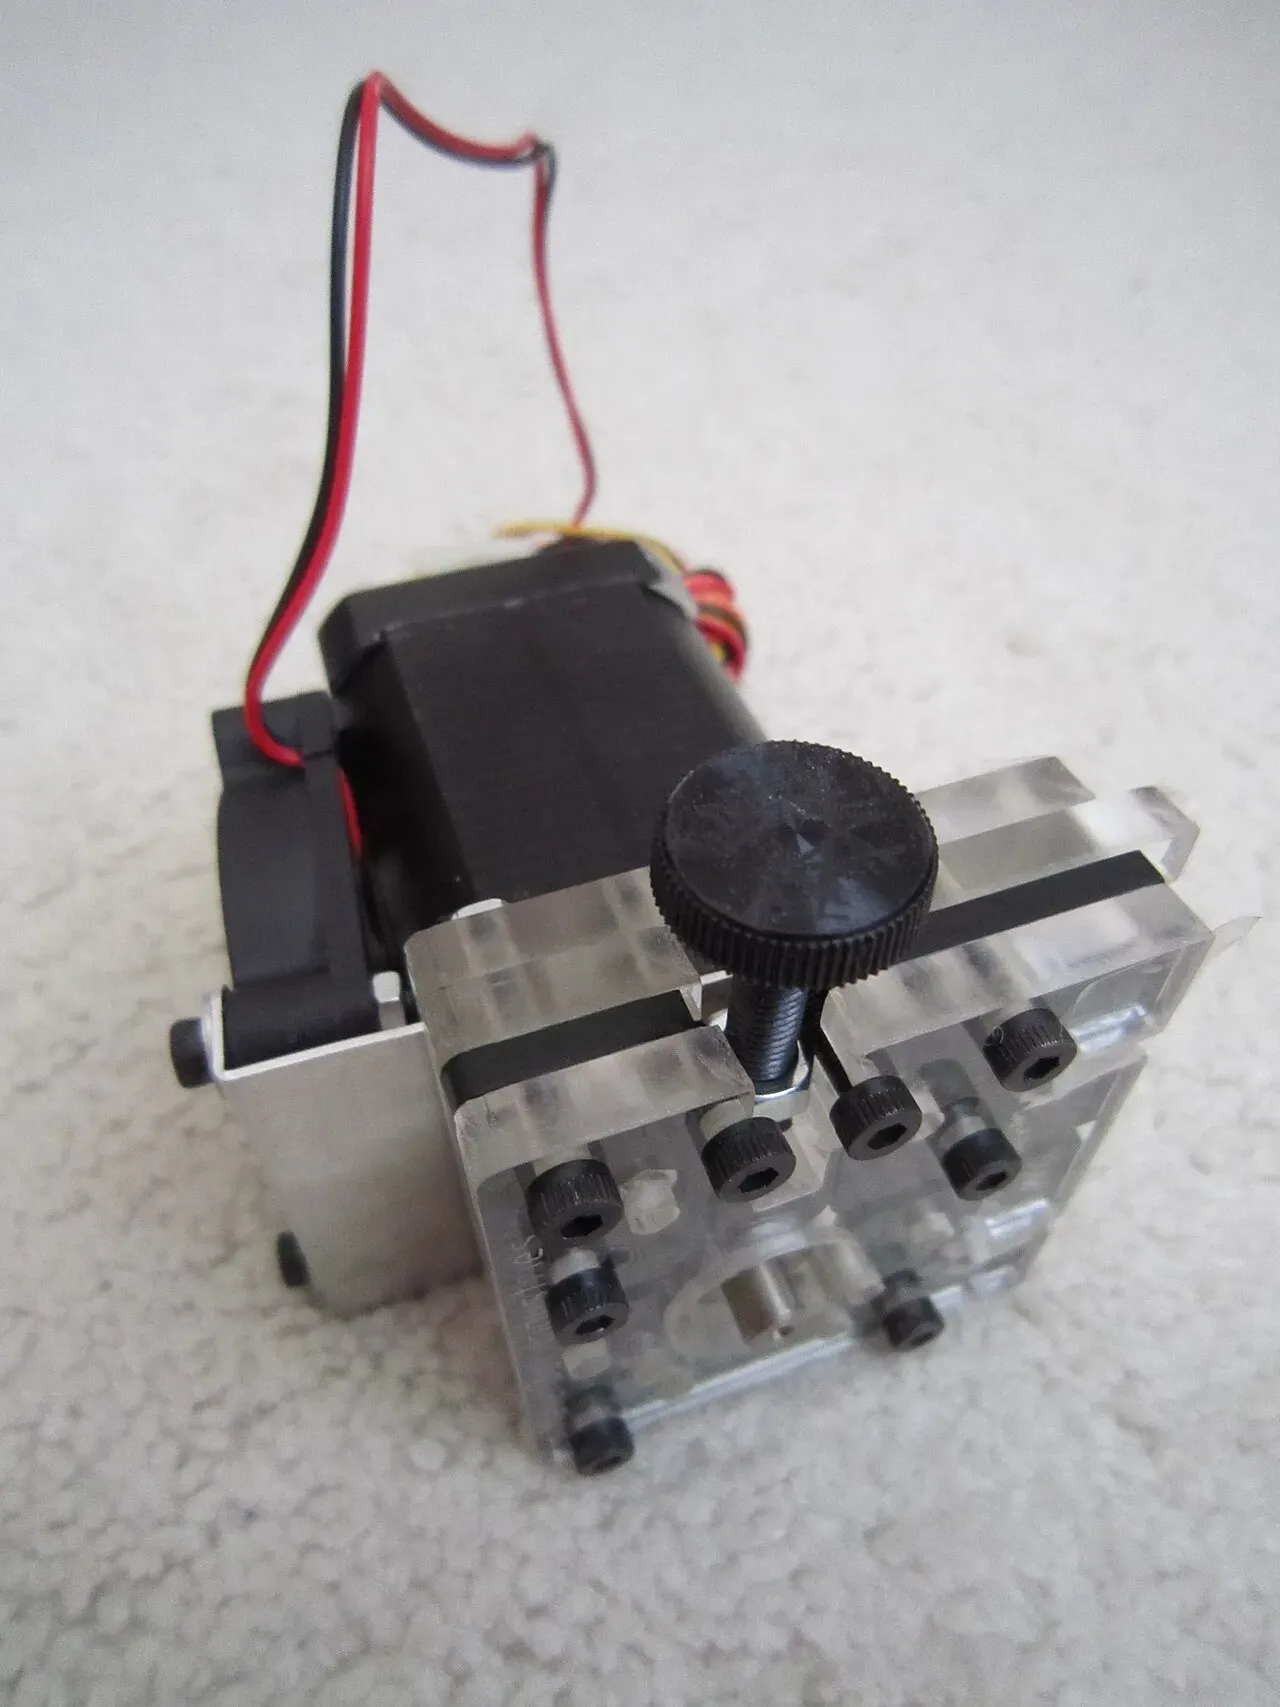 An extruder motor with its tension knob.Photo: syvwlch ·CC BY 2.0 ·Wikimedia Commons
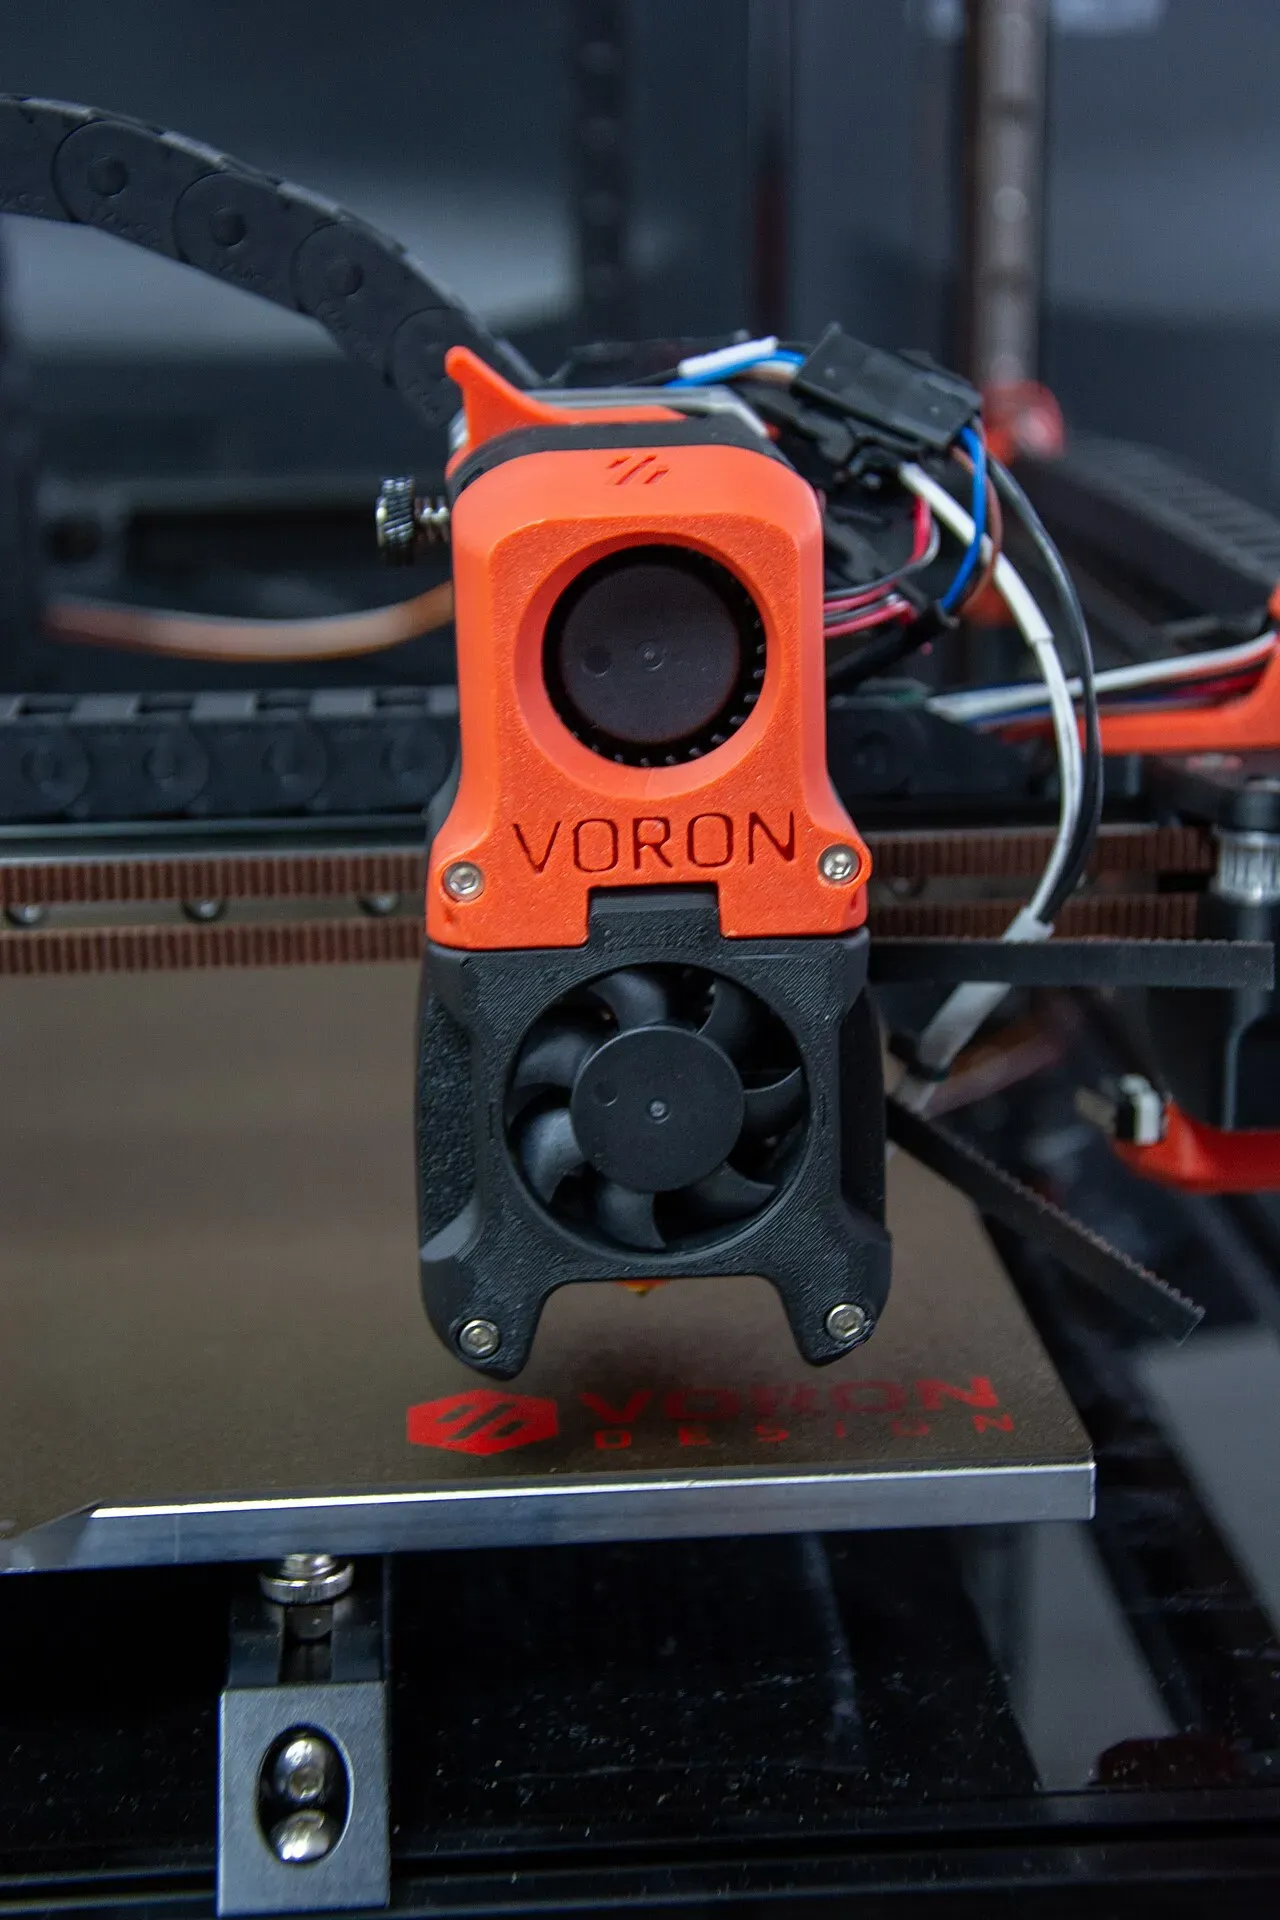 A modern toolhead: extruder, hotend and fans in one housing.Photo: disinterpreter ·CC BY-SA 2.0 ·Wikimedia Commons
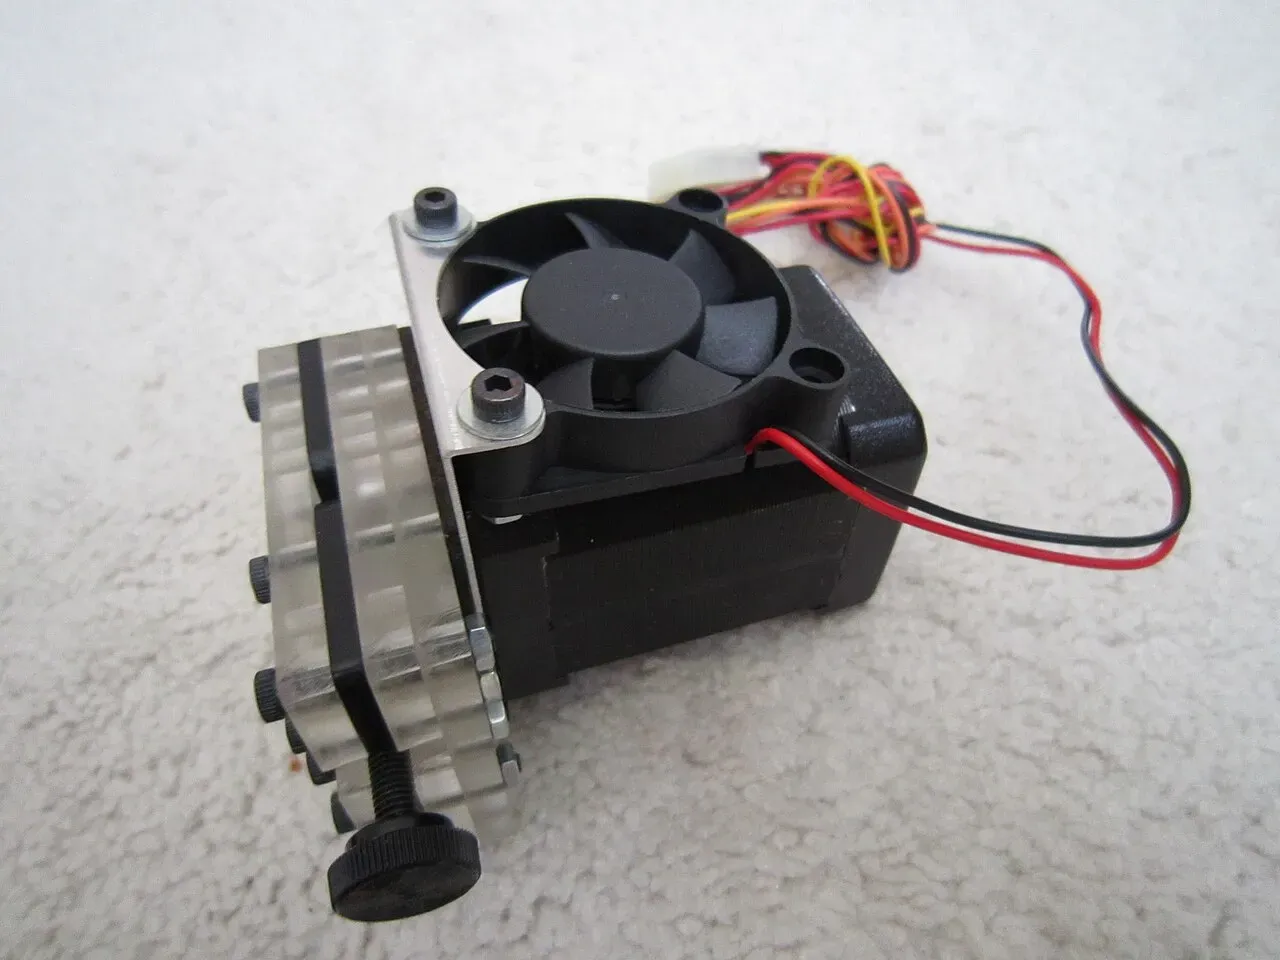 A small fan cooling the extruder assembly.Photo: syvwlch ·CC BY 2.0 ·Wikimedia Commons
The hotend
The hotend melts filament in a controlled way. It looks like one part but is a stack of several:
nozzle 210 °C · heatsink 38 °C · feed 2.0 mm/s · melting in block
- drag ↕ feed rate
- ↑ ↓ feed ±0.5 mm/s
- Space stop / start feed
- F hotend fan on / off
- Home reset
- Heatsink and hotend fan. Keep the top of the hotend cool so filament stays solid until it reaches the melt zone. This fan should run whenever the hotend is hot.
- Heat break. A thin tube that separates the cold zone from the hot zone. If heat climbs too far up (“heat creep”), filament softens early and jams.
- Heater block. A metal block that holds the heat.
- Heater cartridge. The element that actually heats the block.
- Thermistor. A sensor that reads the temperature so the printer can hold it steady.22Most hotends use a 100k NTC thermistor: its resistance falls as it heats up, and the mainboard turns that into a temperature.
- Nozzle. The small brass or hardened steel tip that sets the line width. 0.4 mm is standard.33Hotends with a PTFE tube running down to the nozzle should stay below about 240 °C, where PTFE starts to break down. All-metal hotends can run hotter.
Signs it’s failing:
- Clogs: nothing comes out, or the extruder clicks.
- Heat creep: filament jams part way through a long print, often because the hotend fan has stopped or is clogged with dust.
- Under-extrusion: gaps and thin walls when printing fast, because the hotend can’t melt plastic quickly enough.
- Uneven surfaces: temperature swinging up and down, from a loose thermistor or heater cartridge.
- Plastic leaking around the nozzle: the nozzle wasn’t tightened hot against the heat break.
Upgrade worth it? A hardened steel nozzle is worth it only if you print abrasive filaments (carbon fibre, glow-in-the-dark, wood-fill); for plain PLA and PETG, brass is better and cheaper. An all-metal hotend is worth it if you want to print hotter materials regularly.
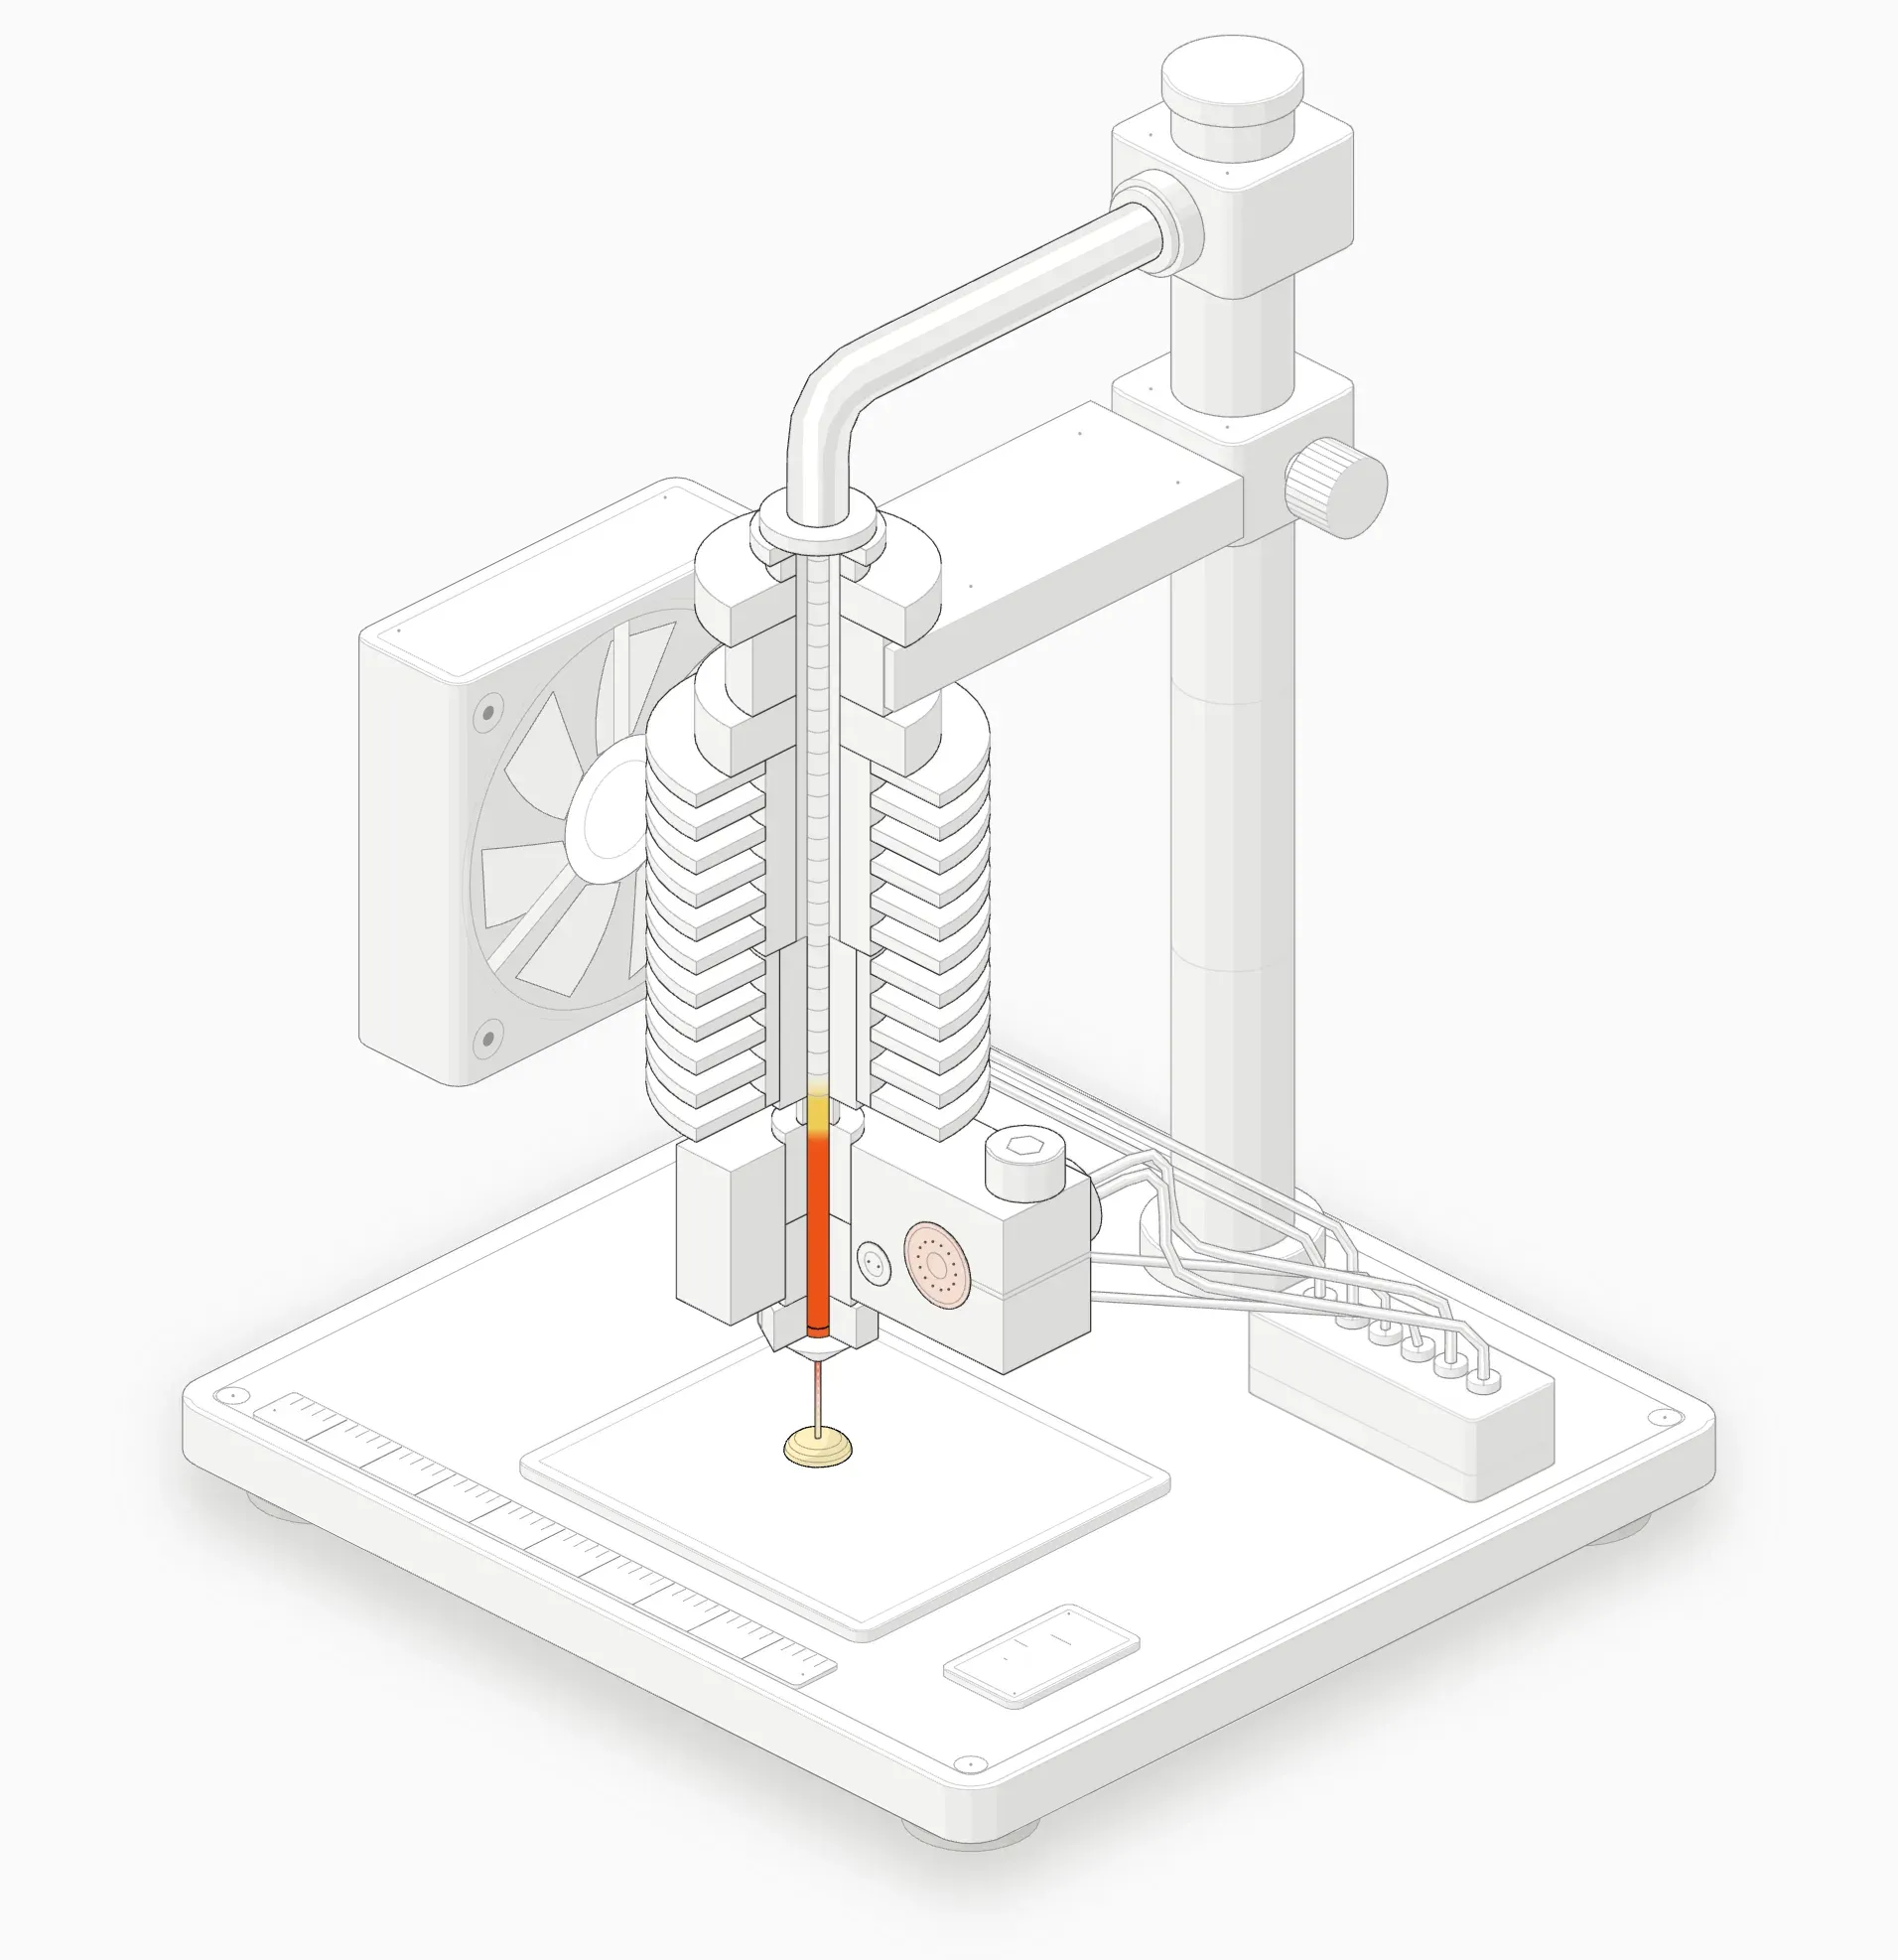 A V6-style hotend, cut away so you can see the filament inside.
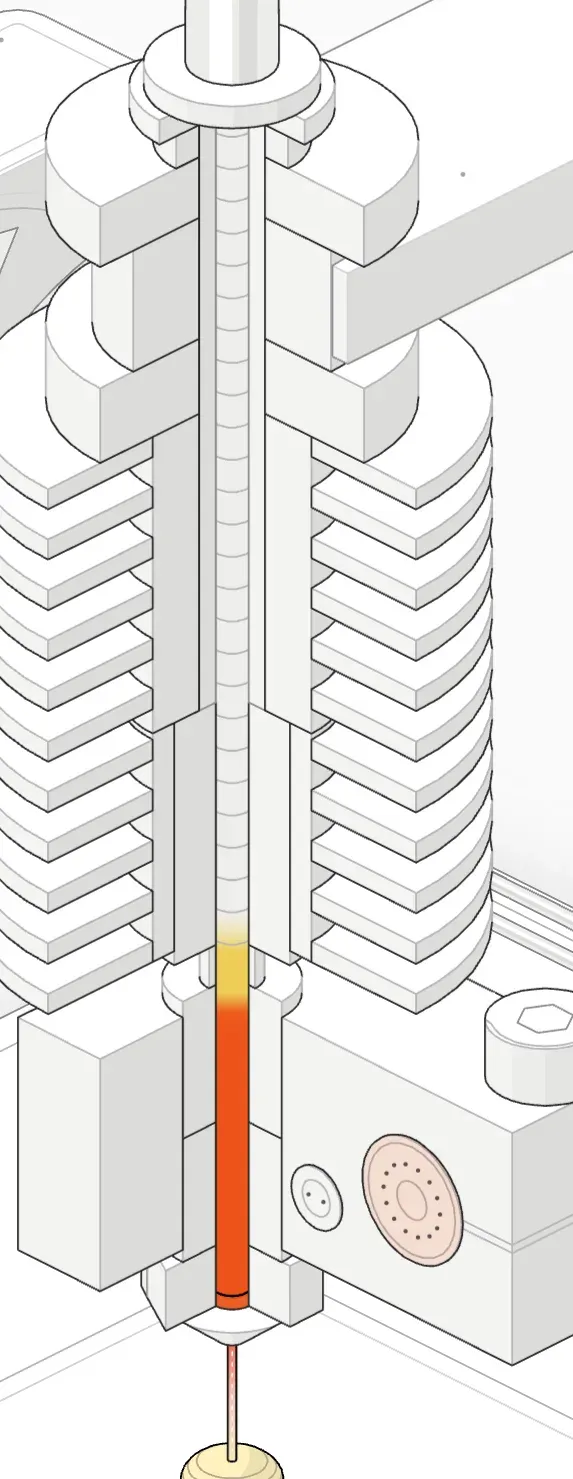 Solid filament above the heat break, molten filament in the heater block.
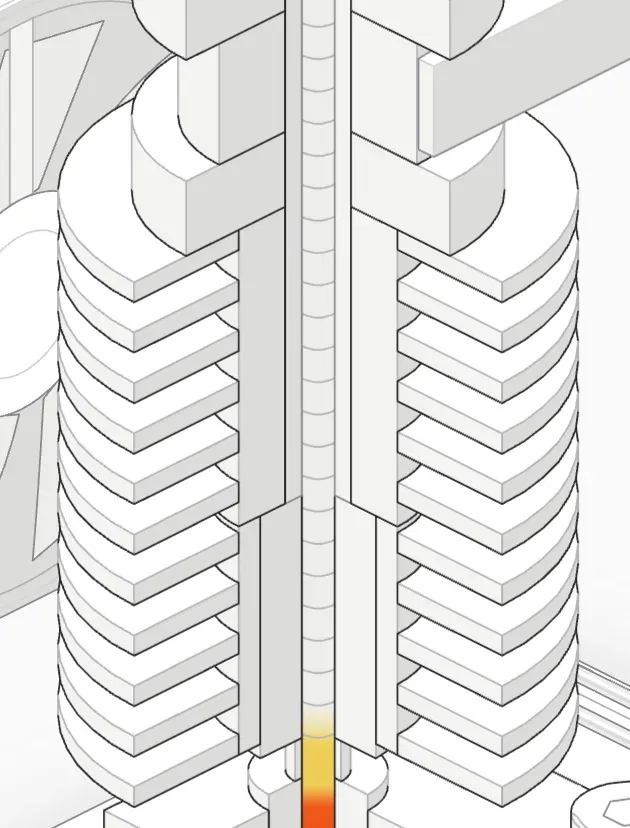 The finned heatsink keeps the top of the hotend cold.
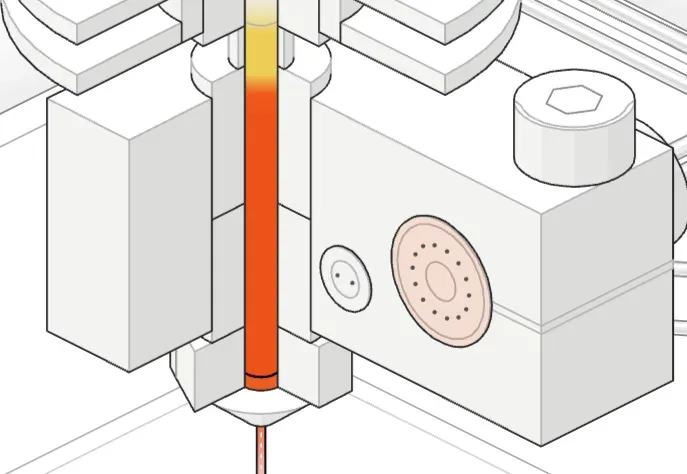 The heater block holds the heater cartridge and the thermistor.
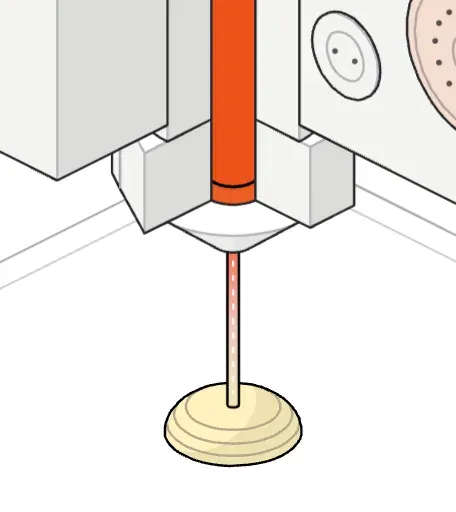 A brass 0.4 mm nozzle laying a thin strand.
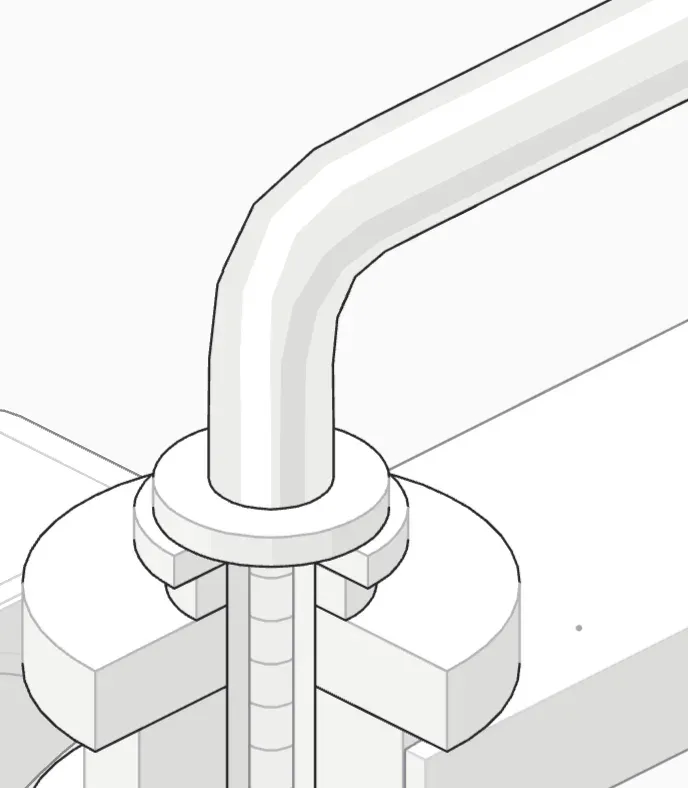 The Bowden tube enters through a push-fit collet.
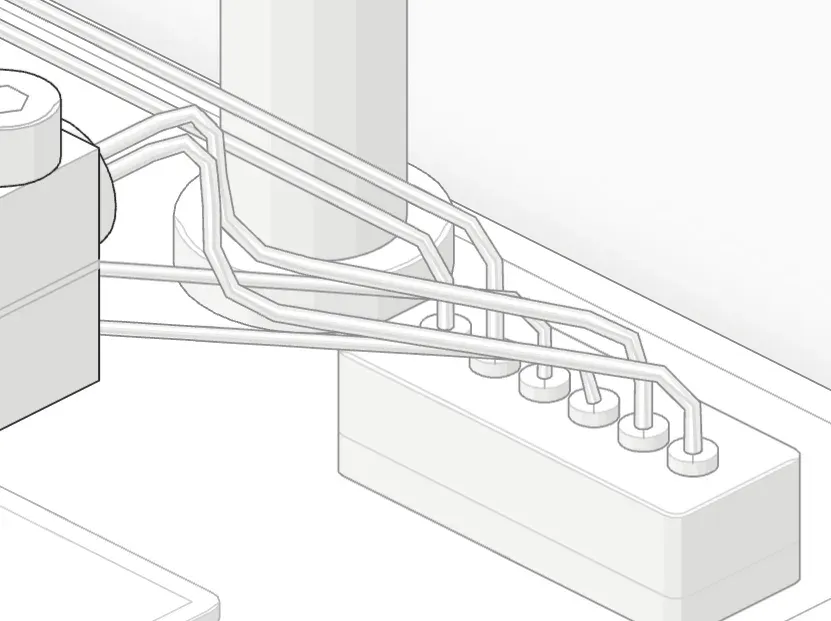 Heater and thermistor wires run to the terminal block.
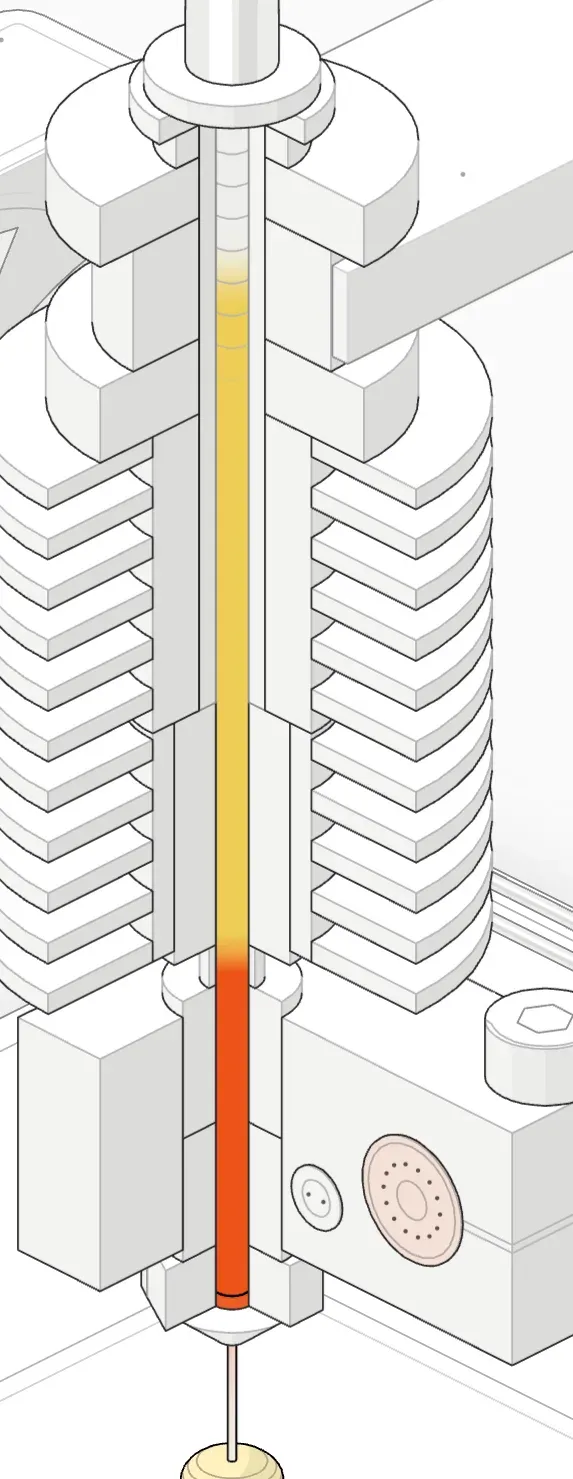 Fan off: heat creeps up the heatsink and the filament softens too high.
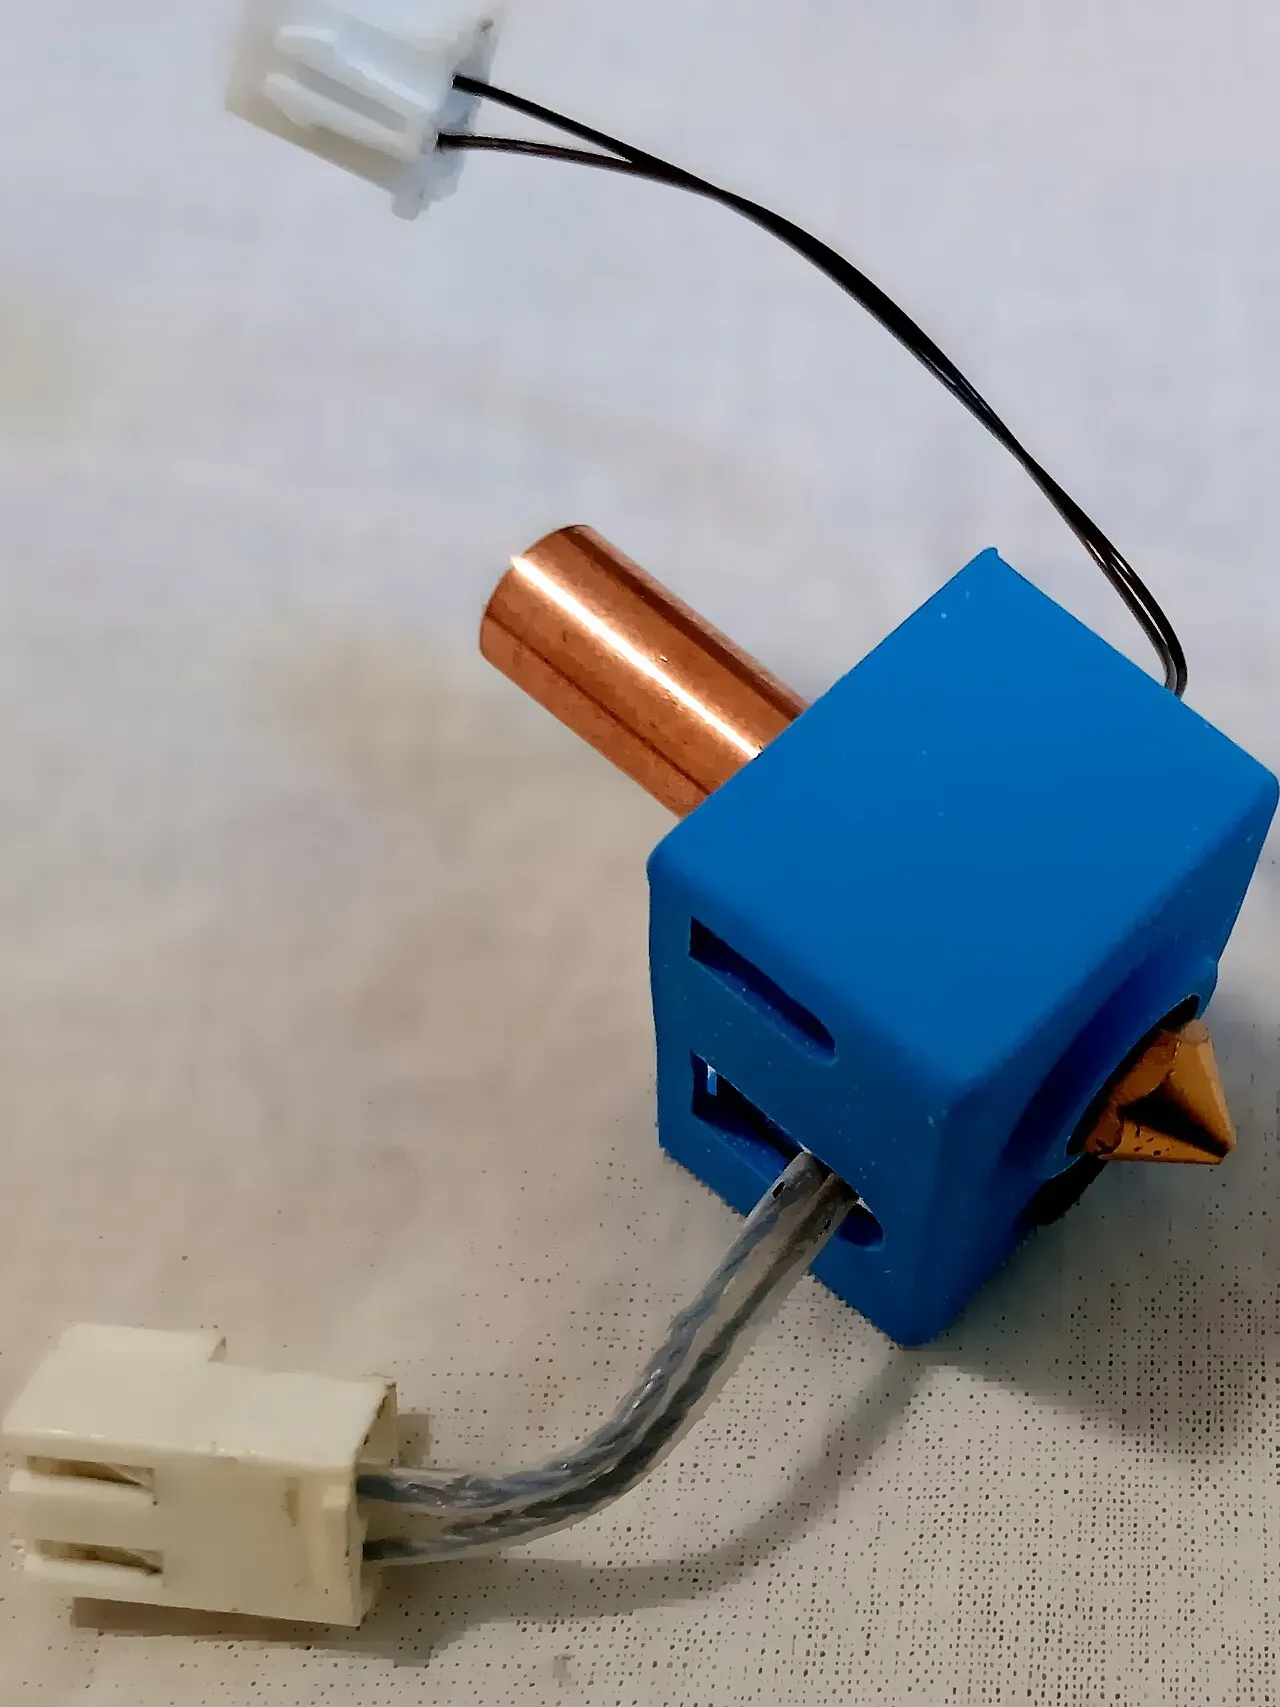 A heater block in a silicone sock, with the nozzle below and heat break above.Photo: A7N8X ·CC0 ·Wikimedia Commons
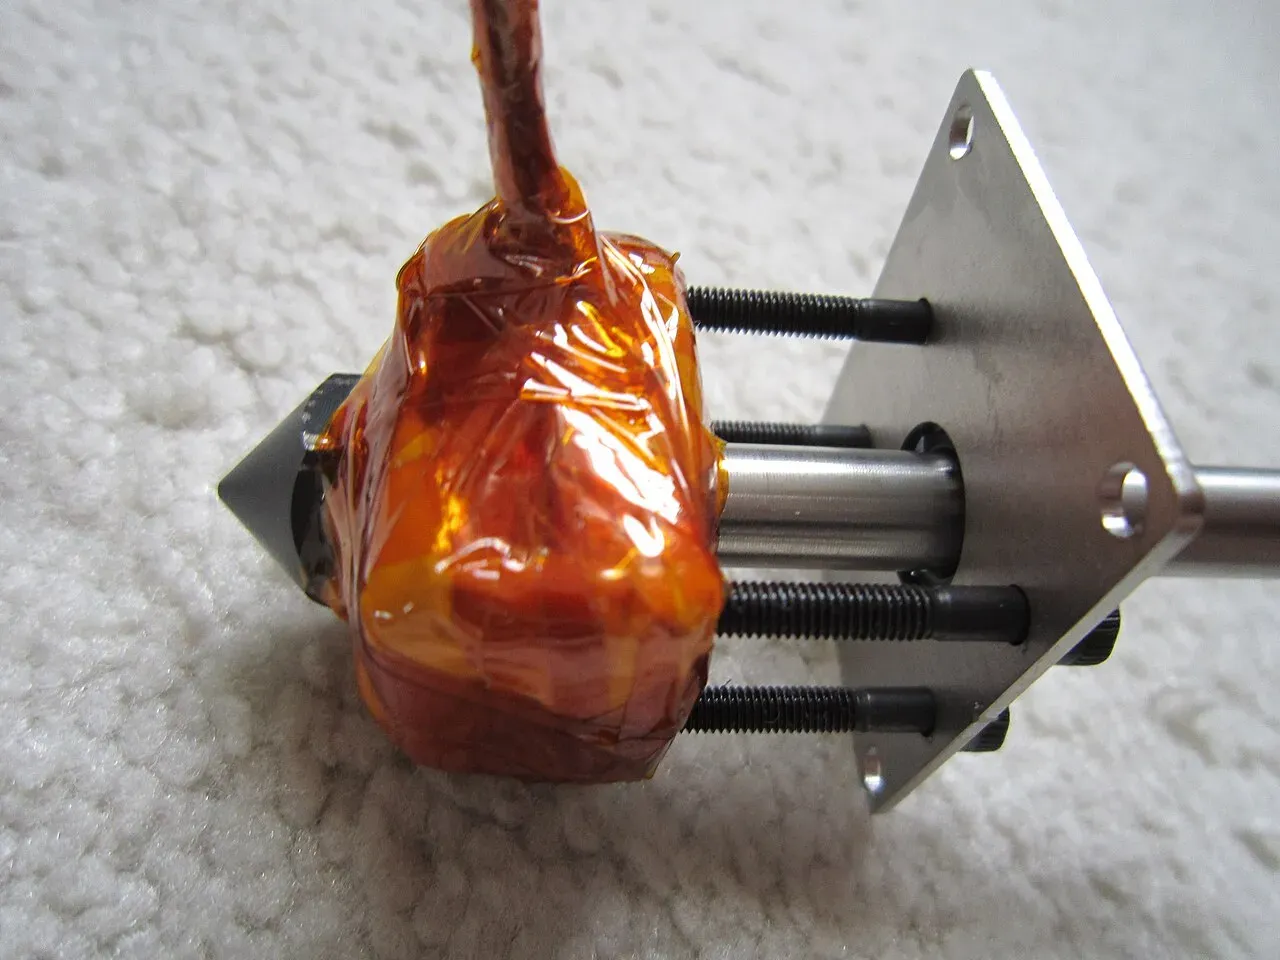 A hotend being built: the heater wrapped in Kapton tape.Photo: syvwlch ·CC BY 2.0 ·Wikimedia Commons
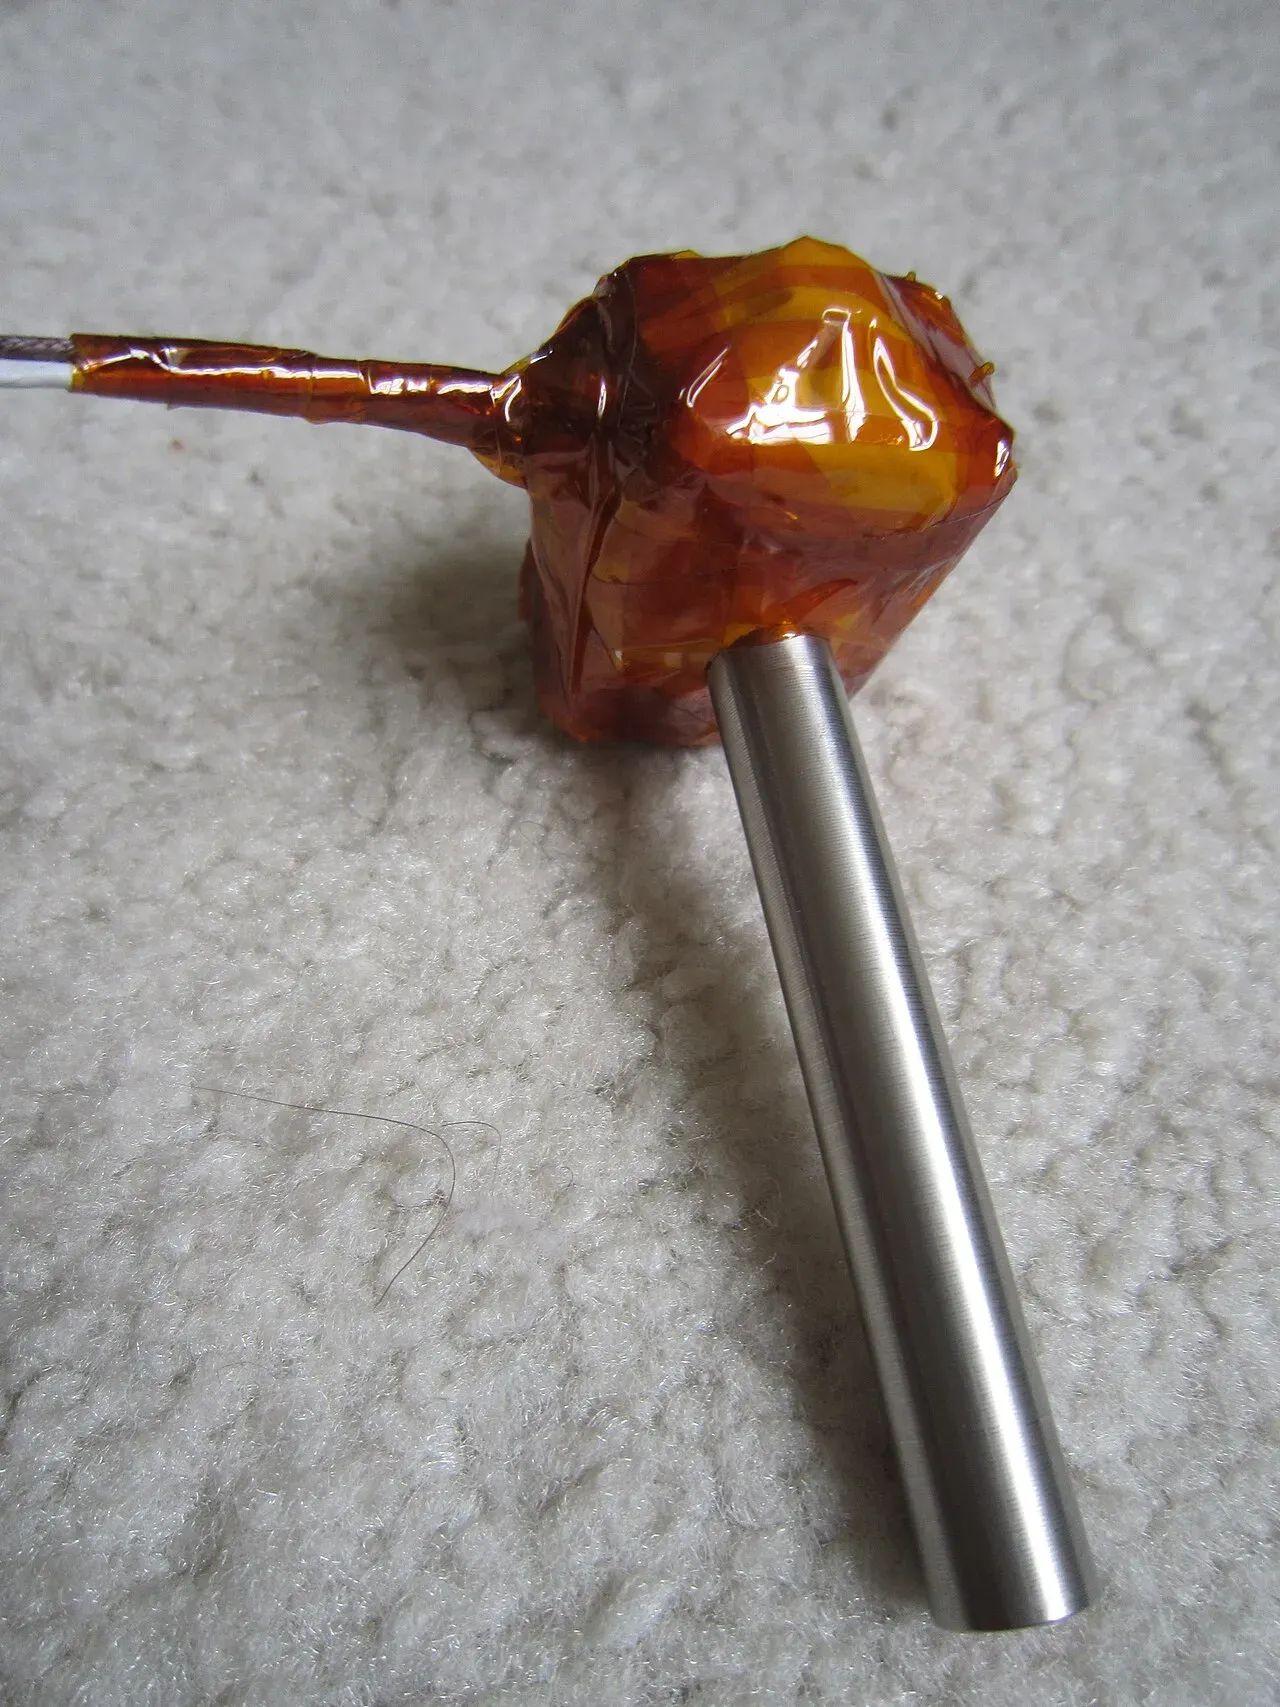 The nozzle threads into the heater block.Photo: syvwlch ·CC BY 2.0 ·Wikimedia Commons
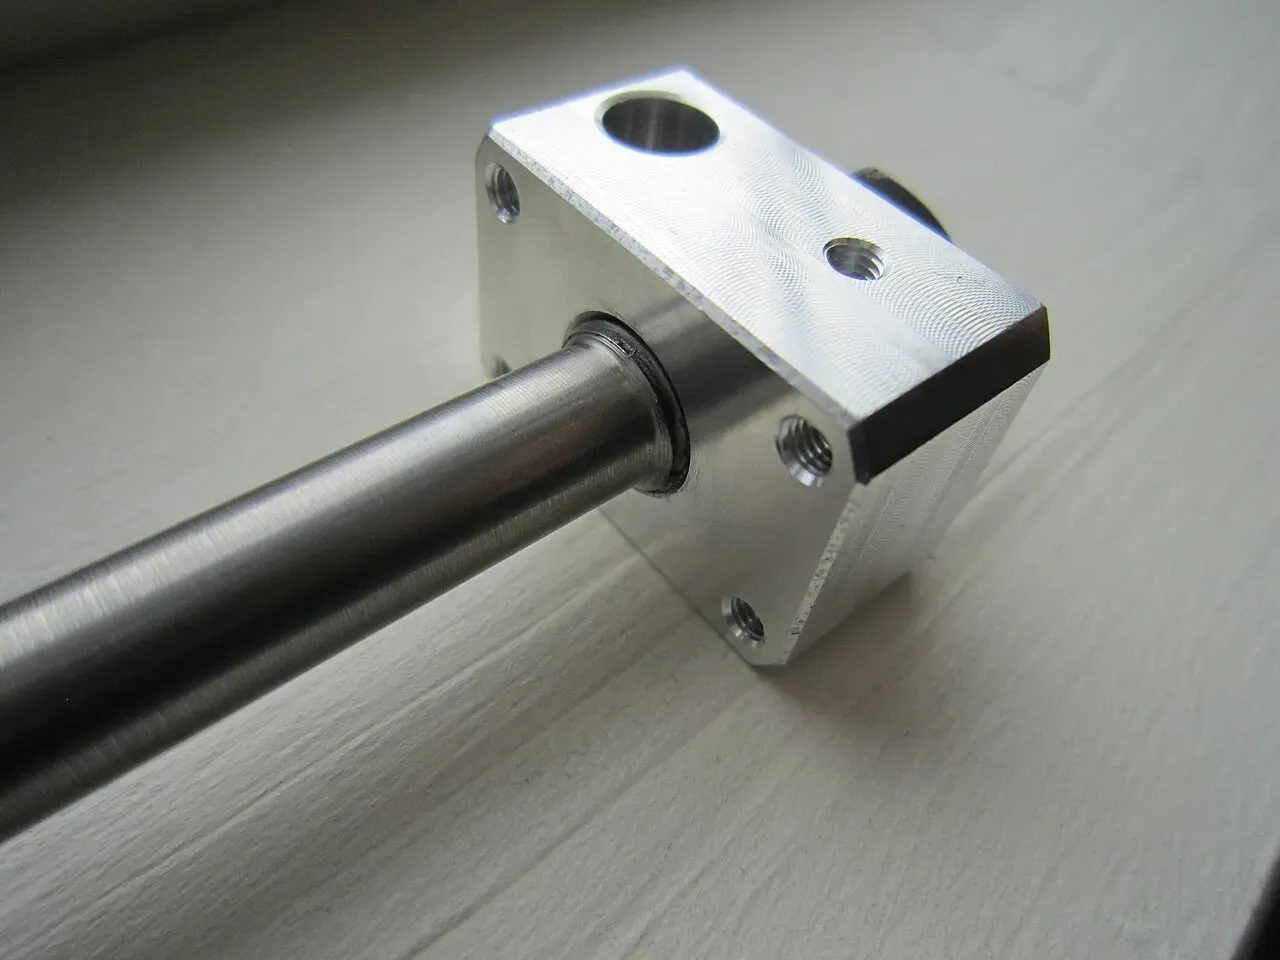 The mount that holds the hotend to the carriage.Photo: syvwlch ·CC BY 2.0 ·Wikimedia Commons
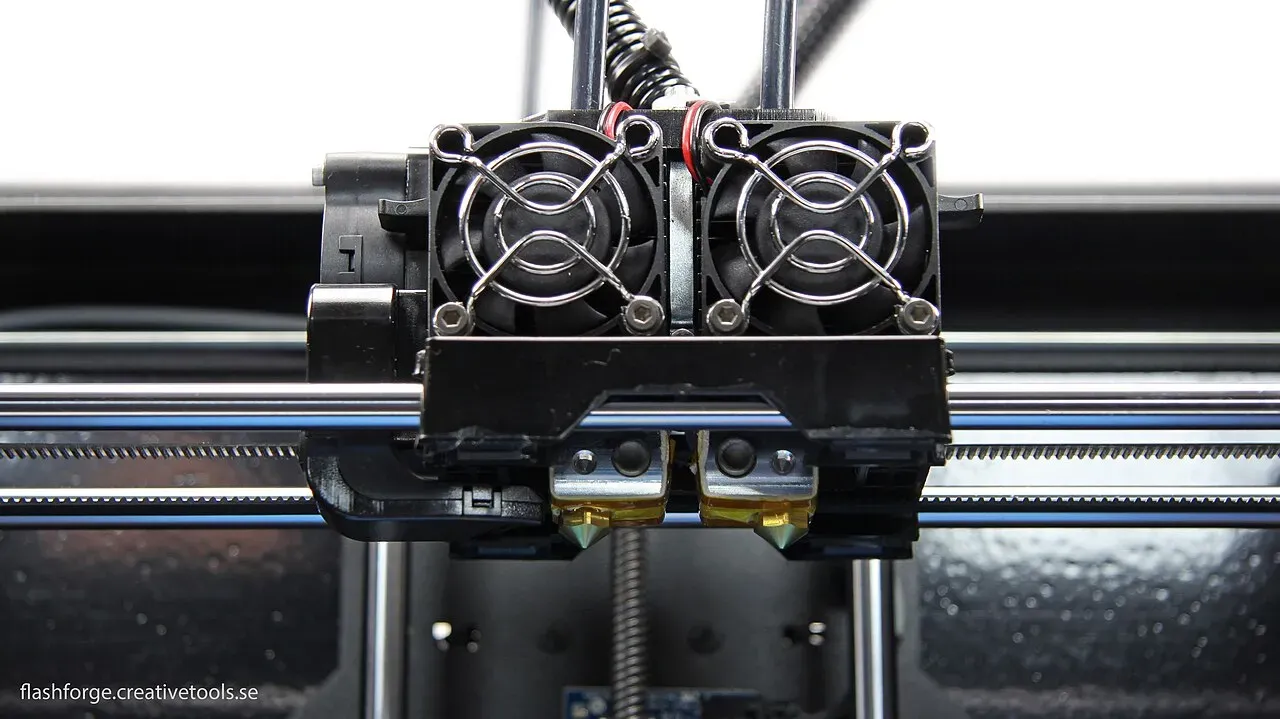 A dual-nozzle head: two hotends side by side.Photo: Creative Tools from Halmstad, Sweden ·CC BY 2.0 ·Wikimedia Commons
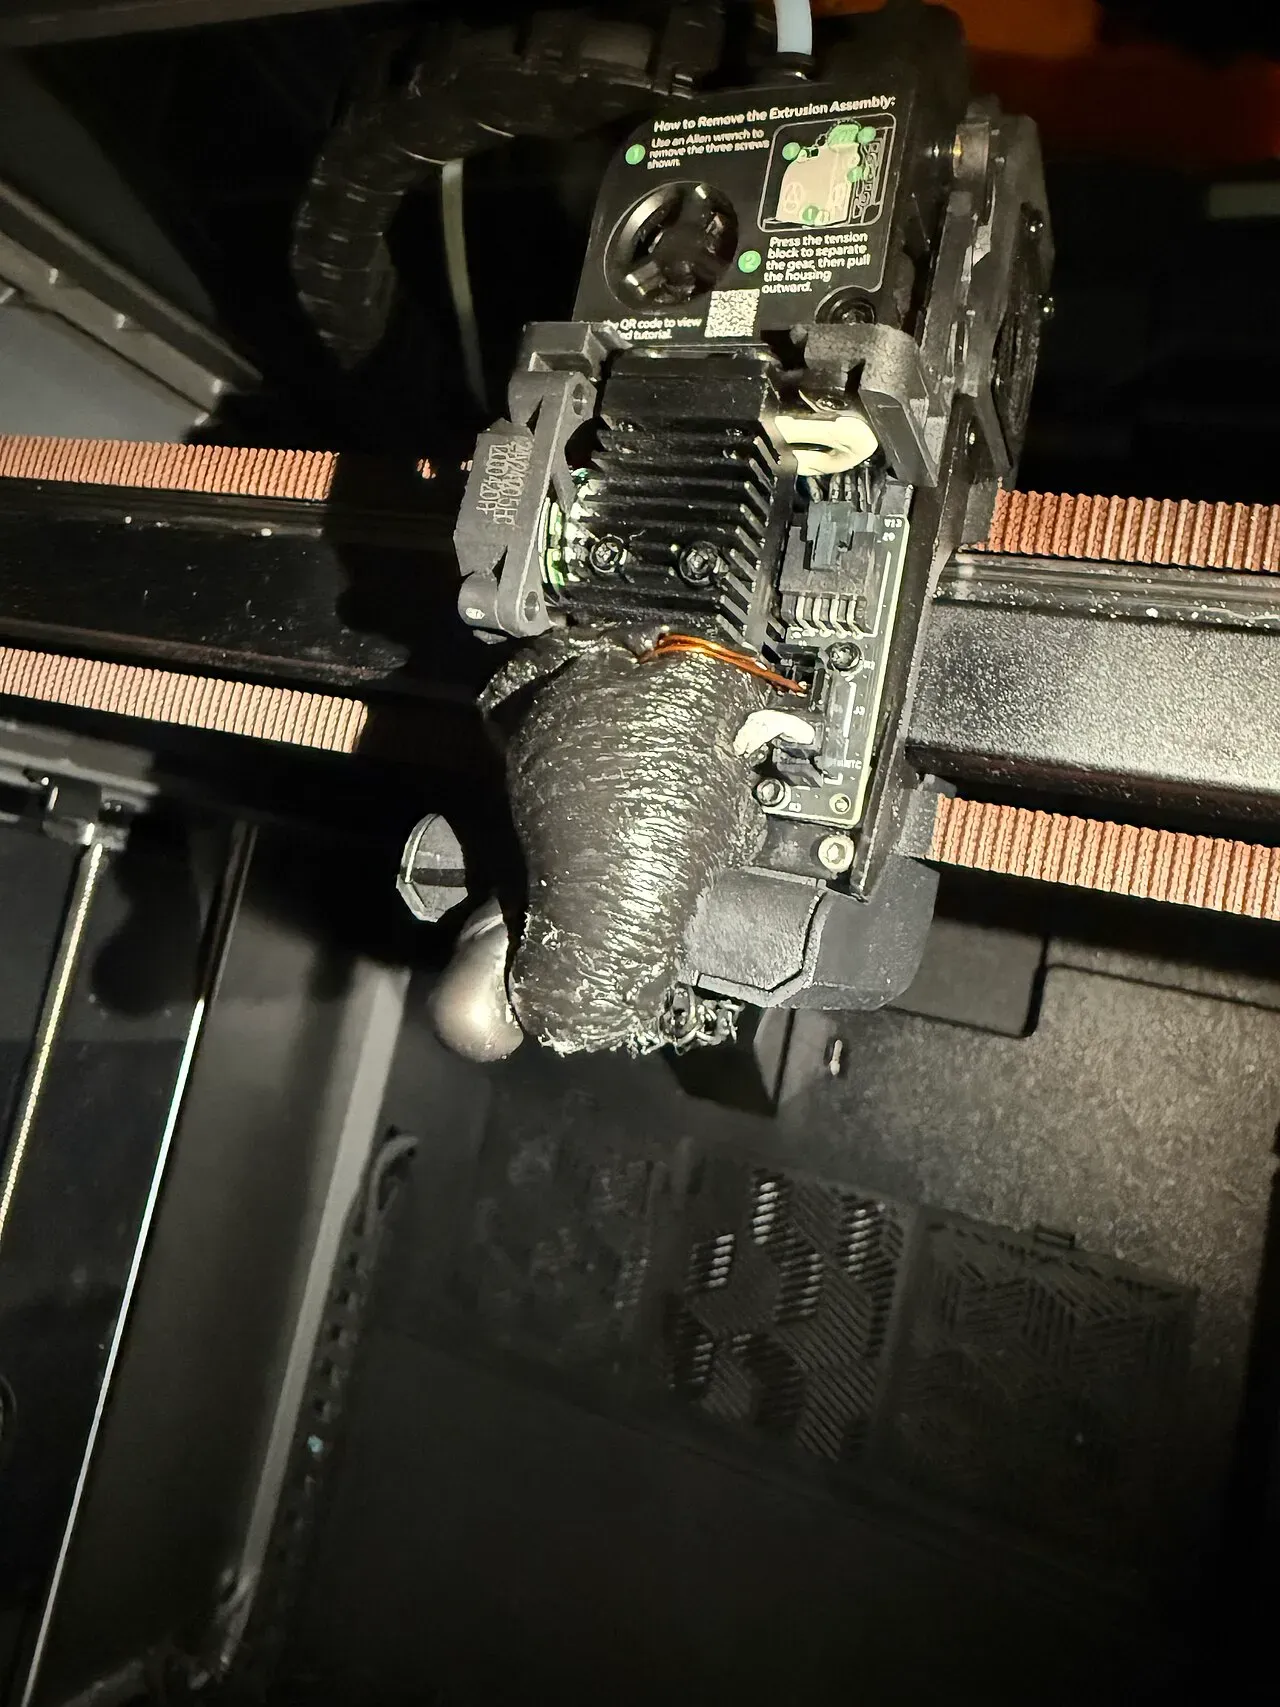 The "blob of death": plastic that leaked and wrapped the hotend.Photo: LunaEatsTuna ·CC BY-SA 4.0 ·Wikimedia Commons
 Molten plastic leaving the nozzle.Photo: David Elliott from UK ·CC BY 2.0 ·Wikimedia Commons
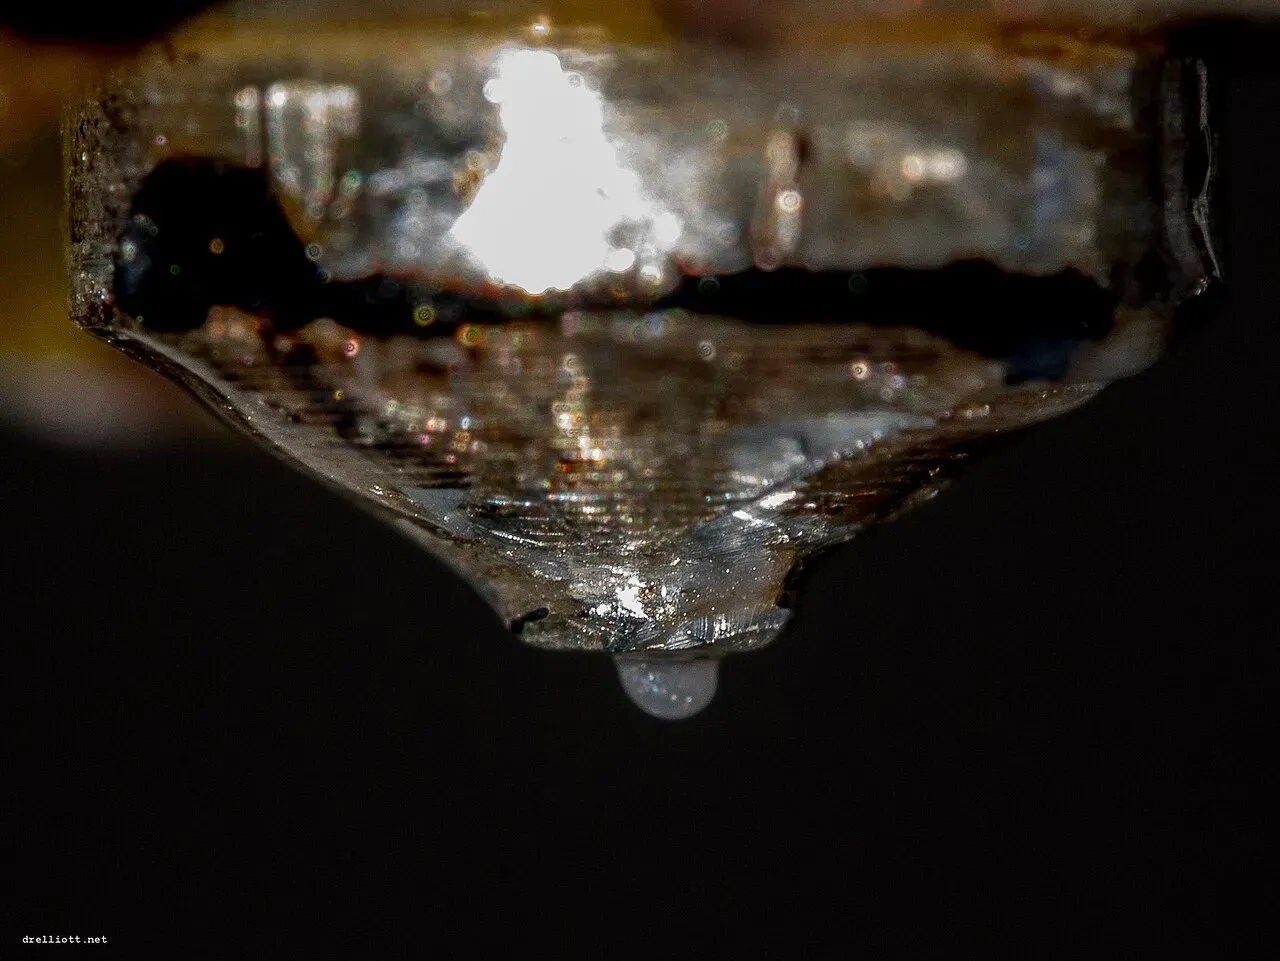 Ooze: a drop of molten plastic forming at the nozzle.Photo: David Elliott from UK ·CC BY 2.0 ·Wikimedia Commons
How feed rate changes the melt zone
The faster filament is pushed through, the less time it has to melt. Past the hotend’s limit, plastic leaves the nozzle under-heated, which is why very fast printing needs a high-flow hotend.
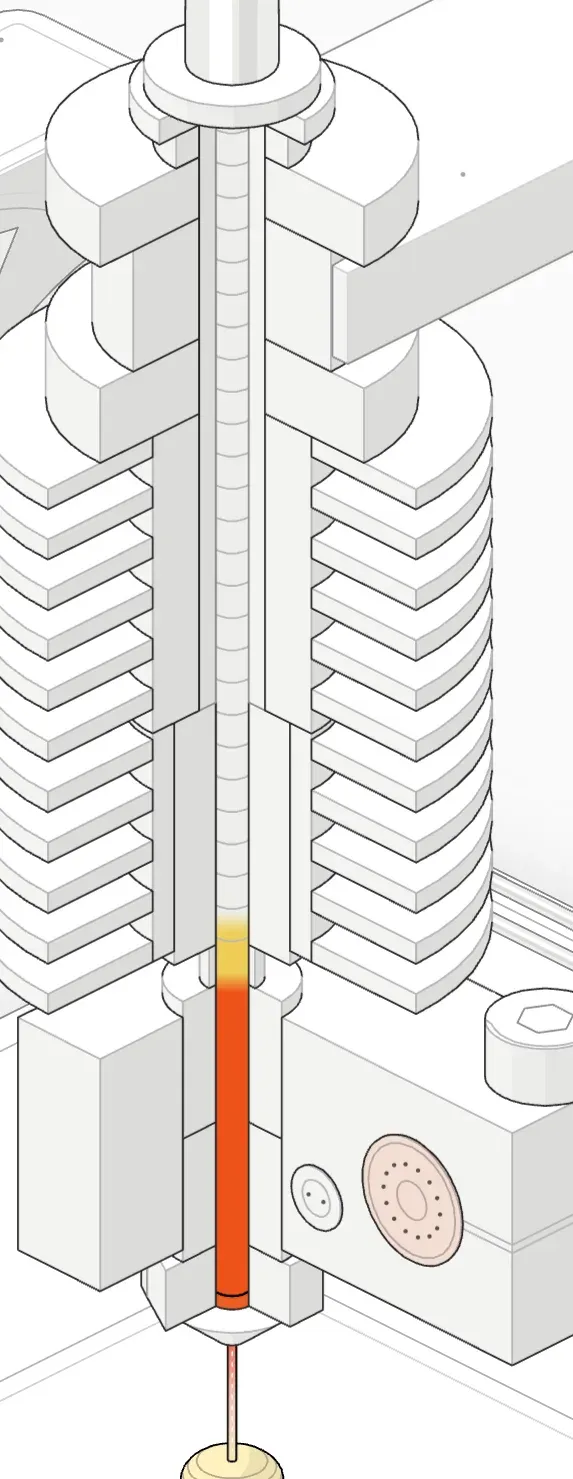 Feed 1 mm/s: nozzle 210 °C · heatsink 38 °C · feed 1.0 mm/s · melting in block.
- Feed 2 mm/s: nozzle 210 °C · heatsink 38 °C · feed 2.0 mm/s · melting in block.
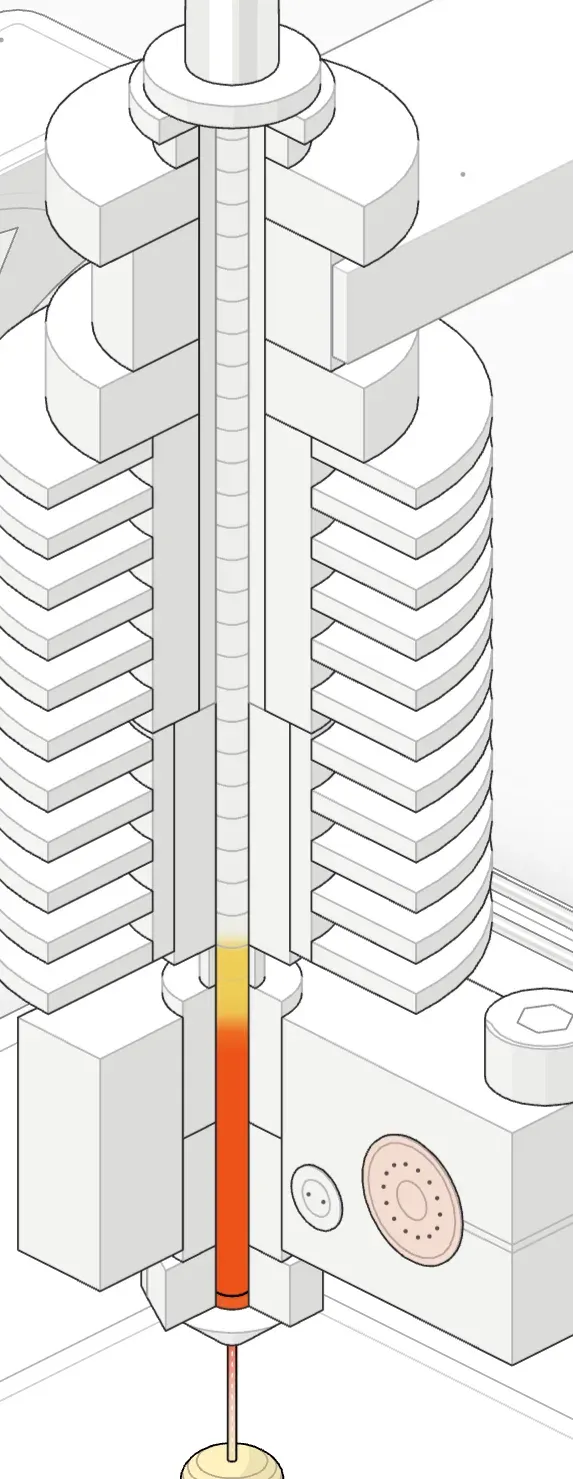 Feed 3 mm/s: nozzle 210 °C · heatsink 38 °C · feed 3.0 mm/s · melting in block.
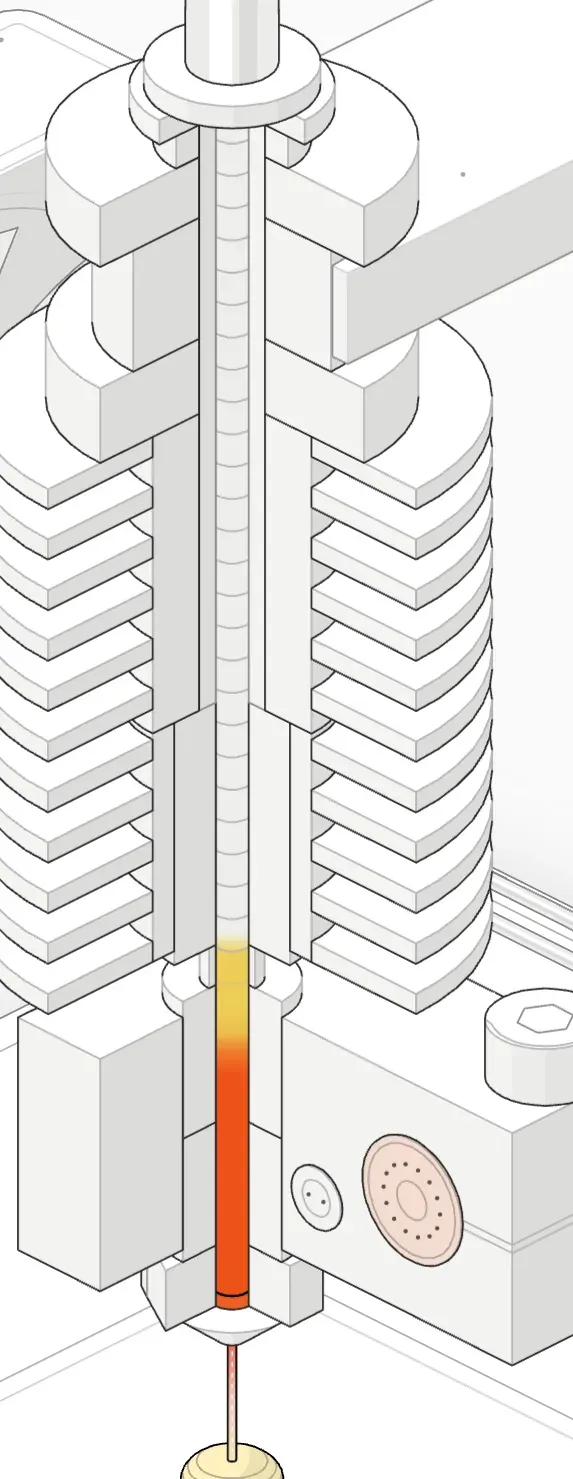 Feed 4 mm/s: nozzle 210 °C · heatsink 38 °C · feed 4.0 mm/s · melting in block.
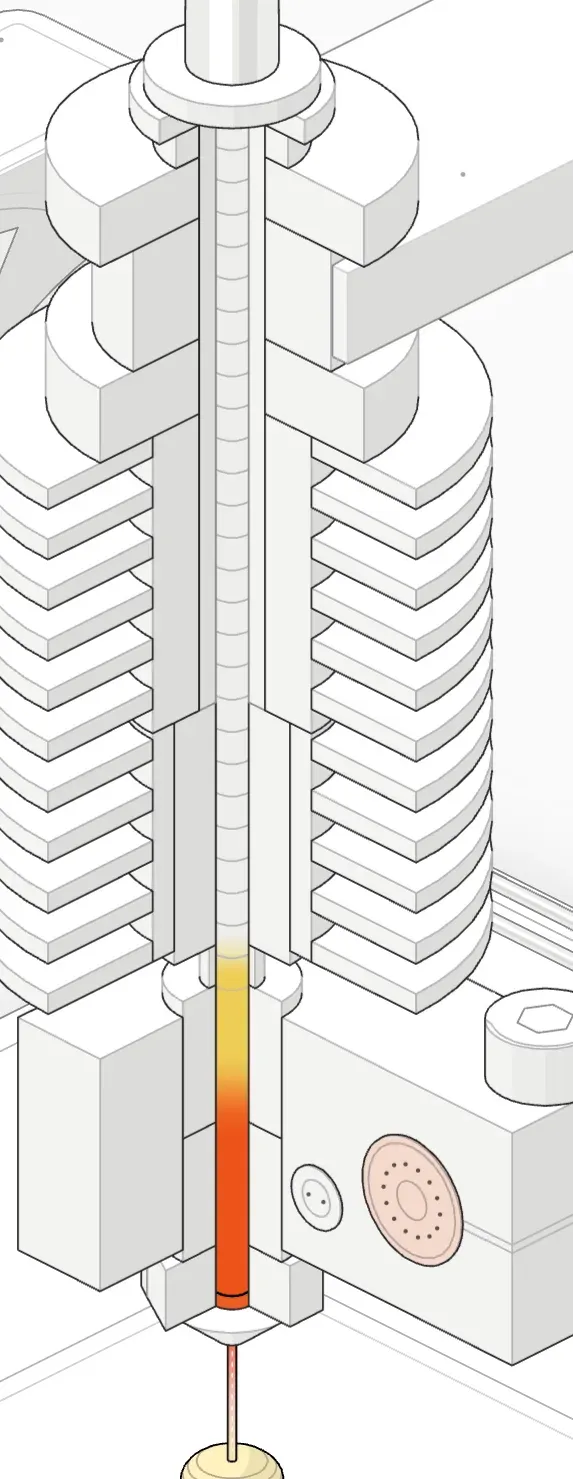 Feed 6 mm/s: nozzle 210 °C · heatsink 38 °C · feed 6.0 mm/s · melting in block.
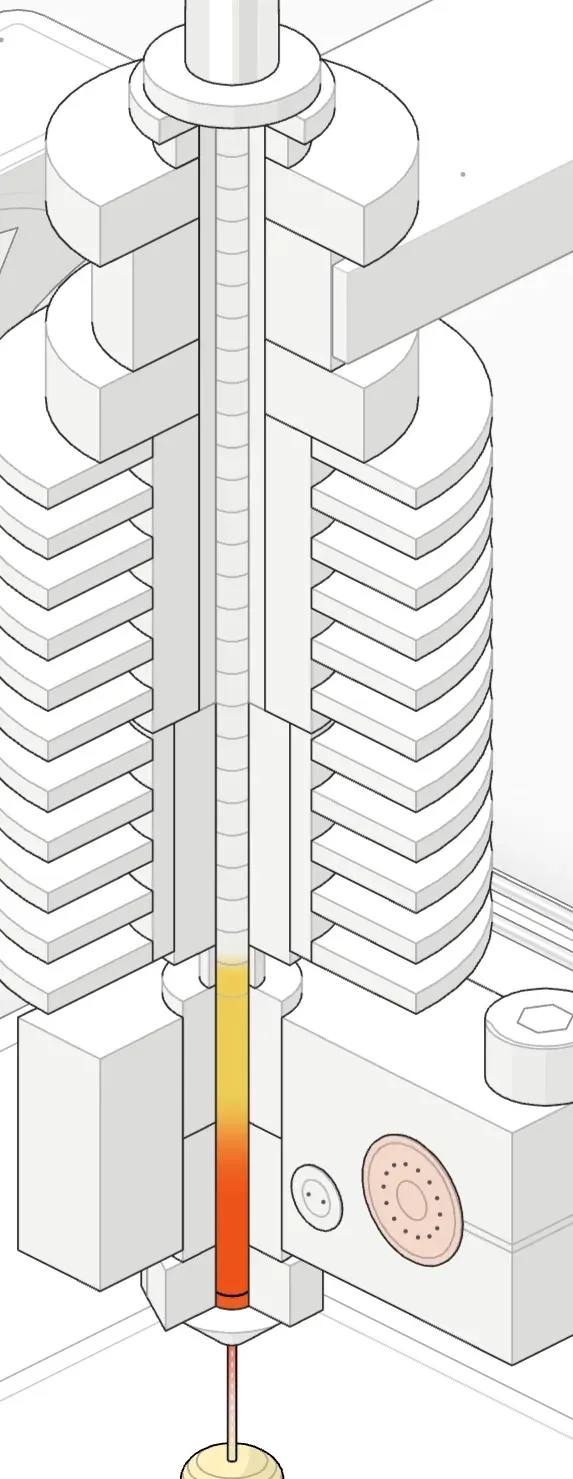 Feed 8 mm/s: nozzle 210 °C · heatsink 38 °C · feed 8.0 mm/s · too fast.
The part cooling fan
A separate fan blows air onto the plastic right after it leaves the nozzle. Cooling it quickly keeps overhangs, bridges and small details sharp. Don’t confuse it with the hotend fan, which cools the heatsink and should always run.
Signs it’s failing:
- Droopy overhangs and sagging bridges.
- Blobby, melted-looking small features and tips.
- On PETG or ABS, too much cooling causes the opposite problem: weak layer bonding and cracks.
Upgrade worth it? A better fan duct can help on older printers with one small fan. Most newer printers already have strong cooling.
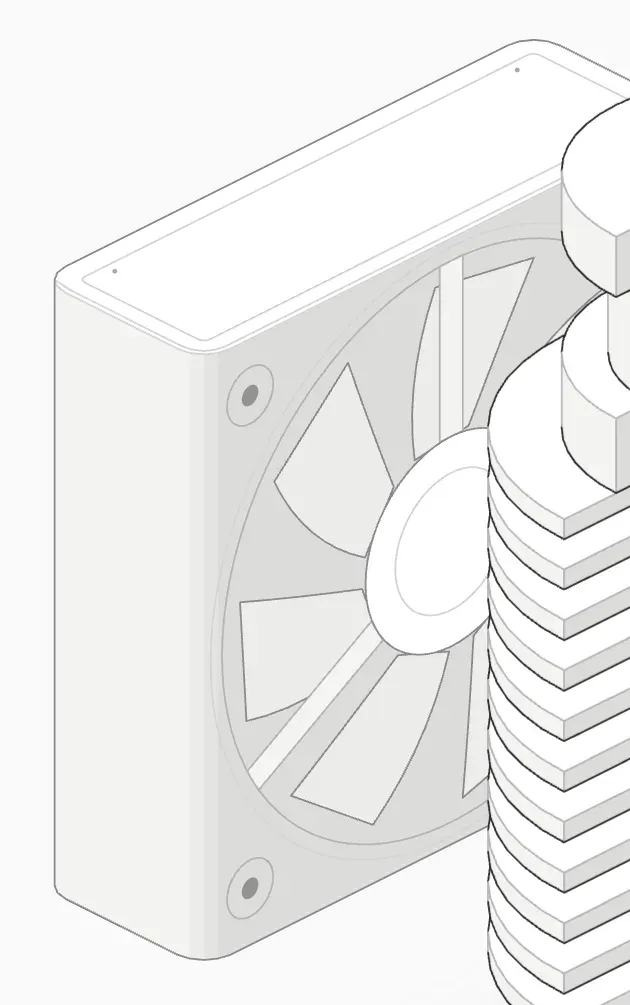 The hotend fan cools the heatsink. It must run whenever the hotend is hot.
- A small fan cooling the extruder assembly.Photo: syvwlch ·CC BY 2.0 ·Wikimedia Commons
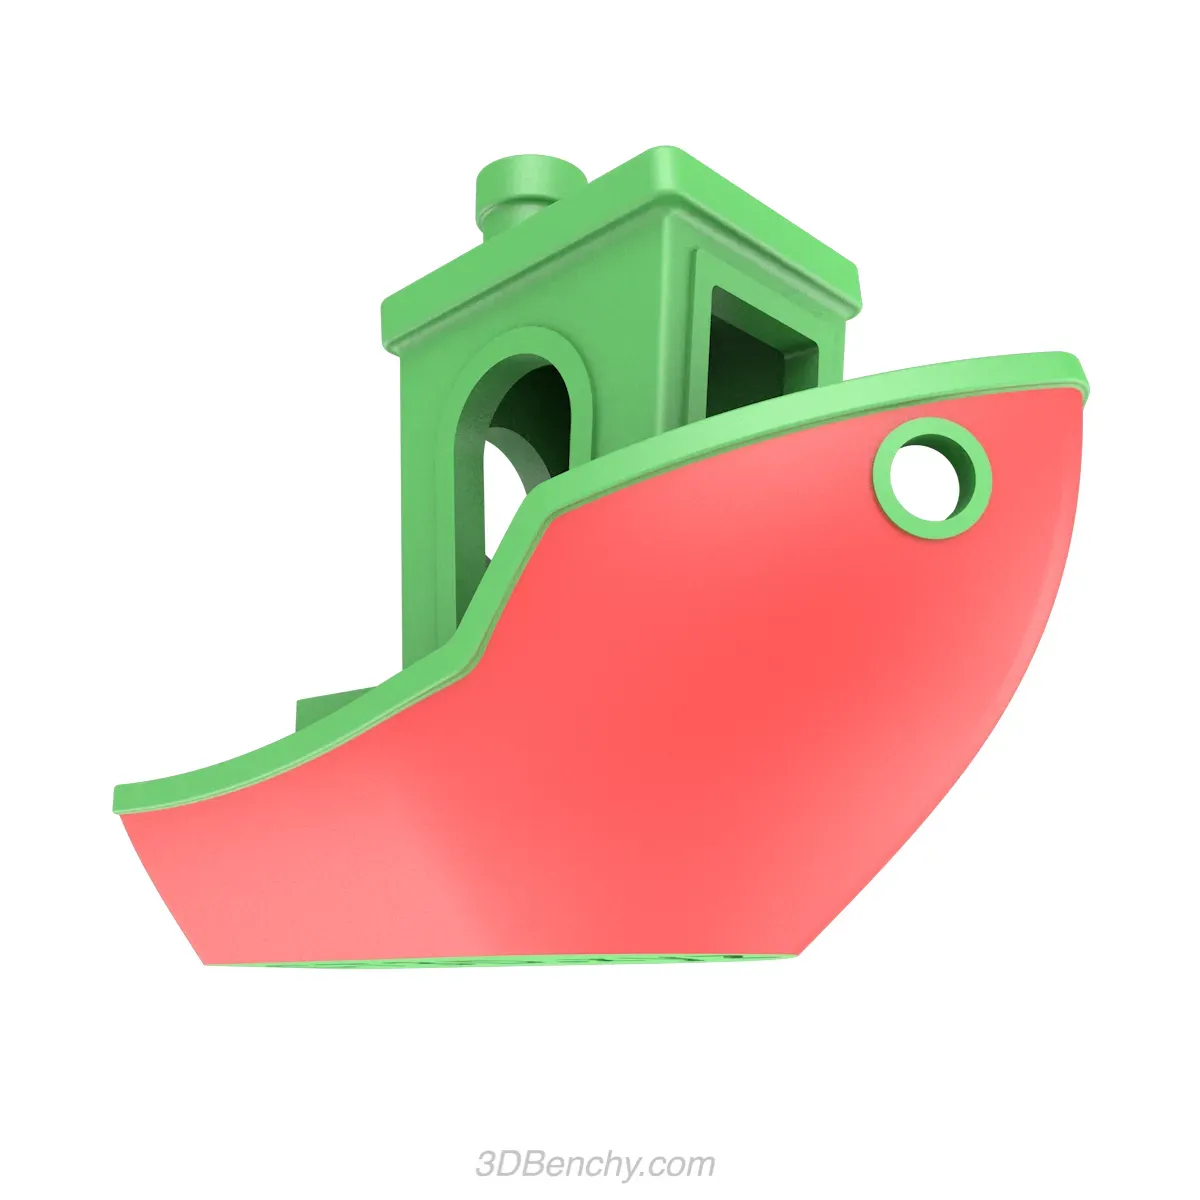 The hull is a curved overhang test.Photo: CreativeTools: https://www.thingiverse.com/Cr… ·CC0 ·Wikimedia Commons
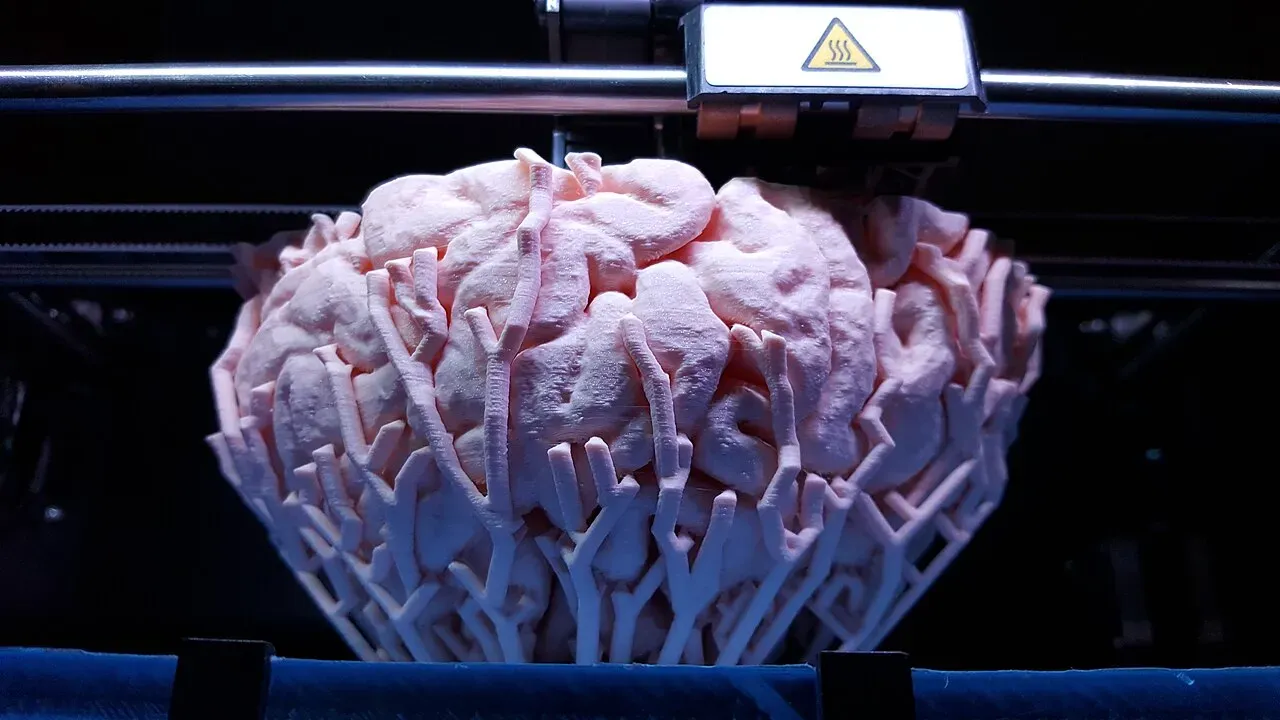 Supports hold up overhangs while the print grows.Photo: Nevit ·CC BY-SA 3.0 ·Wikimedia Commons
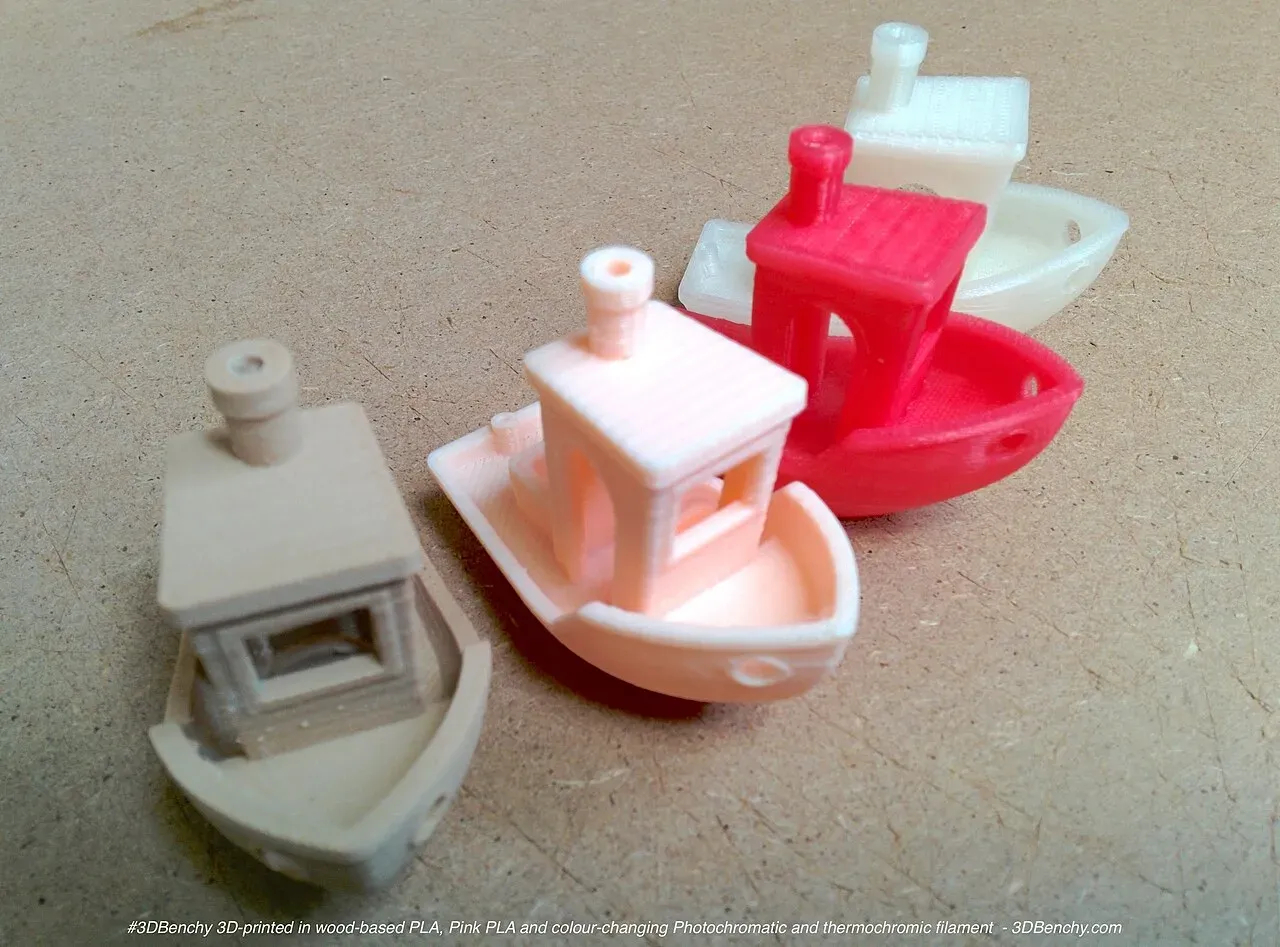 Printed Benchys in different filaments.Photo: 3DBenchy ·CC BY 2.0 ·Wikimedia Commons
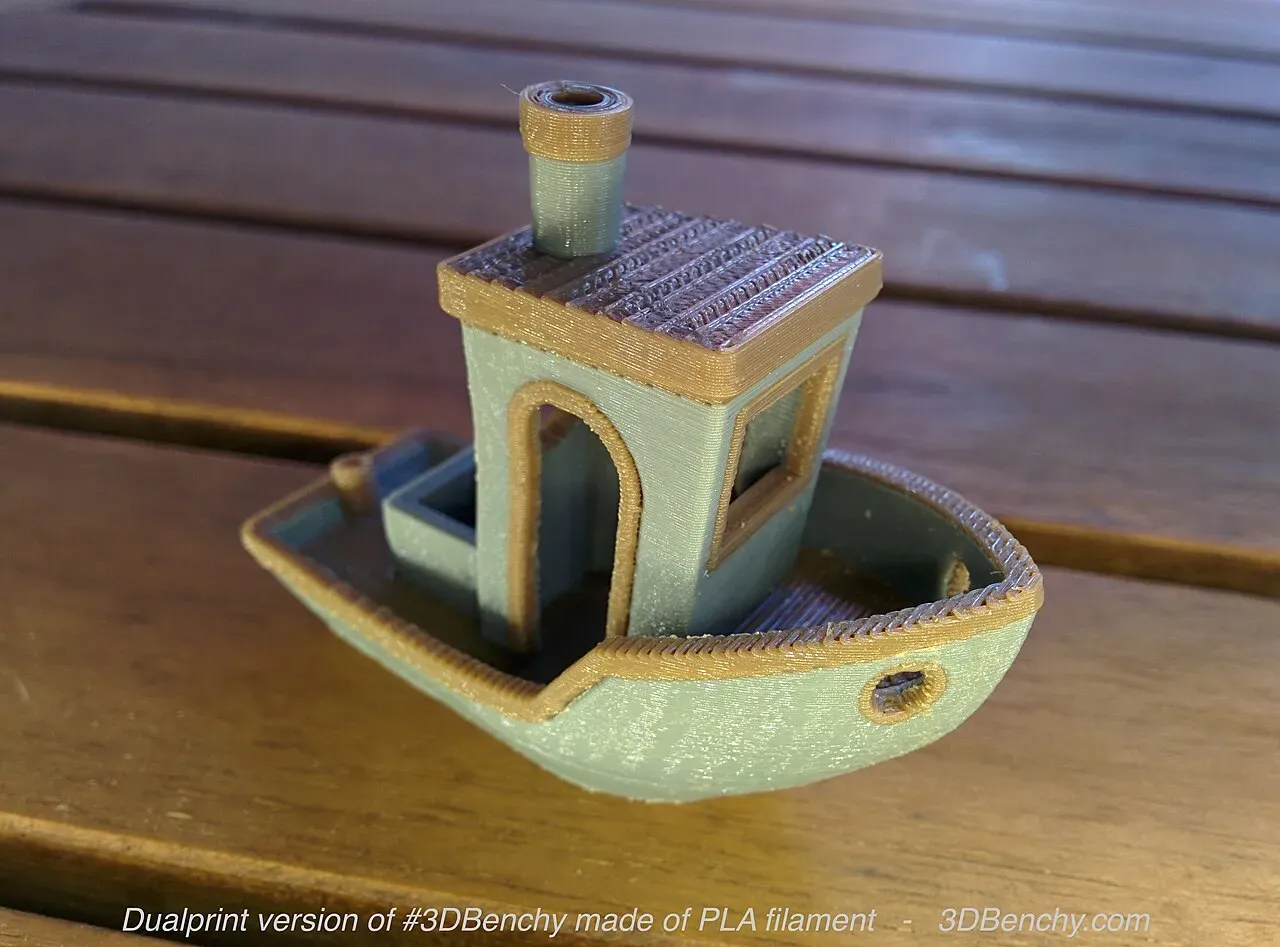 A two-colour Benchy.Photo: 3DBenchy ·CC BY 2.0 ·Wikimedia Commons
The build plate
The build plate is the surface your print sits on. Most are heated beds, which keep the bottom layers warm so they stick and don’t warp.
Common surfaces:
- Smooth PEI: great adhesion, glossy bottom finish.
- Textured PEI: hides small first-layer flaws, releases parts easily when cool.
- Glass: very flat with a glossy finish, but adhesion can need glue stick.
Flexible magnetic steel sheets let you bend the plate to pop prints off.44PEI is short for polyetherimide, a heat-resistant plastic. A thin layer of it on spring steel is what most printers now ship with.
| Smooth PEI | Textured PEI | Glass | |
|---|---|---|---|
| Adhesion | Strong | Good | Needs care, often glue stick |
| Bottom finish | Glossy | Textured | Glossy |
| Removing prints | Flex the sheet | Flex the sheet, or let it cool | Let it cool, use a scraper |
| Forgiving of a rough first layer | Less | More | Less |
Signs it’s failing:
- Prints that don’t stick, or corners lifting (warping).
- A first layer that’s fine in one area and bad in another, which is a leveling problem.
- A worn, shiny patch where prints no longer stick. Clean it with isopropyl alcohol first; a badly worn sheet needs replacing.
Upgrade worth it? A spare textured PEI sheet is one of the most useful cheap upgrades.
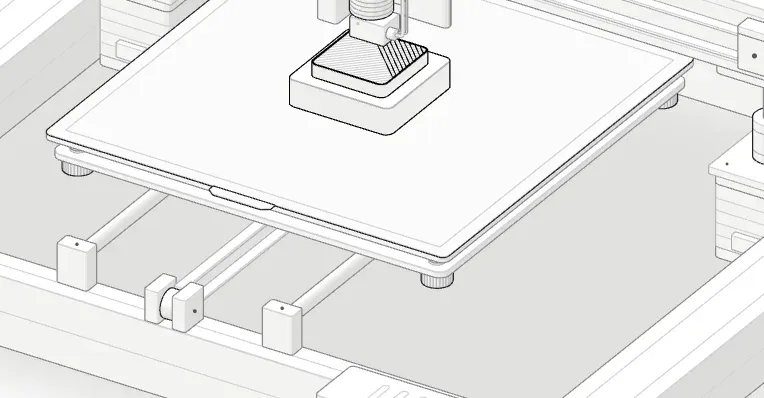 The heated bed with a PEI sheet. The part is the only thing printed on it.
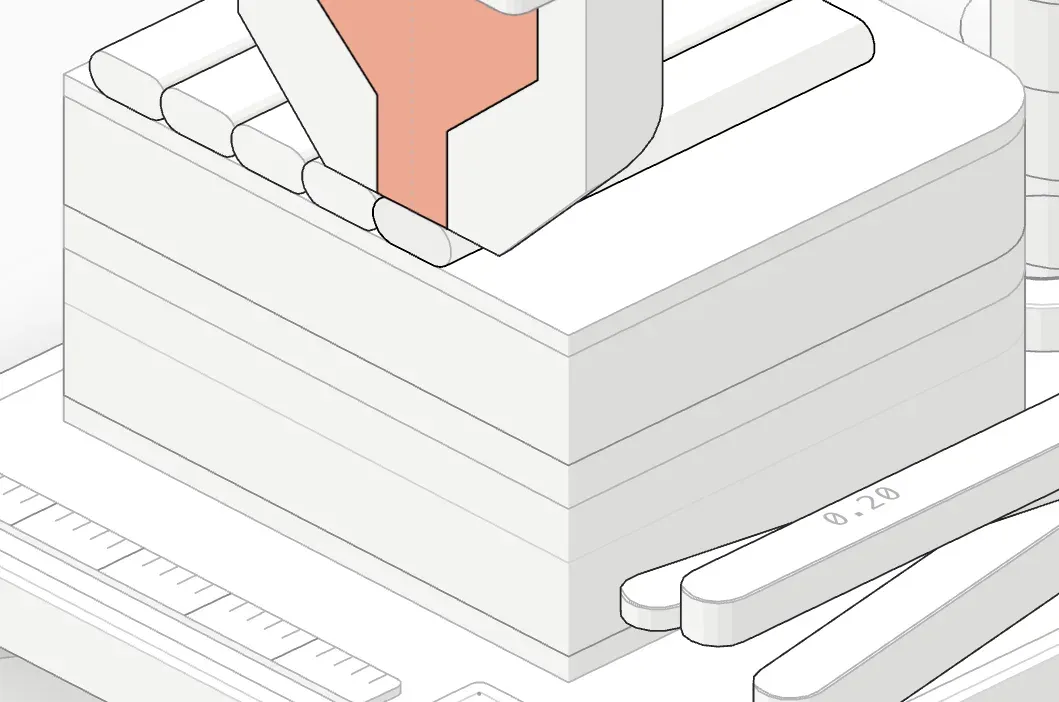 A print bed in layers: heater, aluminium, magnet, spring steel, PEI.
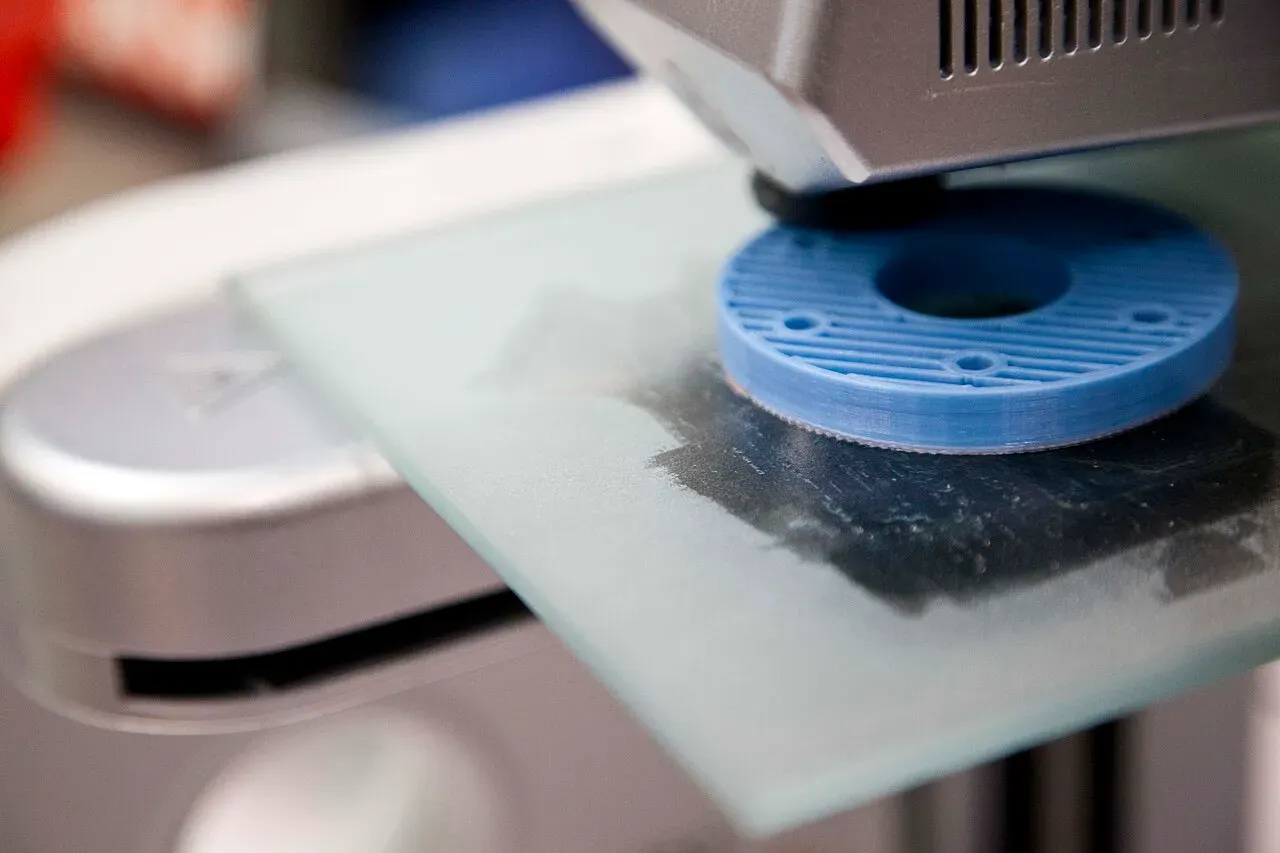 A print on a glass bed.Photo: ENERGY.GOV ·Public domain ·Wikimedia Commons
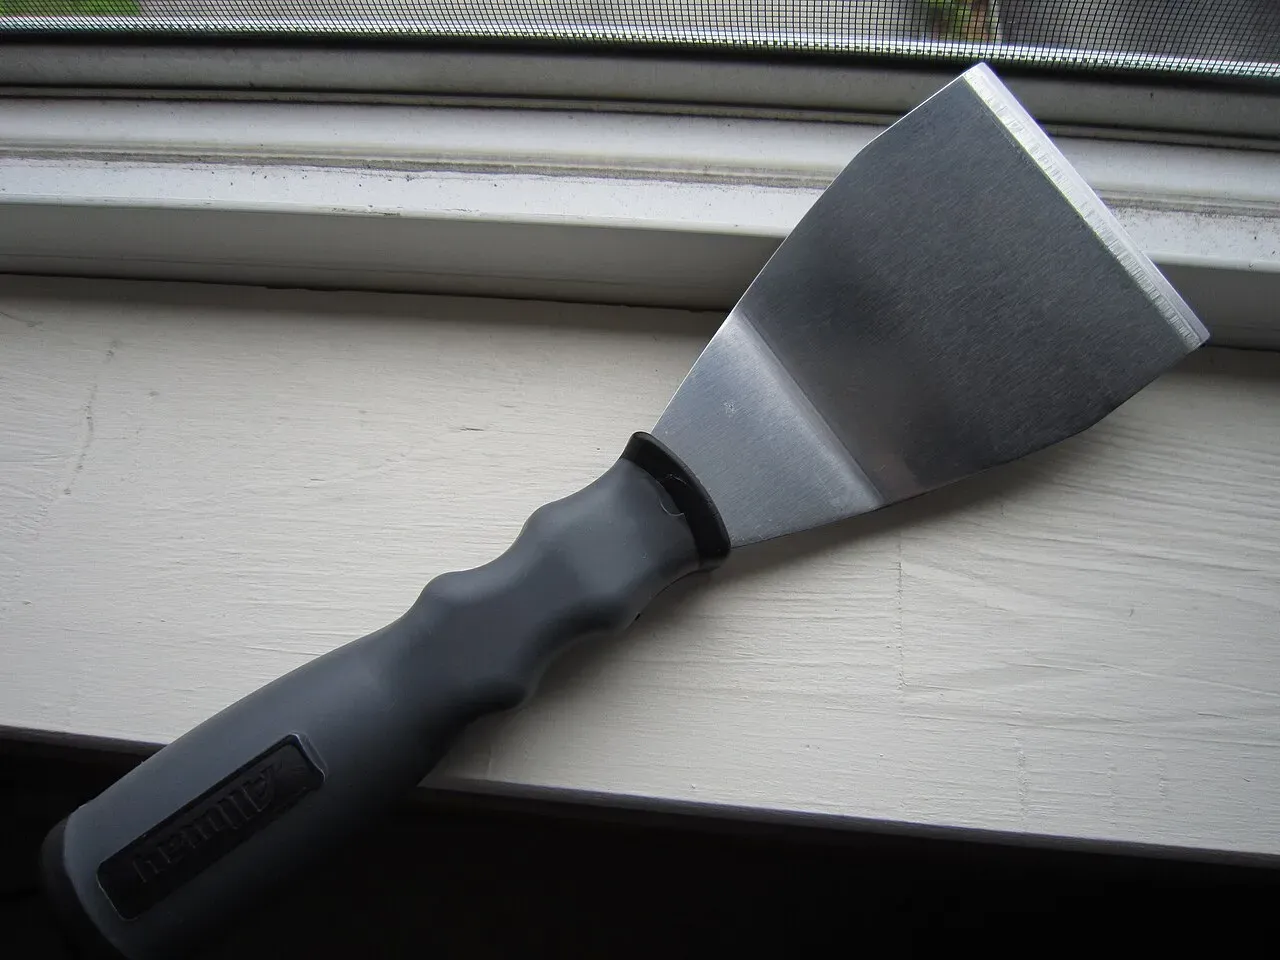 A scraper: lift prints off a rigid bed.Photo: syvwlch ·CC BY 2.0 ·Wikimedia Commons
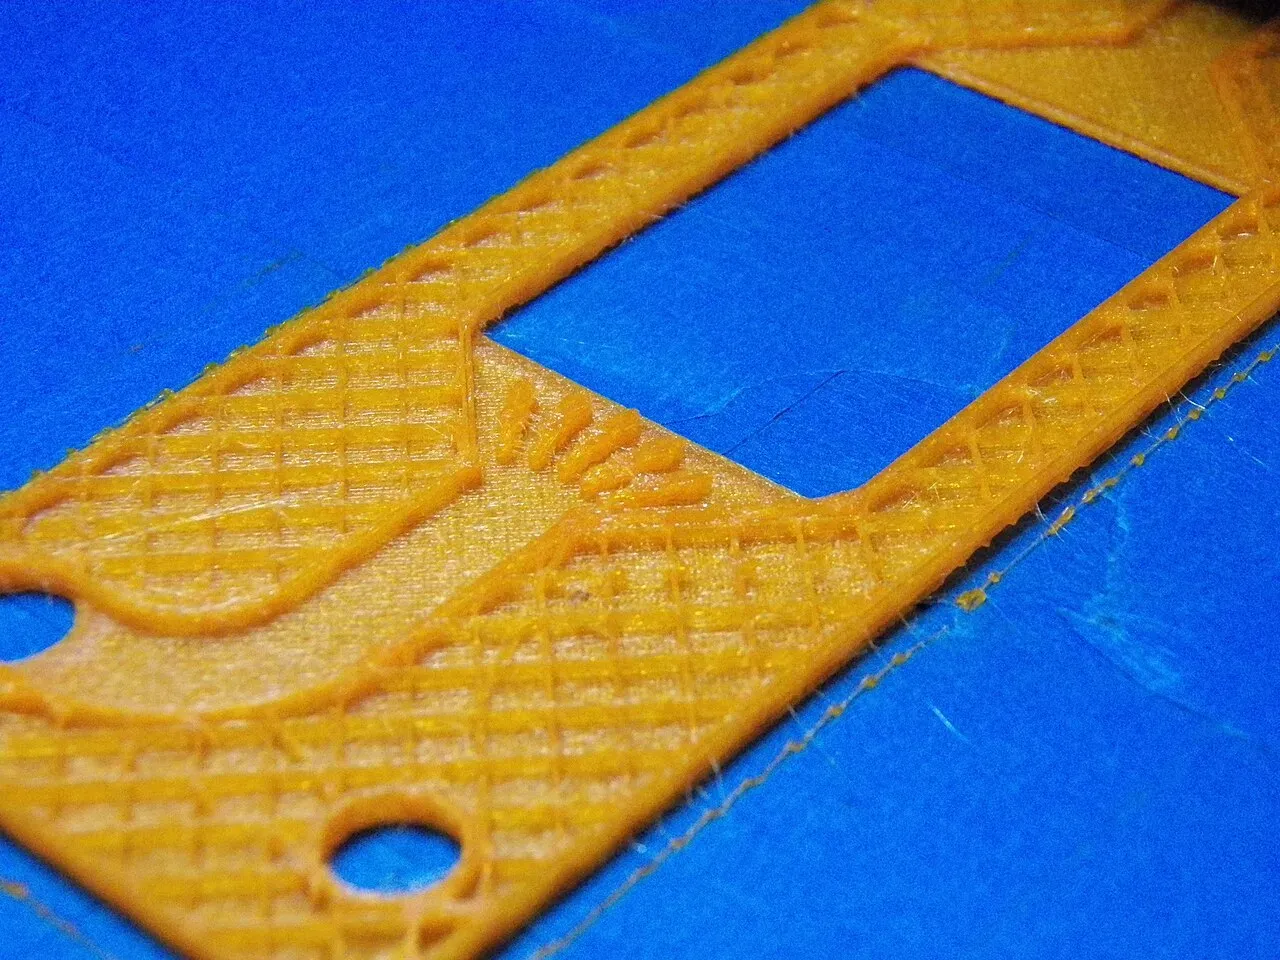 A first layer close up: lines pressed together on the bed.Photo: hdaniel ·CC BY-SA 2.0 ·Wikimedia Commons
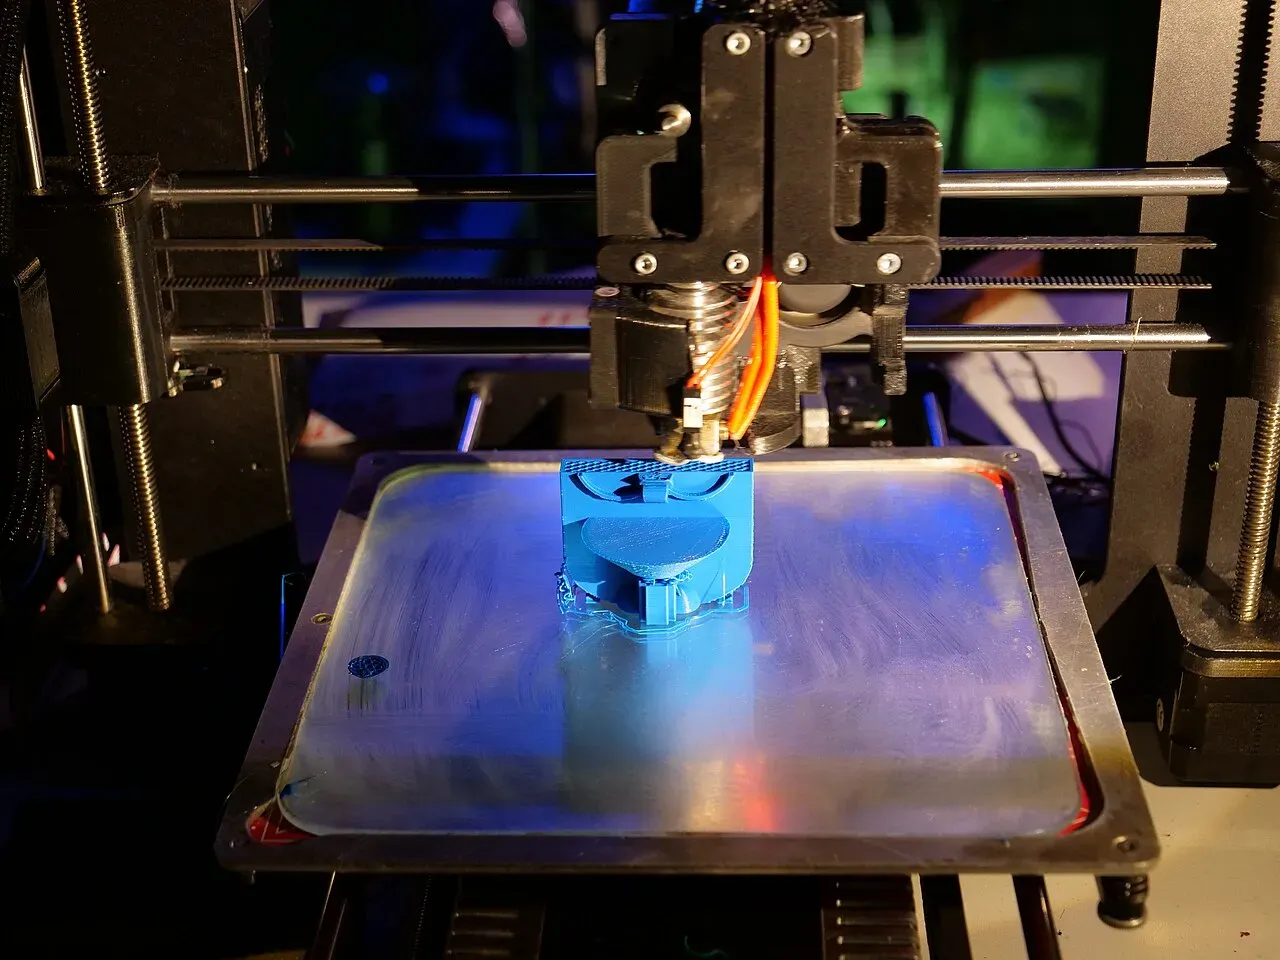 A part being printed on a spring-steel bed.Photo: Leonhard Lenz ·CC BY-SA 4.0 ·Wikimedia Commons
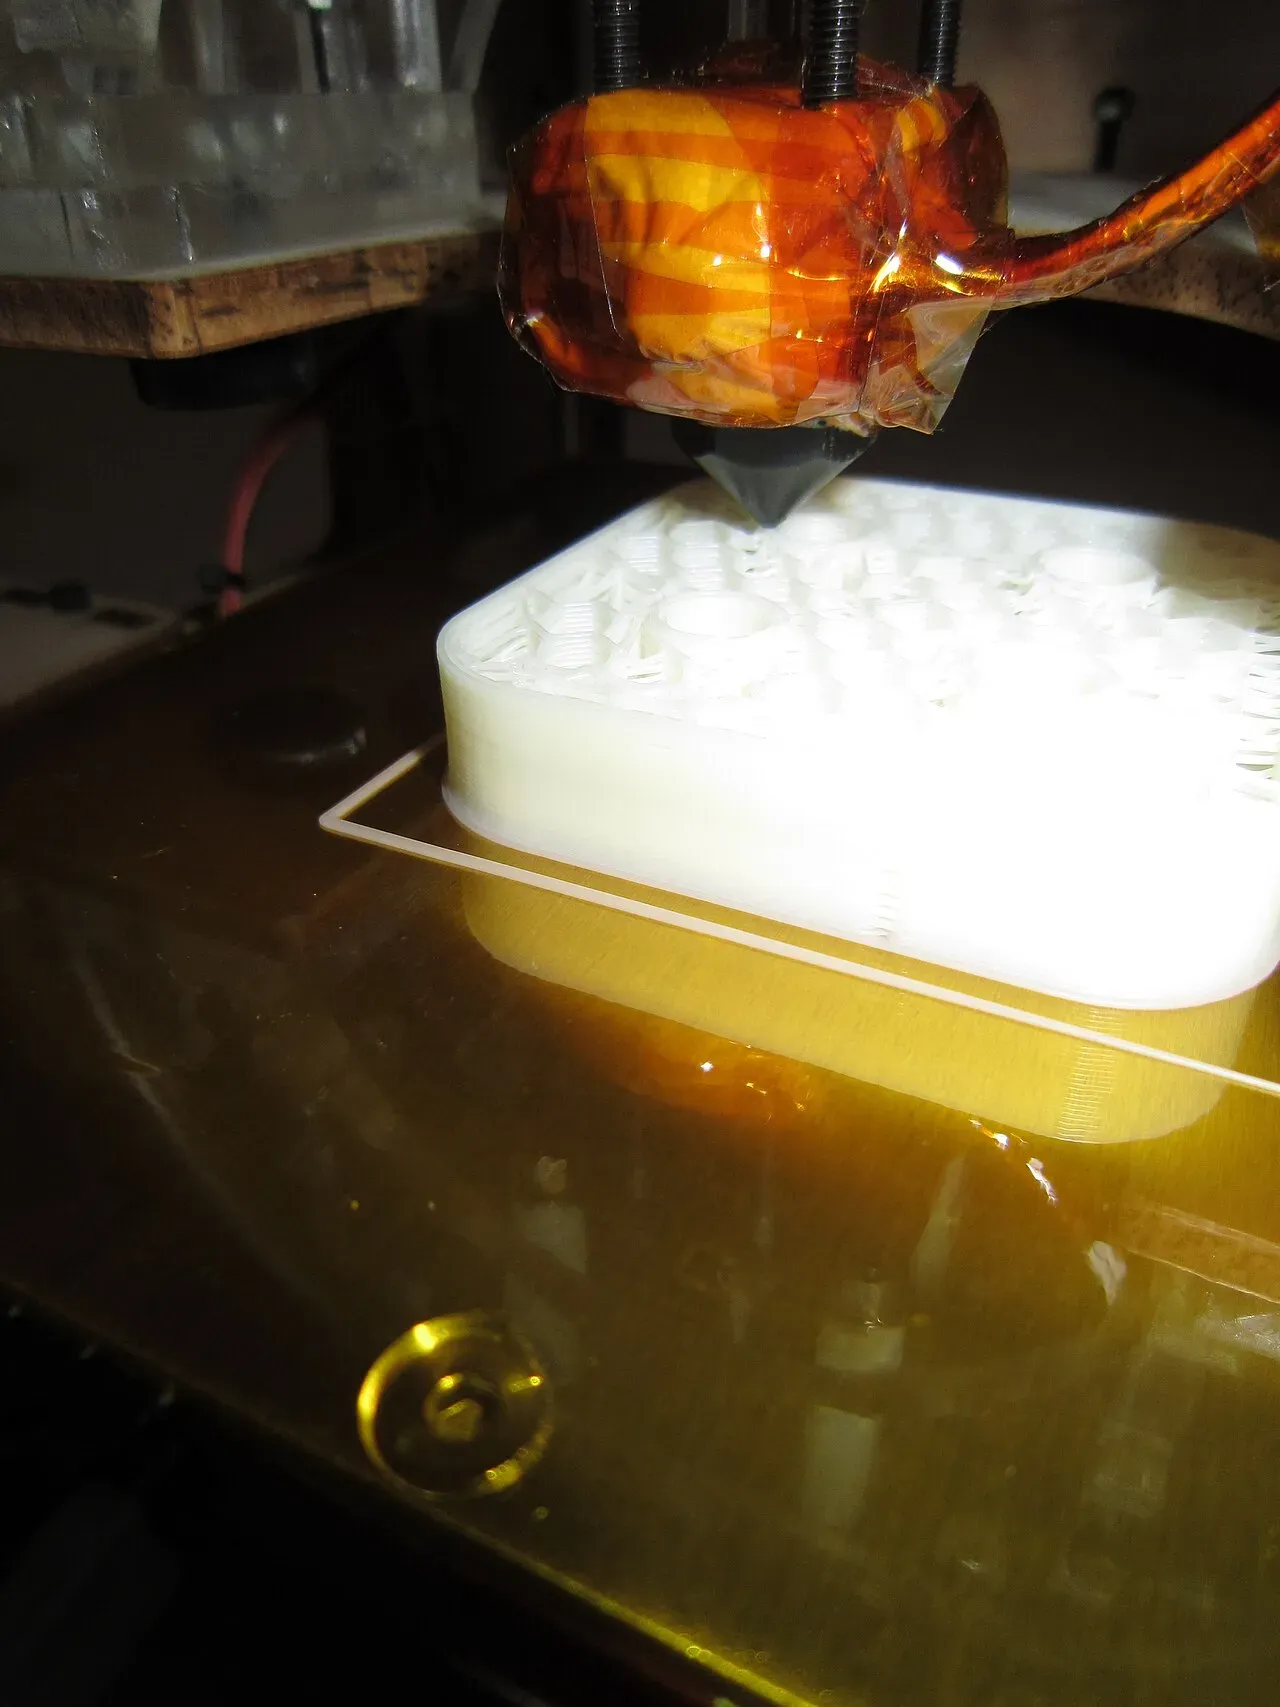 The first layers going down on a heated bed.Photo: syvwlch ·CC BY 2.0 ·Wikimedia Commons
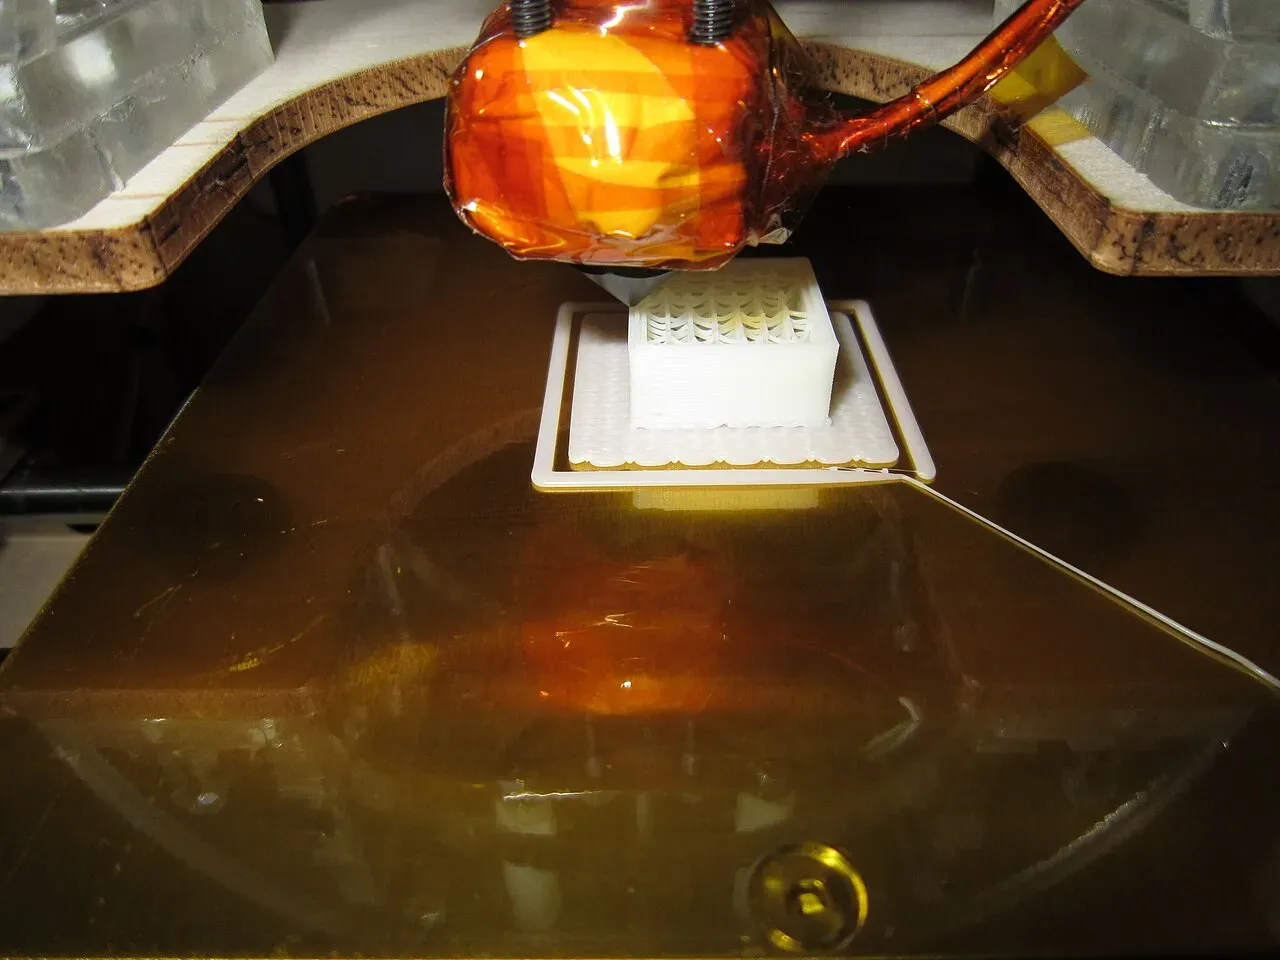 A 20 mm calibration cube, often the first print.Photo: syvwlch ·CC BY 2.0 ·Wikimedia Commons
The bed leveling sensor
Most new printers have a probe that touches or senses the bed at many points and builds a height map called a mesh. The printer then adjusts Z slightly as it moves, so the first layer stays even on a bed that isn’t perfectly flat.
The probe doesn’t replace the Z offset. That’s the gap between where the probe triggers and where the nozzle actually is. If your first layer is too squished or too loose everywhere, adjust the Z offset. Our guides to bed leveling and Z offset show both with live figures.
Signs it’s failing:
- Probing errors or the printer stopping during leveling.
- A first layer that’s uneven even right after a fresh mesh.
- The probe pin sticking down or not deploying (on touch probes).
Upgrade worth it? On an older printer without a probe, adding one is a real quality-of-life upgrade. If your printer already has one, keep it clean and recheck the Z offset instead.
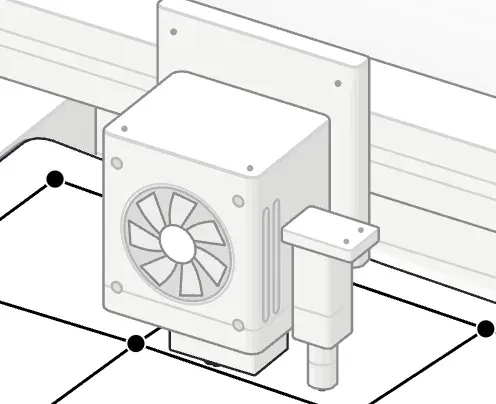 A touch probe sits beside the nozzle and taps the bed.
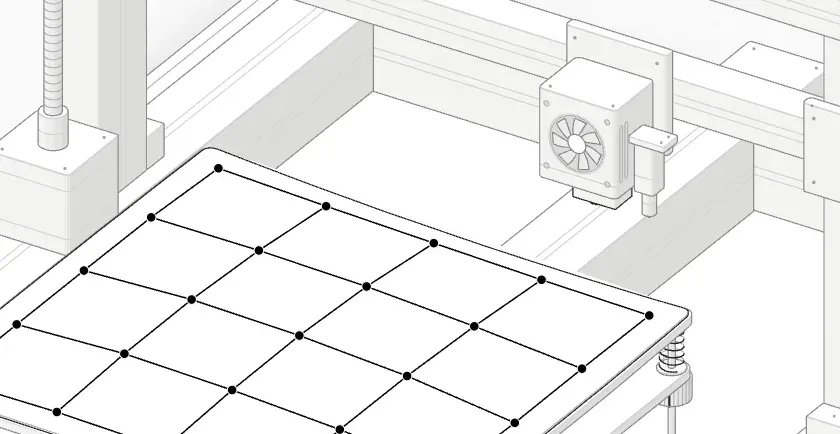 The mesh: 25 measured heights the printer follows on the first layer.
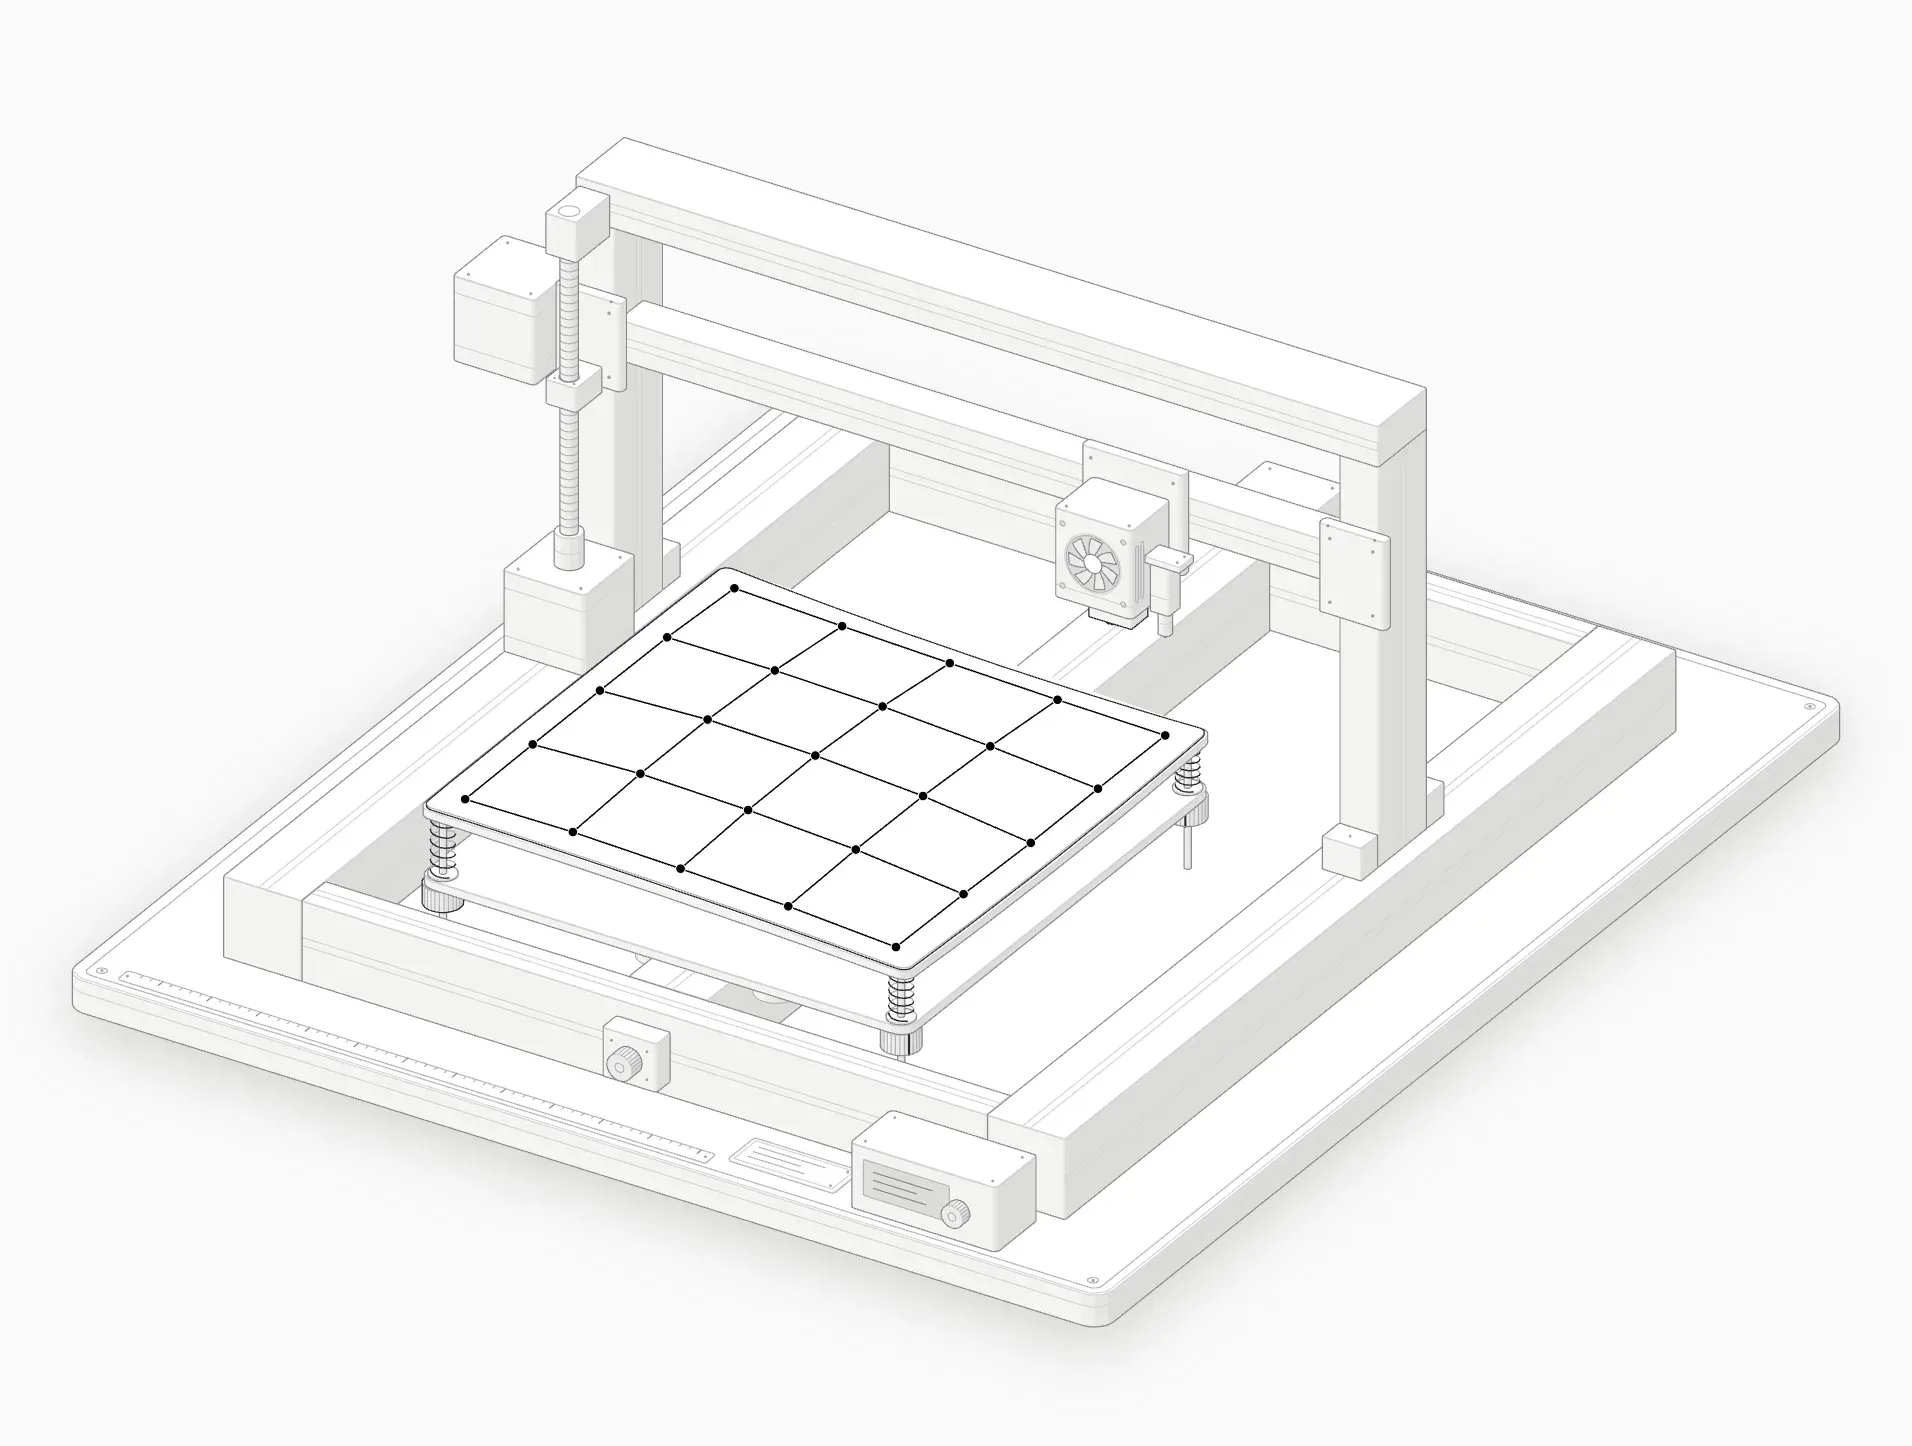 A probed 5 × 5 mesh across the bed.
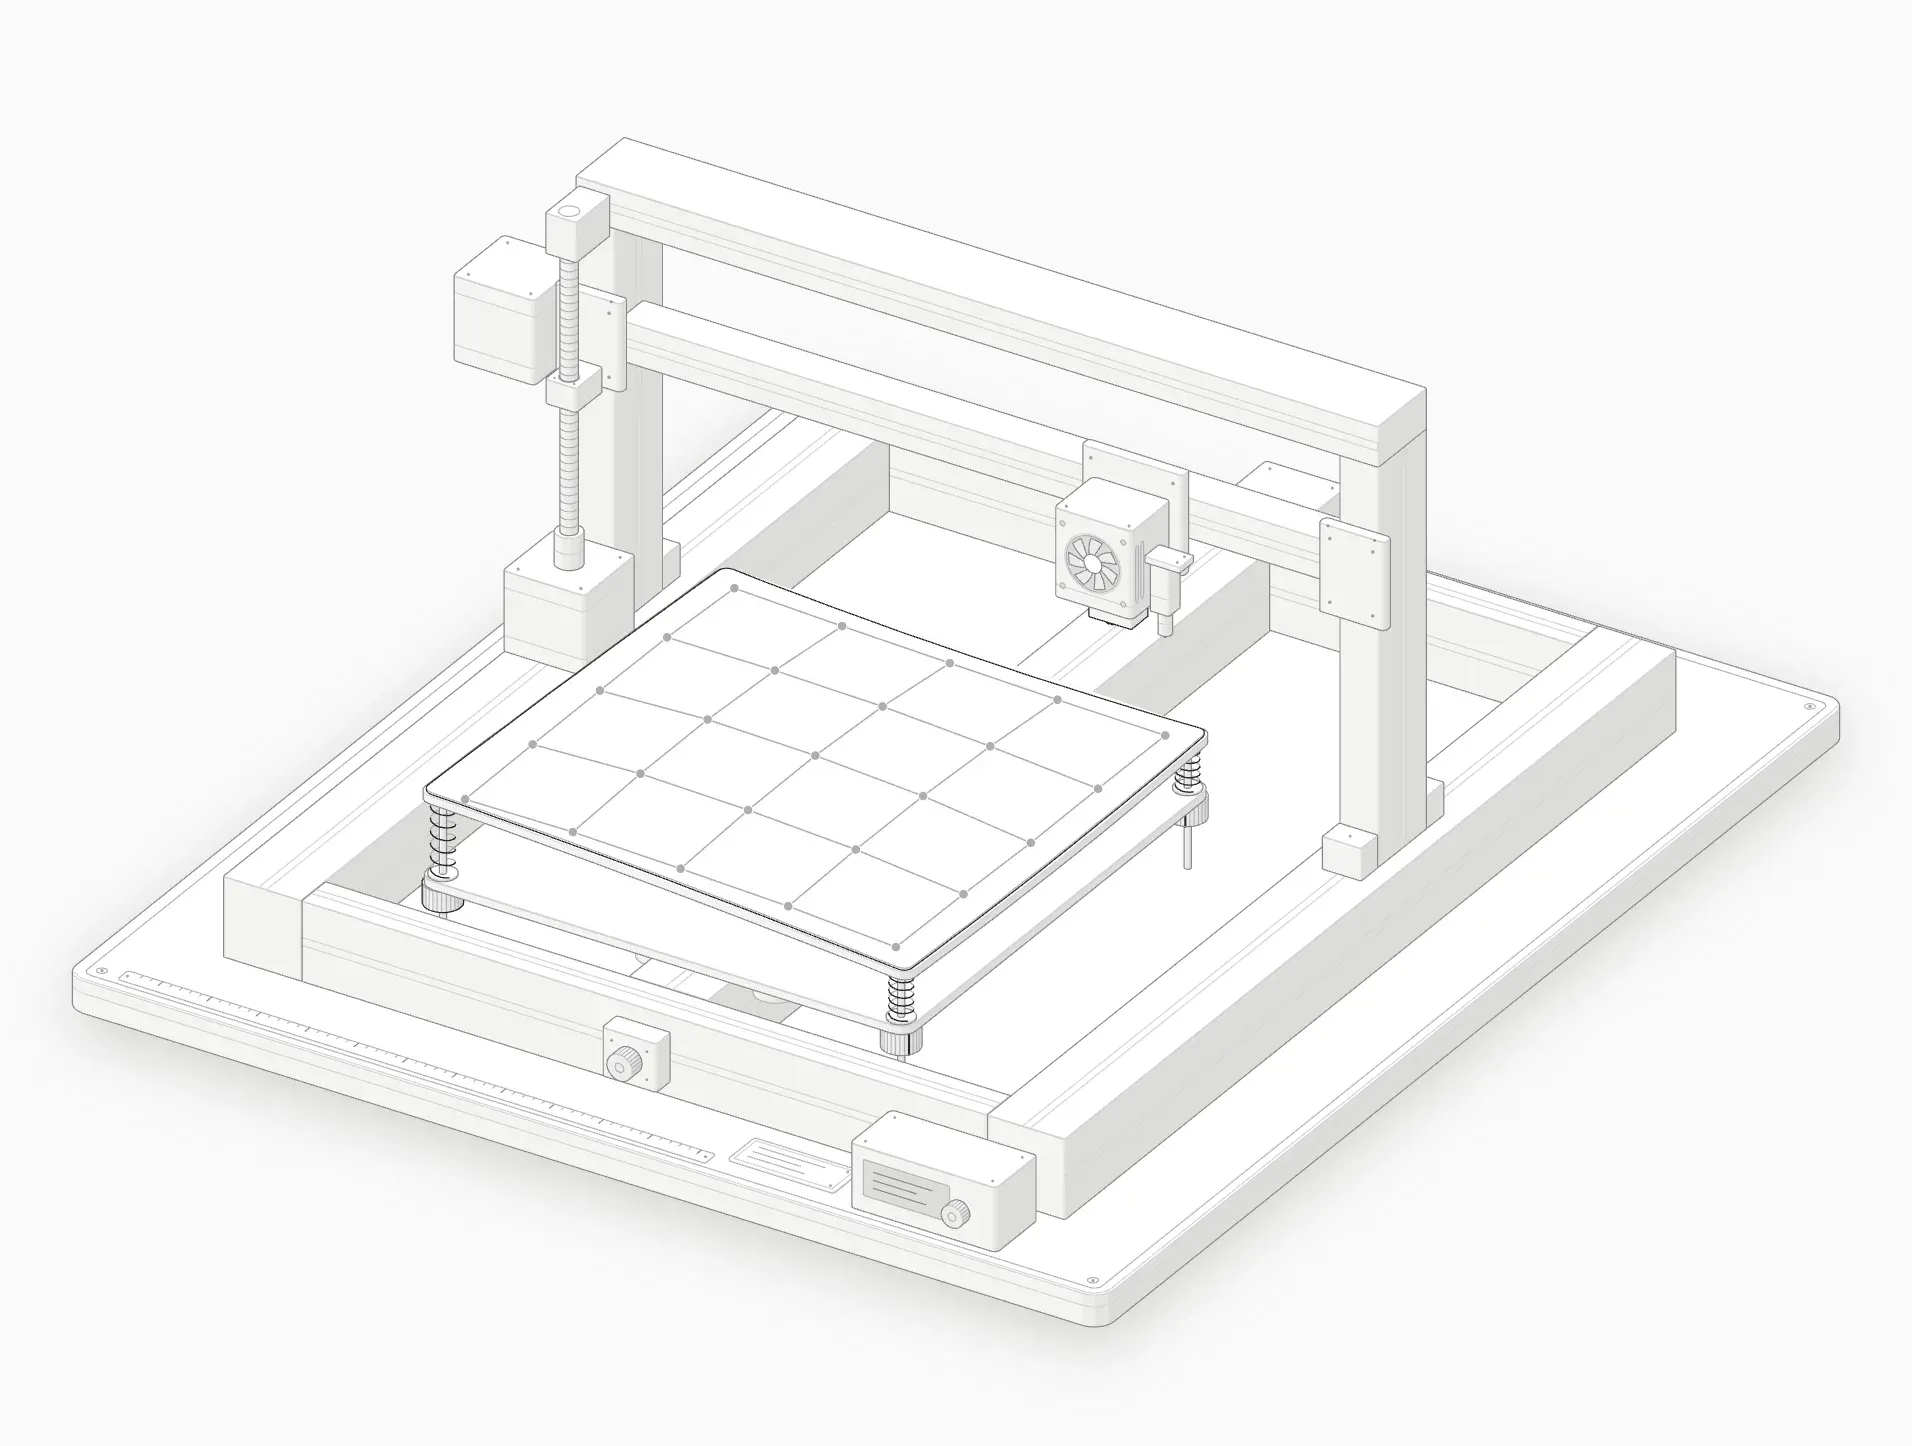 Turn a knob and the old mesh no longer matches the bed. Probe again.
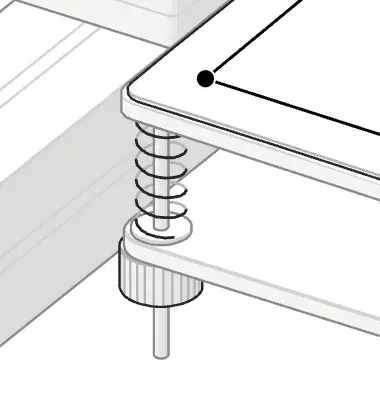 A corner spring and knob: about half a millimetre per full turn.
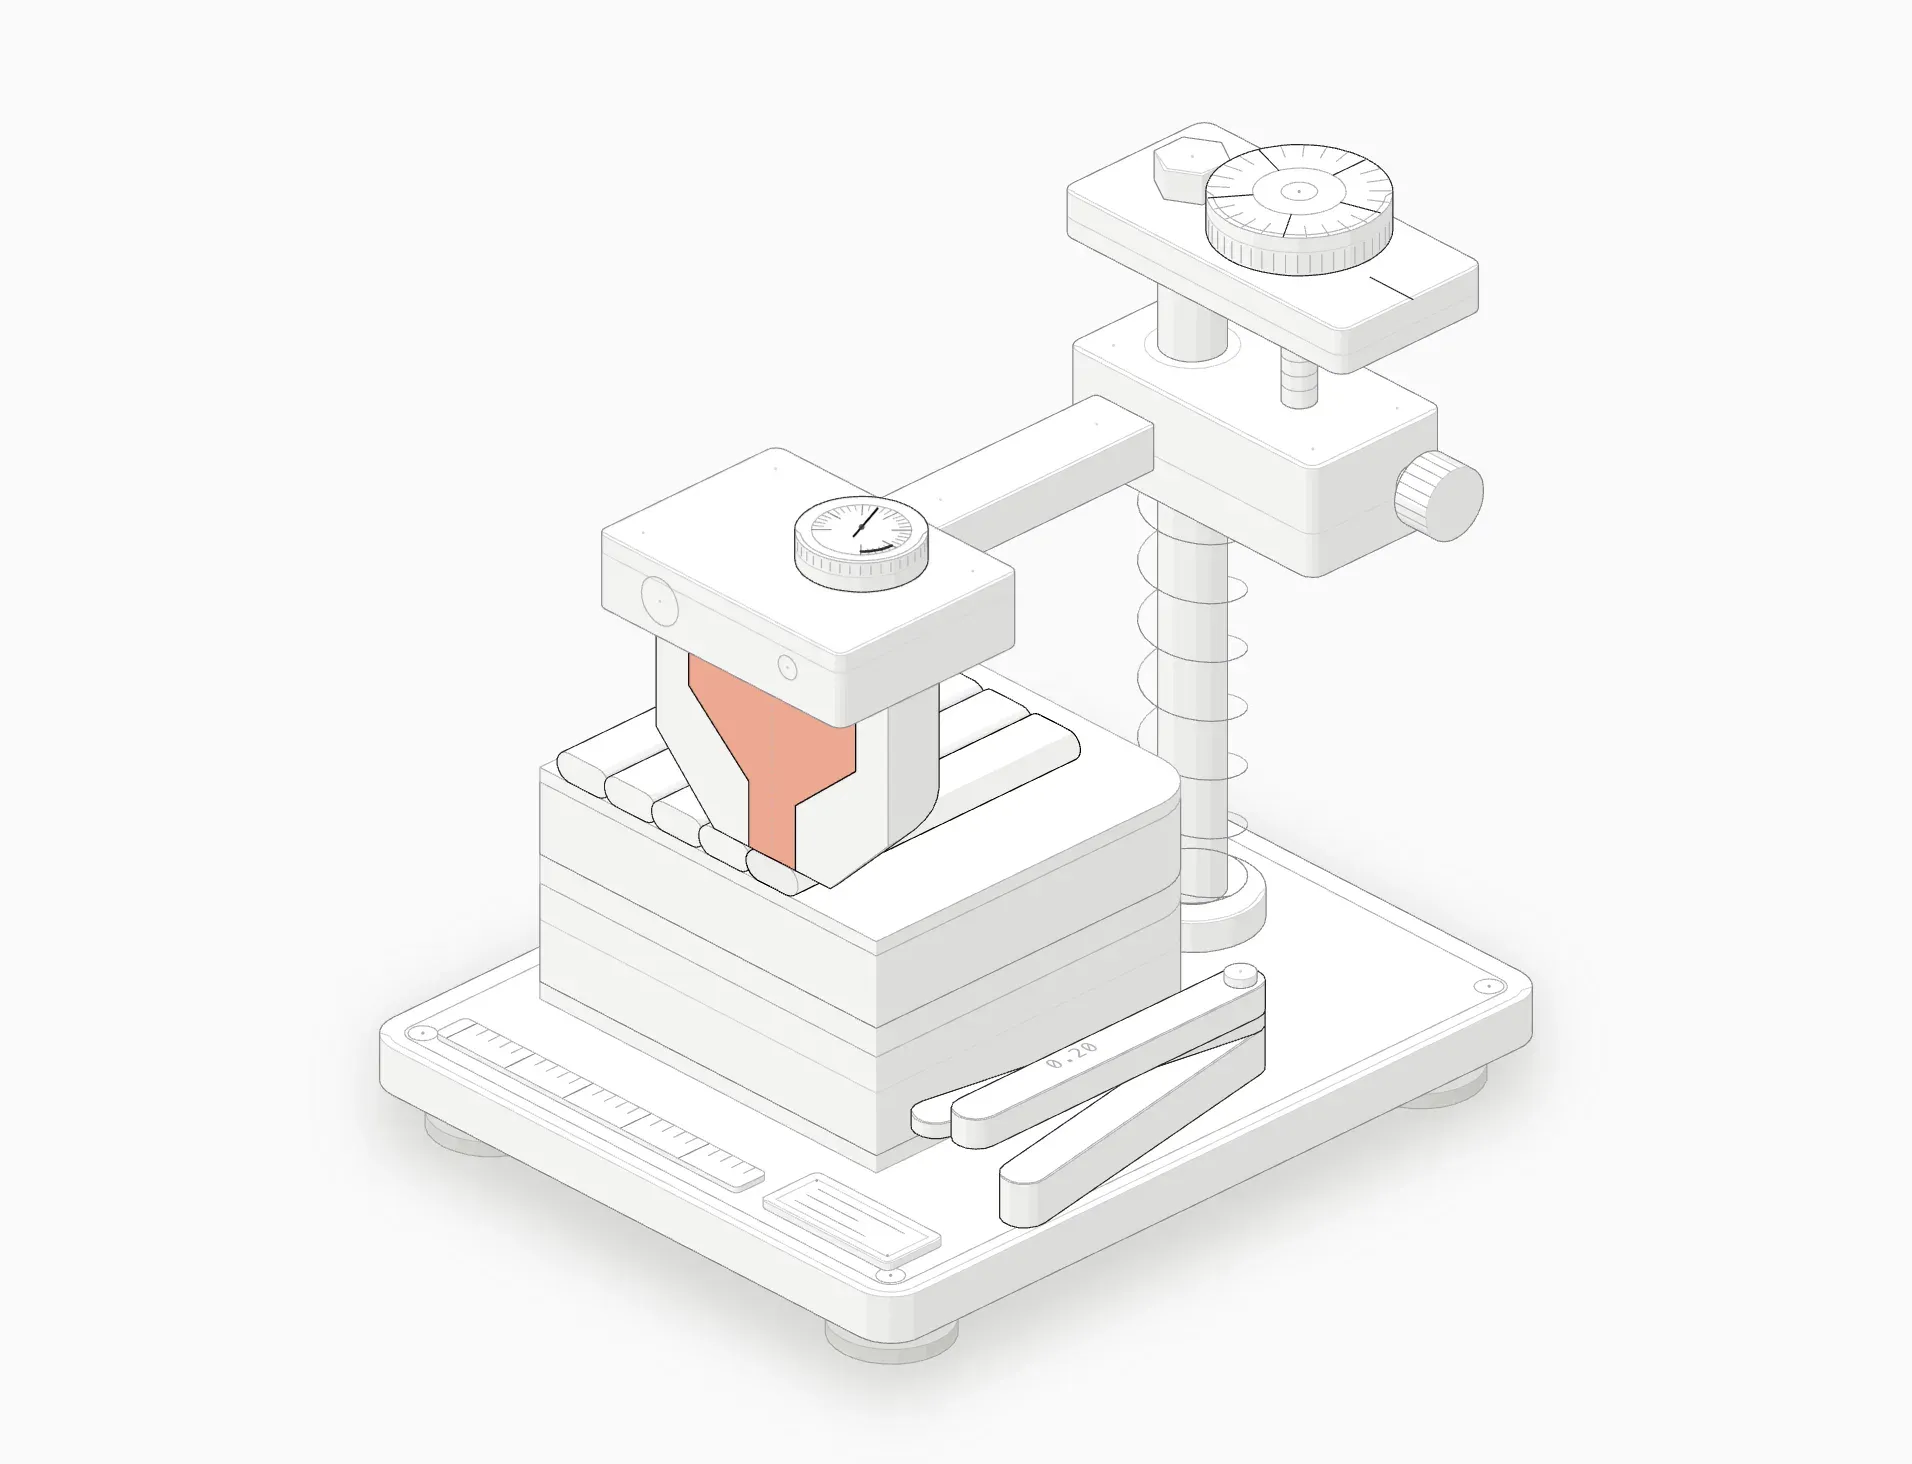 Z offset right: slightly squished lines that touch.
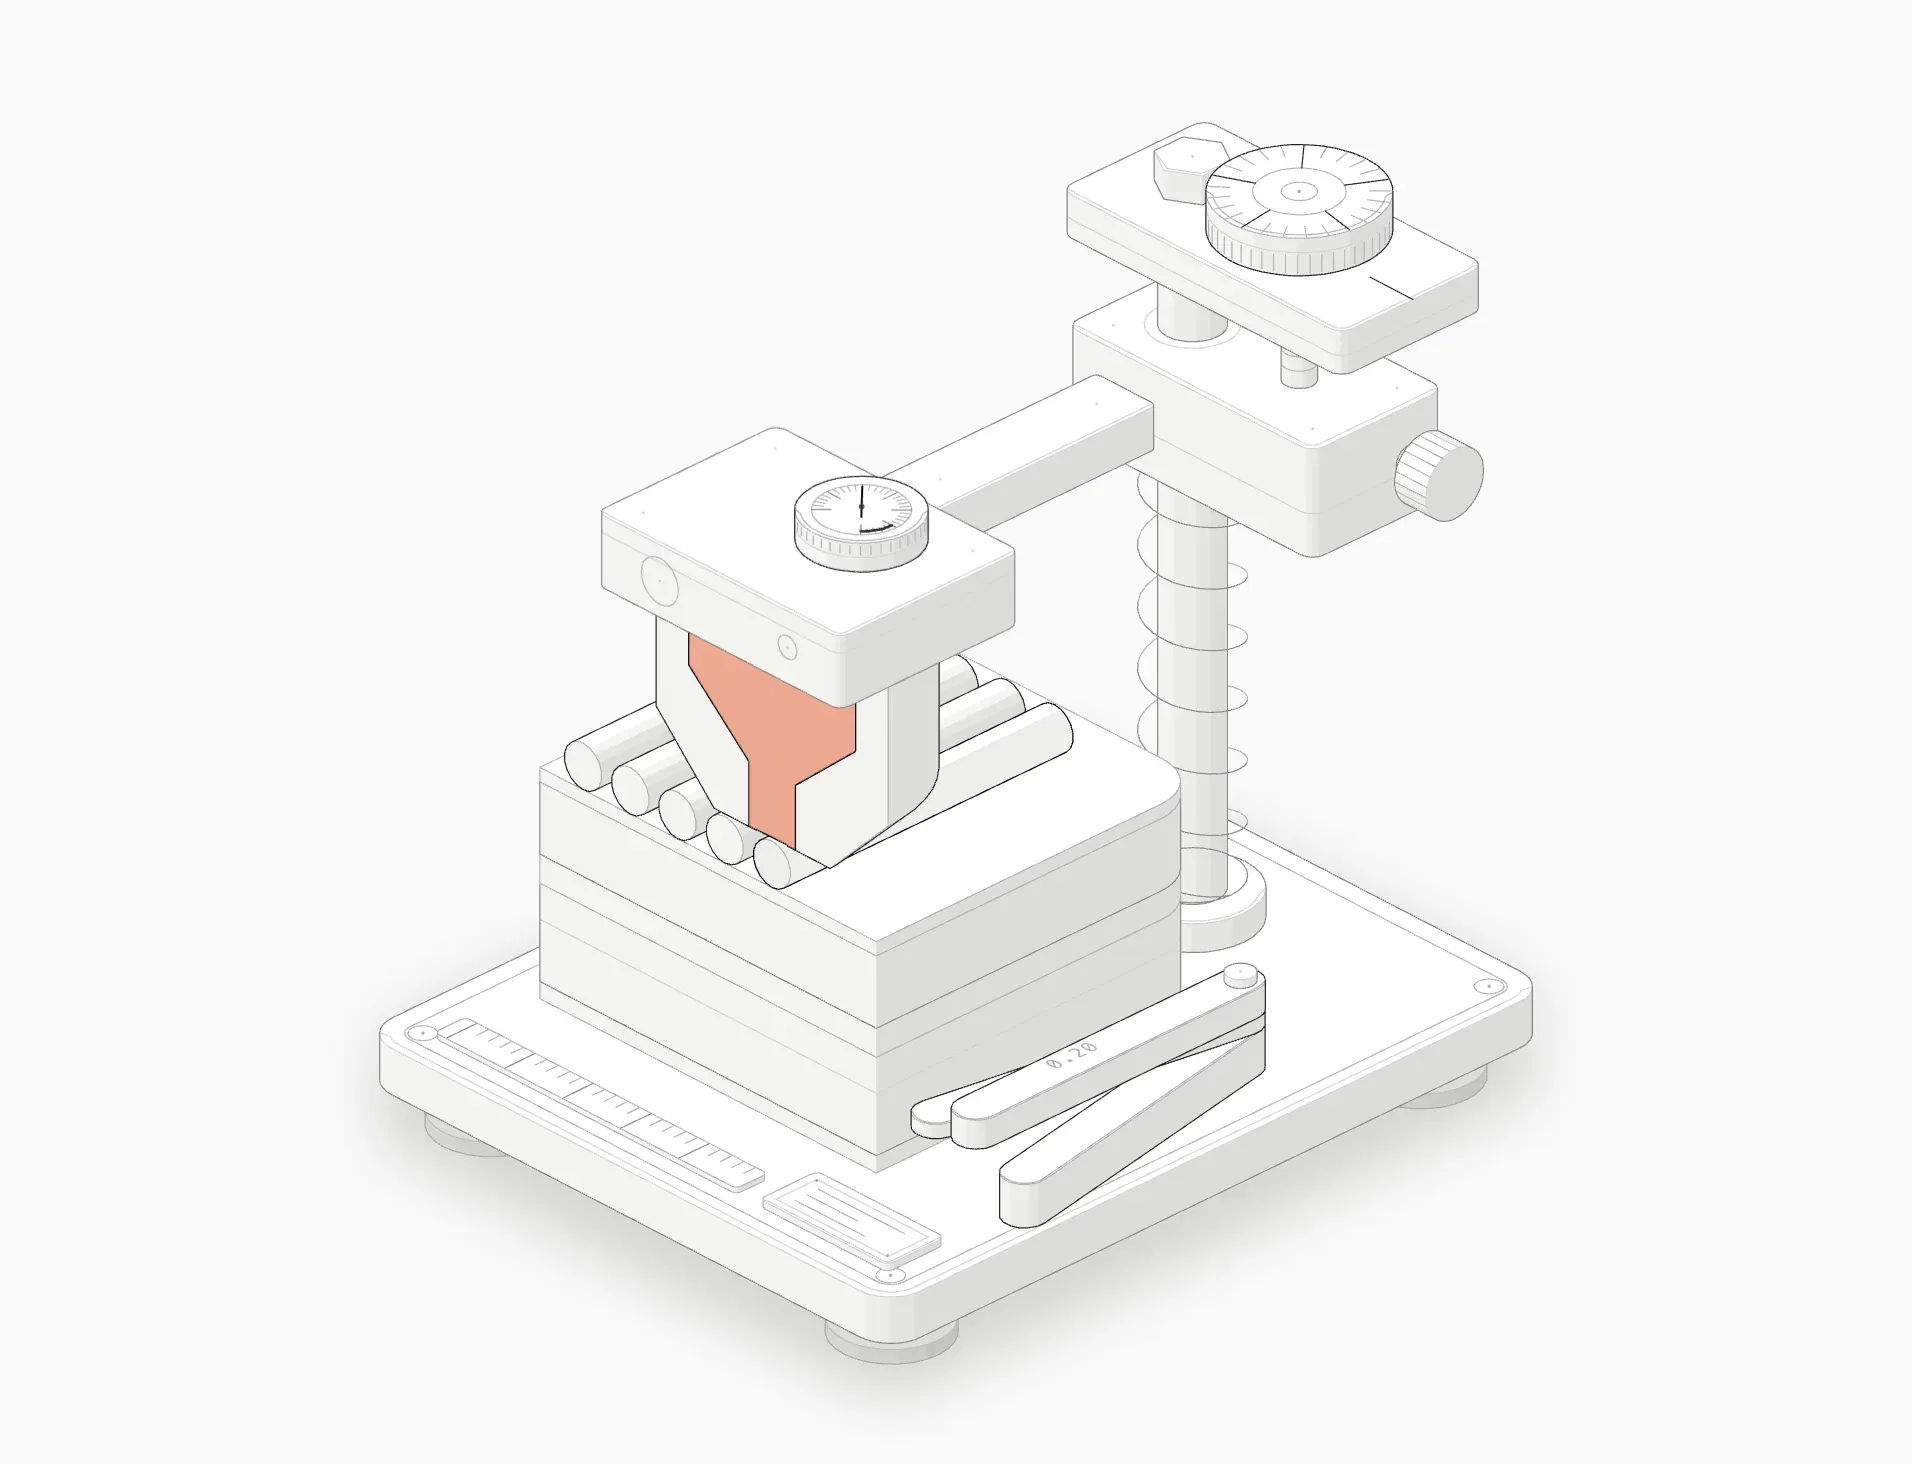 Too high: round lines that don't touch or stick.
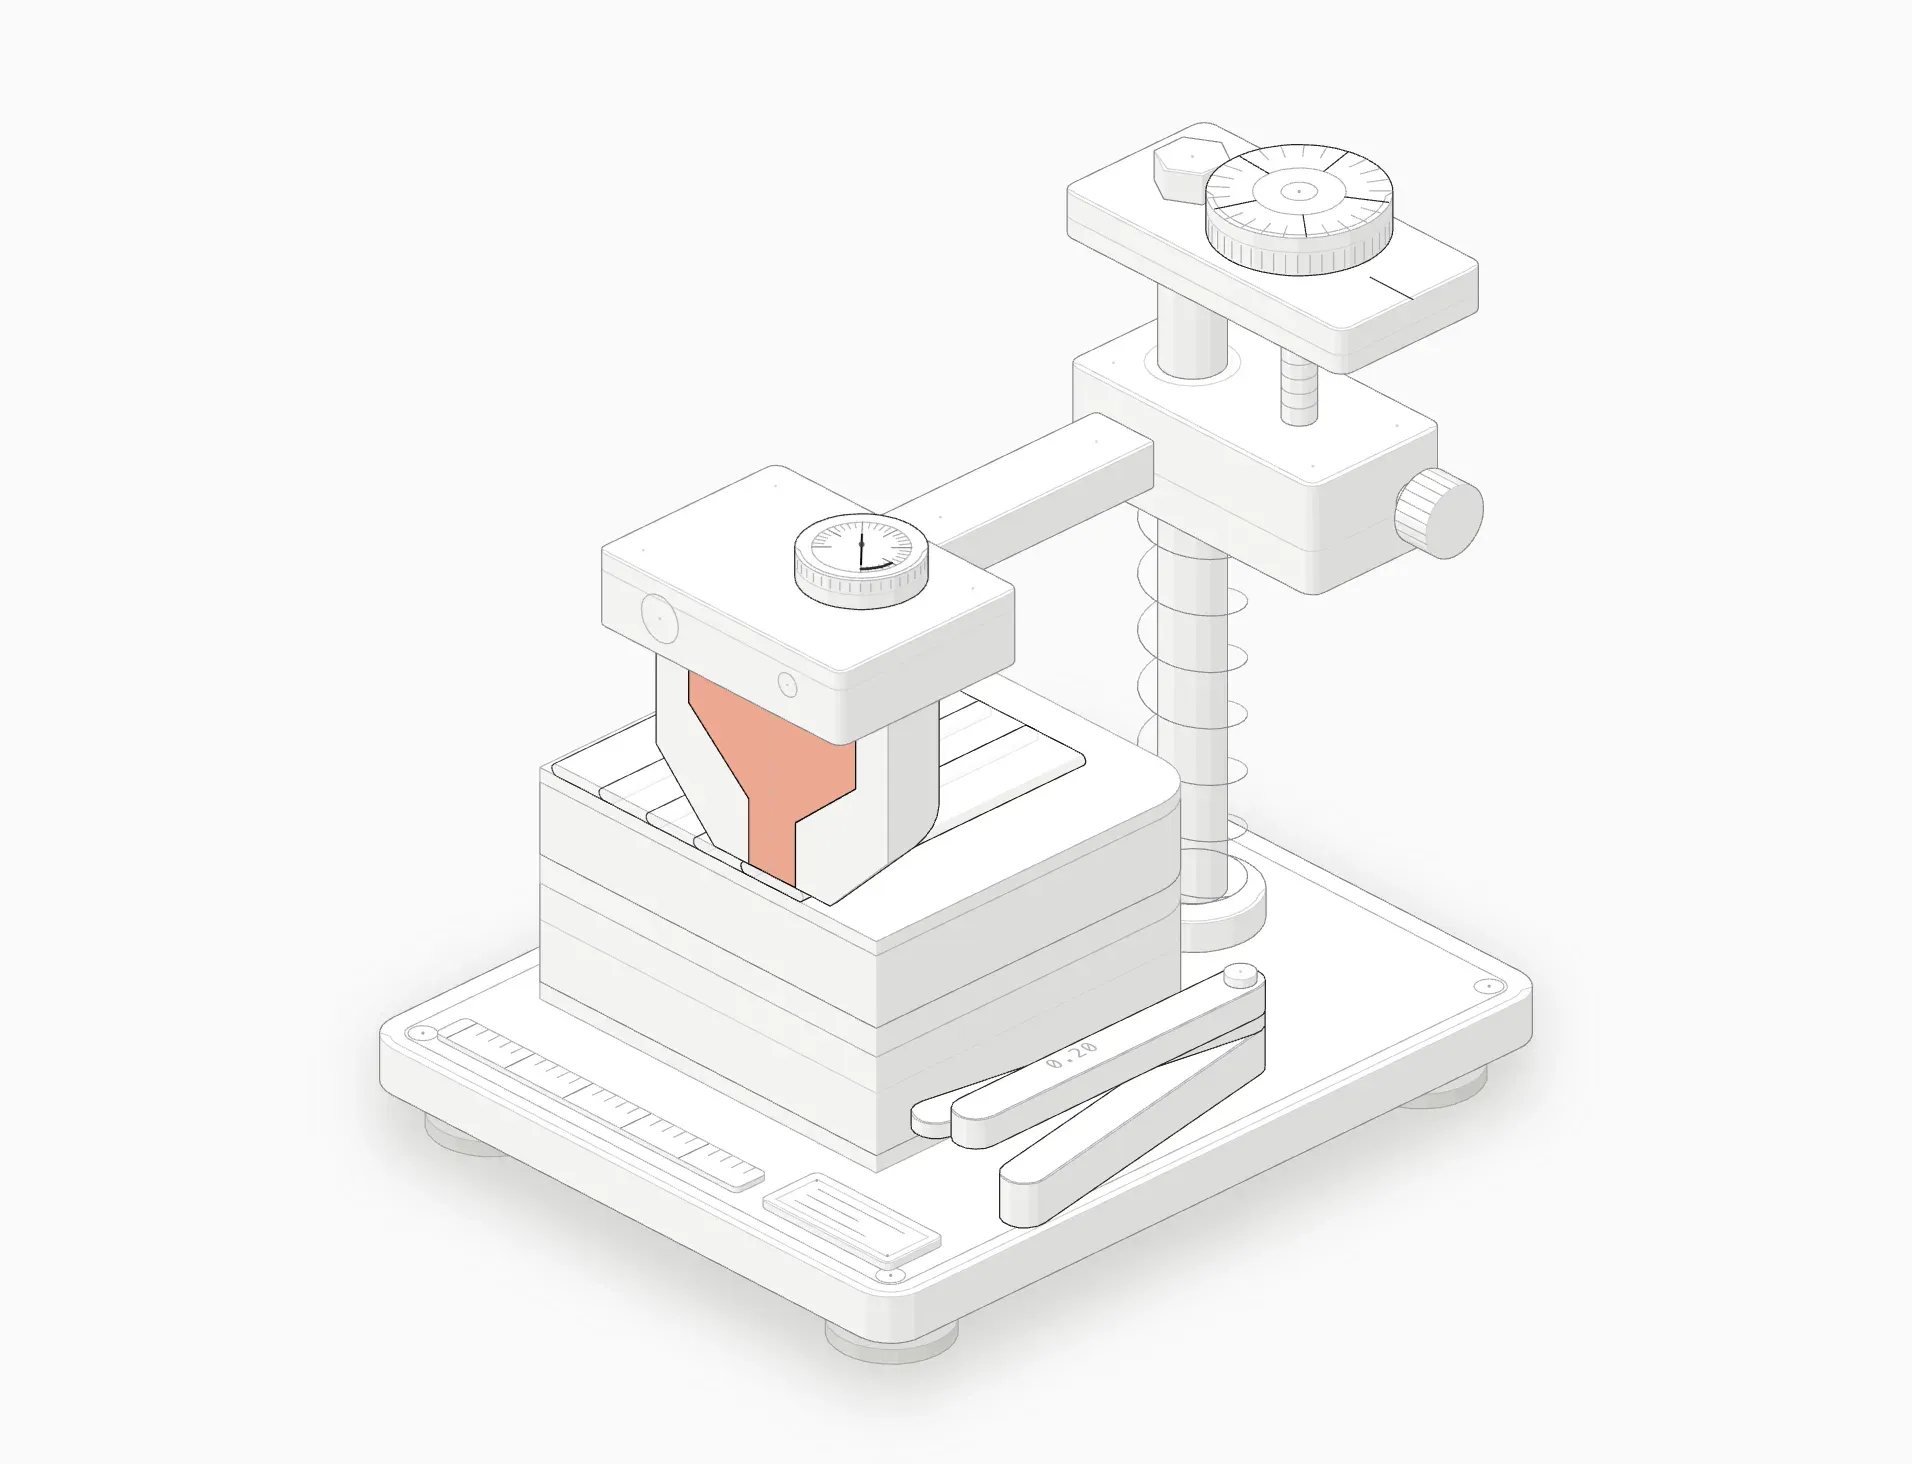 Too low: lines squashed thin, and the extruder struggles.
The electronics
- Mainboard. The printer’s brain. It runs the firmware (Marlin, Klipper or a manufacturer’s own) and drives the motors and heaters.
- Power supply. Converts mains power to 24 V for the motors and heaters.
- Display or app. Starts prints, shows progress, and lets you change settings.
- Filament runout sensor. Pauses the print when the spool runs out, so you can load a new one and carry on.
Signs it’s failing:
- Thermal runaway or heating errors: a loose thermistor or heater wire, not usually the board.
- Random resets or freezes: a weak power supply, loose cable, or a corrupt file on the storage card.
- A motor that buzzes but doesn’t move: a loose connector or a failed driver.
Upgrade worth it? A quieter mainboard with silent stepper drivers is a nice upgrade on older printers. Keep the firmware updated from the manufacturer; it often fixes bugs and adds safety features.
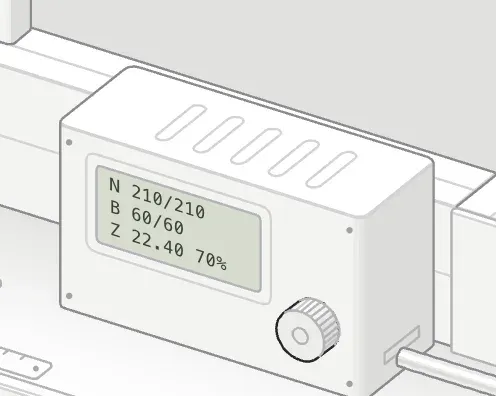 The control box shows nozzle and bed temperature, height and progress.
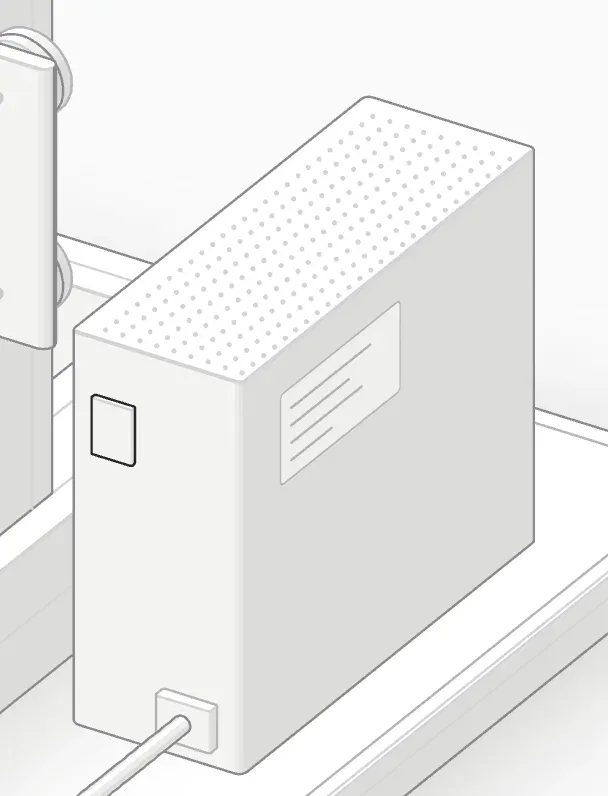 The power supply turns mains power into 24 V for motors and heaters.
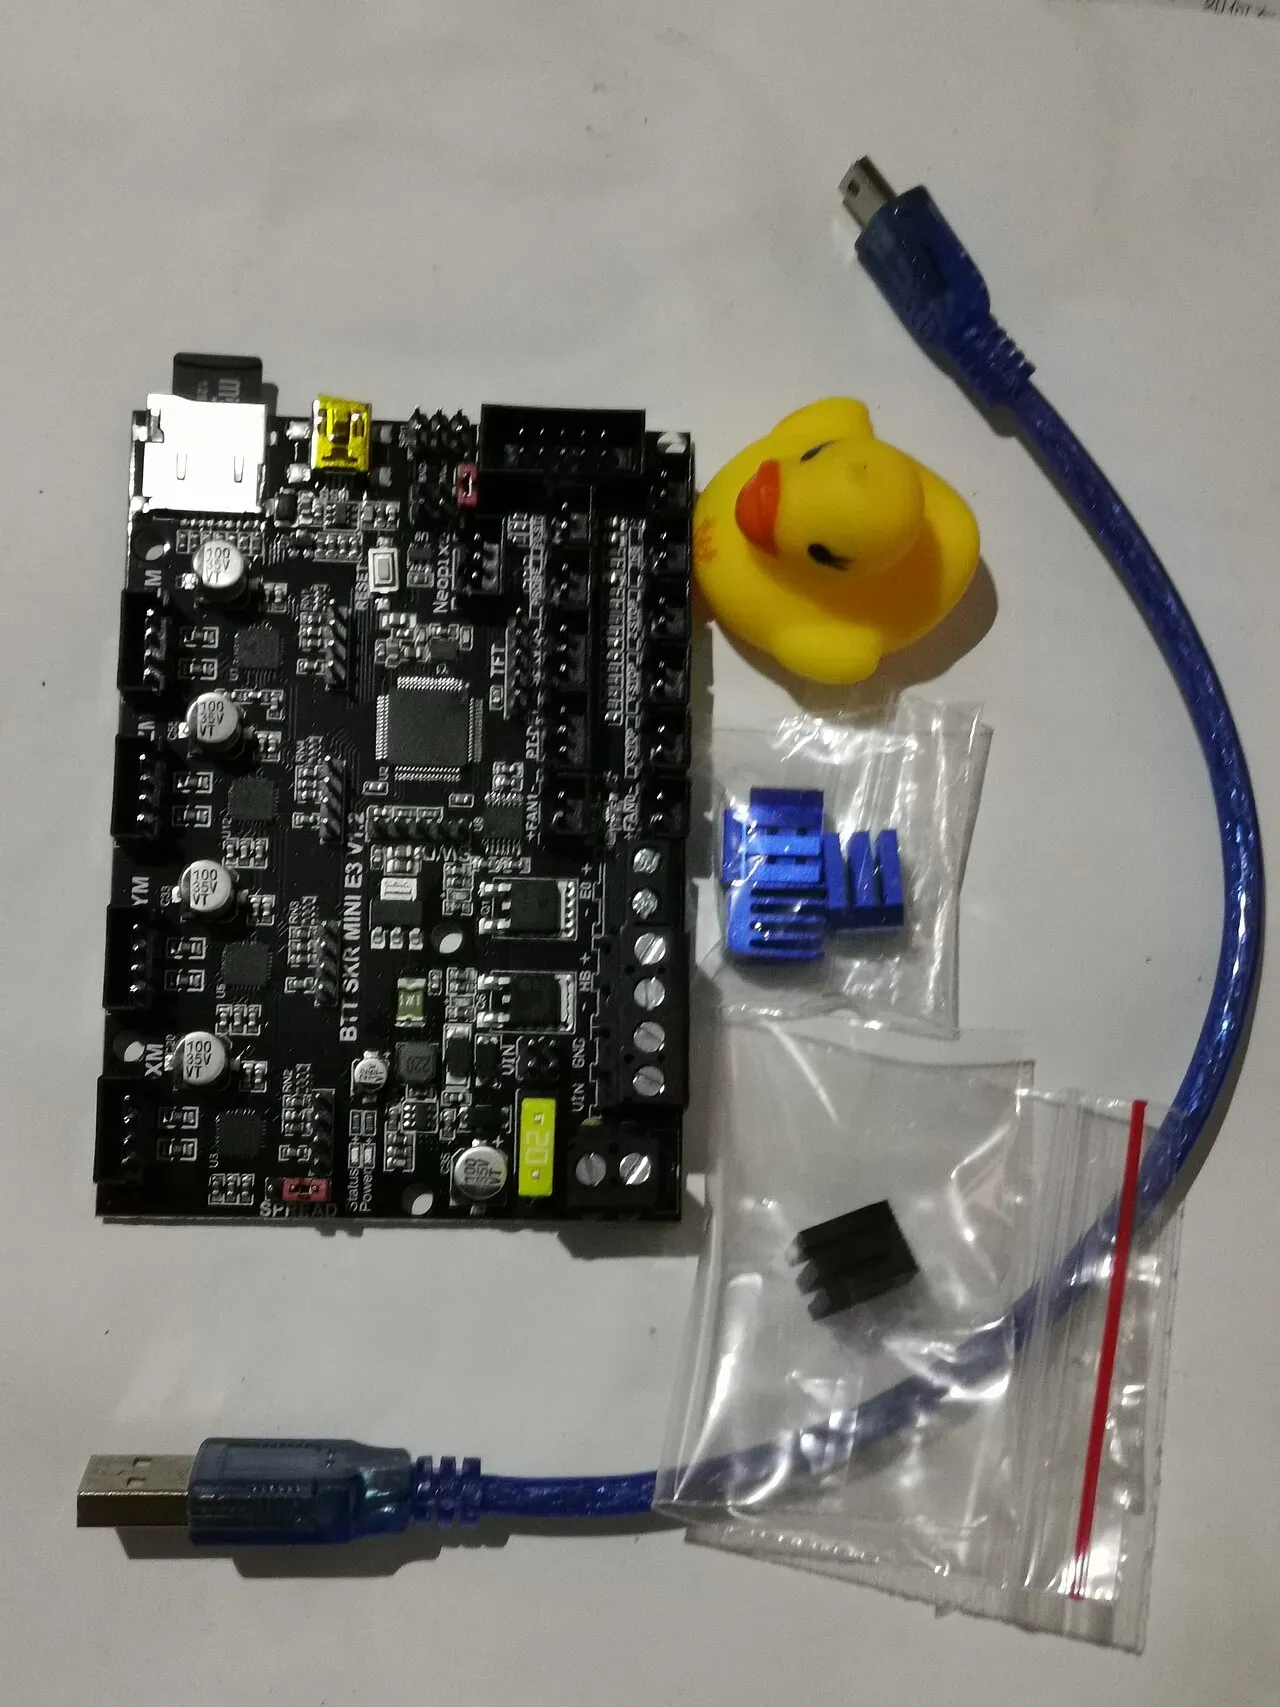 The mainboard: the printer's brain.Photo: kenming Wang ·CC BY-SA 2.0 ·Wikimedia Commons
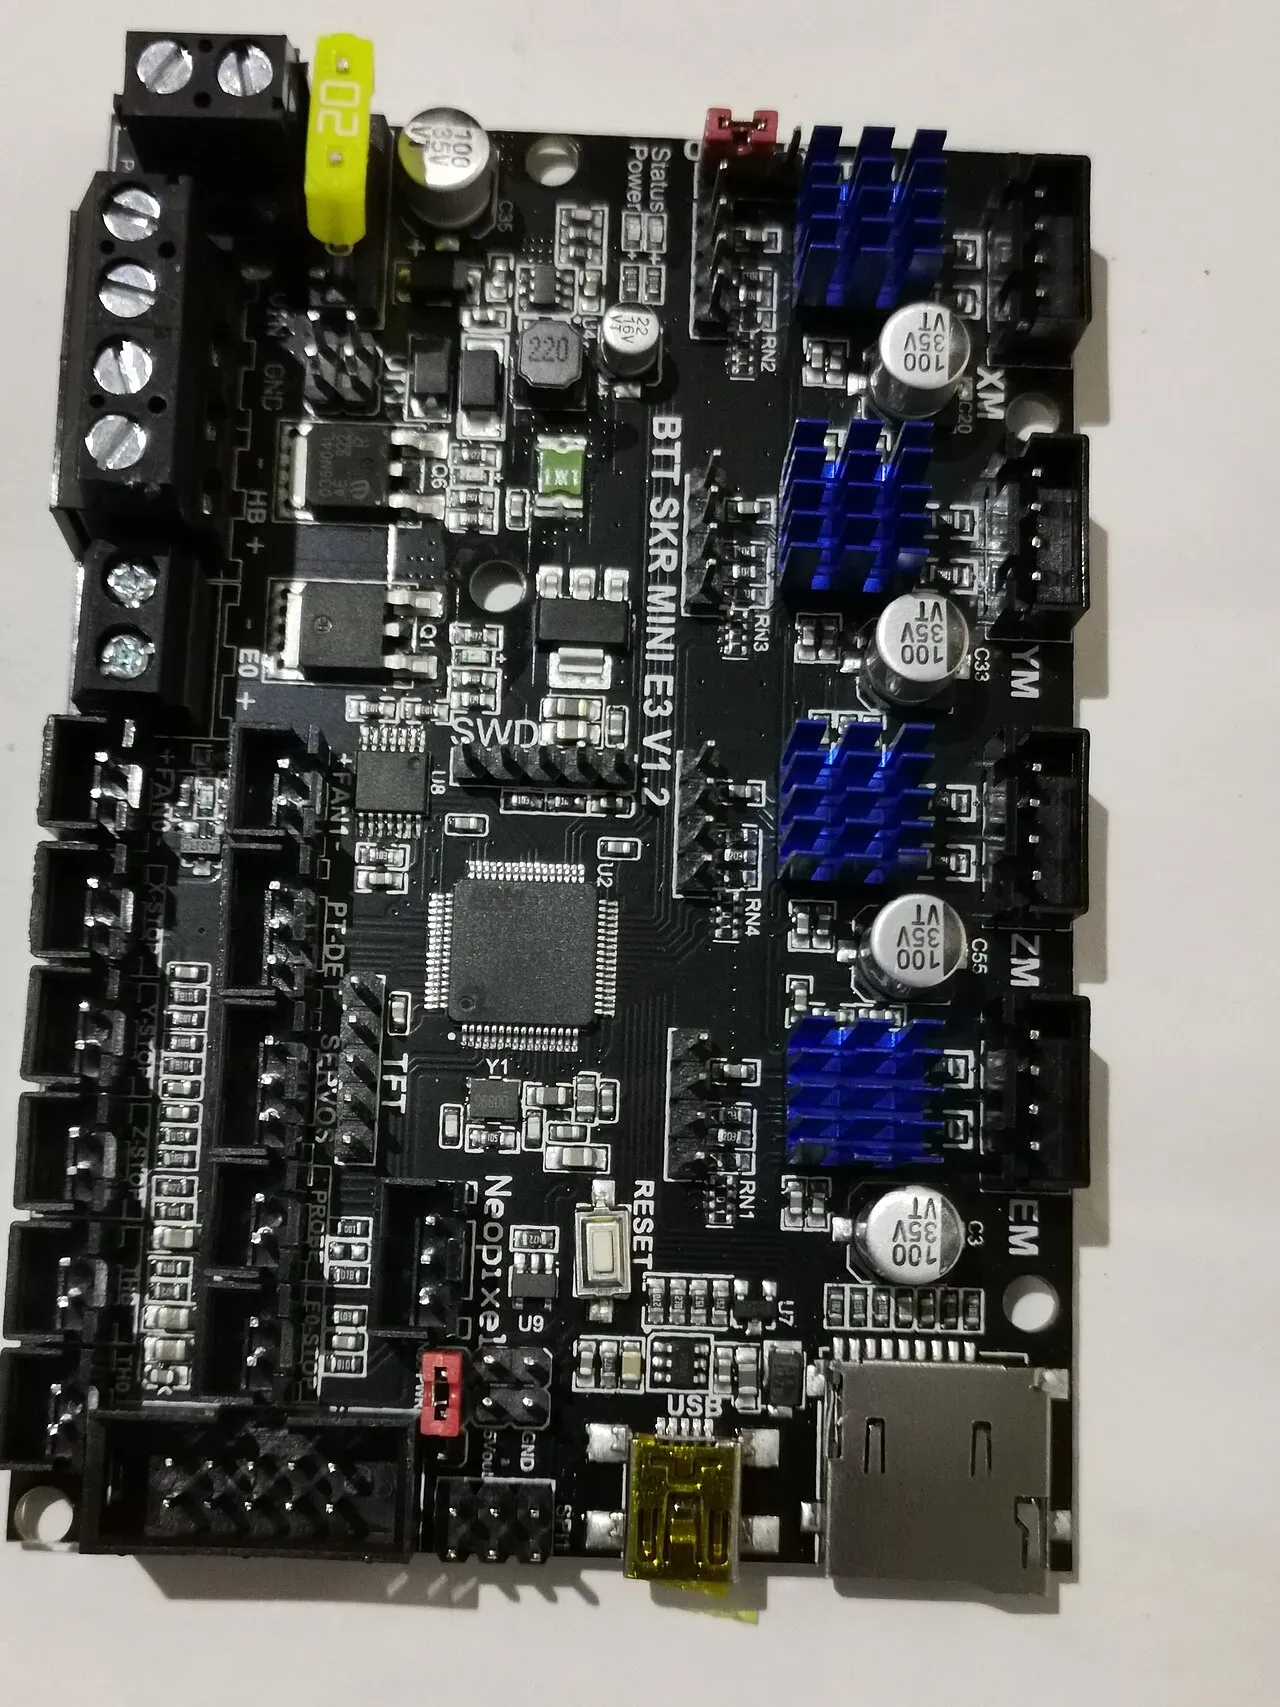 Stepper drivers on the mainboard, one per motor.Photo: kenming Wang ·CC BY-SA 2.0 ·Wikimedia Commons
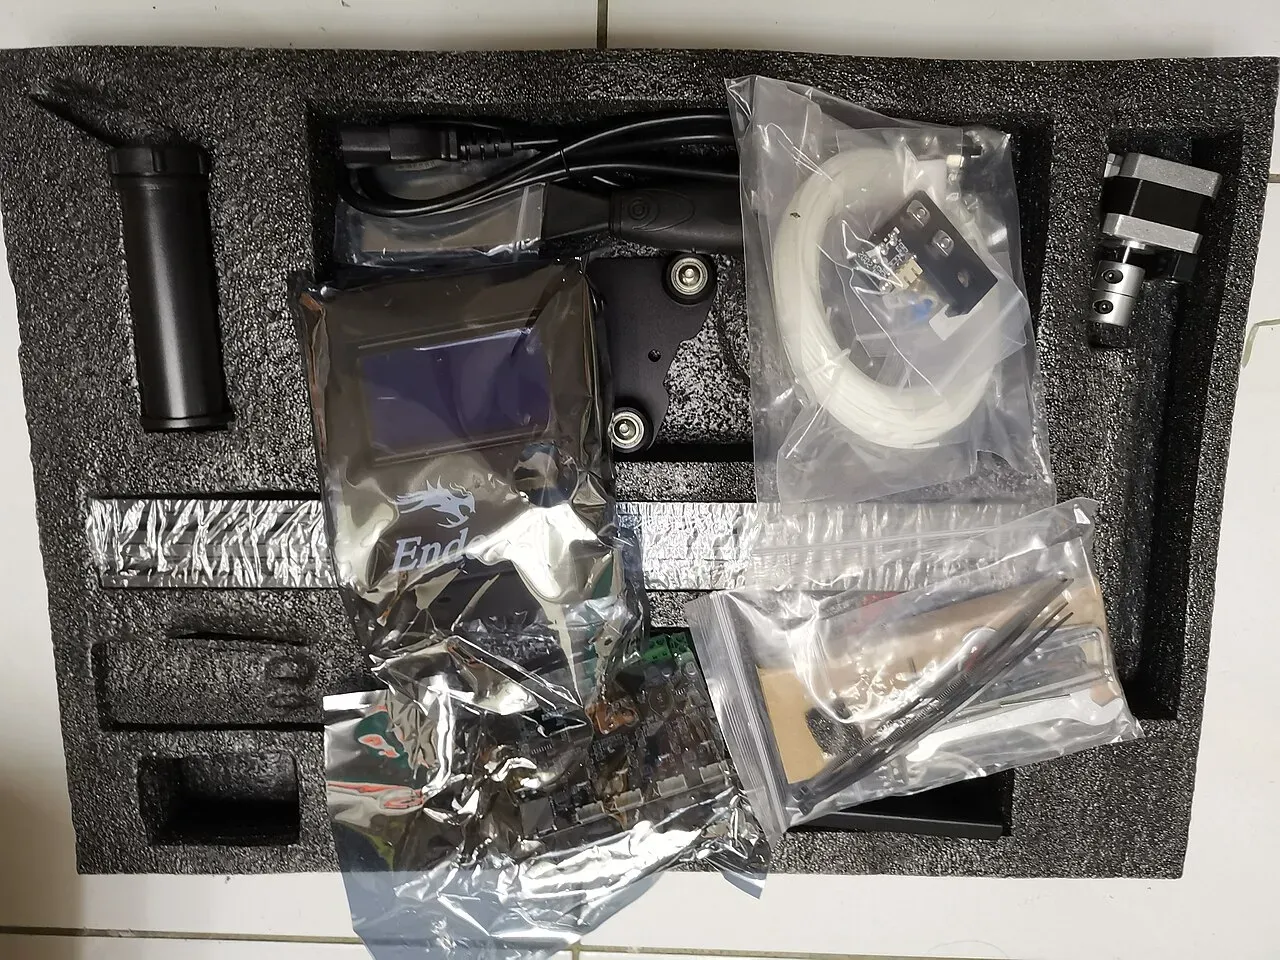 Unboxing a kit printer.Photo: kenming Wang ·CC BY-SA 2.0 ·Wikimedia Commons
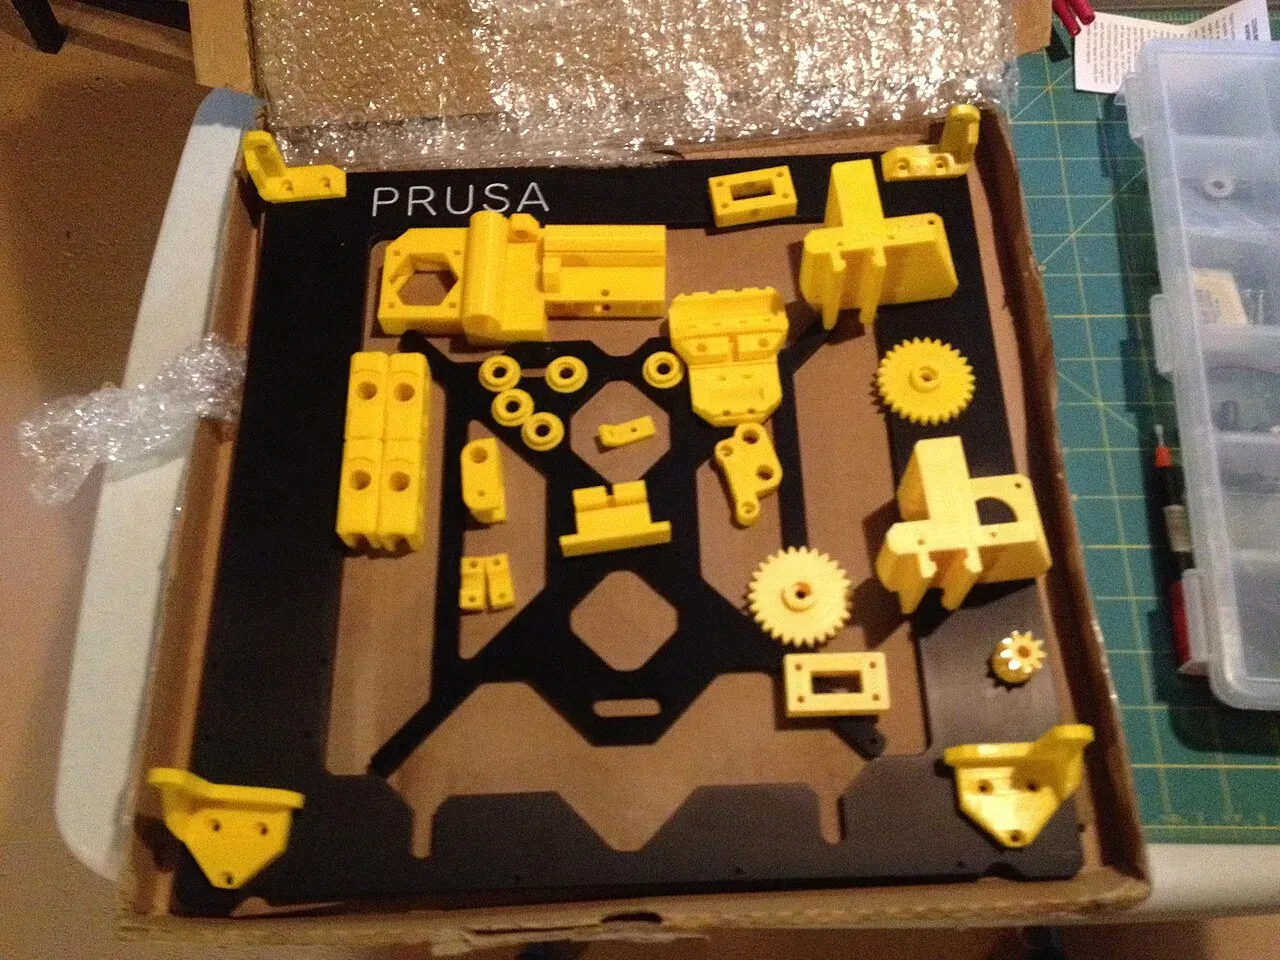 A printer kit: printed parts, frame and hardware.Photo: John Abella ·CC BY 2.0 ·Wikimedia Commons
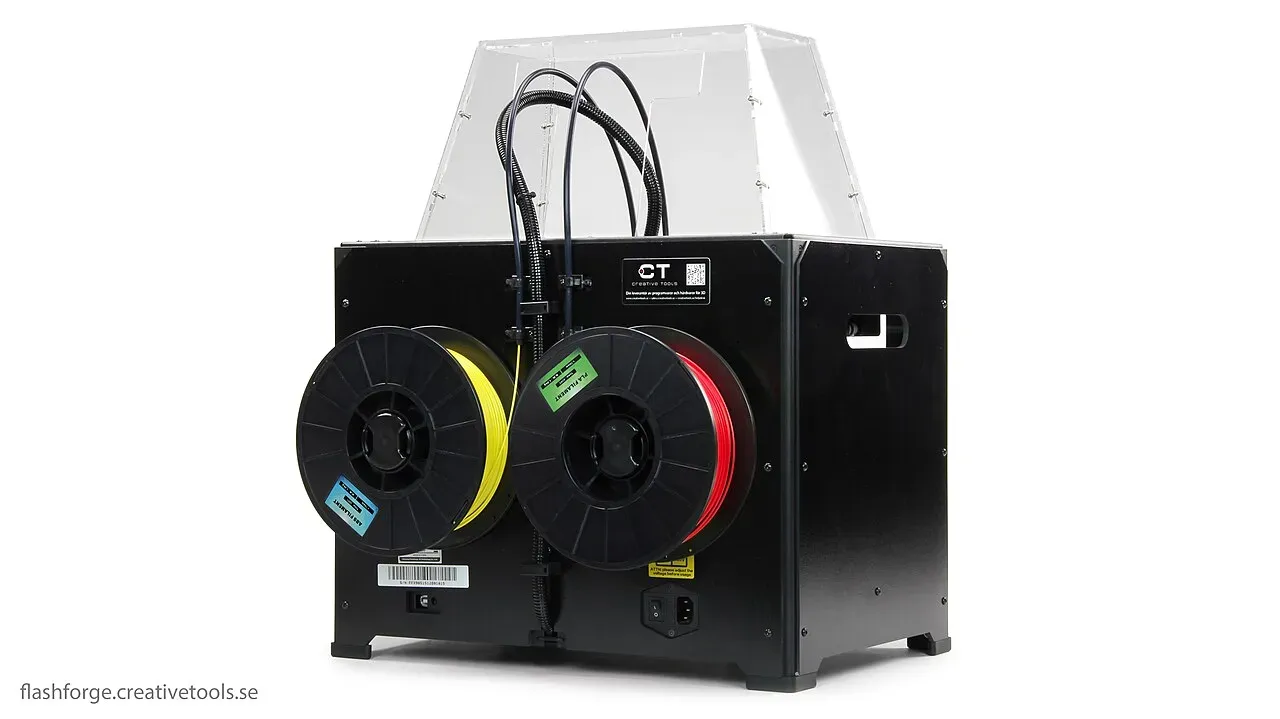 A boxed dual-extrusion printer.Photo: Creative Tools from Halmstad, Sweden ·CC BY 2.0 ·Wikimedia Commons
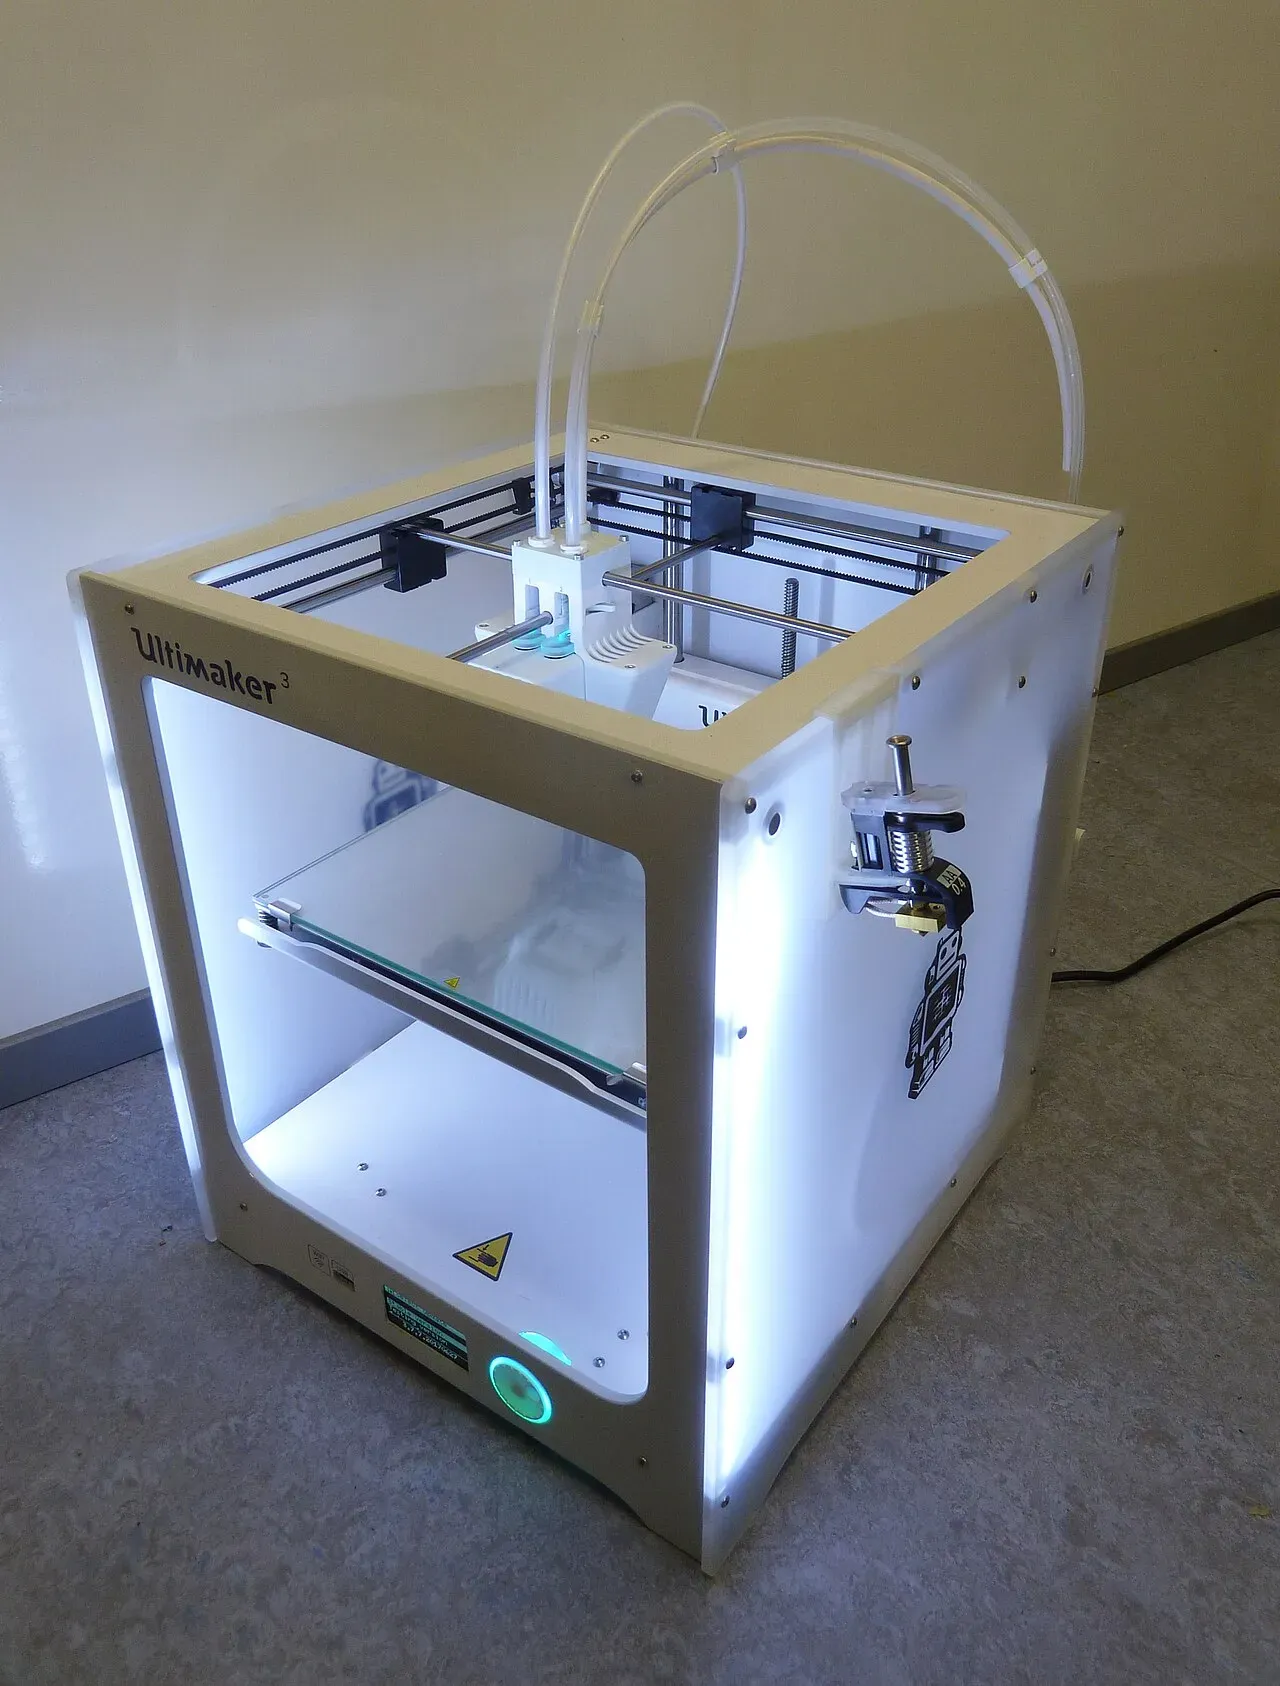 An Ultimaker 3, a boxed desktop printer.Photo: DirkvdM ·CC BY-SA 4.0 ·Wikimedia Commons
How the parts work together
- The slicer sends G-code to the mainboard.
- The mainboard heats the bed and hotend, then homes the axes.
- The probe maps the bed.
- The extruder pushes filament into the hotend while the motion system draws the first layer.
- The part cooling fan sets each line as it’s laid down.
- Z rises one layer height, and it repeats.
Once you can picture this sequence, troubleshooting gets much easier. Stringing, for example, happens when the hotend oozes plastic while the motion system travels between parts. See how to fix stringing for the fix.
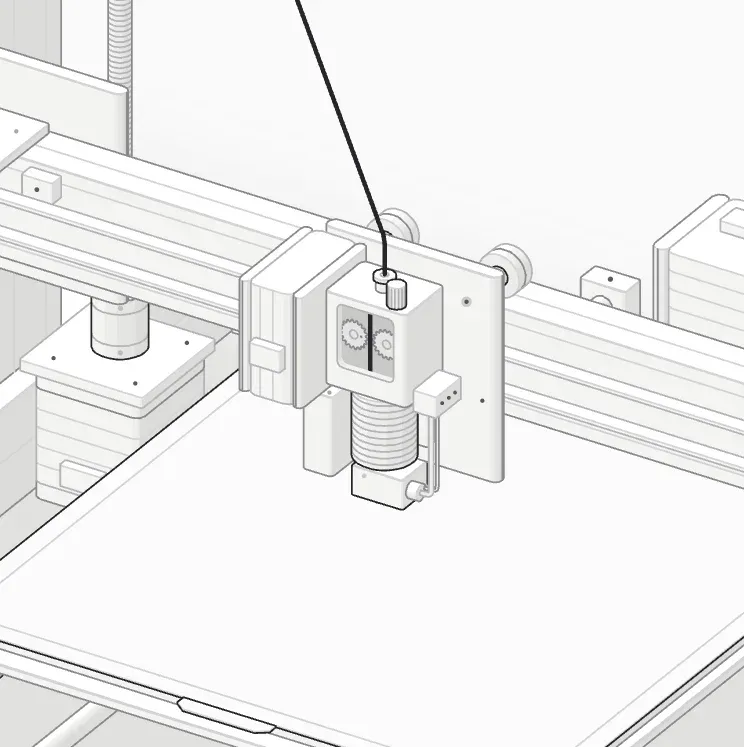 Layer 1 of 225, z 0.2 mm.
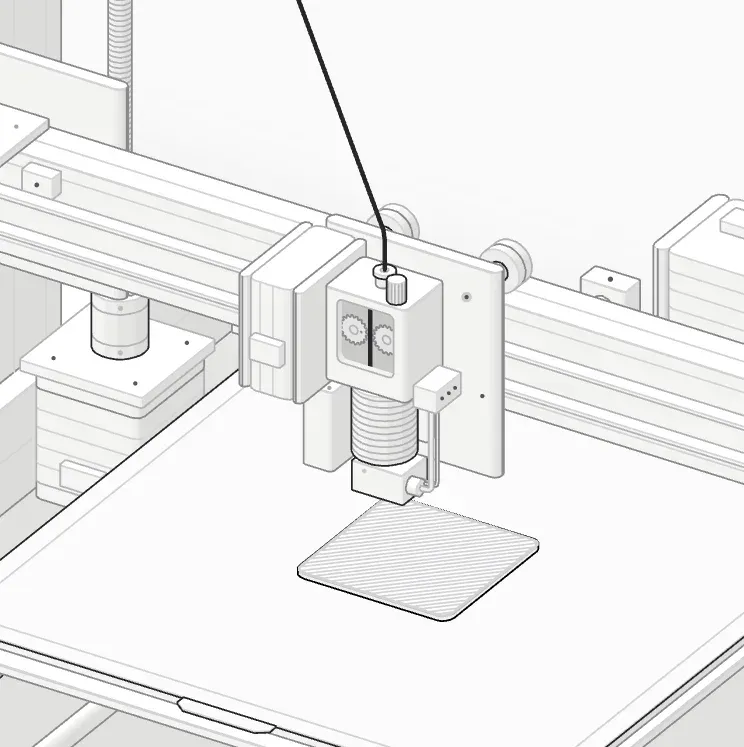 Layer 10 of 225, z 2.0 mm.
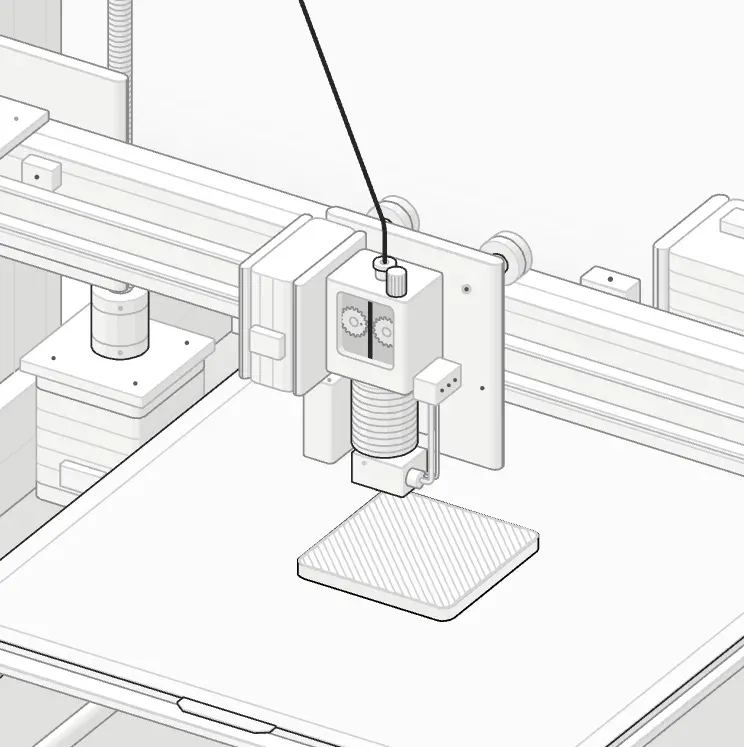 Layer 25 of 225, z 5.0 mm.
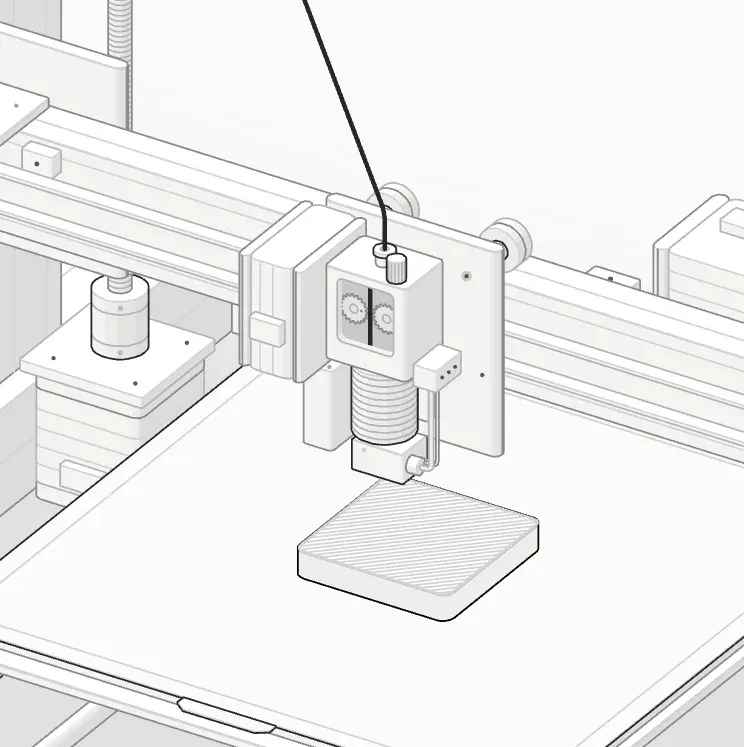 Layer 50 of 225, z 10.0 mm.
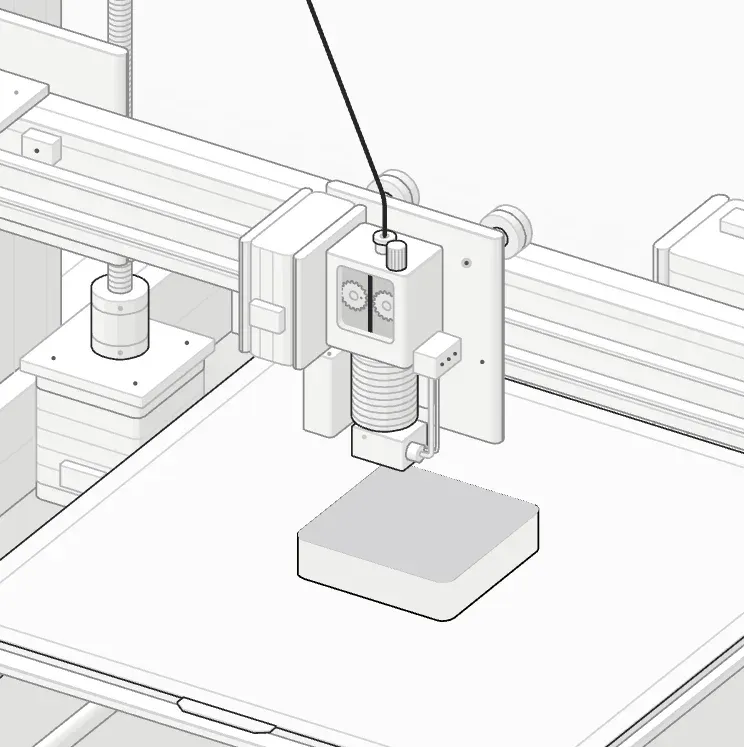 Layer 75 of 225, z 15.0 mm.
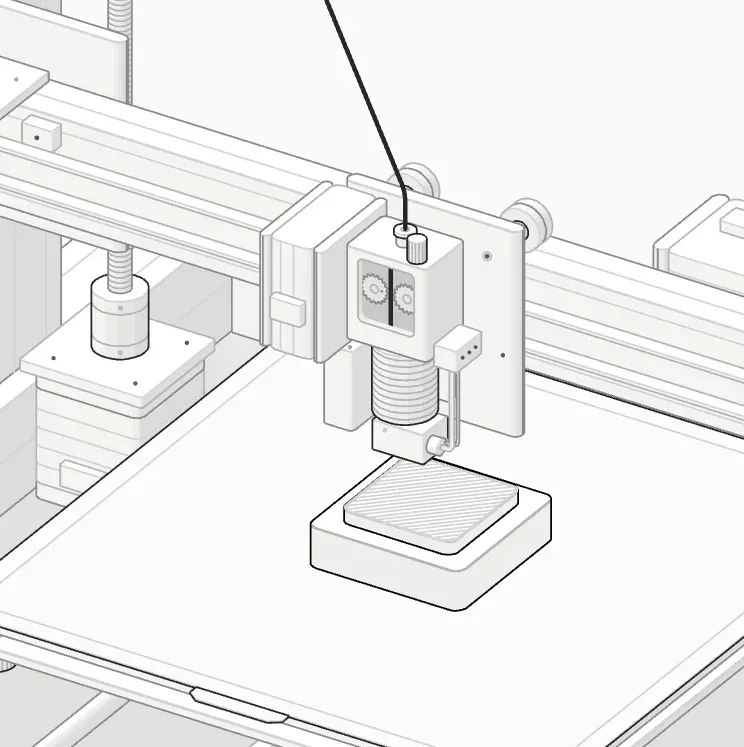 Layer 100 of 225, z 20.0 mm.
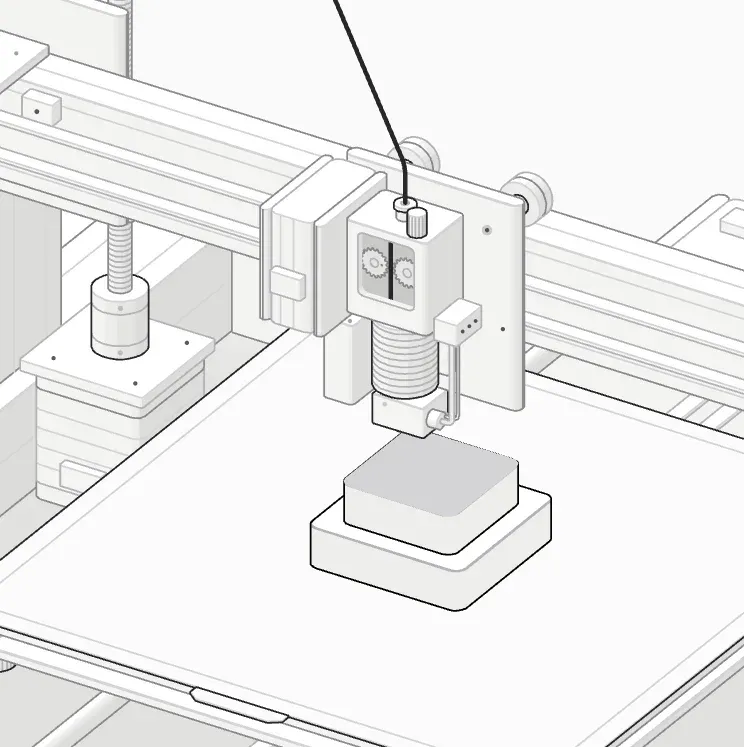 Layer 150 of 225, z 30.0 mm.
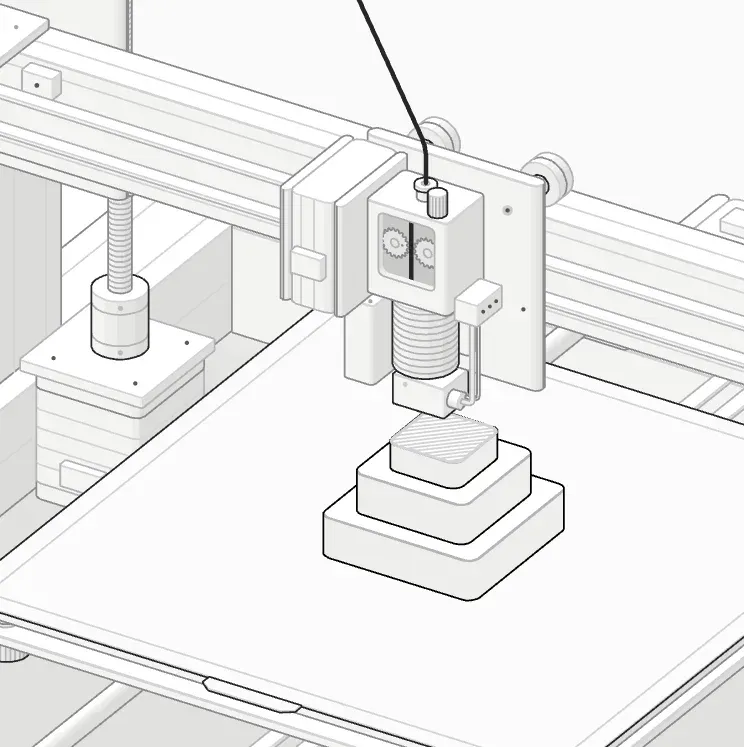 Layer 200 of 225, z 40.0 mm.
 Layer 225 of 225, z 45.0 mm.
Maintenance checklist
| Part | What to check | How often |
|---|---|---|
| Build plate | Clean with isopropyl alcohol; no fingerprints | Every few prints |
| Nozzle | Wipe off plastic with a brass brush while hot | Every few prints |
| Hotend fan | Spins freely, no dust or strings in it | Monthly |
| Belts | Firm, not slack; no frayed teeth | Monthly |
| V-wheels or rails | No wobble; clean rails | Monthly |
| Lead screws | Clean, lightly lubricated if the maker says so | Every few months |
| Frame bolts | Tight, frame square | Every few months |
| Extruder gears | No filament dust packed in the teeth | Every few months |
| Firmware | Updated from the manufacturer | When a new version is released |
FAQ
What is the most important part of a 3D printer?
The hotend and extruder together, because they decide how much plastic comes out and how well it melts. Most print-quality problems start there, followed by the first layer on the build plate.
What’s the difference between the hotend and the extruder?
The extruder pushes the filament; the hotend melts it. On a direct drive printer they sit together on the print head, on a Bowden printer they’re joined by a long PTFE tube.
Which parts wear out first?
The nozzle, the build plate surface and the PTFE tube are consumables. Nozzles wear fastest with abrasive filaments, PEI sheets wear in patches over time, and PTFE tubes degrade if run too hot.
Is direct drive better than Bowden?
For beginners, usually yes. Direct drive handles flexible filament and stringing more easily; Bowden keeps the print head lighter, which helps very fast printing.
Do I need a printer with auto bed leveling?
It’s not essential, but it makes a big difference for beginners. It removes most first-layer problems; you still need to set the Z offset once.
Why does my printer need two fans on the print head?
One cools the heatsink so filament doesn’t melt too early (the hotend fan); the other cools the plastic as it’s printed (the part cooling fan). The hotend fan should always run while the hotend is hot.
Related guides
New to printing? Start with the complete beginner’s guide. Then learn to level your bed, set your Z offset and fix stringing.