Nozzle School · Troubleshooting
How to Fix 3D Print Stringing: Every Cause, Every Fix
Why 3D prints get stringy and how to fix it step by step: drying filament, temperature, retraction, travel moves and hardware, with slicer settings.
Stringing is thin wisps of plastic stretched between parts of a print, caused by molten plastic oozing from the nozzle while it travels without printing. You fix it by drying your filament, lowering the nozzle temperature and tuning retraction, in that order, then tidying up travel moves if any strings remain.
This guide covers every cause we know of, how to tell them apart, and the exact settings to change in OrcaSlicer, Bambu Studio, PrusaSlicer and Cura. It works for any FDM printer, direct drive or Bowden.
Quick fix checklist
If you just want clean prints, work down this list and re-print a small stringing test after each change:
- Dry the filament, especially PETG, TPU or a spool that has been open for weeks.
- Lower the nozzle temperature by 5 °C at a time.
- Increase retraction distance in small steps: 0.2 mm for direct drive, 0.5 mm for Bowden.
- Set retraction speed to about 25–45 mm/s.
- Speed up travel moves and turn on avoid crossing walls.
- Turn on wipe, and check the nozzle is clean and not worn.
- Use the right profile for your filament before fine-tuning anything else.
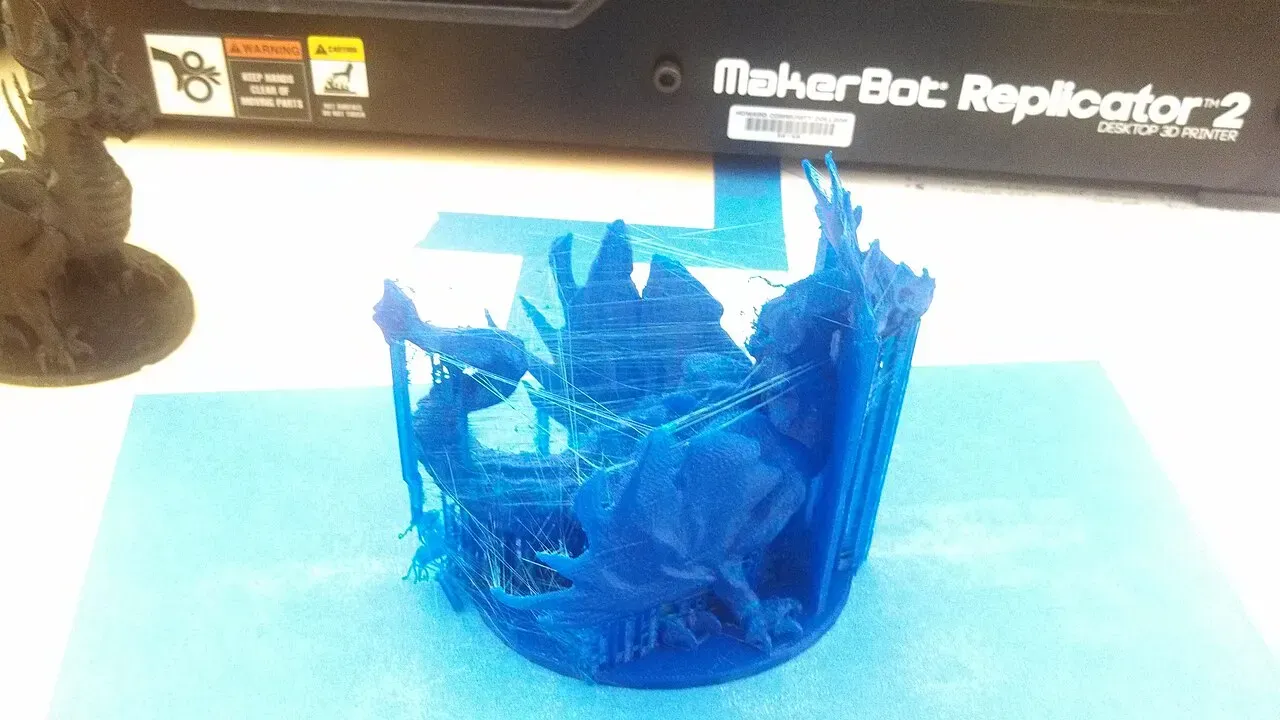 Heavy stringing across a detailed print.Photo: SuperBlobMonster ·CC BY-SA 3.0 ·Wikimedia Commons
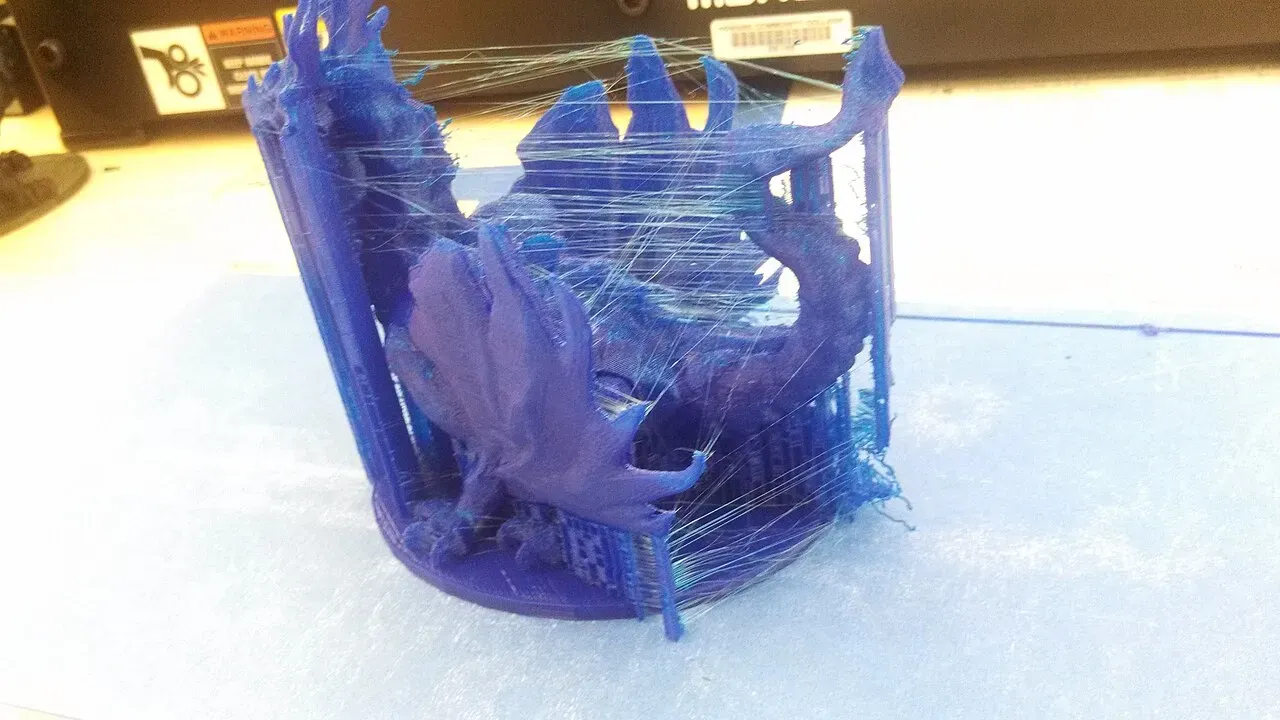 Close up: strings stretched between every travel move.Photo: SuperBlobMonster ·CC BY-SA 3.0 ·Wikimedia Commons
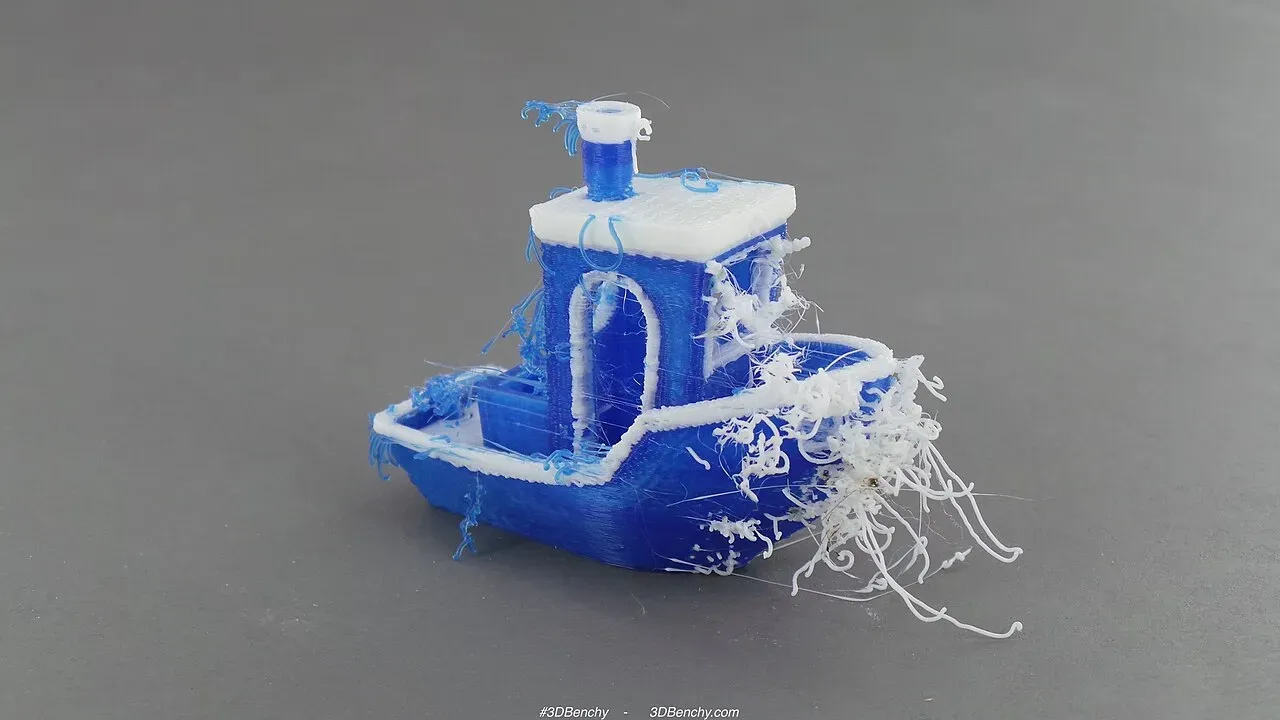 Stringing on a two-colour Benchy, where travel moves cross open air.Photo: 3DBenchy ·CC BY 2.0 ·Wikimedia Commons
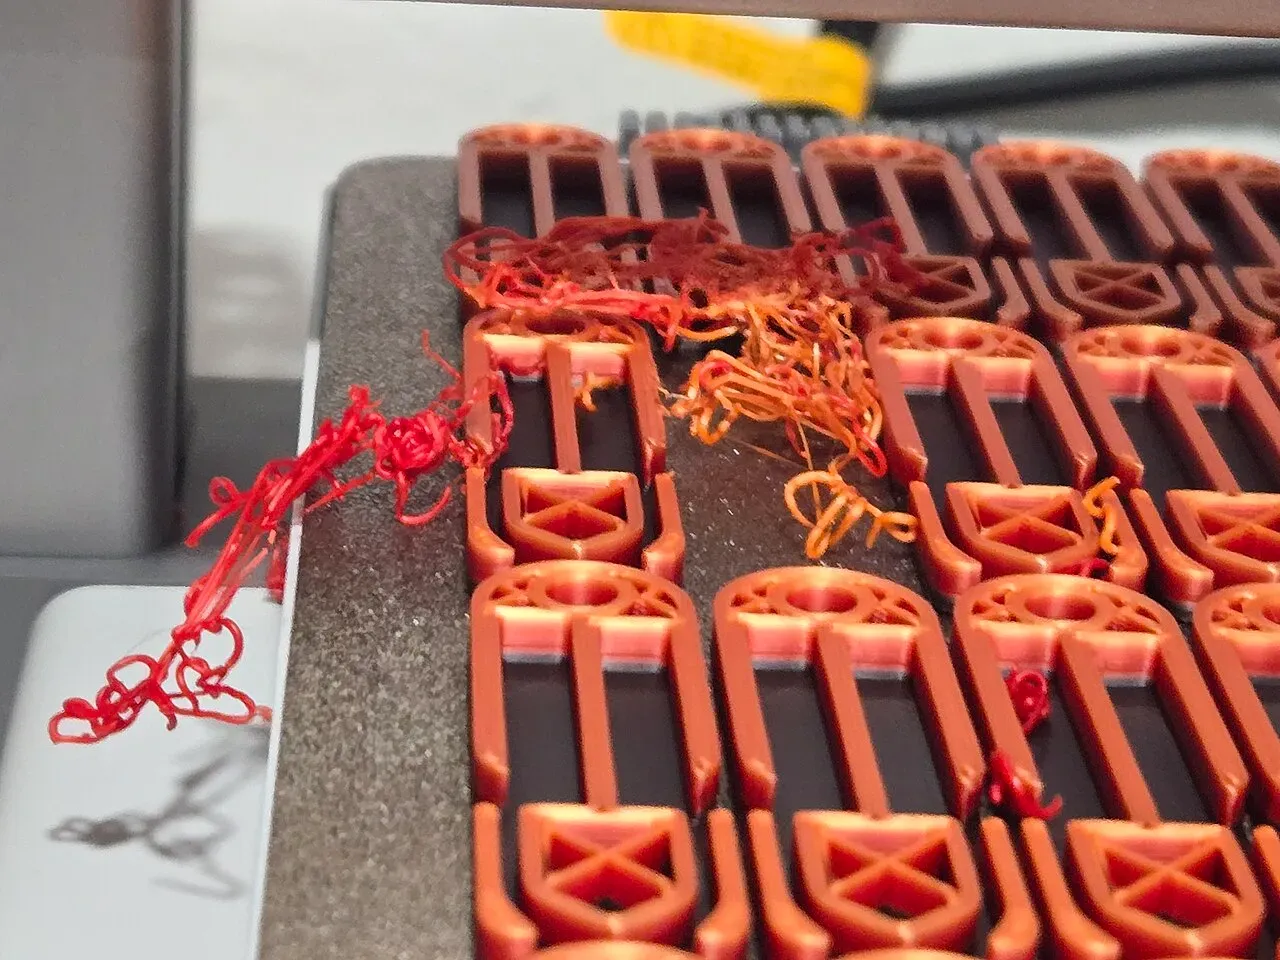 Strings and blobs across a full plate of parts.Photo: Quinn Daedal ·CC BY-SA 4.0 ·Wikimedia Commons
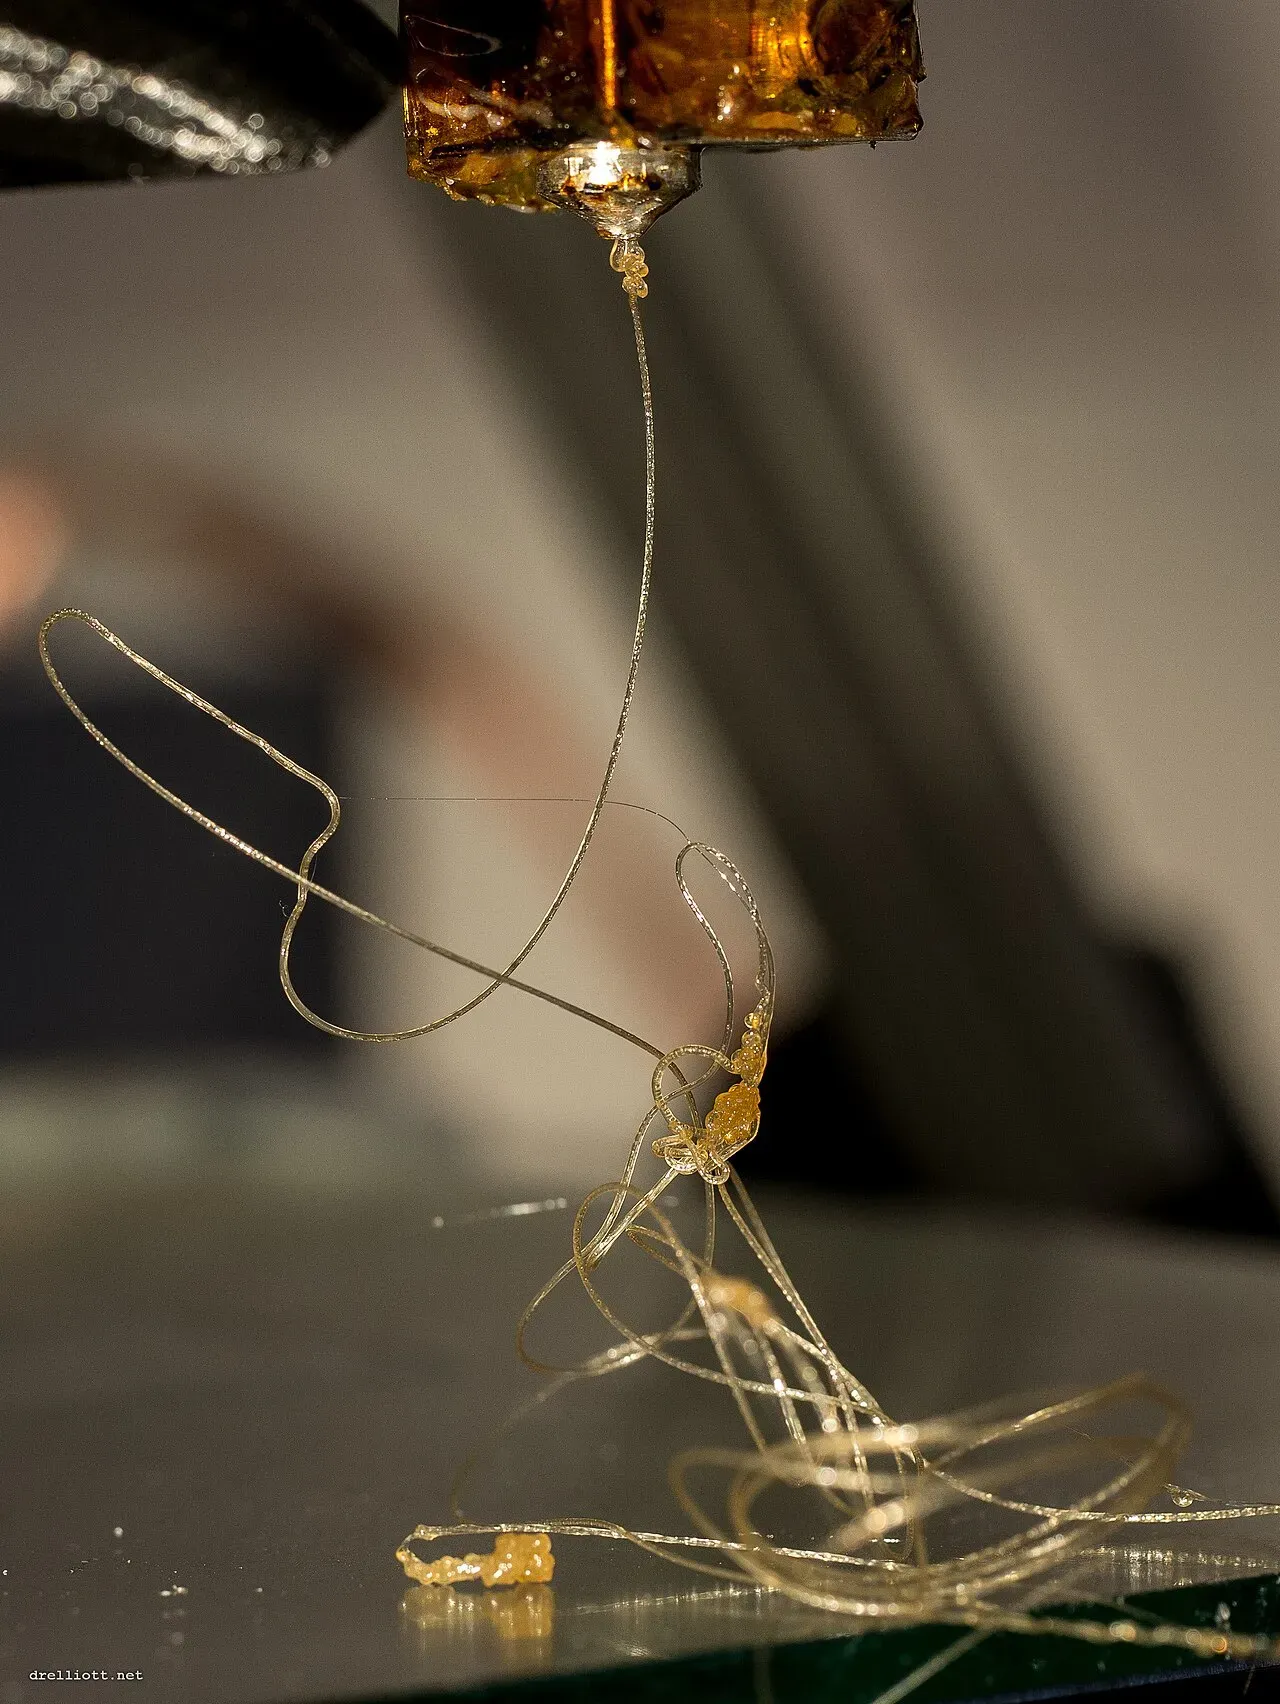 A thin strand pulled from the nozzle: where strings begin.Photo: David Elliott from UK ·CC BY 2.0 ·Wikimedia Commons
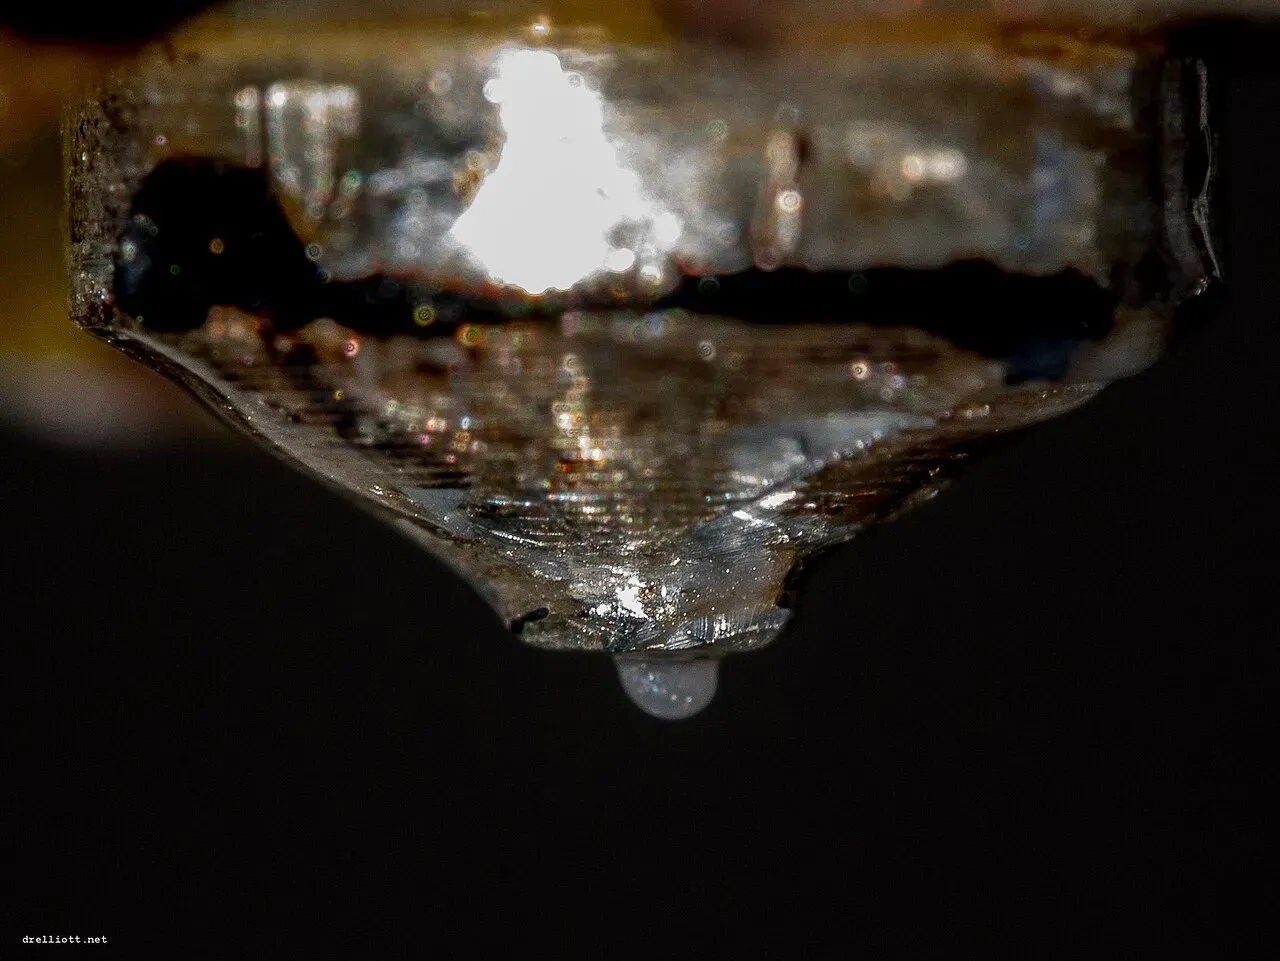 Ooze: a drop of molten plastic forming at the nozzle.Photo: David Elliott from UK ·CC BY 2.0 ·Wikimedia Commons
What is stringing?
Stringing (also called oozing, whiskers or “hairy prints”) is fine threads of plastic left between separate parts of a print. It happens on travel moves: when the nozzle finishes one area and moves to another without printing, a little molten plastic leaks out and stretches into a thread as the nozzle pulls away.
Stringing, oozing and blobs are related but different
- Stringing: thin threads crossing open air between two parts of the model.
- Oozing: plastic leaking from the nozzle while it isn’t printing. Oozing is the cause of stringing; it also shows up as a drip before the print starts.
- Blobs and zits: small lumps on the surface of the part, usually where a layer starts and ends (the seam). They come from retraction and restart settings too, but they’re a separate fault.
- Spaghetti: a mess of loose filament from a print that came loose from the bed. That’s a bed adhesion problem, not stringing.
- Ooze: a drop of molten plastic forming at the nozzle.Photo: David Elliott from UK ·CC BY 2.0 ·Wikimedia Commons
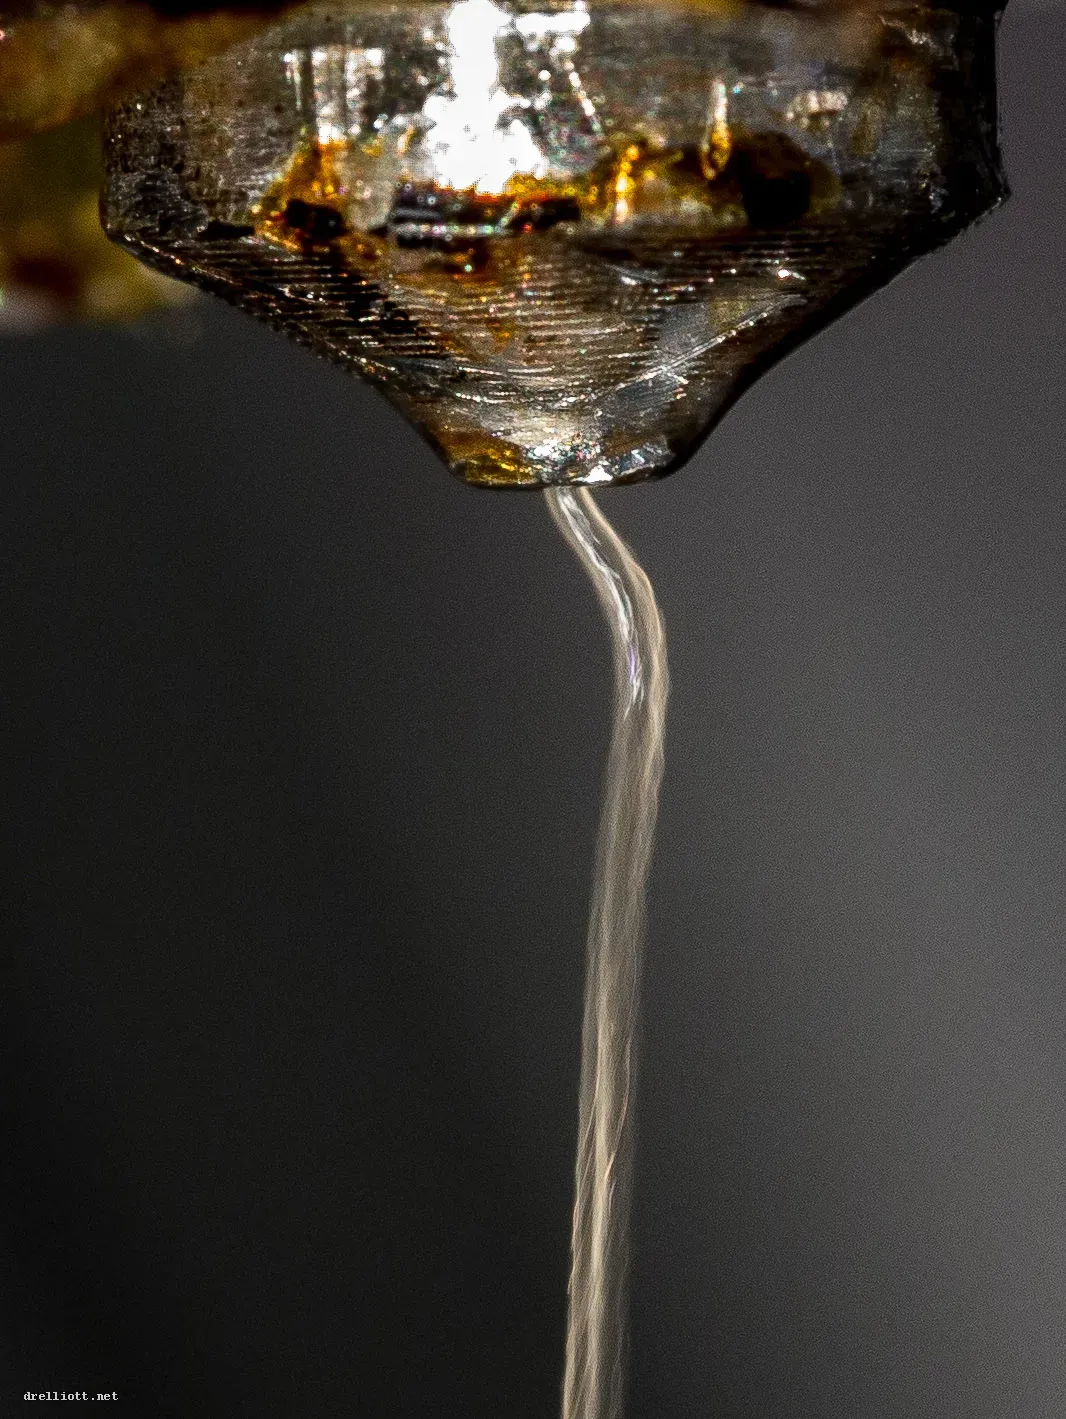 Molten plastic leaving the nozzle.Photo: David Elliott from UK ·CC BY 2.0 ·Wikimedia Commons
- Strings and blobs across a full plate of parts.Photo: Quinn Daedal ·CC BY-SA 4.0 ·Wikimedia Commons
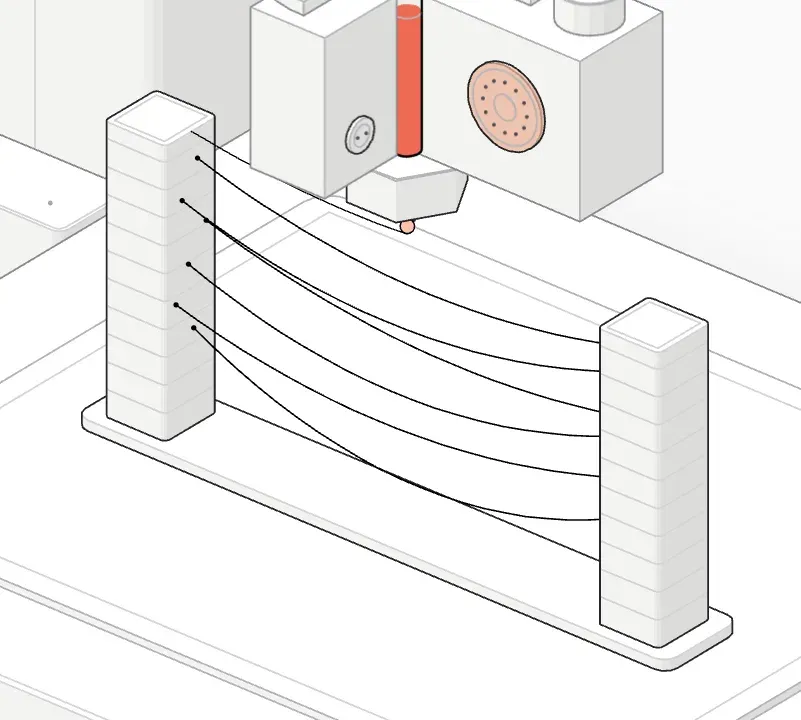 No retraction: many strings.
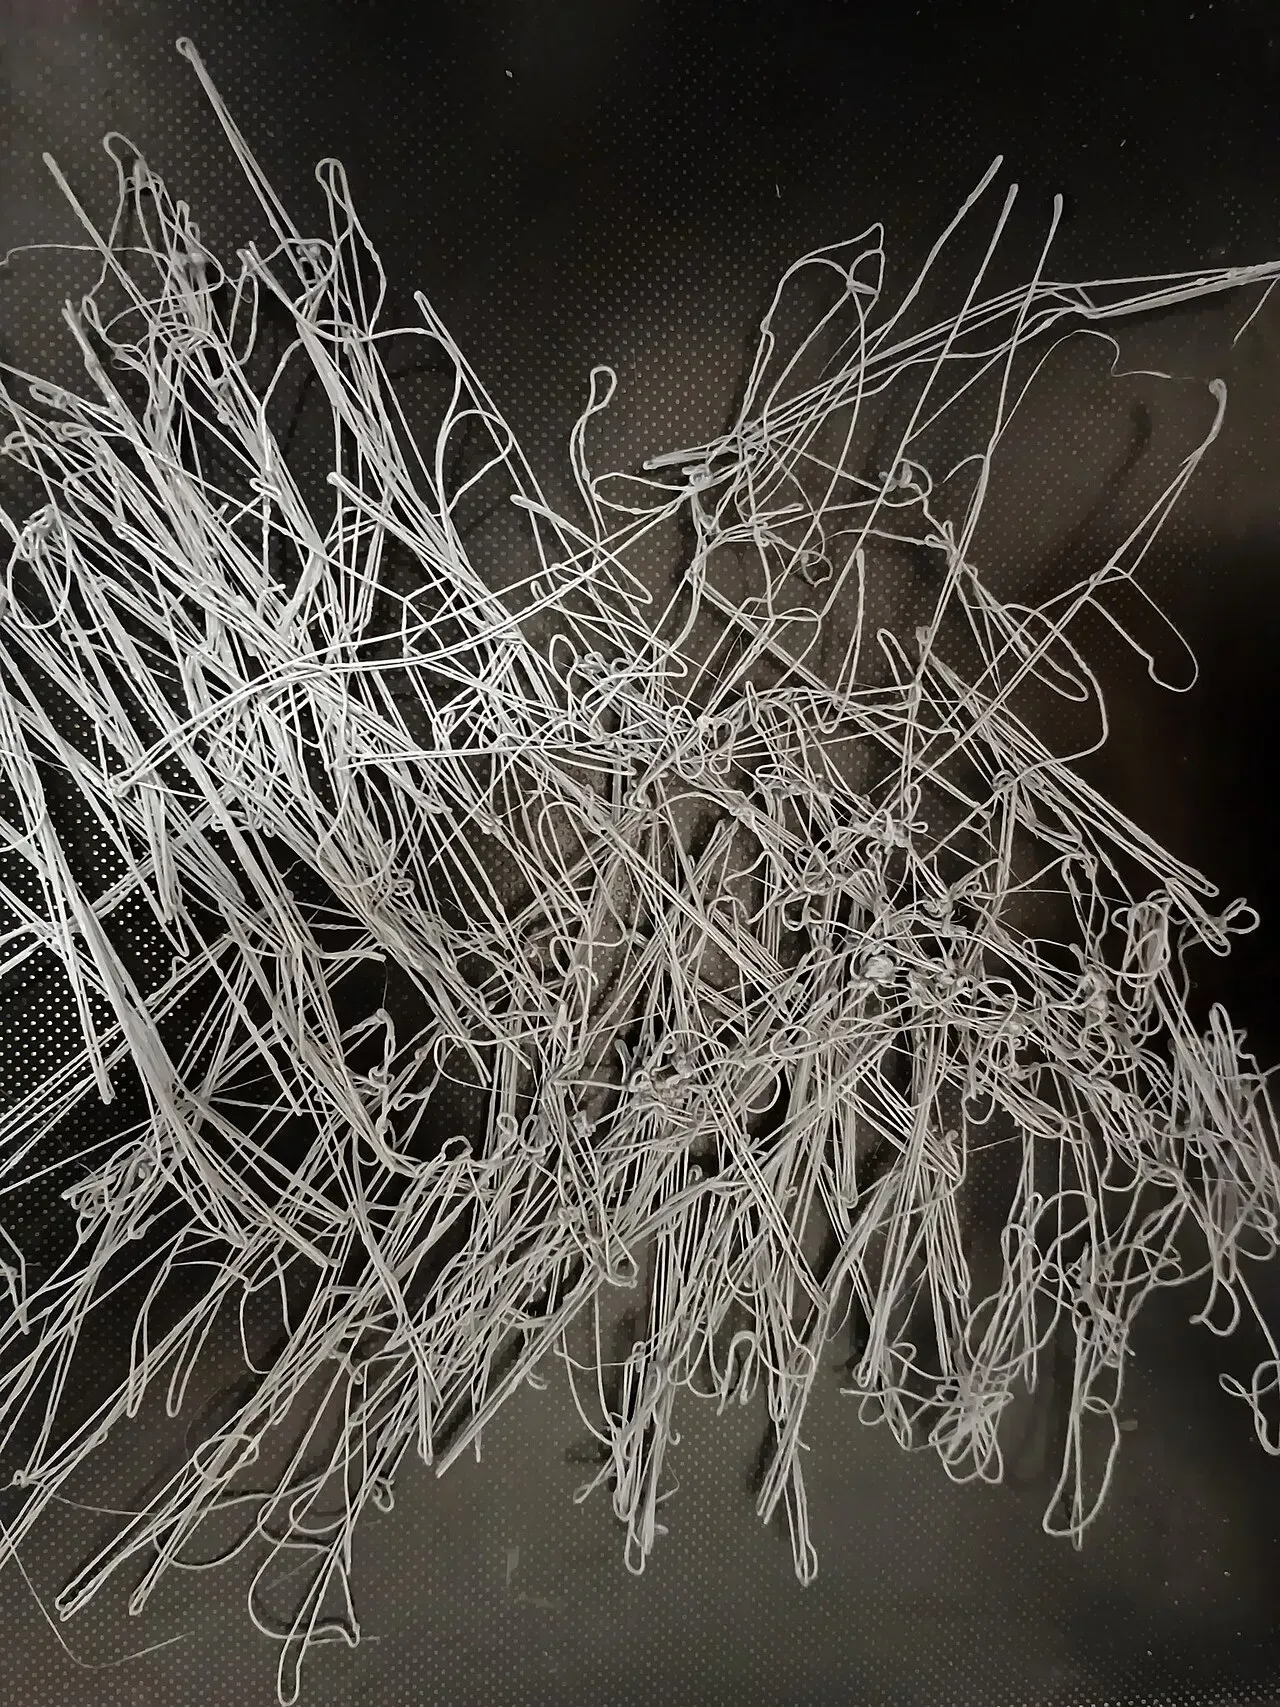 A "spaghetti monster": what a failed print looks like after hours of printing into nothing.Photo: A7N8X ·CC0 ·Wikimedia Commons
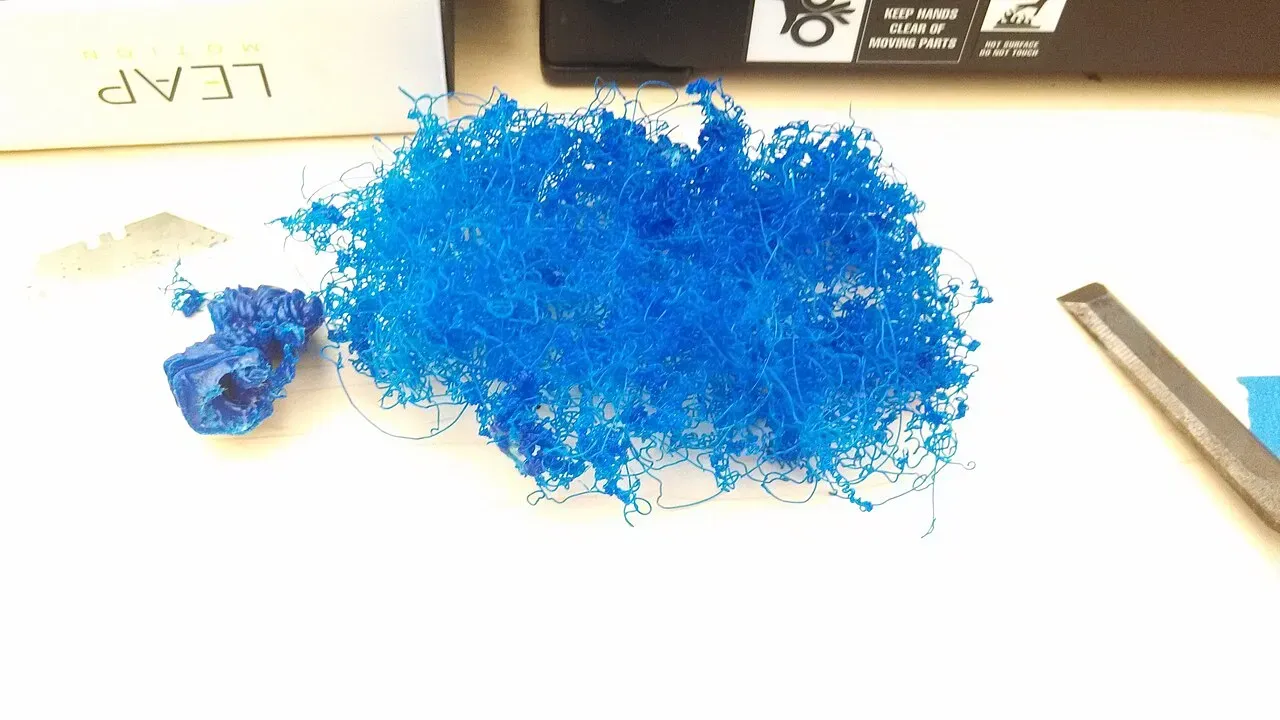 Spaghetti: the part came loose and the printer kept extruding into the air.Photo: SuperBlobMonster ·CC BY-SA 3.0 ·Wikimedia Commons
Why stringing happens
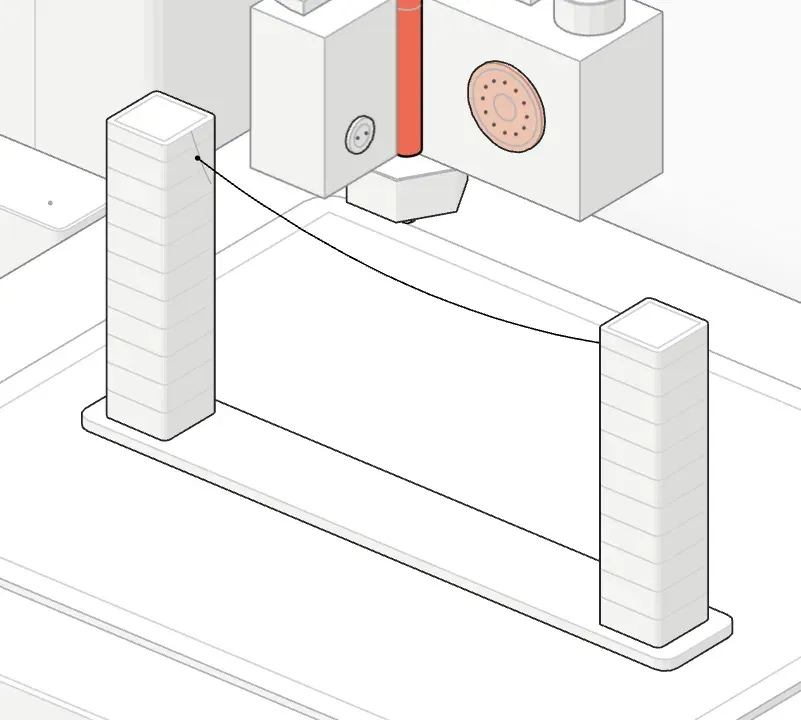
When the nozzle travels, the plastic inside the hotend is still molten. Gravity and the pressure still in the hotend push some of it out. Printers fight this with retraction: just before each travel move, the extruder pulls the filament back a little to relieve that pressure, then pushes it forward again when printing resumes.
So stringing comes down to three things: how runny the plastic is (temperature and moisture), how well retraction relieves the pressure (distance and speed), and how long the nozzle spends over open air (travel moves).
retract 0.8 mm · 35 mm/s · 205 °C · strings: few
- drag ↔ retraction distance
- ← → retraction ±0.1 mm (Shift ±0.5)
- ↑ ↓ nozzle temperature ±5 °C
- − + retraction speed ±5 mm/s
- Space travel now
- Home reset
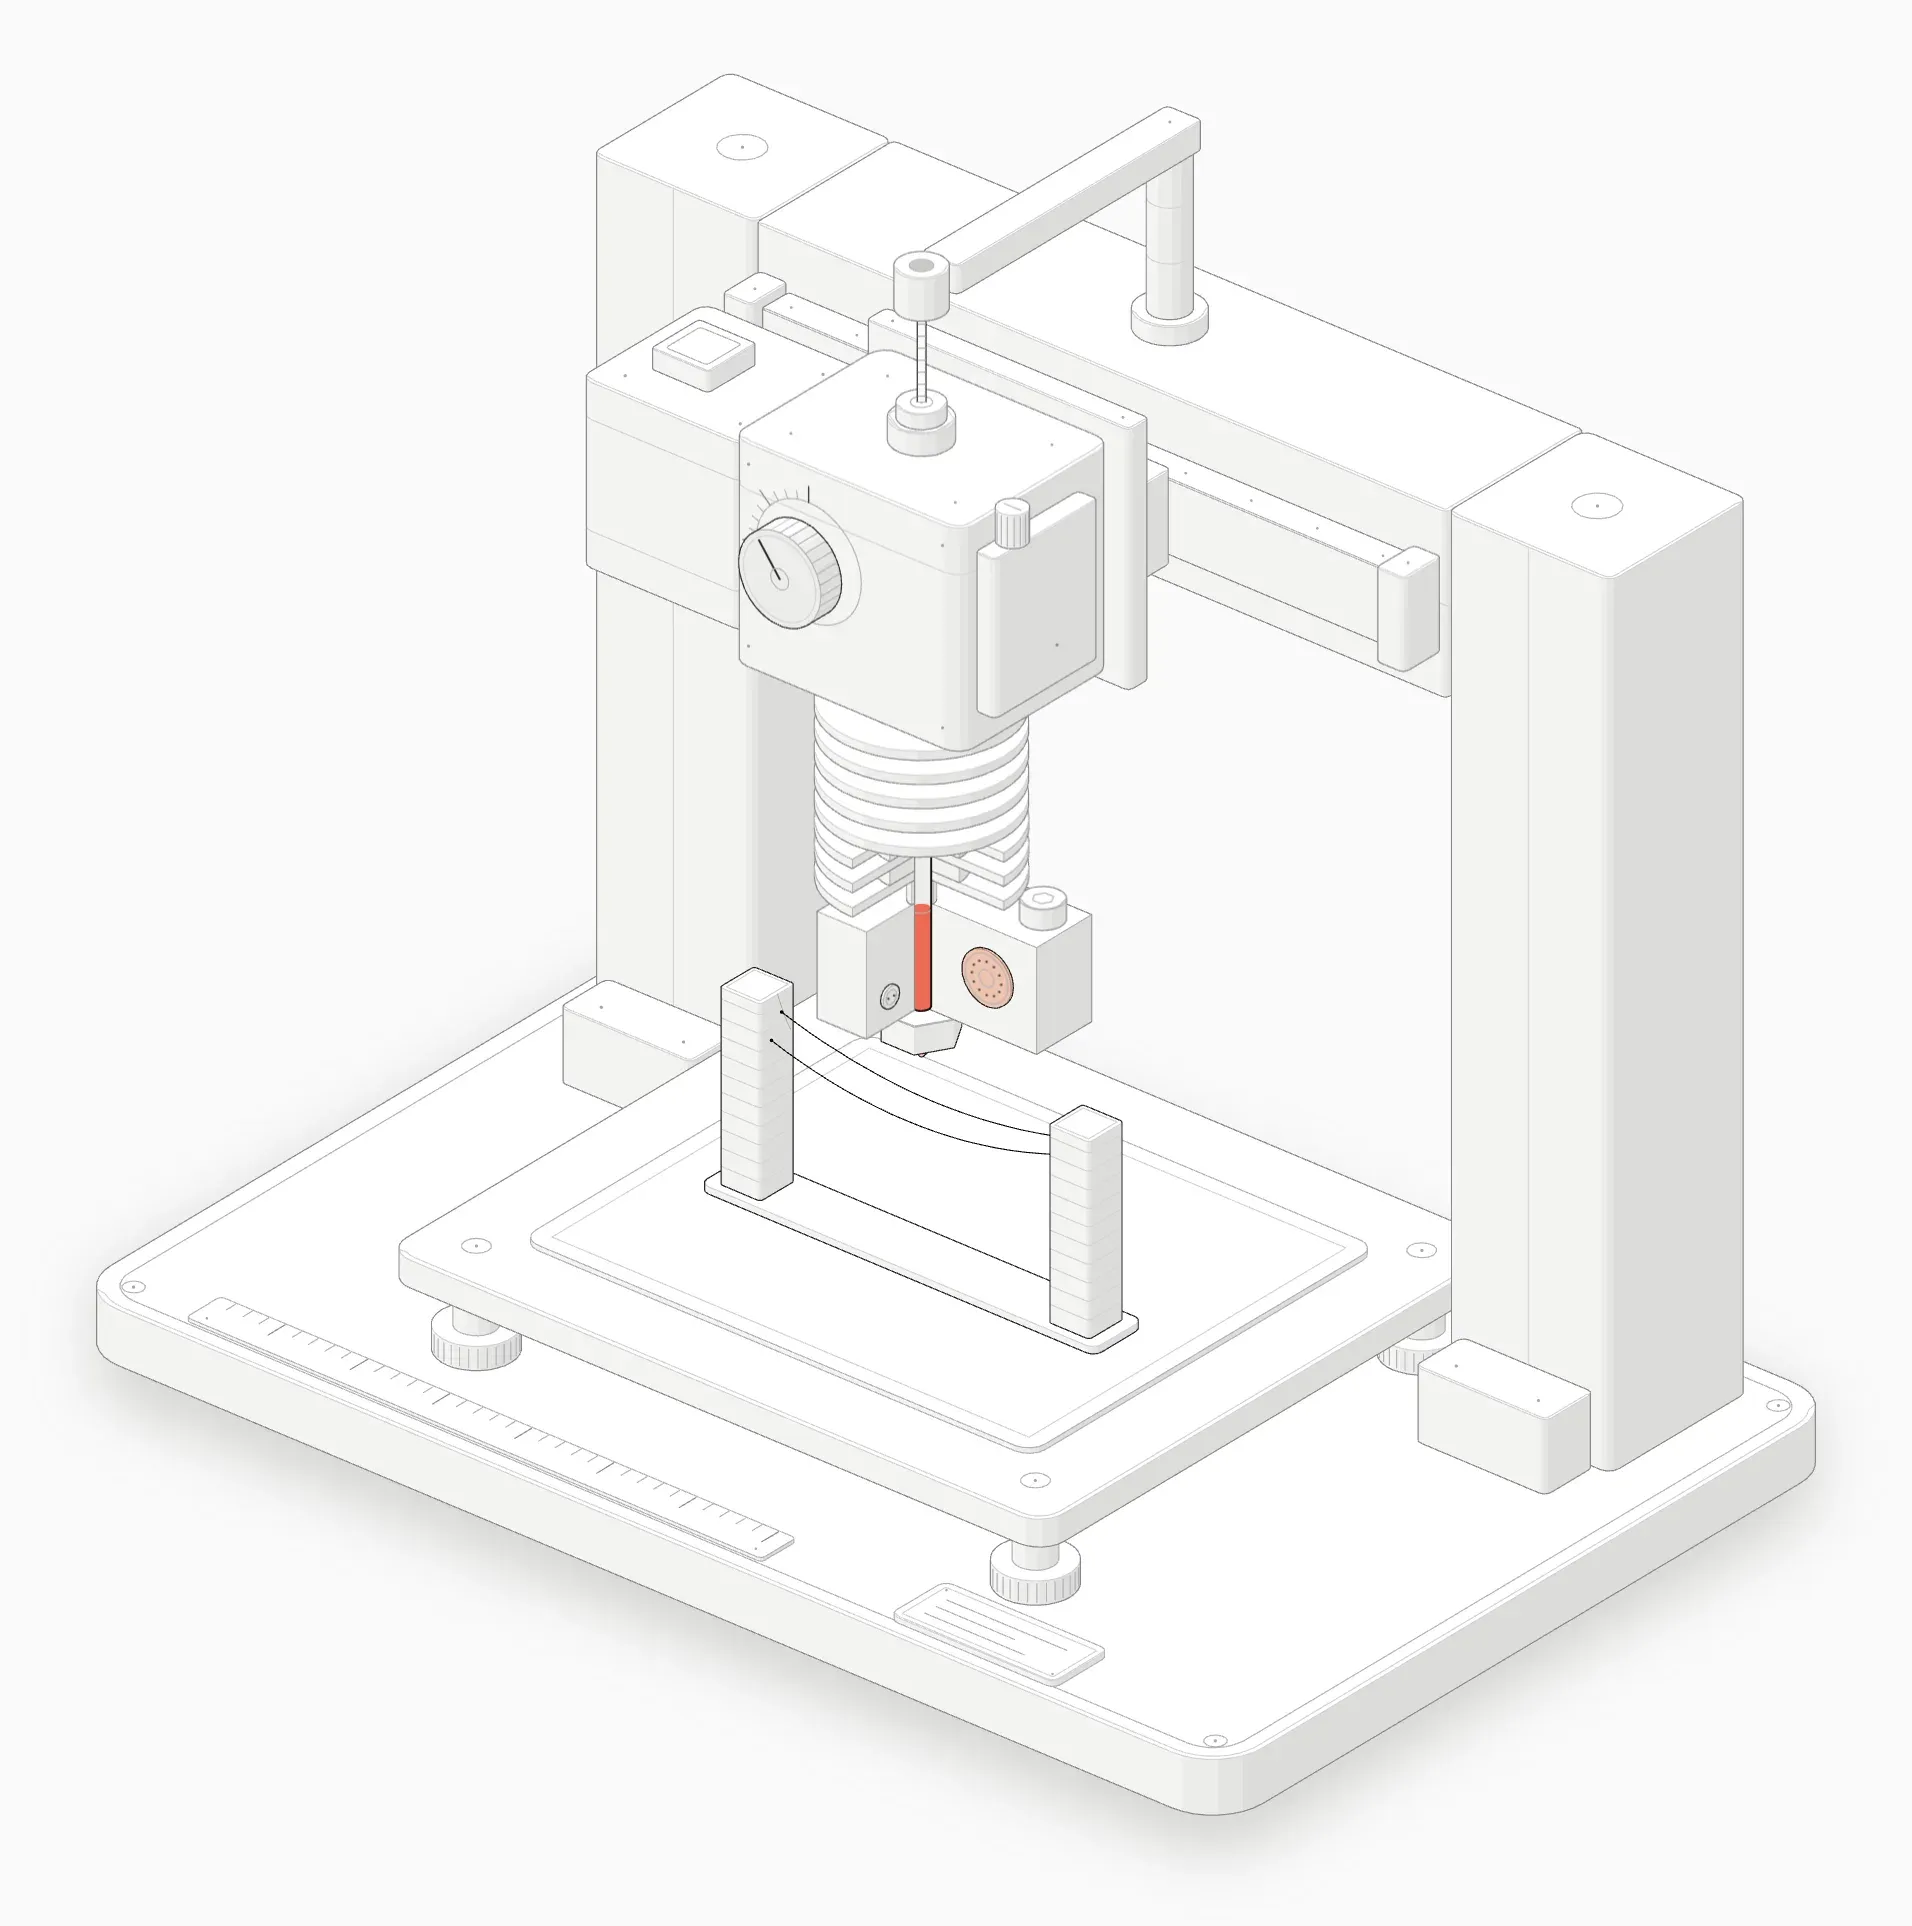 A stringing test: two thin towers and a head that travels between them.
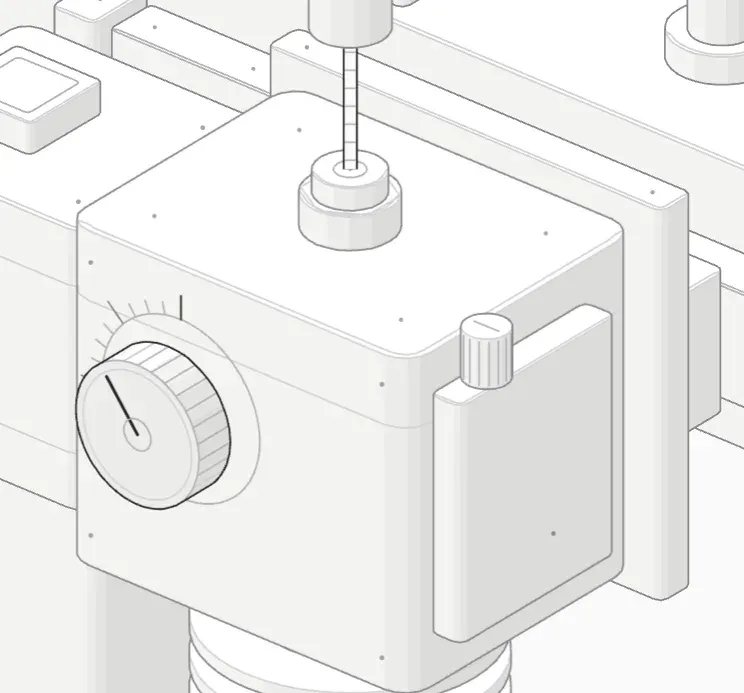 The extruder knob turns back by the retraction distance.
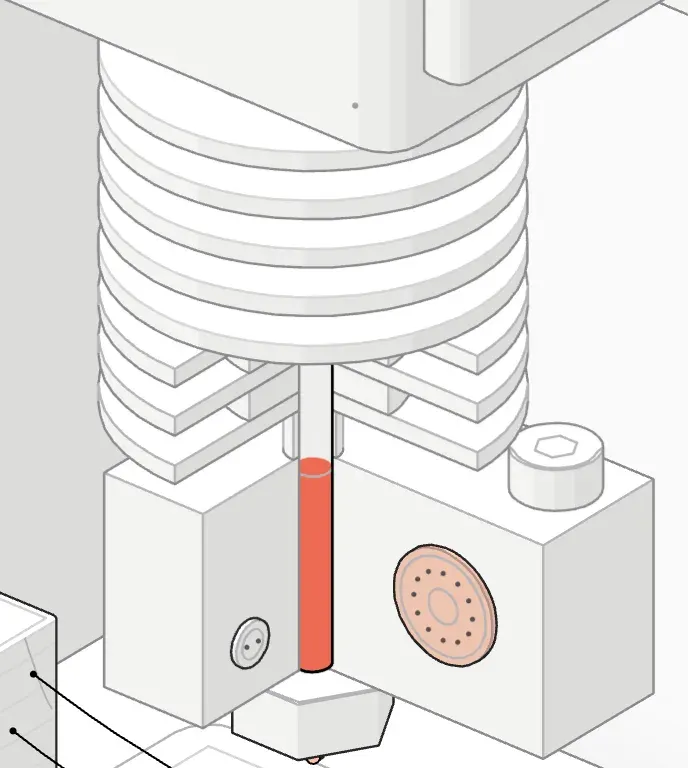 Inside the hotend: solid filament above, melt below.
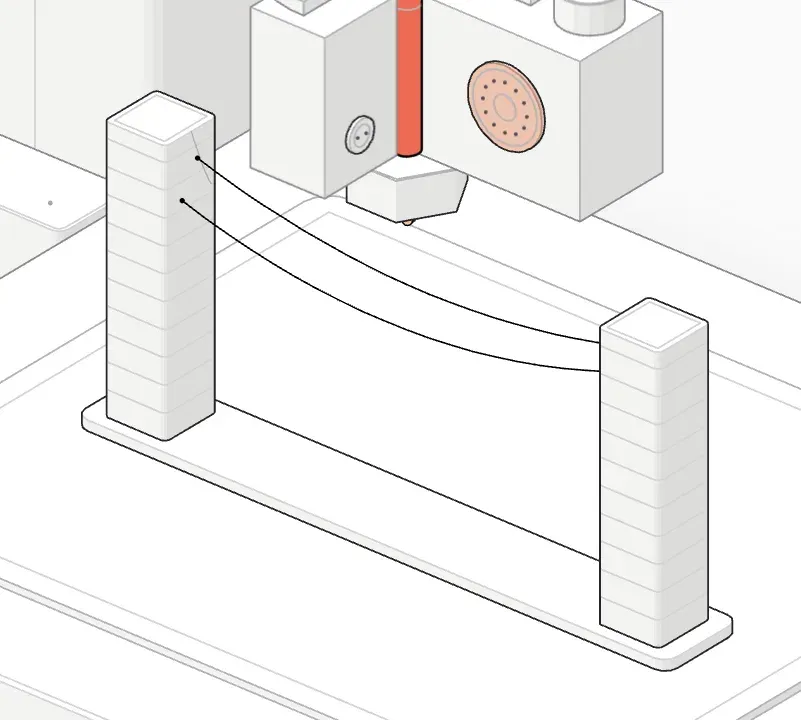 0.8 mm of retraction: a few strings.
- No retraction: many strings.
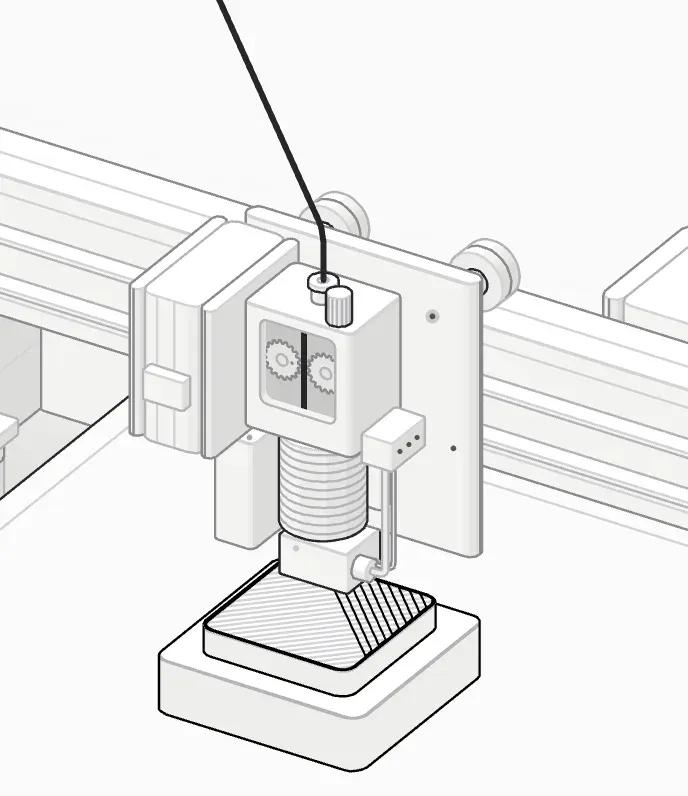 The print head: extruder on top, finned heatsink, heater block and nozzle.
Cause and fix reference
| What you see | Most likely cause | Fix | Step |
|---|---|---|---|
| Stringing started suddenly on a spool that used to print fine | Wet filament | Dry the spool | 1 |
| Popping or crackling sounds, rough or fuzzy surface | Wet filament | Dry the spool | 1 |
| Lots of fine, thin strings everywhere | Nozzle too hot | Lower temperature in 5 °C steps | 2 |
| Thick strings, drips at the start of travel | Too little retraction | Increase retraction distance | 3 |
| Grinding or clicking after you raised retraction | Too much or too fast retraction | Reduce distance or speed | 3, 4 |
| Strings only across big gaps | Slow travel, travel over open air | Faster travel, avoid crossing walls | 5 |
| Small blobs where travel starts | Ooze not wiped off | Turn on wipe | 6 |
| Stringing on every filament, even after tuning | Worn or dirty nozzle, leaking hotend | Clean or replace the nozzle | 7 |
Step 1: Dry your filament
Try this first, especially if stringing appeared suddenly. Most filaments absorb moisture from the air. In the hotend that water turns to steam, which pushes extra plastic out of the nozzle and makes it ooze. Wet filament also pops or crackles while printing and leaves rough, fuzzy surfaces.
PETG, TPU and nylon are especially sensitive, but PLA gets wet too.11Nylon is the thirstiest: an open spool can pick up enough moisture to print badly within a day in a humid room. PLA usually takes weeks.
How to dry it:
- Use a filament dryer, or a food dehydrator, for 4–6 hours.
- Typical temperatures: PLA 45–50 °C, PETG 60–65 °C, TPU 50–55 °C. Check your filament maker’s guidance.
- Don’t use a kitchen oven unless you trust its low-temperature accuracy. Many overshoot and soften the spool.
- Store dried spools in a sealed box or bag with desiccant, and keep the desiccant fresh.
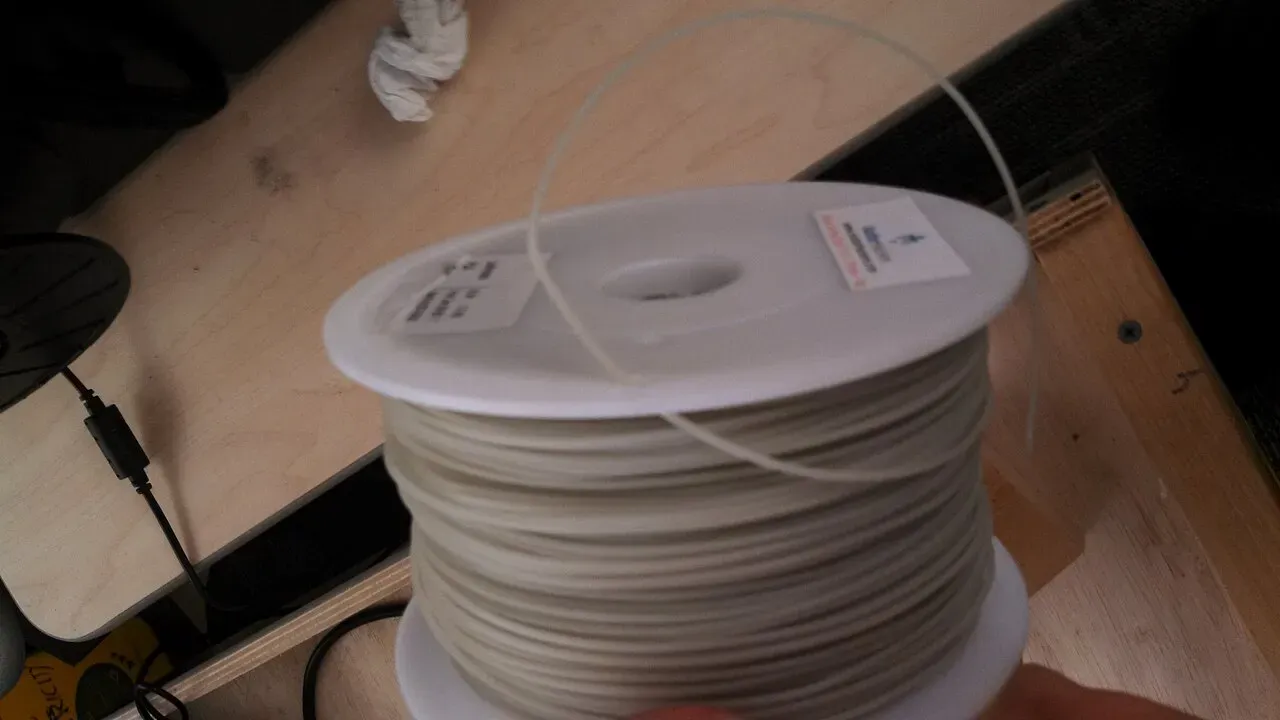 An open spool of PLA left out in the air.Photo: SuperBlobMonster ·CC BY-SA 3.0 ·Wikimedia Commons
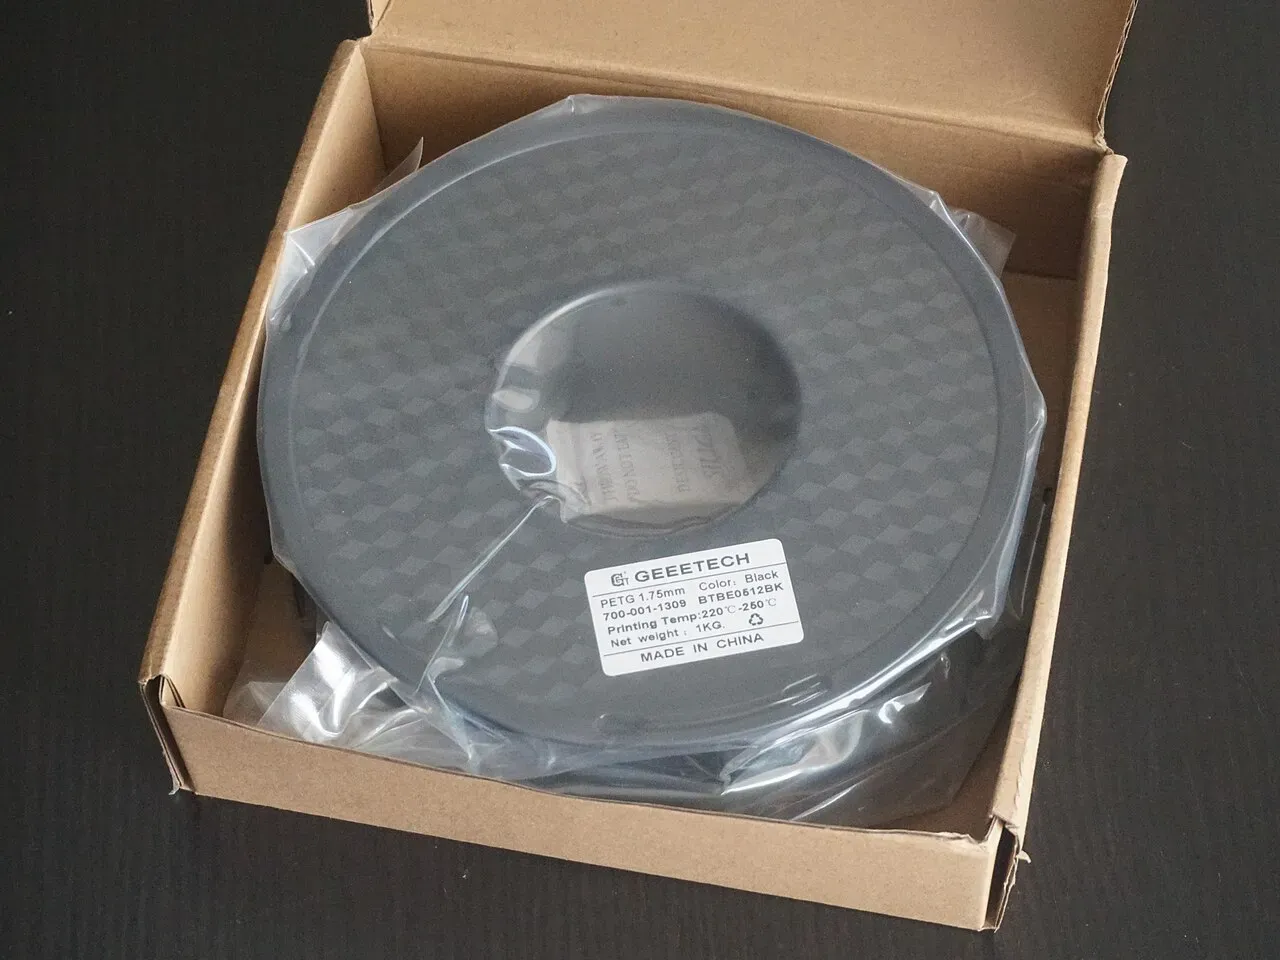 A 1 kg spool of PETG, sealed with desiccant.Photo: Suit ·CC BY-SA 4.0 ·Wikimedia Commons
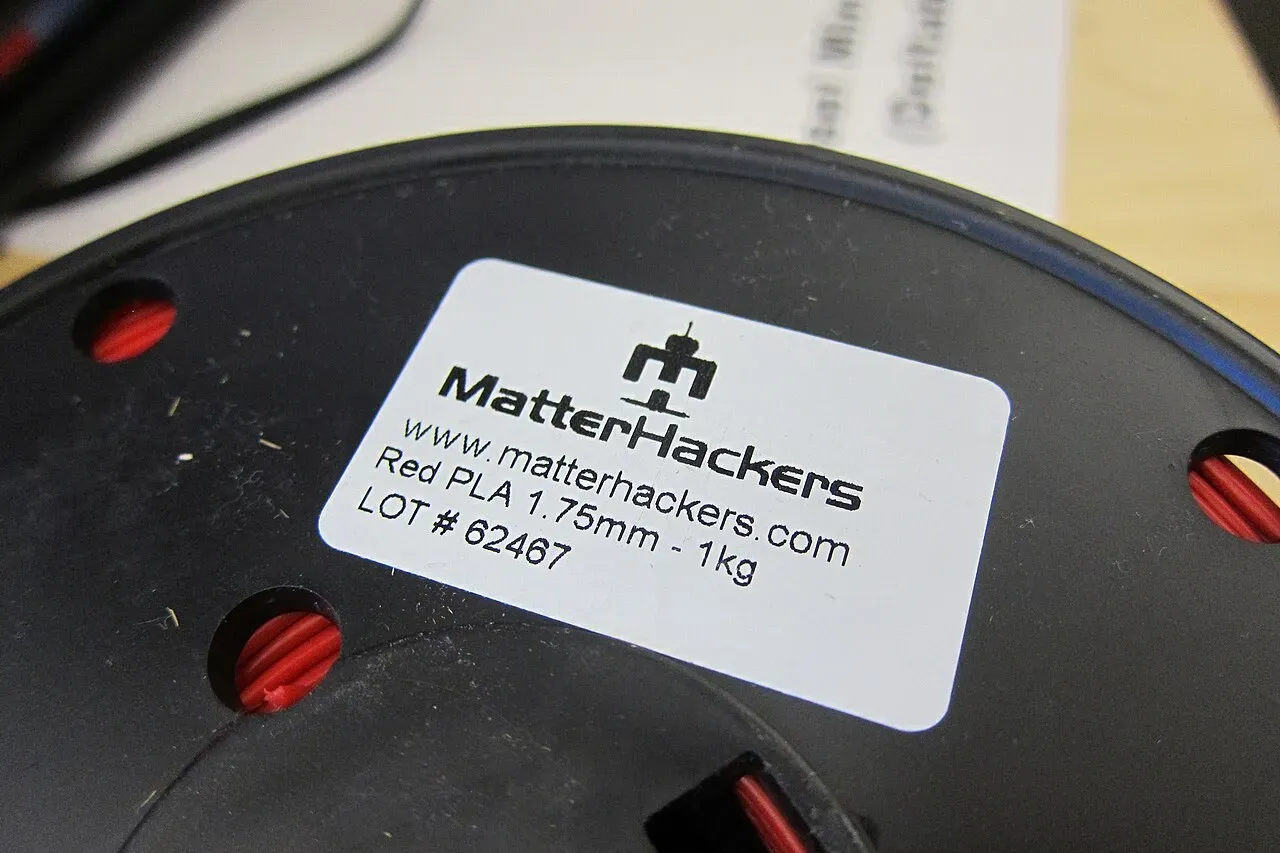 Read the label: material, 1.75 mm diameter, 1 kg.Photo: John Abella from Outside Philadelphia, USA ·CC BY 2.0 ·Wikimedia Commons
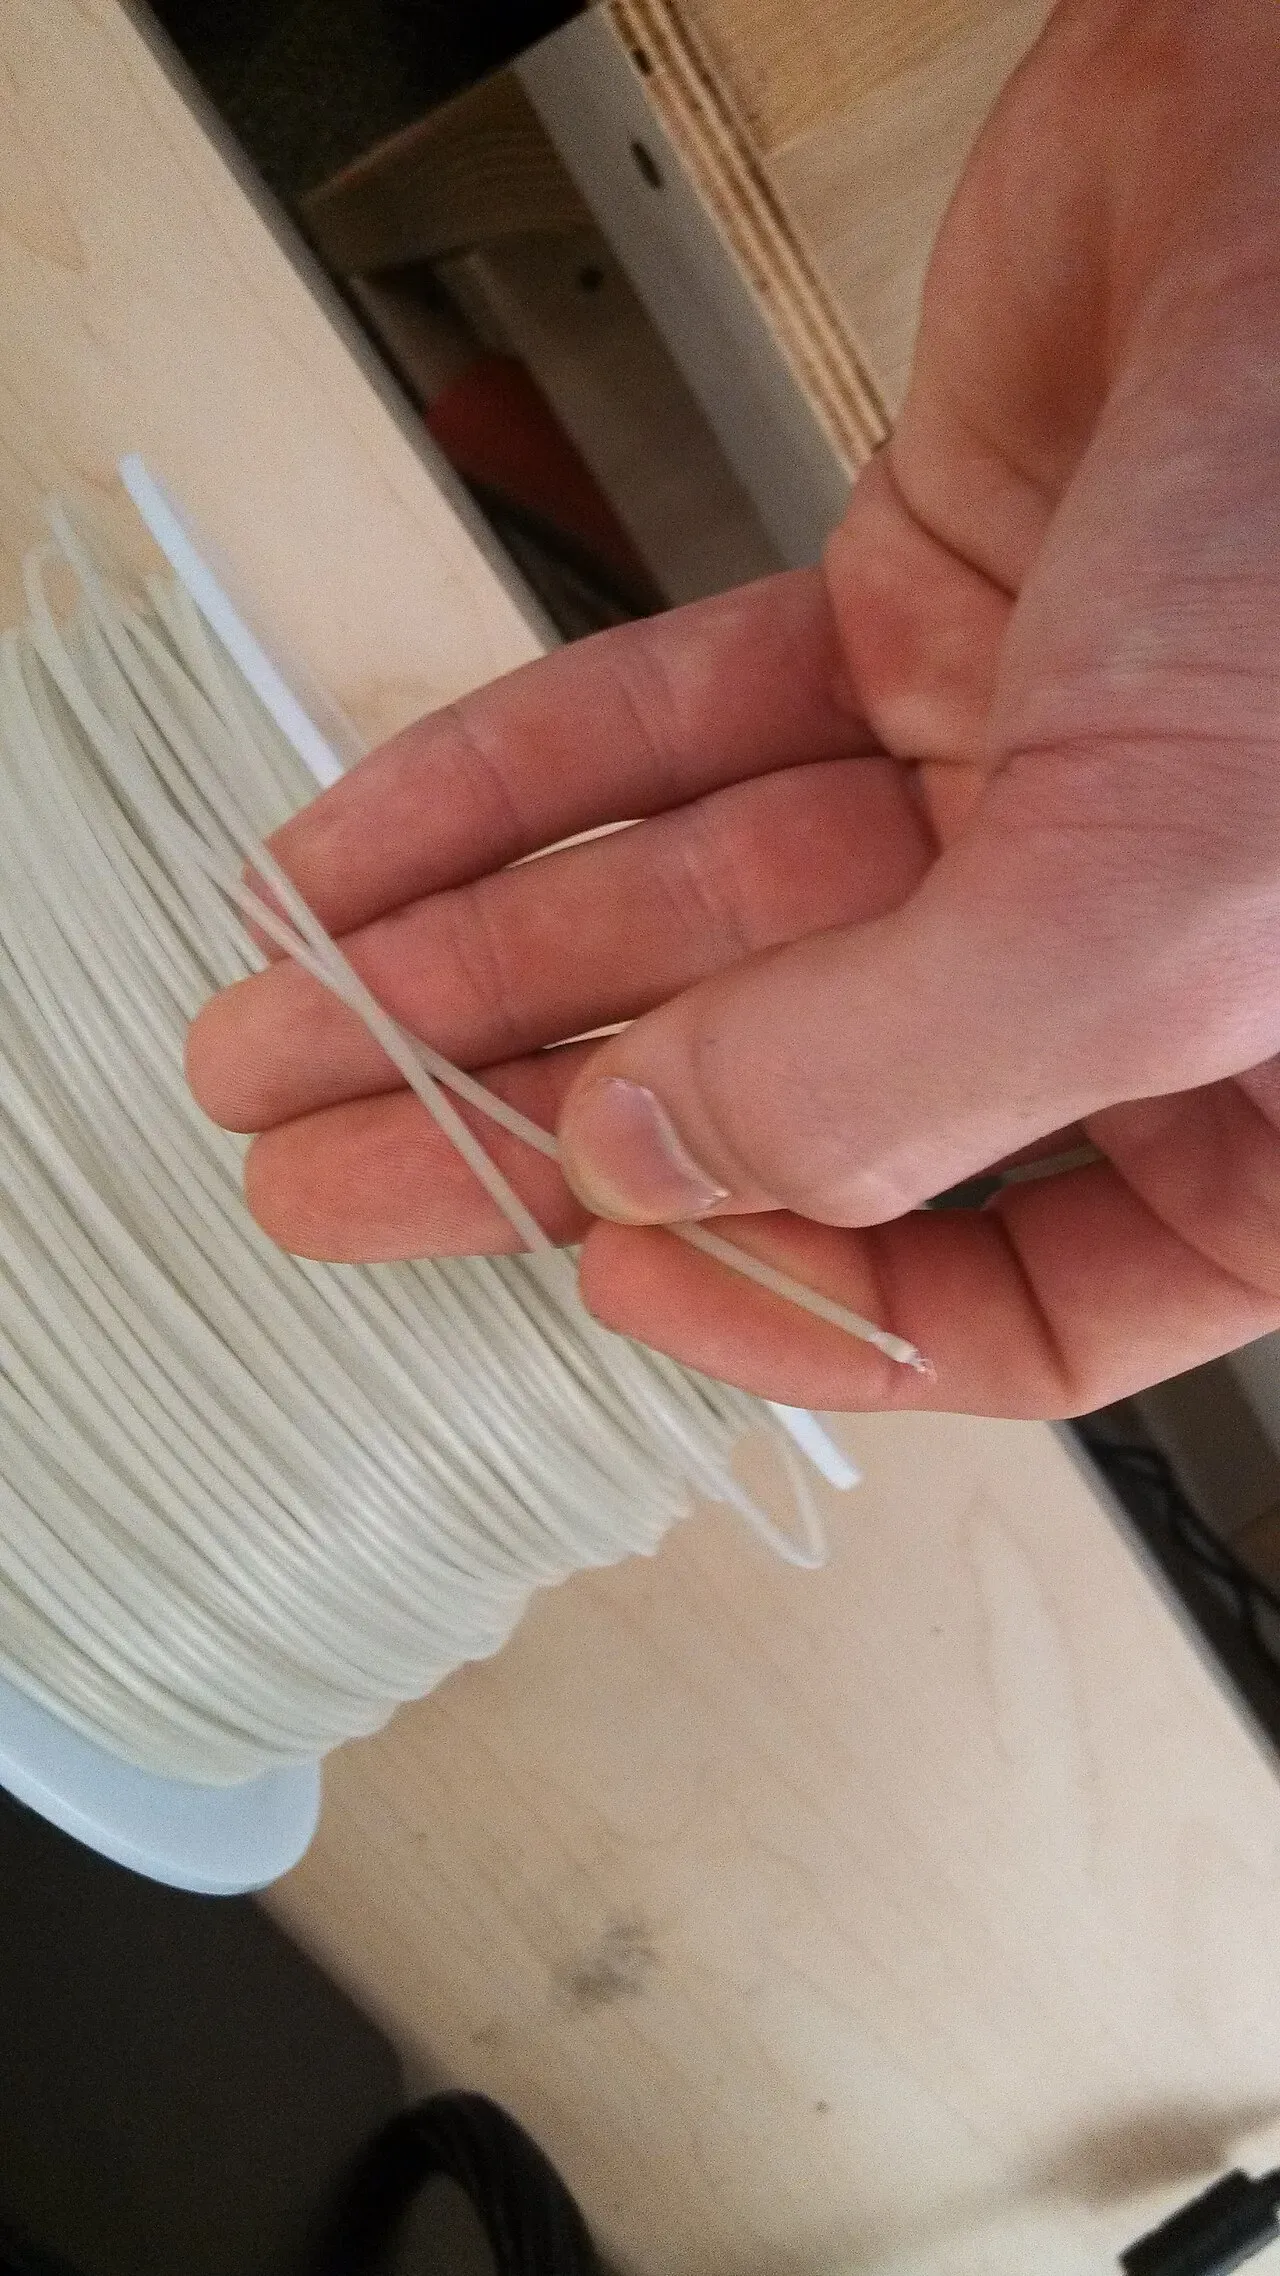 Crossed filament: a loop that can tangle and stop the extruder.Photo: SuperBlobMonster ·CC BY-SA 3.0 ·Wikimedia Commons
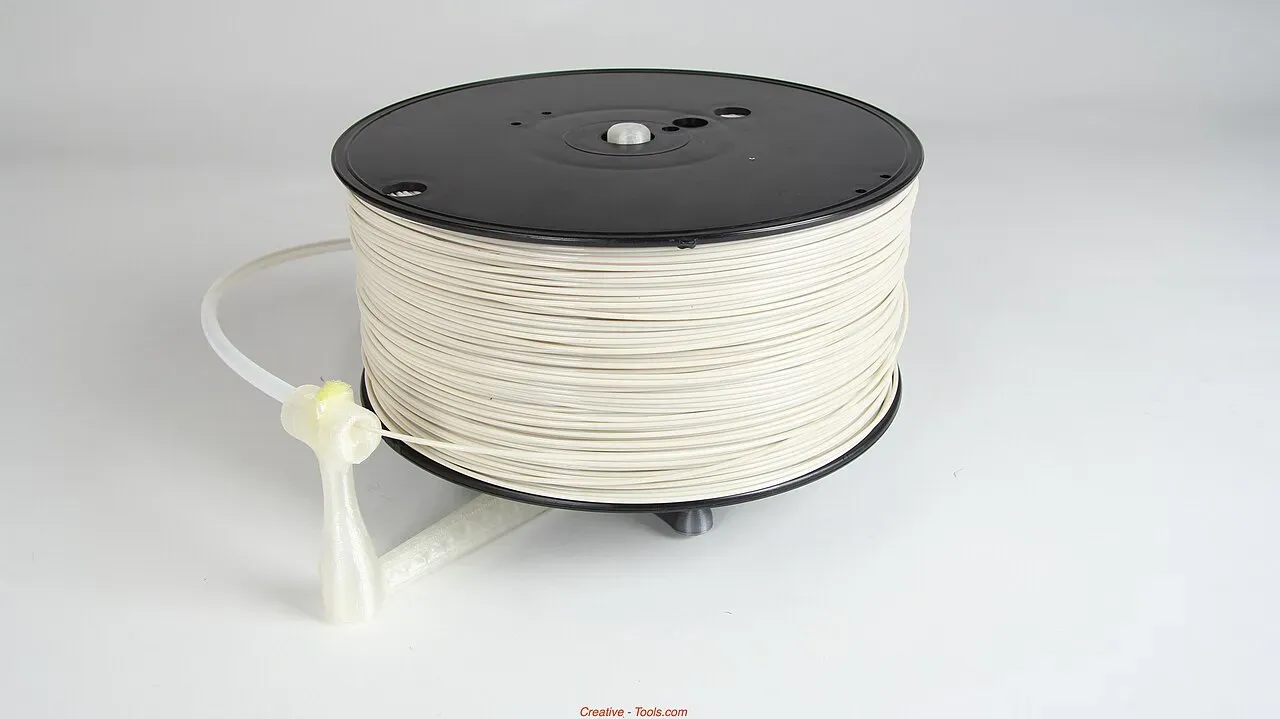 A spool of white filament.Photo: Creative Tools ·CC BY 2.0 ·Wikimedia Commons
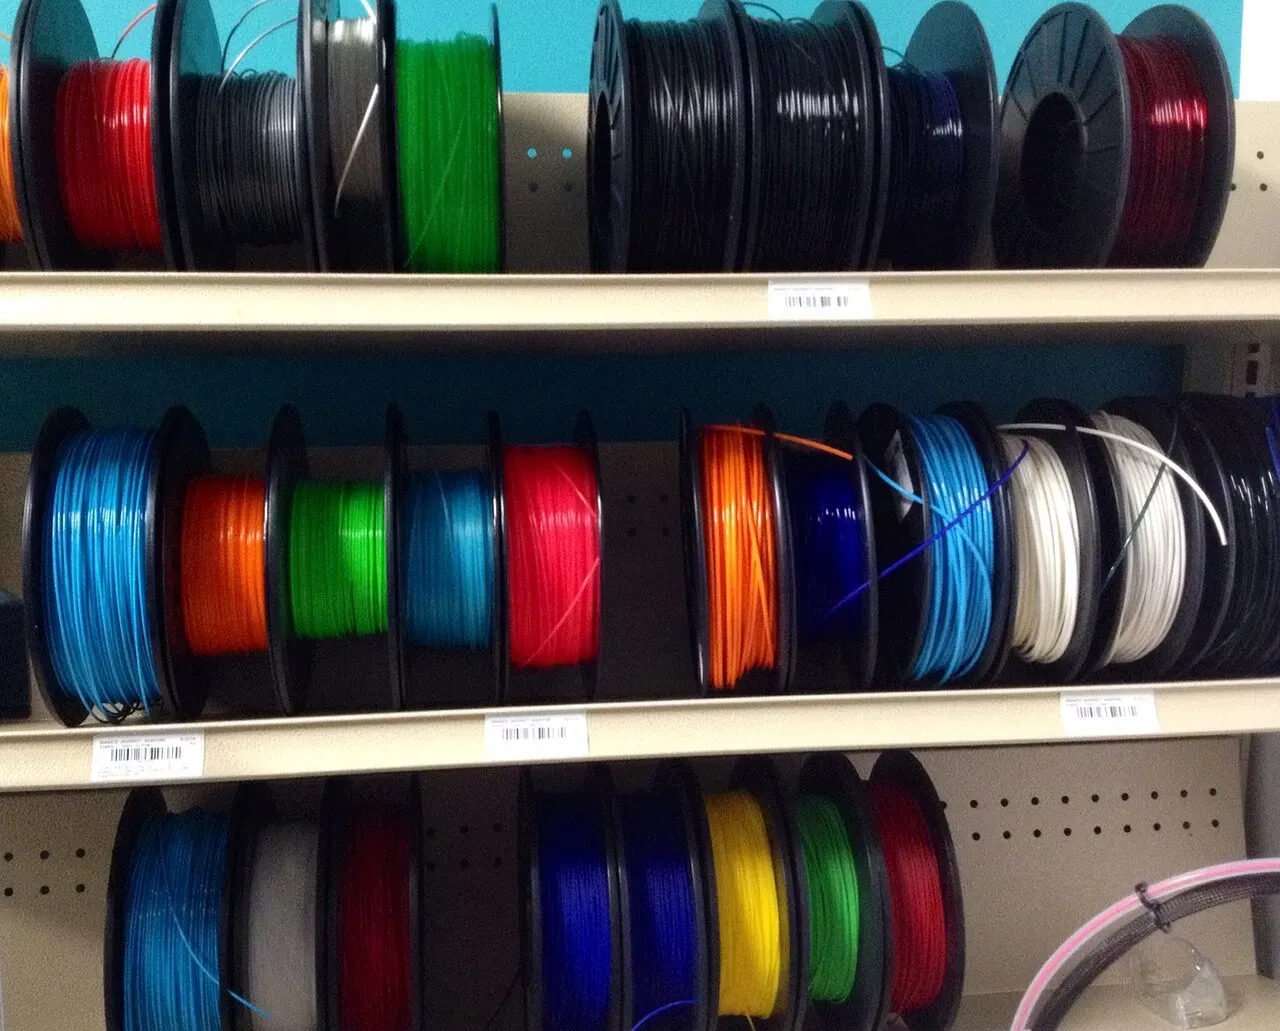 Filament comes in almost every colour.Photo: westonhighschool library ·CC BY-SA 2.0 ·Wikimedia Commons
Step 2: Find the right temperature
Hotter plastic is runnier, so it oozes more and makes thinner, longer strings. Lower the nozzle temperature in 5 °C steps and re-test.
The best way to find the right temperature is a temperature tower: one test model printed in sections at different temperatures. OrcaSlicer, Bambu Studio and PrusaSlicer have calibration tests built in. Pick the coolest section that still has strong layer bonding and a clean surface.
| Filament | Typical nozzle range | Start at |
|---|---|---|
| PLA | 190–220 °C | 205 °C |
| PETG | 220–250 °C | 235 °C |
| TPU | 210–235 °C | 220 °C |
| ABS / ASA | 230–260 °C | 245 °C |
Don’t go too low. Under-temperature causes weak layers, under-extrusion and a clicking extruder.
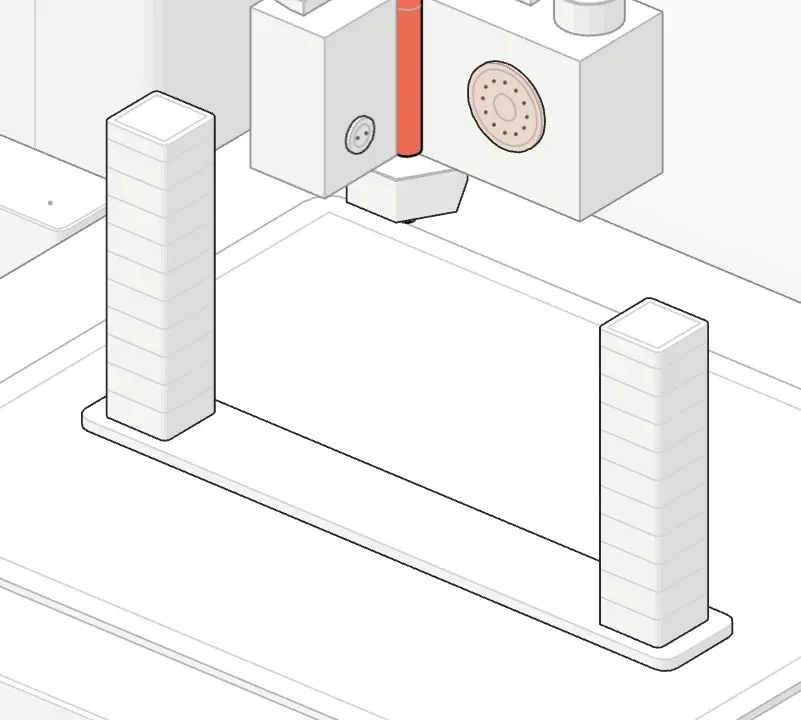 190 °C, 0.8 mm retraction: no strings.
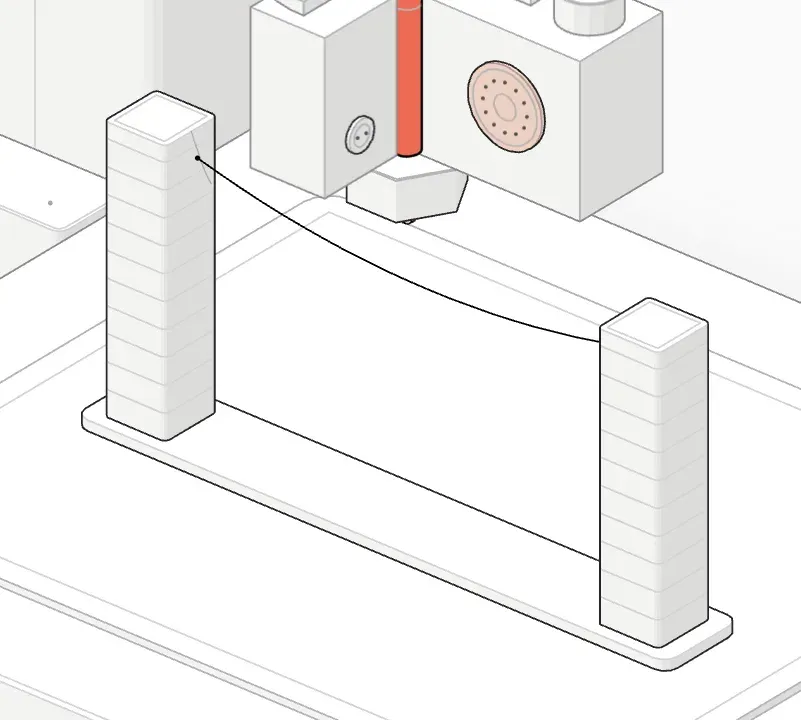 195 °C, 0.8 mm retraction: few strings.
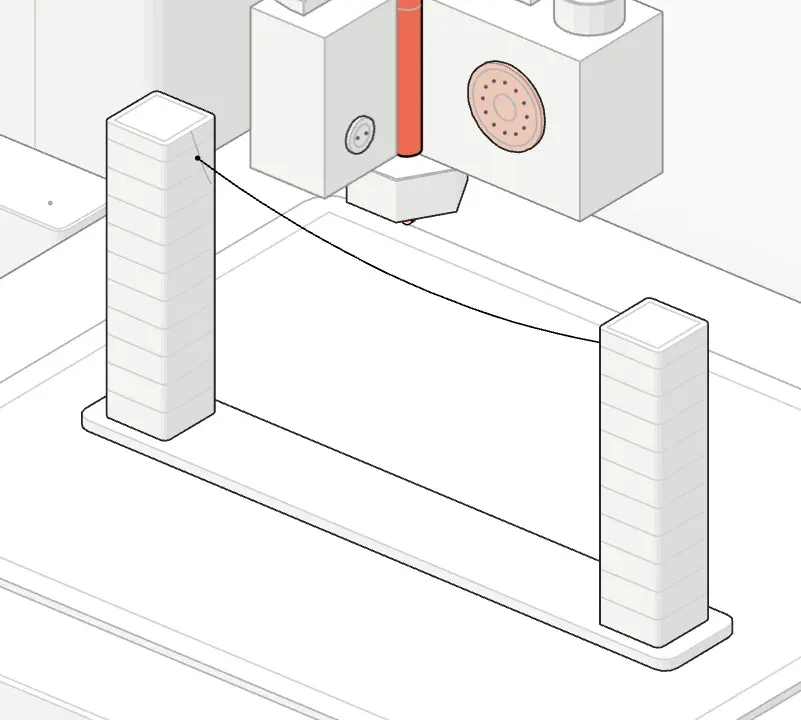 200 °C, 0.8 mm retraction: few strings.
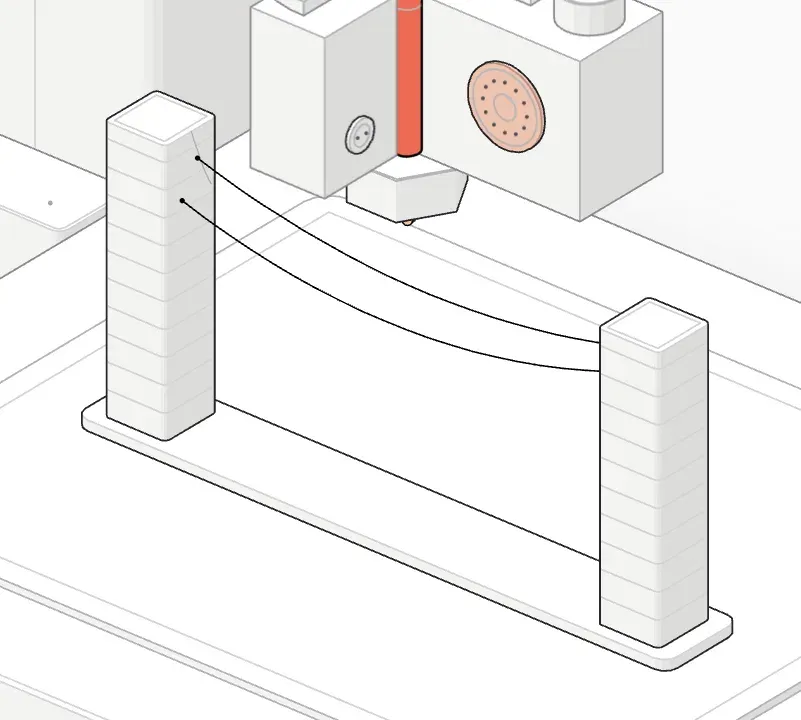 205 °C, 0.8 mm retraction: few strings.
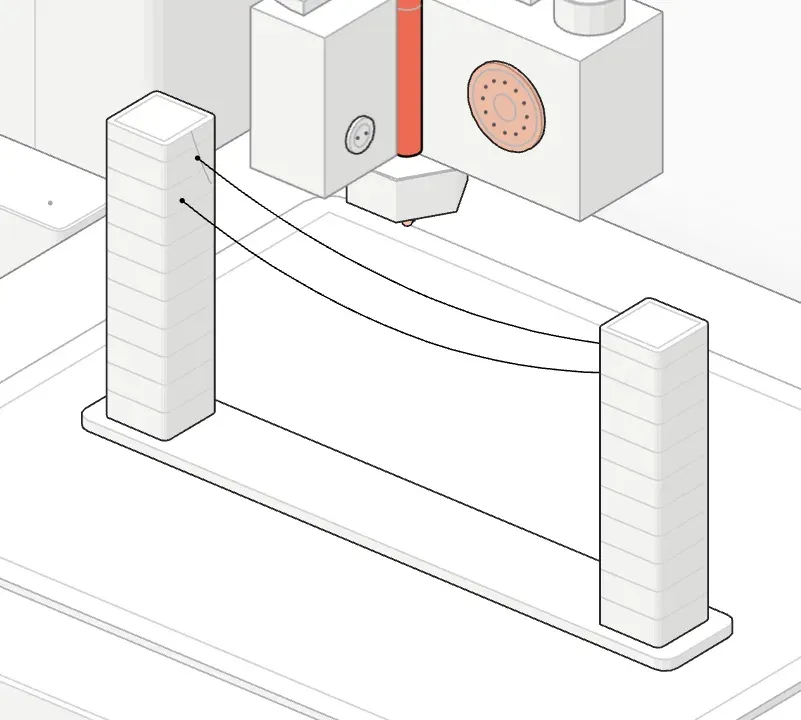 210 °C, 0.8 mm retraction: few strings.
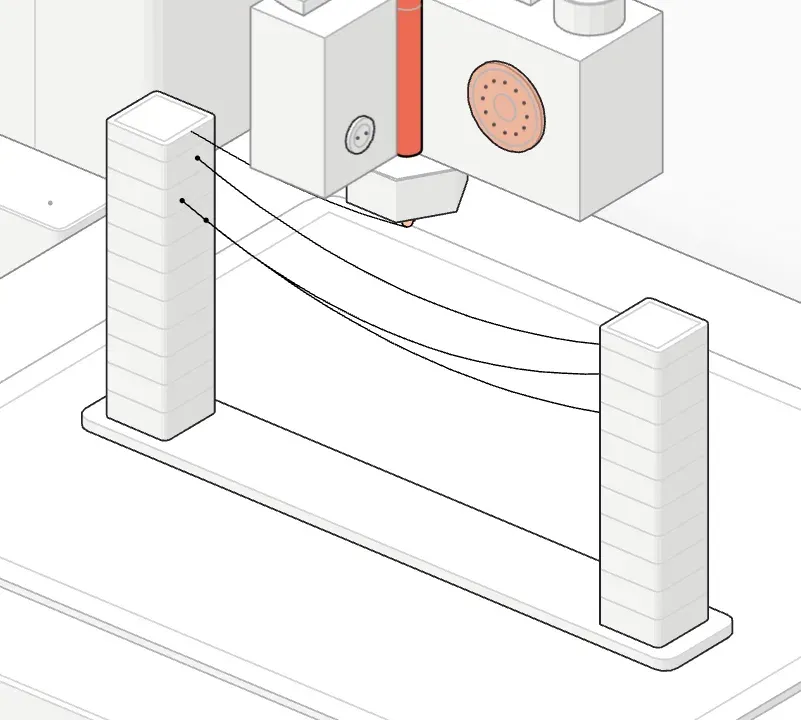 215 °C, 0.8 mm retraction: some strings.
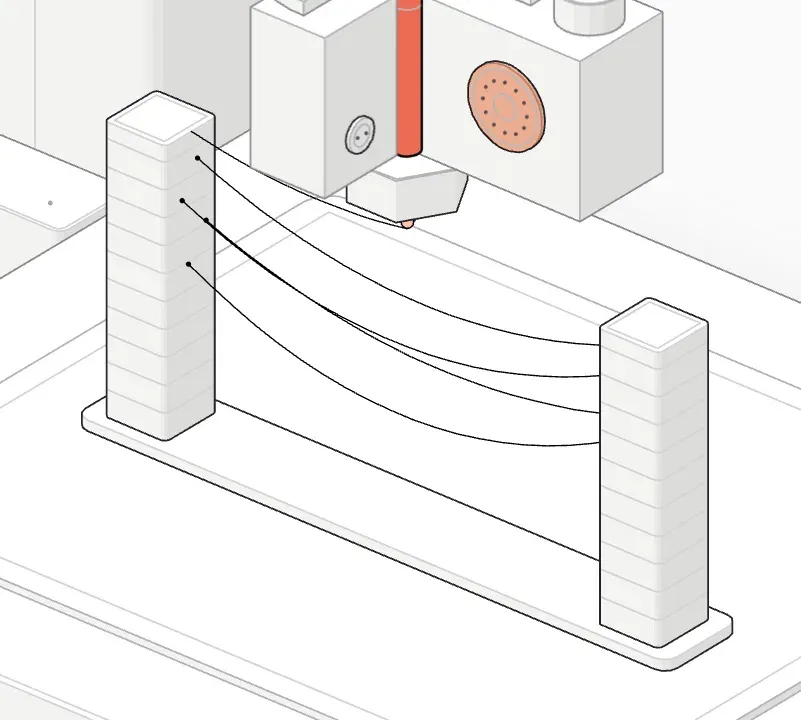 220 °C, 0.8 mm retraction: some strings.
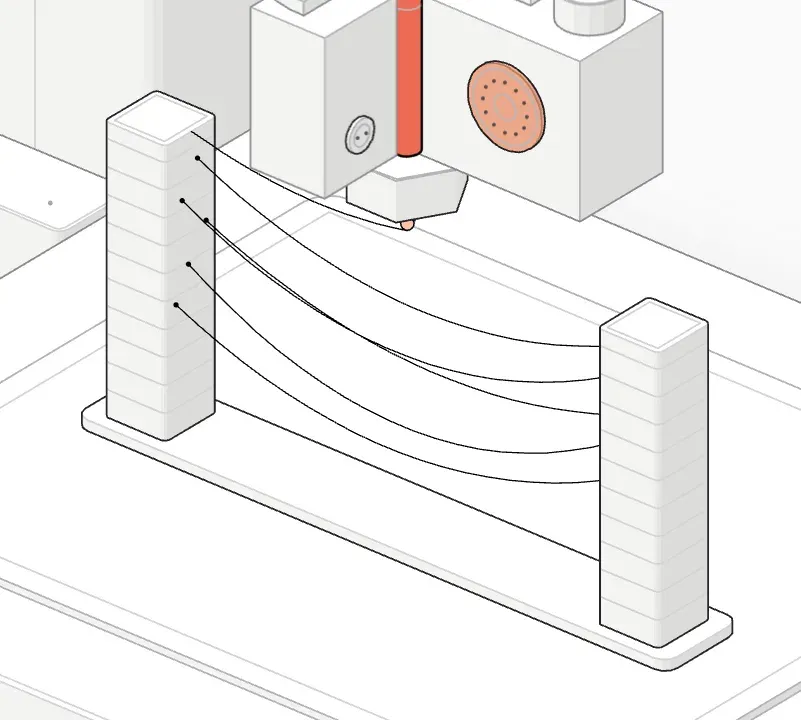 225 °C, 0.8 mm retraction: many strings.
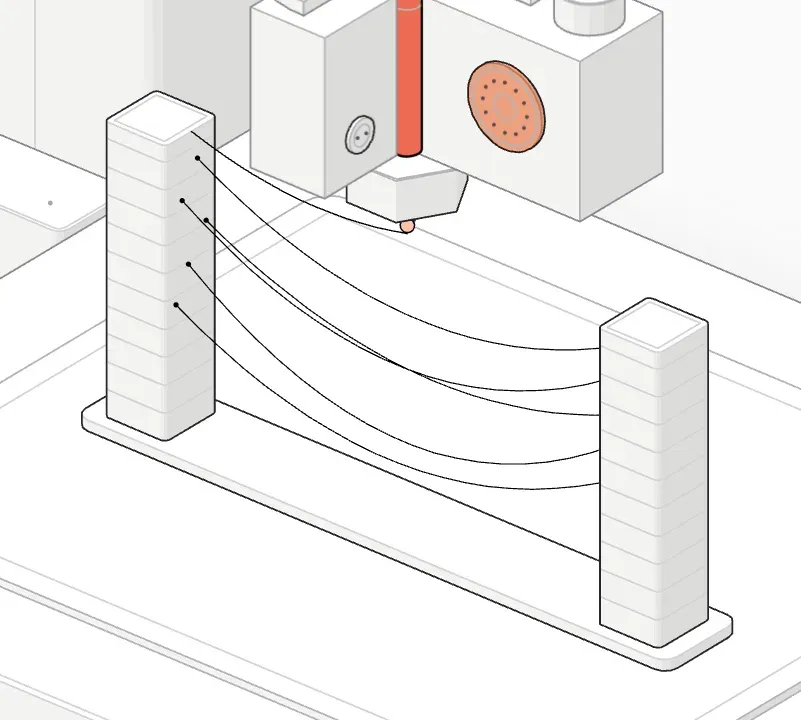 230 °C, 0.8 mm retraction: many strings.
Step 3: Tune retraction distance
Retraction distance is how far the extruder pulls the filament back before a travel move.
- Direct drive extruders: start around 0.5–1 mm and try up to 2 mm.
- Bowden extruders: start around 4–5 mm and try up to 7 mm.
Increase in small steps (0.2 mm for direct drive, 0.5–1 mm for Bowden) and use your slicer’s retraction test if it has one.22Bowden setups need more retraction because the filament can compress and slide inside the long PTFE tube before the pull reaches the nozzle.
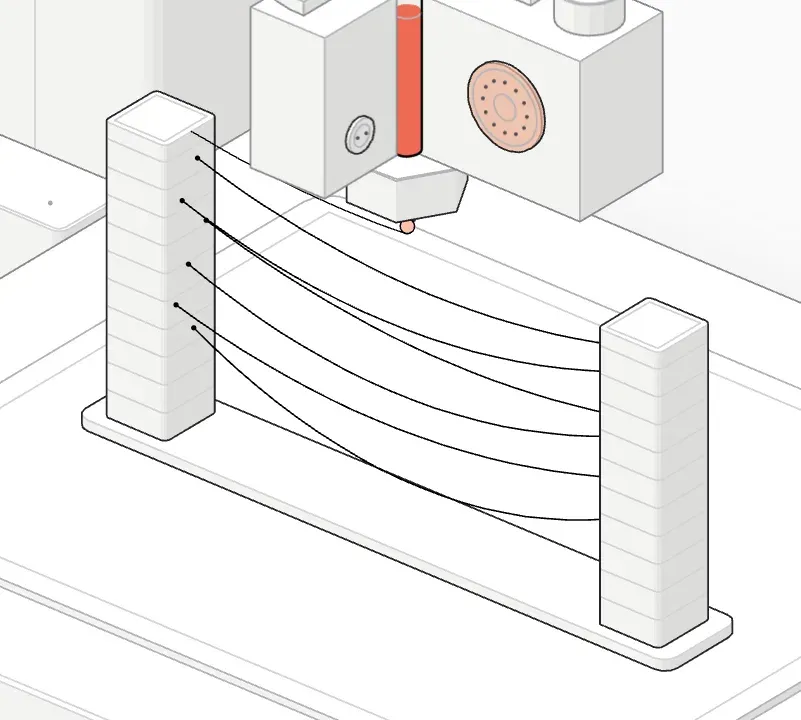 Retraction 0.0 mm at 205 °C: many strings.
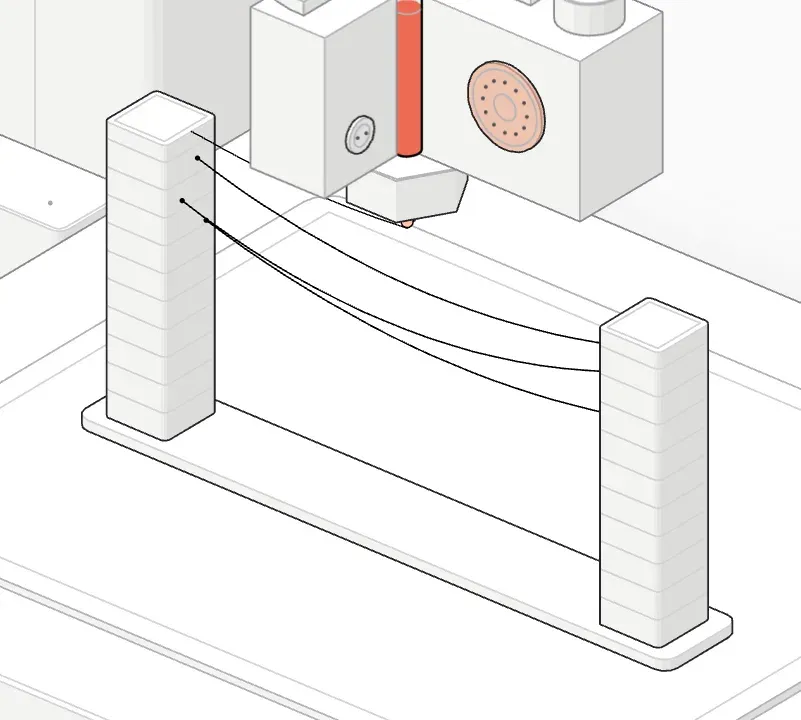 Retraction 0.4 mm at 205 °C: some strings.
- Retraction 0.8 mm at 205 °C: few strings.
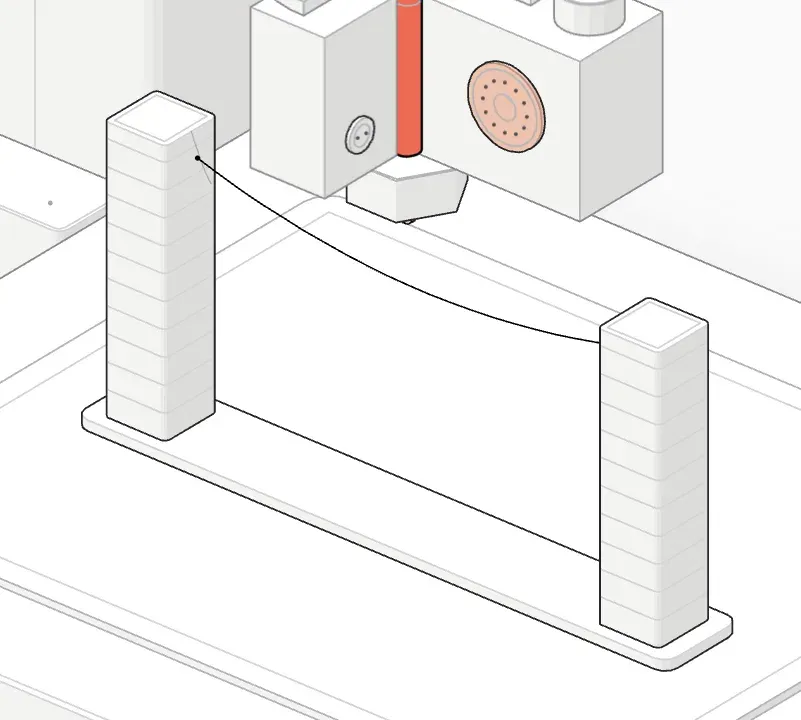 Retraction 1.2 mm at 205 °C: few strings.
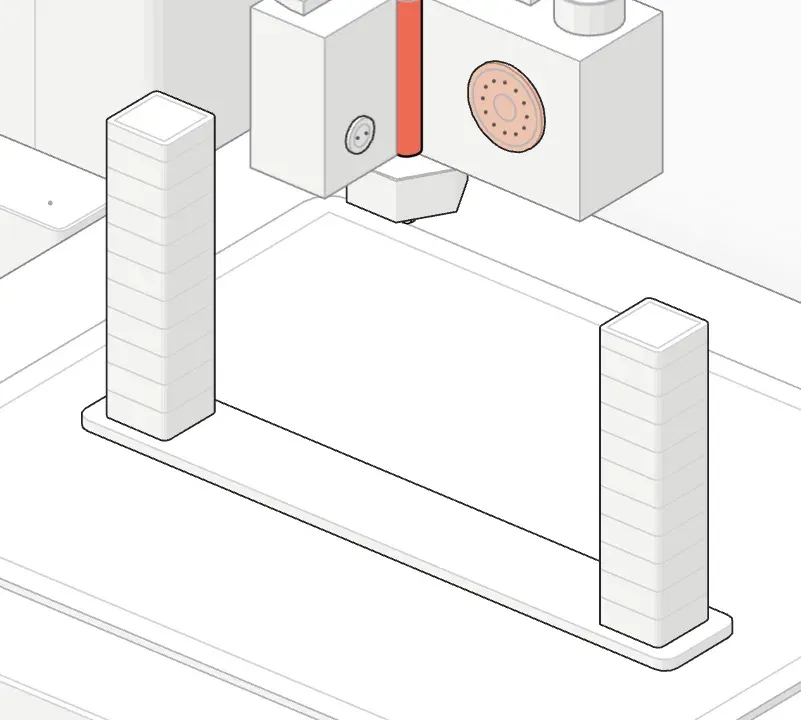 Retraction 1.6 mm at 205 °C: no strings.
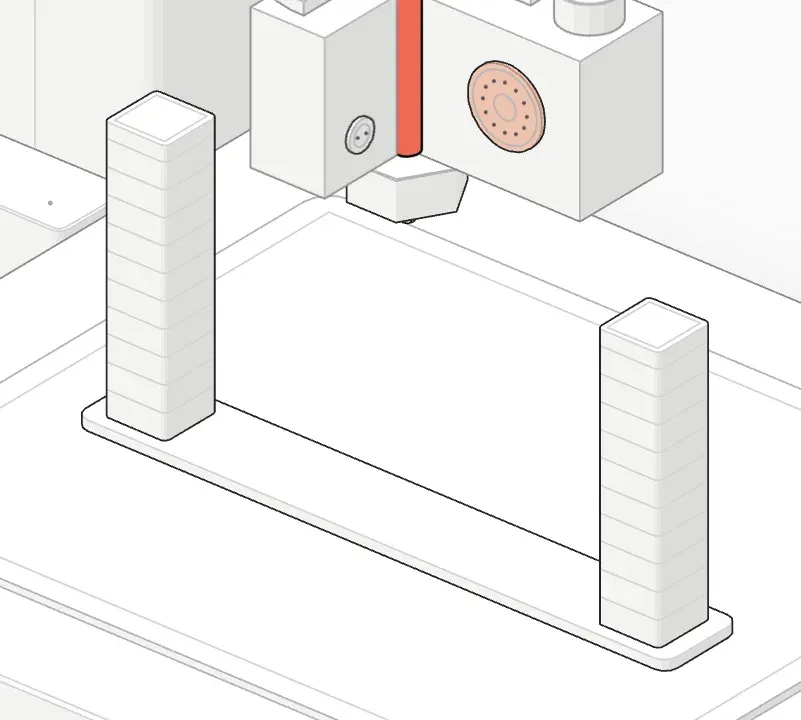 Retraction 2.0 mm at 205 °C: no strings.
- Retraction 2.4 mm at 205 °C: no strings, but melt is pulled into the heat break.
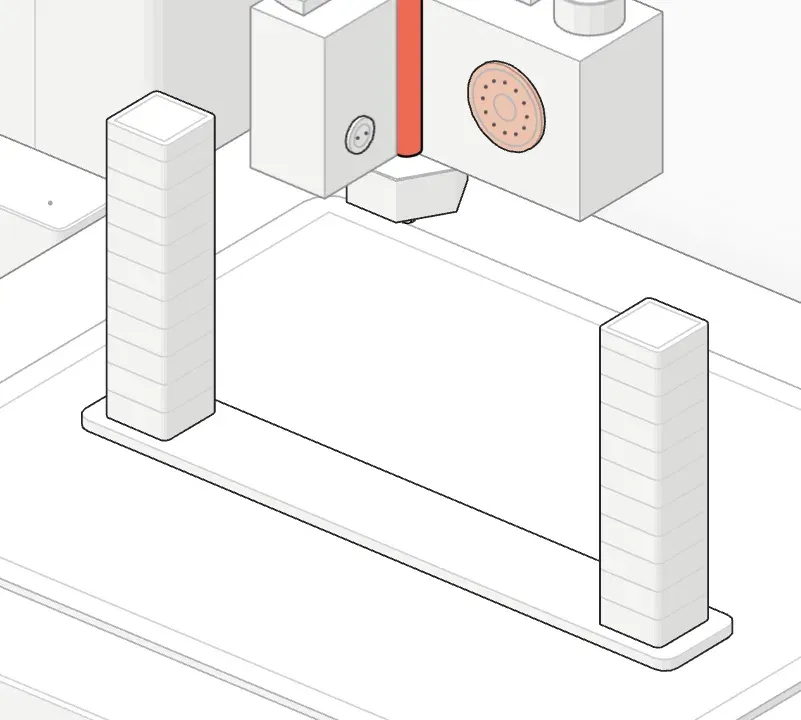 Retraction 2.8 mm at 205 °C: no strings, but melt is pulled into the heat break.
- The extruder knob turns back by the retraction distance.
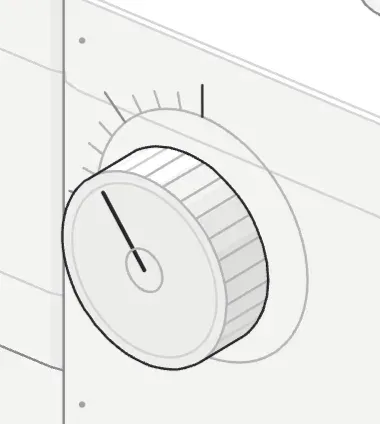 The dial reads retraction in 0.25 mm steps.
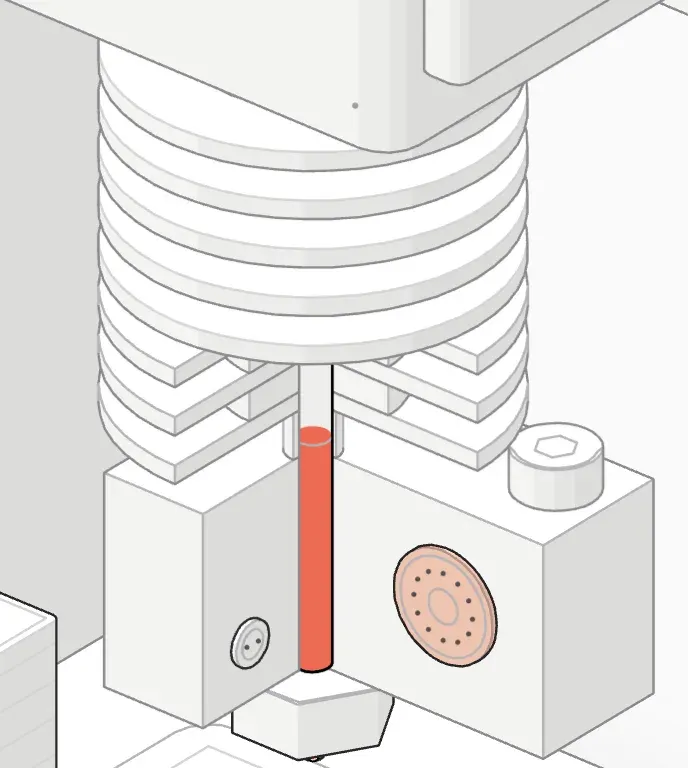 Too much retraction pulls melt up into the heat break.
Where to find these settings in your slicer
| Setting | OrcaSlicer / Bambu Studio | PrusaSlicer | Cura |
|---|---|---|---|
| Retraction length | Printer settings → Extruder → Retraction (filament profiles can override it) | Printer Settings → Extruder 1 → Retraction → Length | Travel → Retraction Distance |
| Retraction speed | Printer settings → Extruder → Retraction | Printer Settings → Extruder 1 → Retraction → Speed | Travel → Retraction Speed |
| Nozzle temperature | Filament settings → Nozzle temperature | Filament Settings → Filament → Temperature → Nozzle | Material → Printing Temperature |
| Travel speed | Process → Speed → Travel | Print Settings → Speed → Travel | Speed → Travel Speed |
| Avoid crossing walls | Process → Quality → Avoid crossing walls | Print Settings → Layers and perimeters → Avoid crossing perimeters | Travel → Combing Mode |
| Wipe | Printer settings → Extruder → Wipe while retracting | Printer Settings → Extruder 1 → Wipe while retracting | Experimental → Wipe Nozzle Between Layers |
| Coasting | not available | not available | Experimental → Enable Coasting |
Menu names move between slicer versions. If you can’t find a setting, type its name into the slicer’s settings search box.
Step 4: Tune retraction speed
Retraction speed is how fast the filament is pulled back. Too slow, and plastic leaks out before the retraction finishes. Too fast, and the extruder gears can grind a notch into the filament.
A good starting range is 25–45 mm/s. Most modern printer profiles already sit in this range, so tune distance first and only change speed if strings remain.
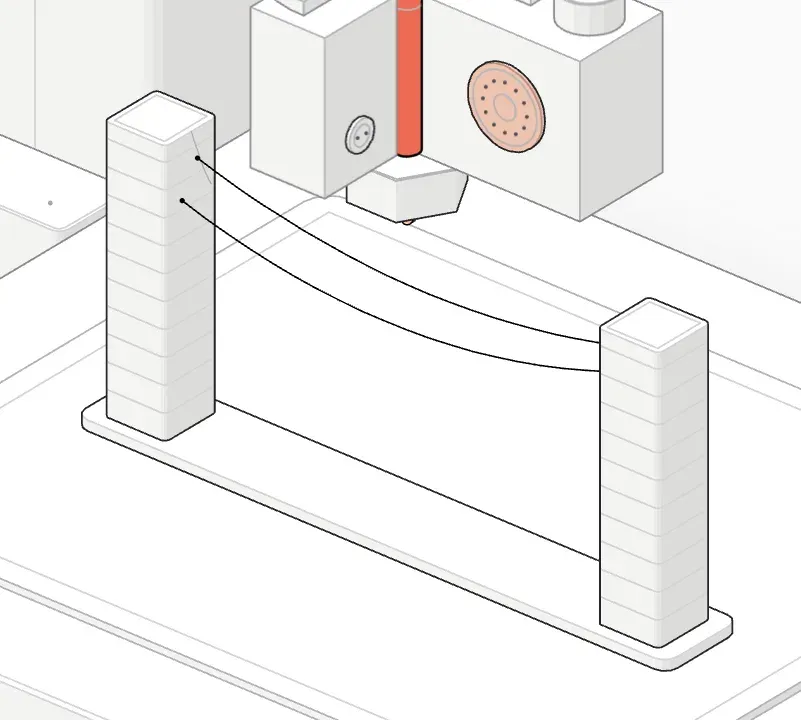 Retraction speed 15 mm/s: few strings.
- Retraction speed 25 mm/s: few strings.
- Retraction speed 35 mm/s: few strings.
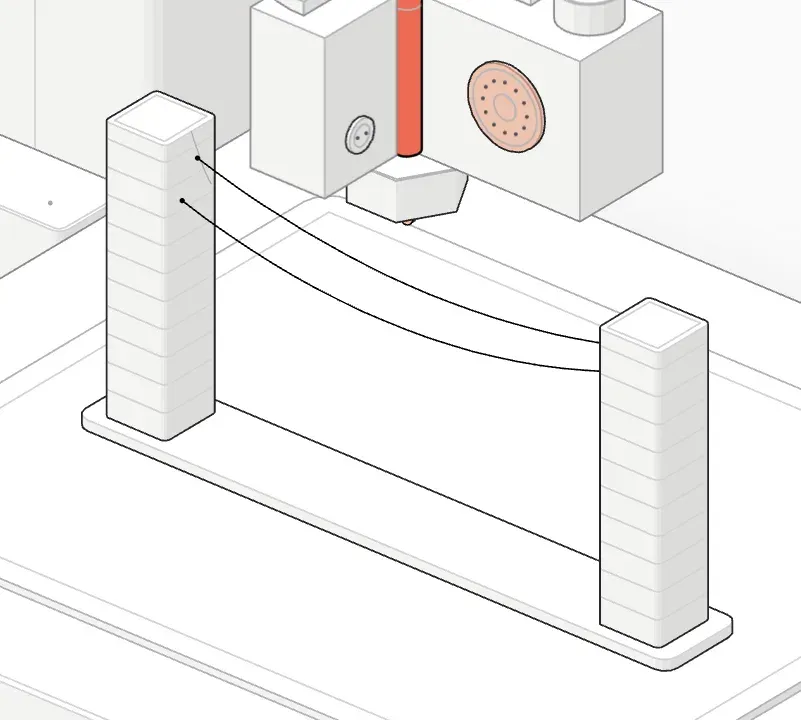 Retraction speed 45 mm/s: few strings.
 Retraction speed 55 mm/s: few strings.
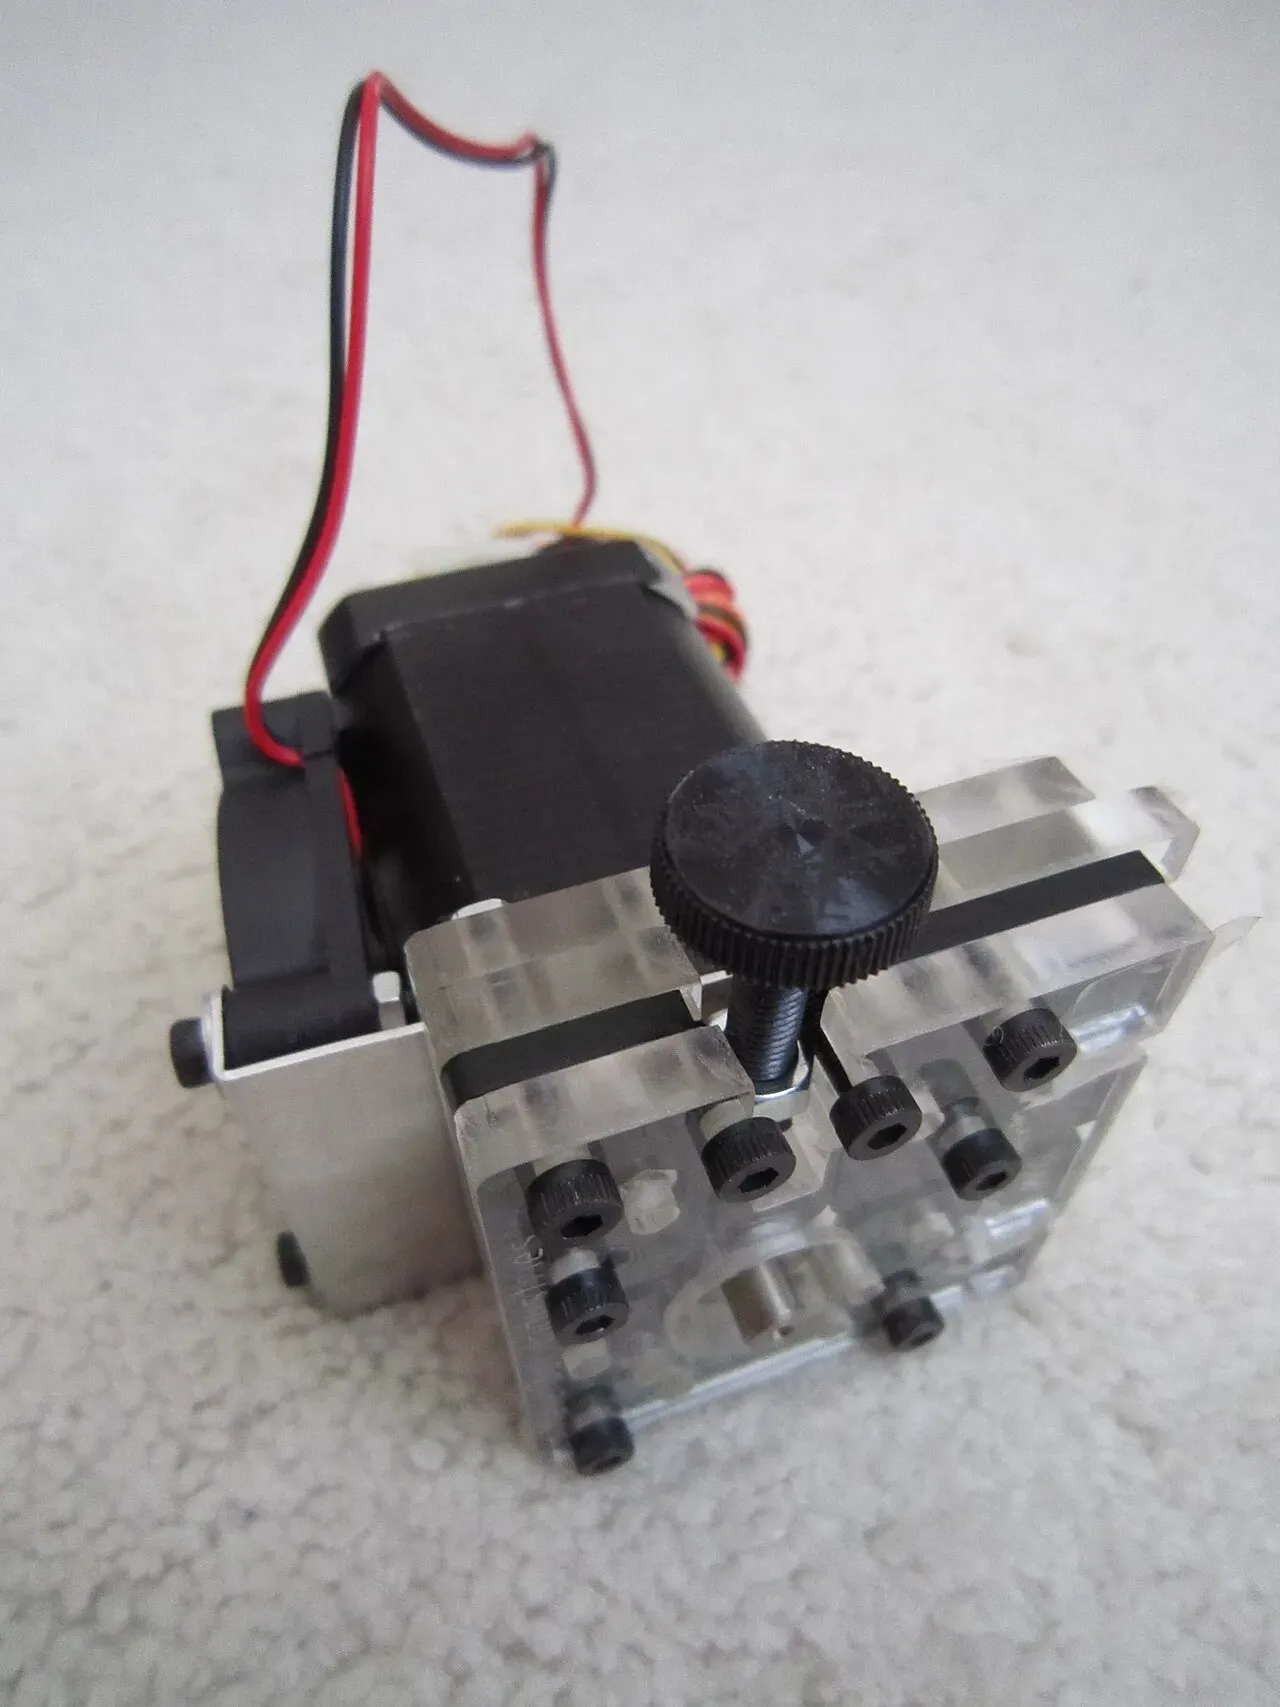 An extruder motor with its tension knob.Photo: syvwlch ·CC BY 2.0 ·Wikimedia Commons
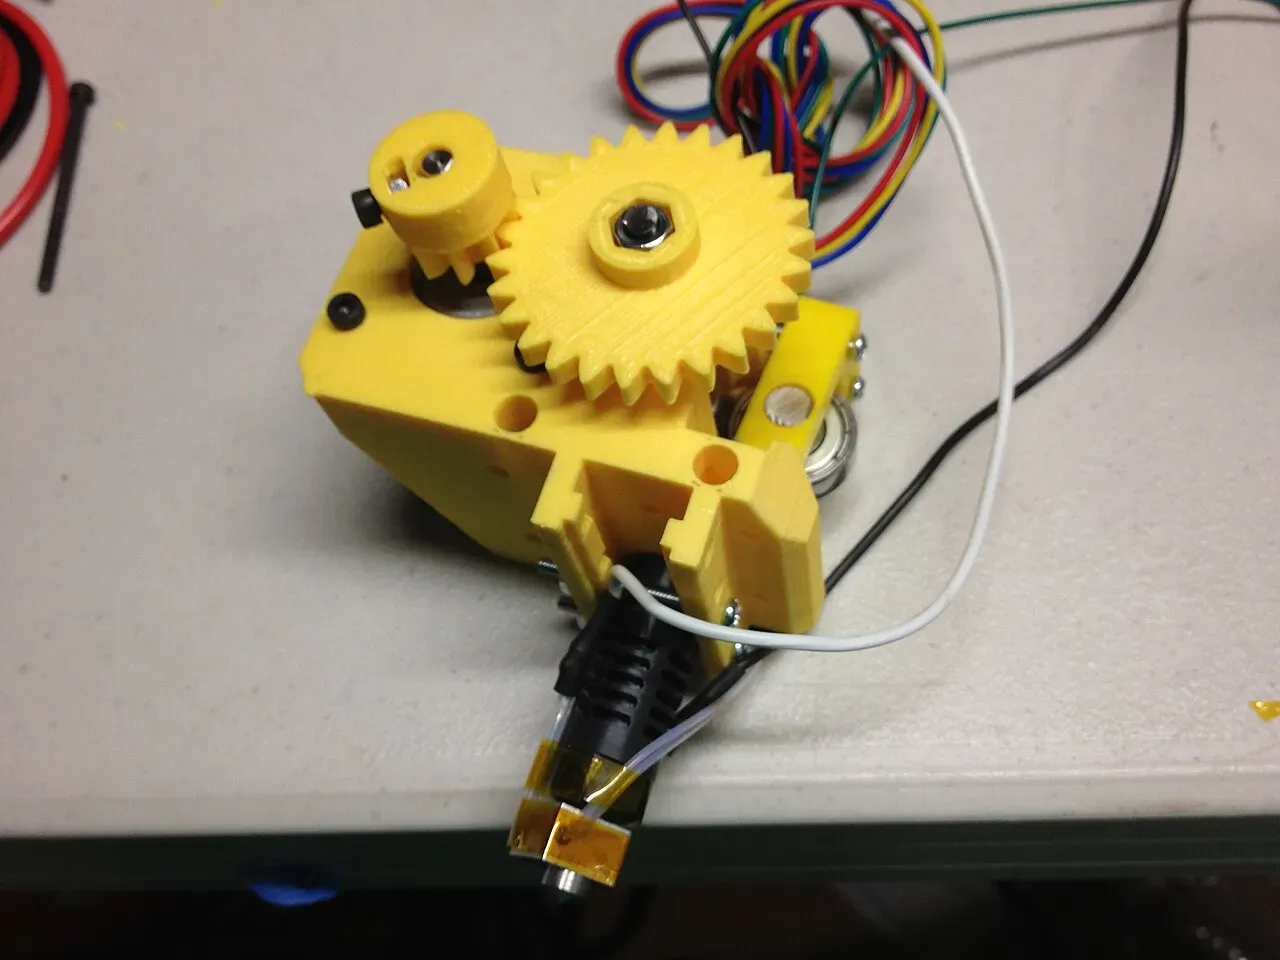 An assembled extruder before it goes on the printer.Photo: John Abella ·CC BY 2.0 ·Wikimedia Commons
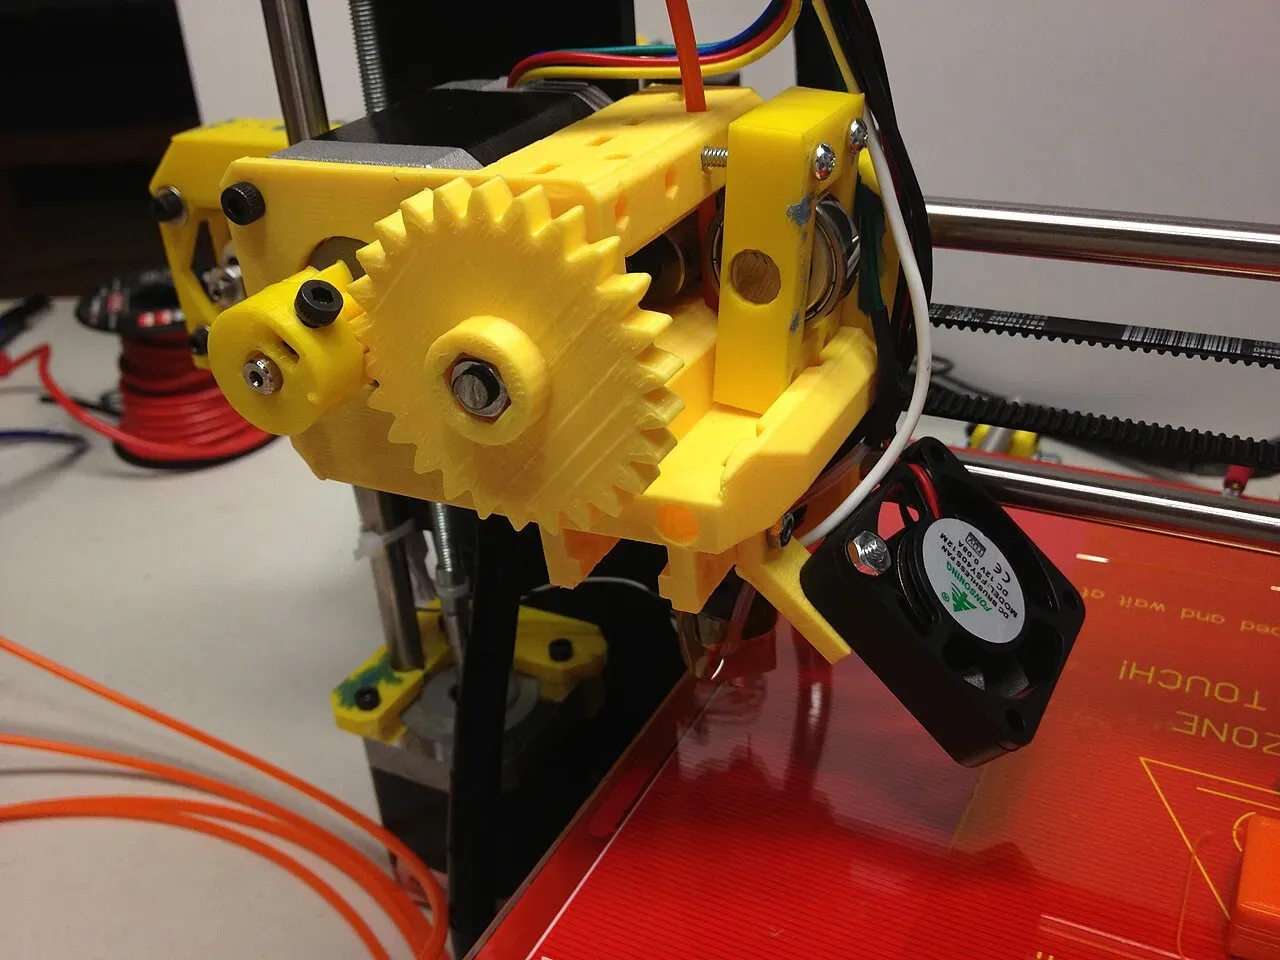 A geared extruder on a Prusa i3.Photo: John Abella from Outside Philadelphia, USA ·CC BY 2.0 ·Wikimedia Commons
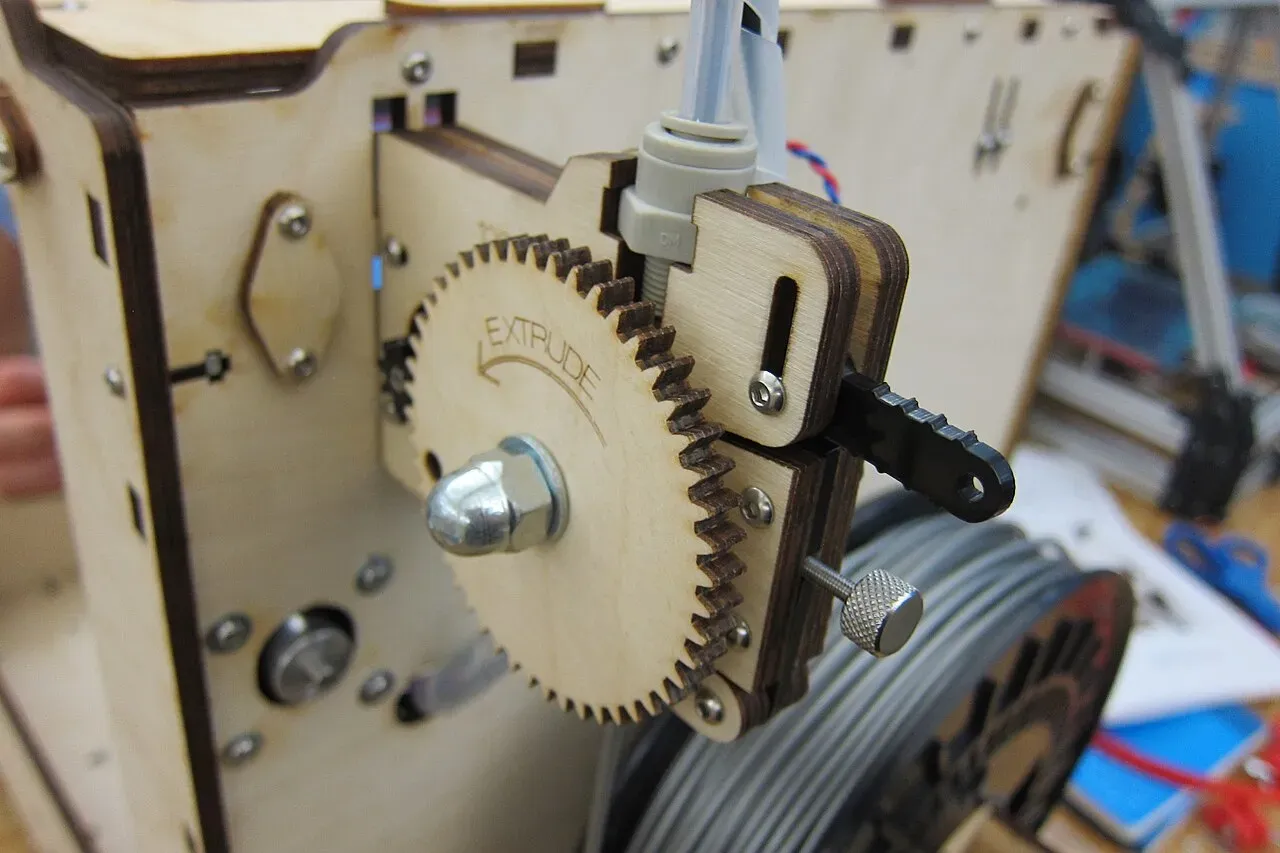 An early Ultimaker extruder: a big gear pushing filament.Photo: jabella ·CC BY 2.0 ·Wikimedia Commons
Step 5: Travel moves
The less time the nozzle spends moving over open air, the less it can ooze.
- Increase travel speed. Most printers can travel at 150 mm/s or faster; modern CoreXY printers go much higher.
- Turn on avoid crossing walls (combing in Cura). The nozzle travels over the inside of the part instead of open space, so any ooze stays hidden inside.
- Be careful with Z-hop. Lifting the nozzle on every travel stops it dragging across the print, but it doesn’t reduce oozing, and on some printers it makes strings longer. Use it only if the nozzle is catching on the part.
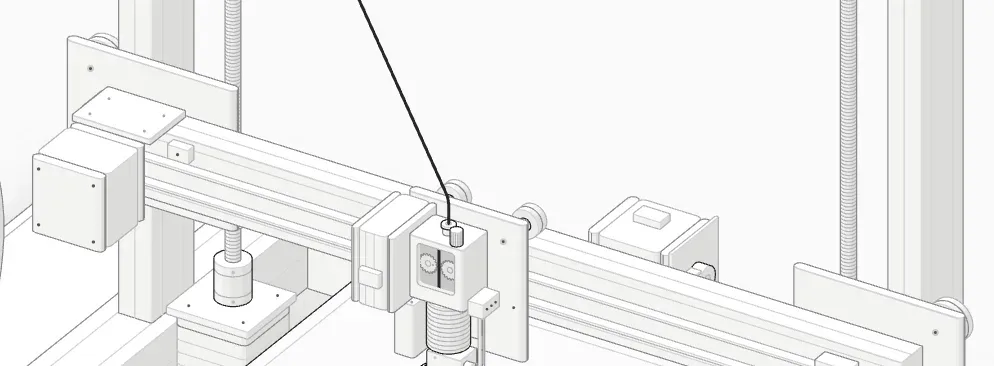 The X gantry: the print head rides along it on a belt.
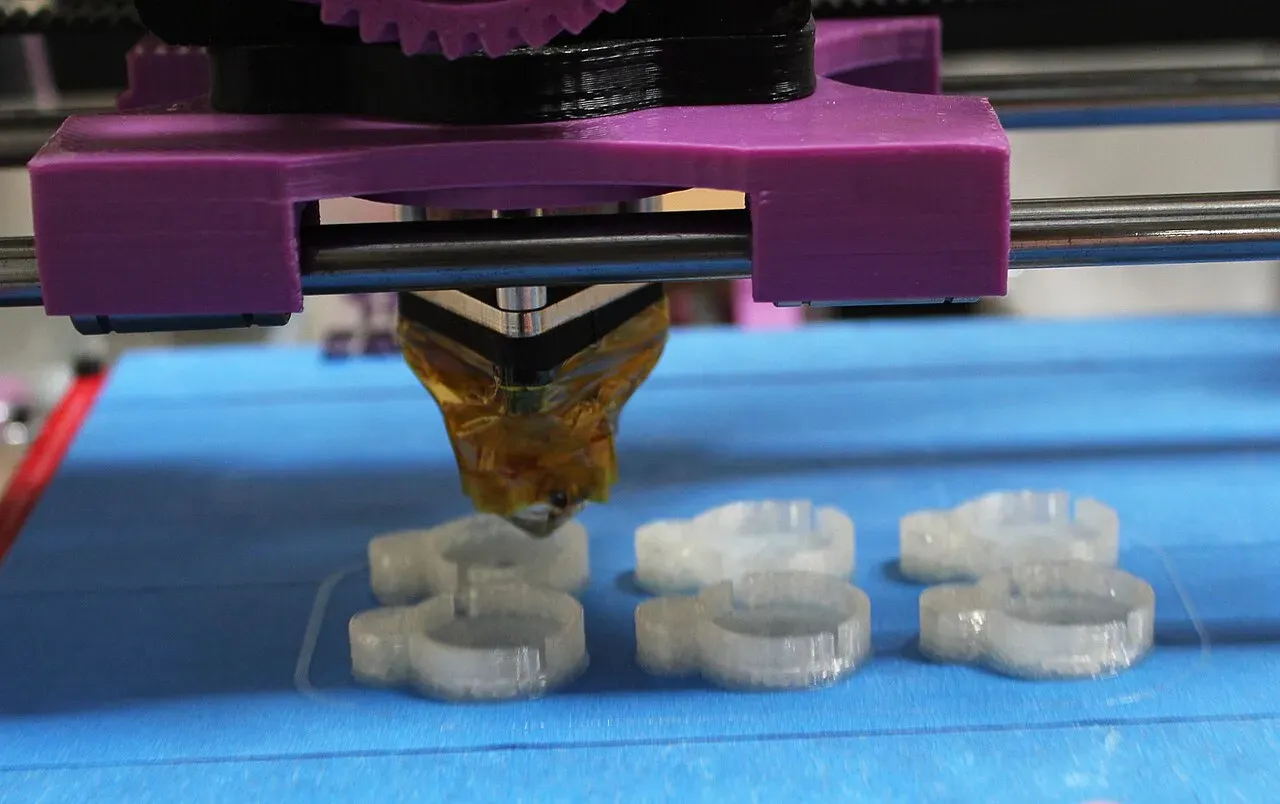 A print head at work over a plate of small parts.Photo: Neon Tommy ·CC BY-SA 2.0 ·Wikimedia Commons
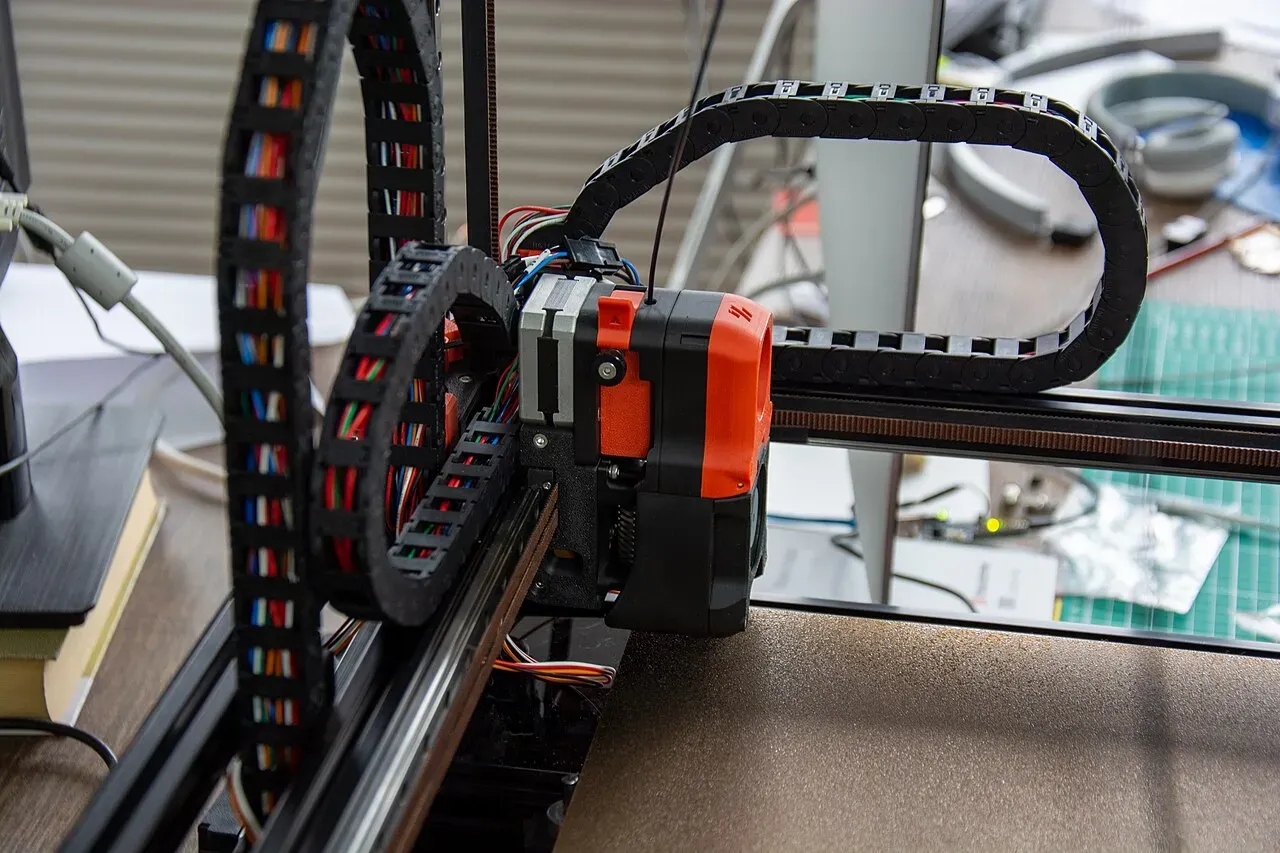 The toolhead rides the gantry; cable chains carry its wires.Photo: disinterpreter ·CC BY-SA 2.0 ·Wikimedia Commons
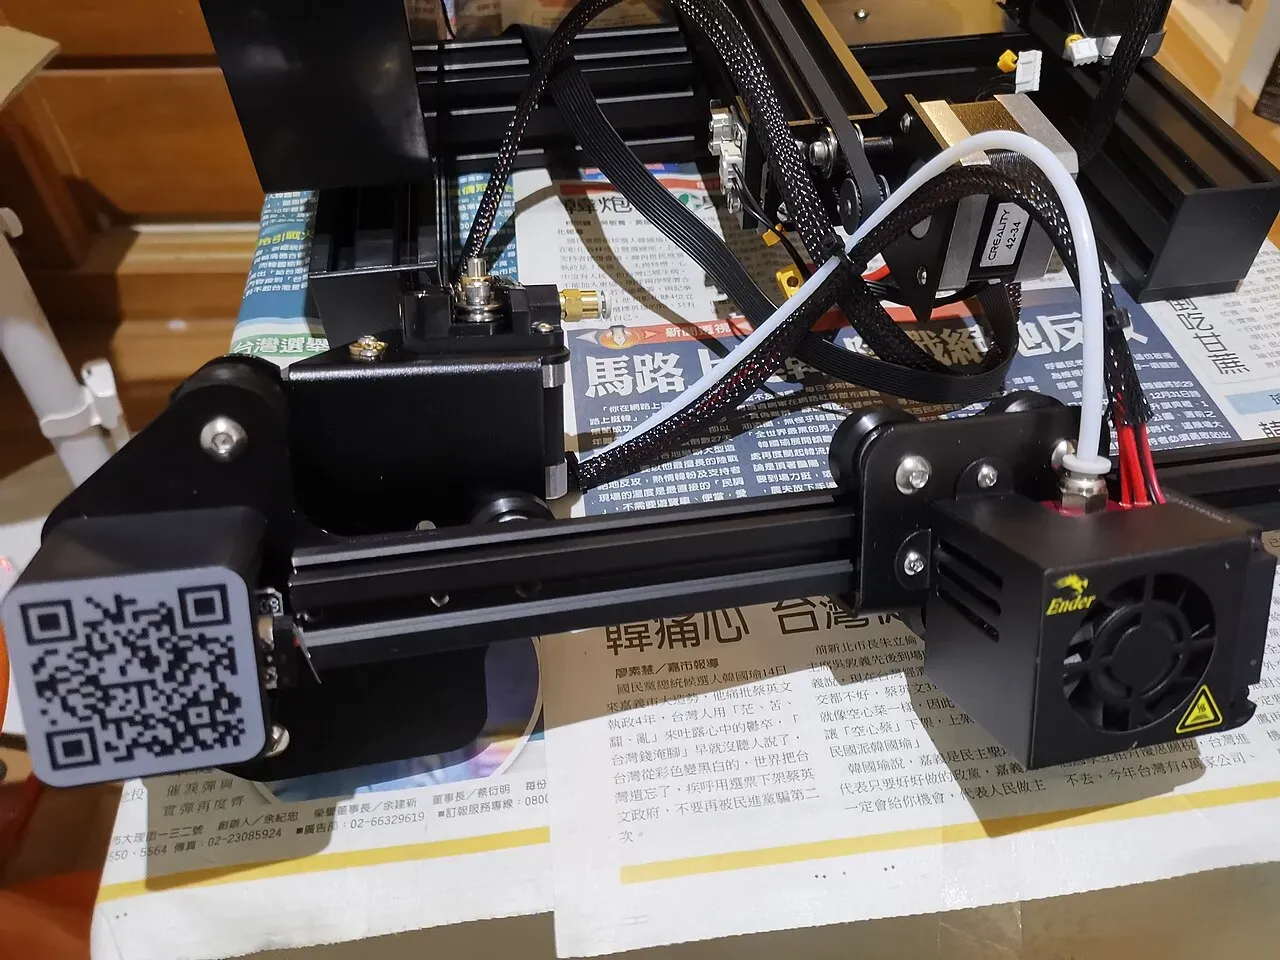 The gantry and print head of a bed-slinger.Photo: kenming Wang ·CC BY-SA 2.0 ·Wikimedia Commons
Step 6: Wipe, coasting and cooling
- Wipe moves the nozzle back over the part as it retracts, wiping the drip off on the print instead of carrying it across a gap.
- Coasting (Cura) stops extruding a fraction of a millimetre before the end of each line, using up the pressure in the nozzle. Start small; too much leaves gaps at the ends of lines.
- Cooling: a strong part-cooling fan freezes thin strings before they sag, which makes them easier to remove. It won’t stop oozing on its own.
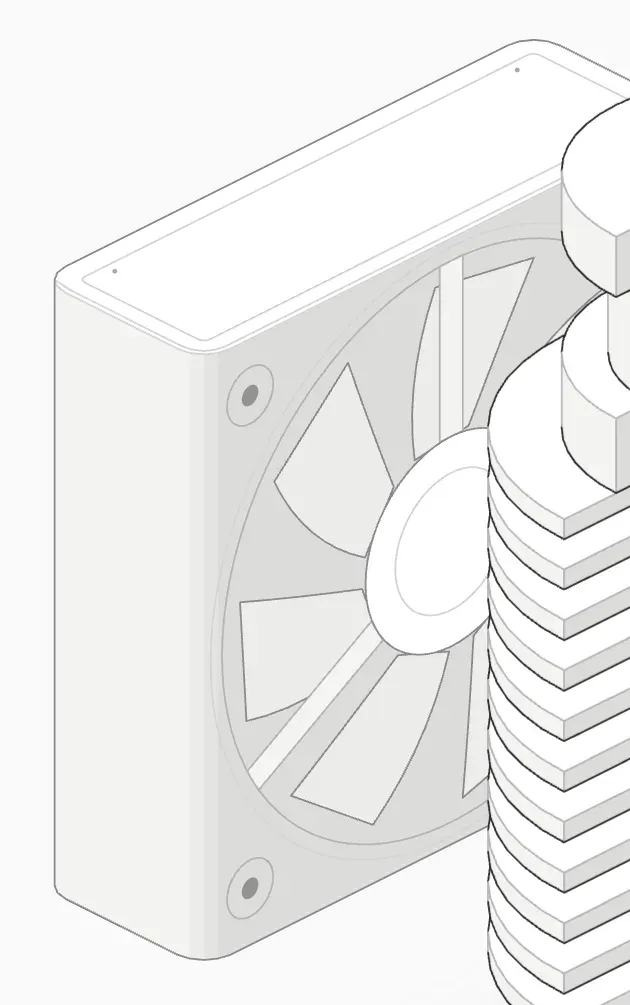 The hotend fan cools the heatsink. It must run whenever the hotend is hot.
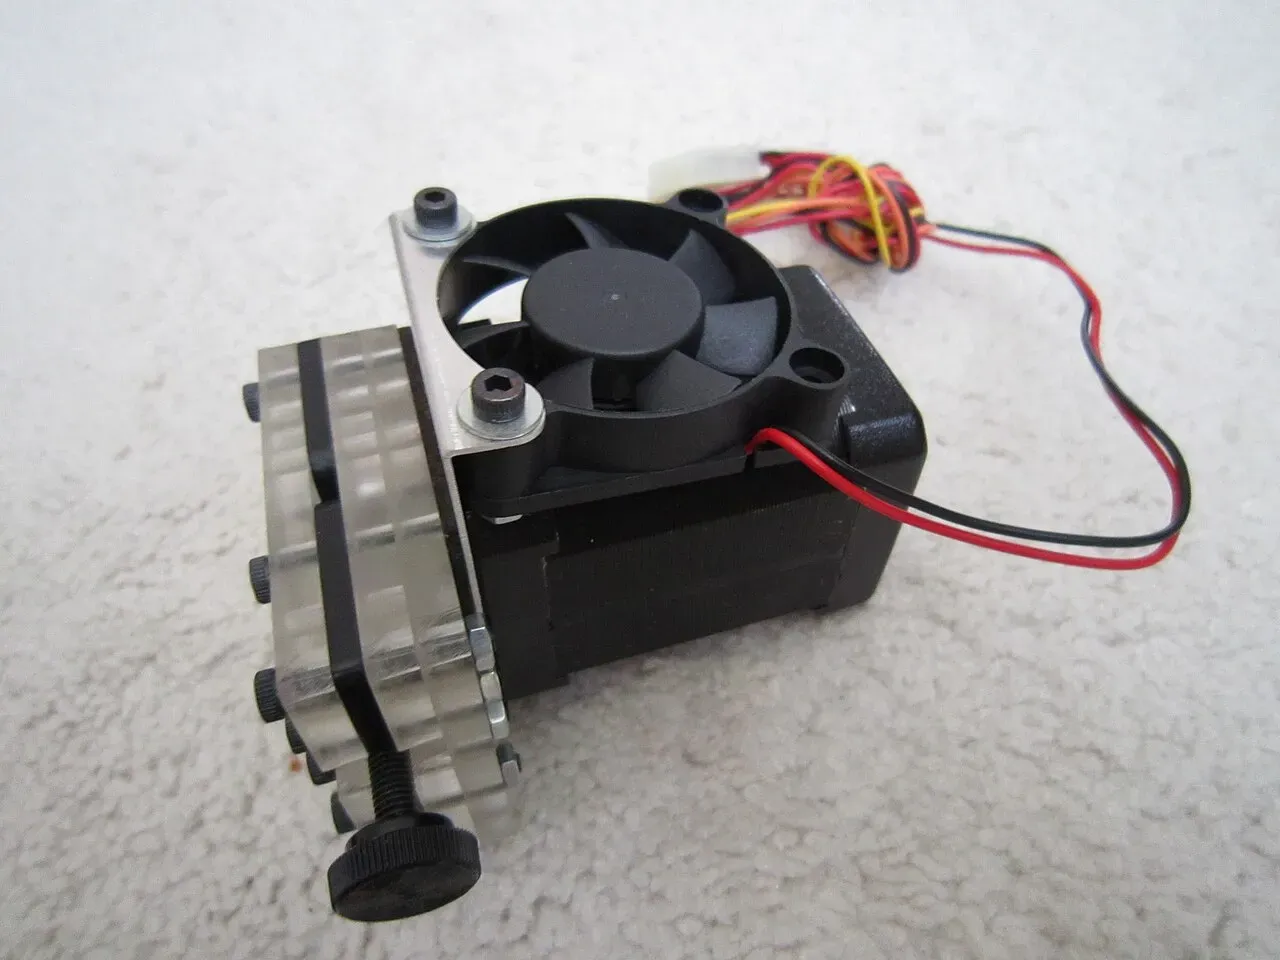 A small fan cooling the extruder assembly.Photo: syvwlch ·CC BY 2.0 ·Wikimedia Commons
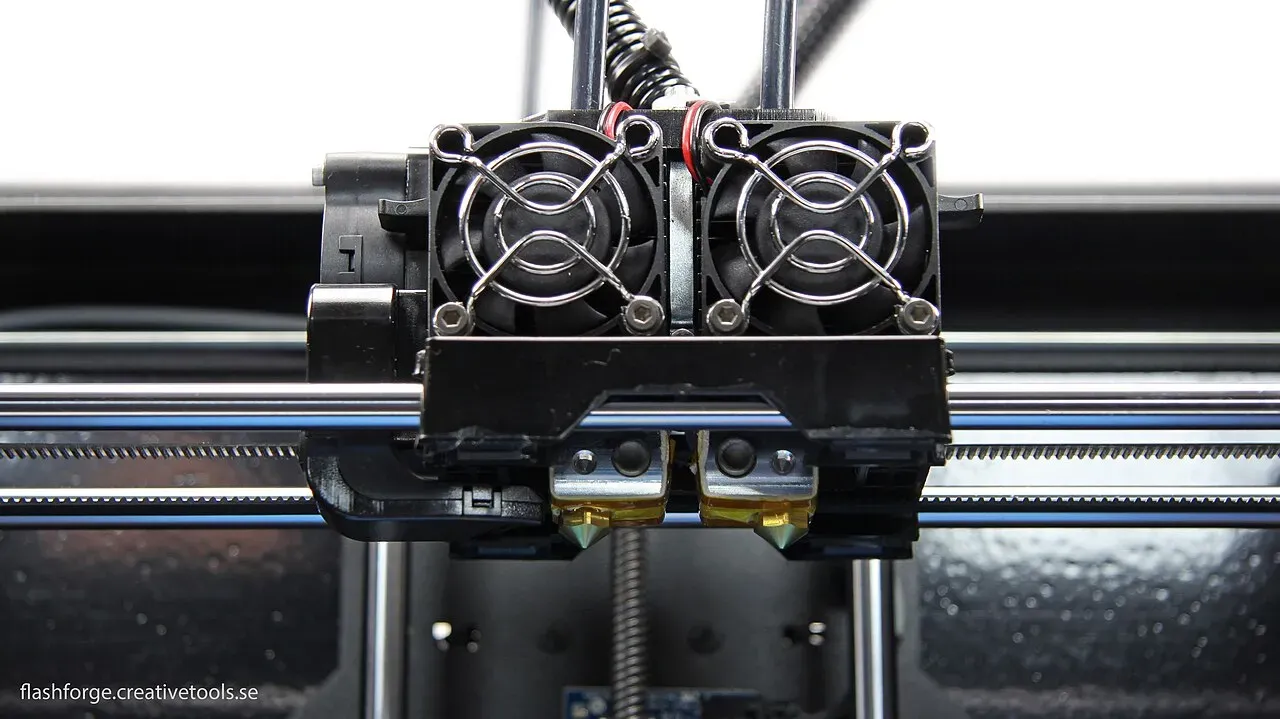 A dual-nozzle head: two hotends side by side.Photo: Creative Tools from Halmstad, Sweden ·CC BY 2.0 ·Wikimedia Commons
Step 7: Check the nozzle and hotend
A worn nozzle, or plastic stuck to the outside of it, drags strings around and drips at the start of every travel.
- Heat the nozzle and wipe the outside with a brass brush (carefully, it’s hot).
- If your nozzle is old, or you’ve printed abrasive filaments (glow-in-the-dark, carbon fibre, wood-fill), replace it. Brass nozzles are cheap.
- Make sure the hotend isn’t leaking around the threads. That needs a hot tighten following your printer’s manual.
- If you’ve had heat creep (filament softening too high in the hotend), check the hotend fan works. A failing fan makes oozing and jams far worse.
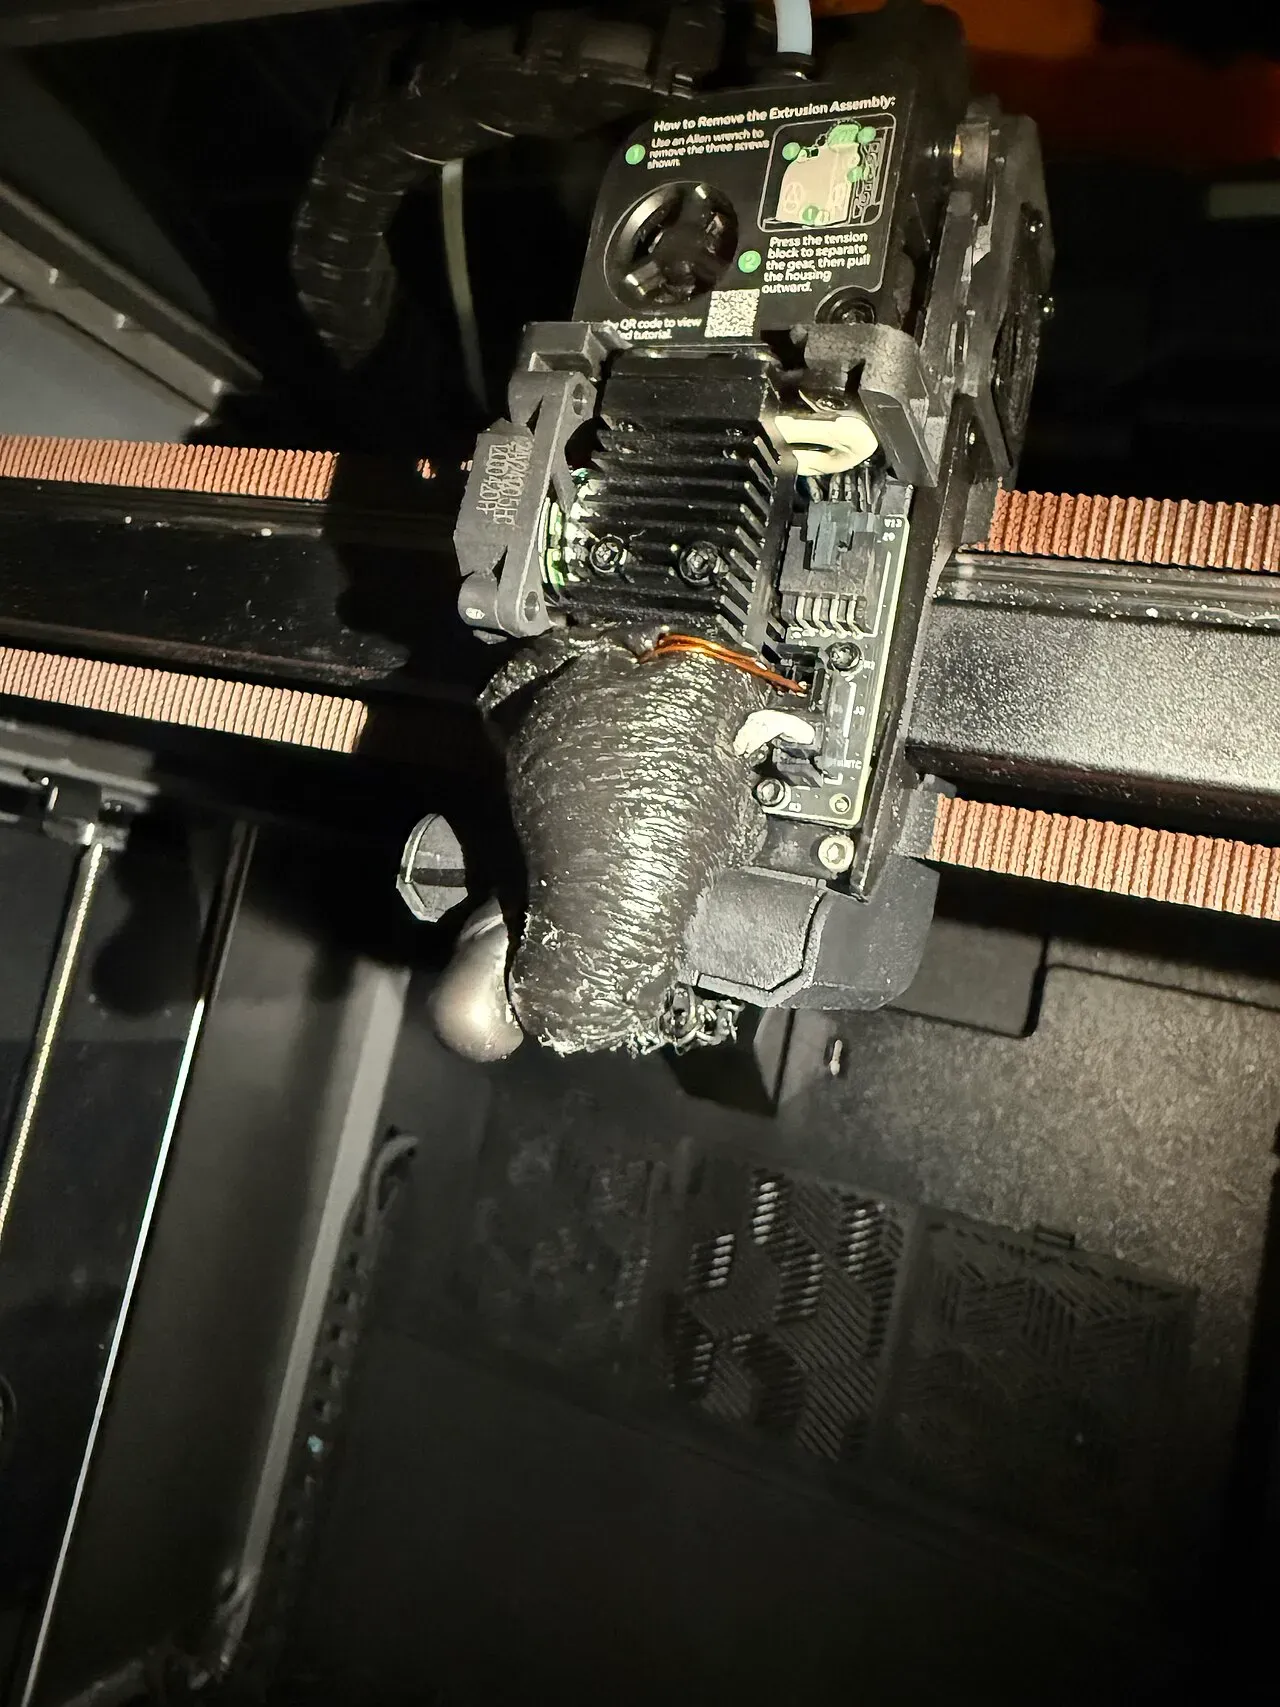 The "blob of death": plastic that leaked and wrapped the hotend.Photo: LunaEatsTuna ·CC BY-SA 4.0 ·Wikimedia Commons
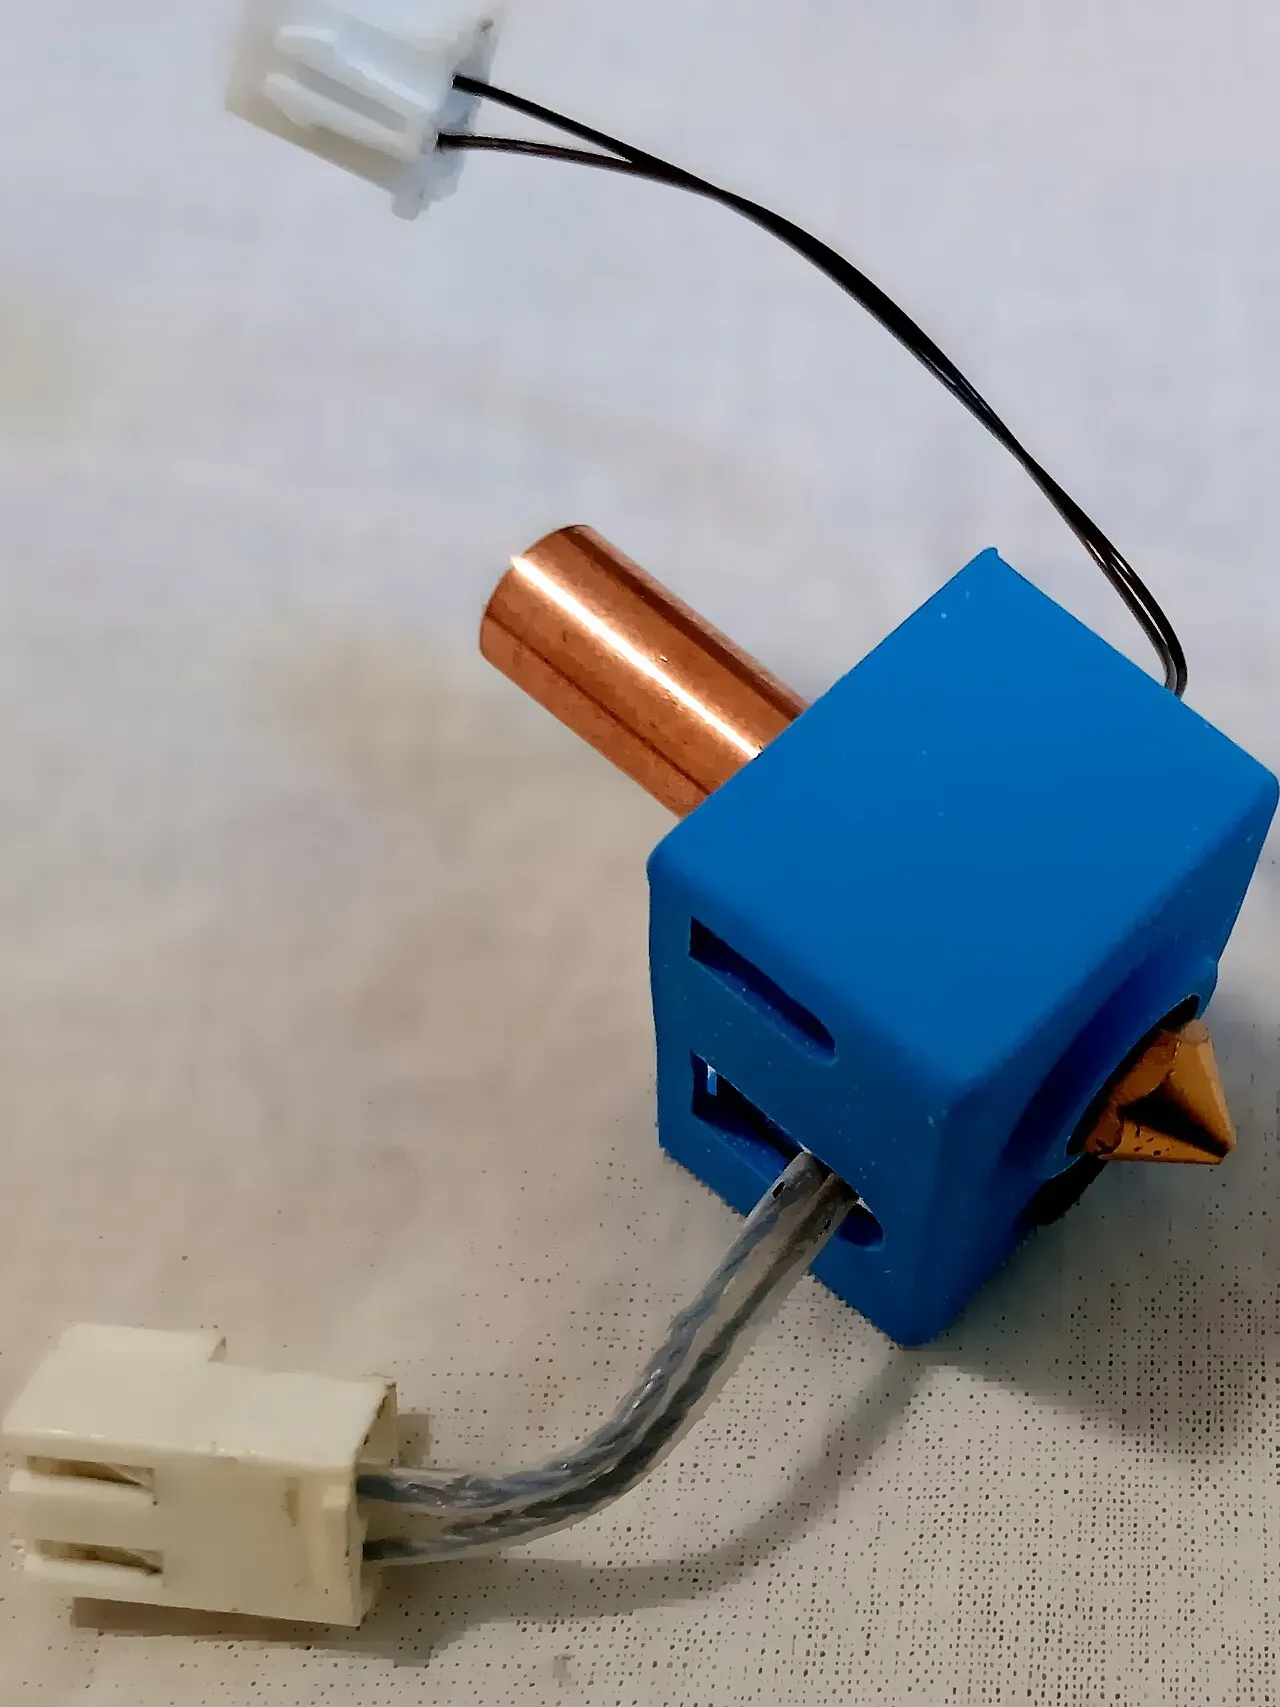 A heater block in a silicone sock, with the nozzle below and heat break above.Photo: A7N8X ·CC0 ·Wikimedia Commons
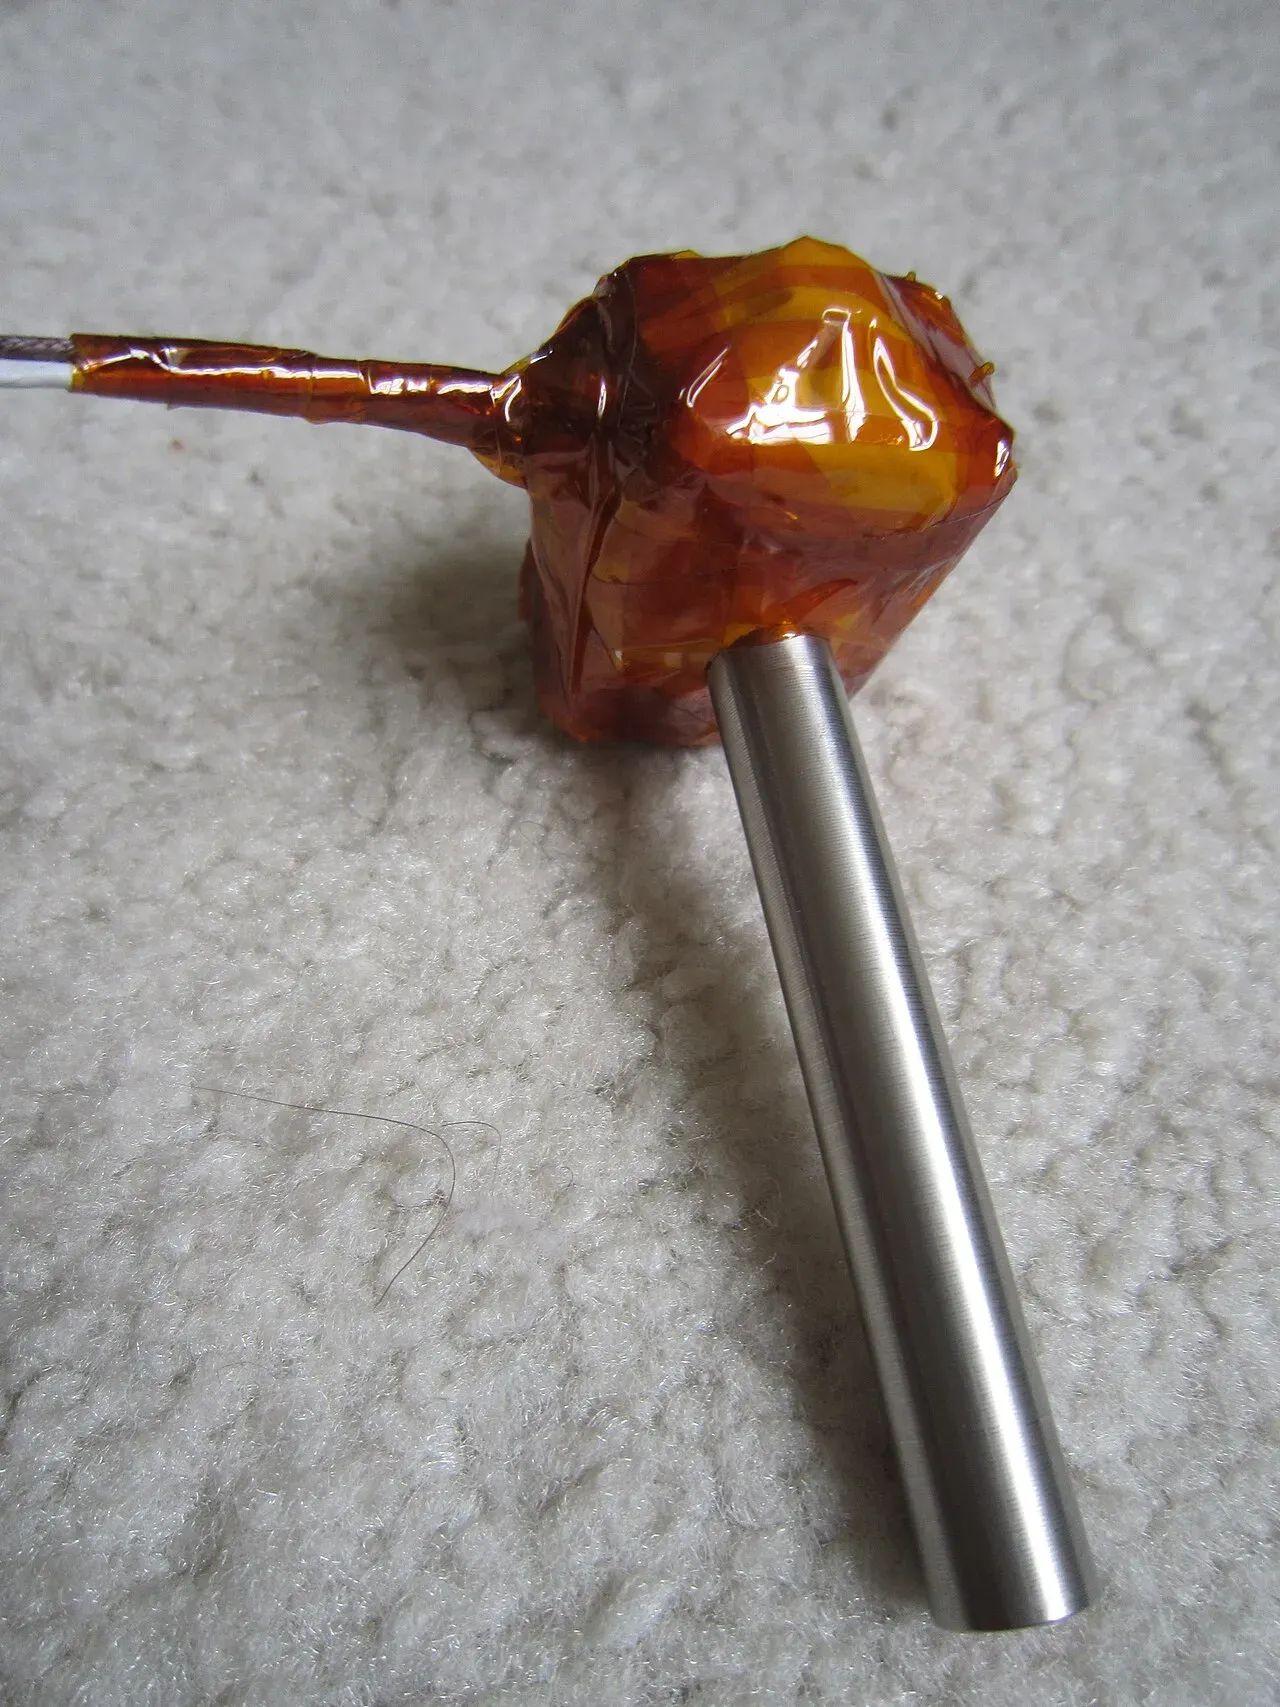 The nozzle threads into the heater block.Photo: syvwlch ·CC BY 2.0 ·Wikimedia Commons
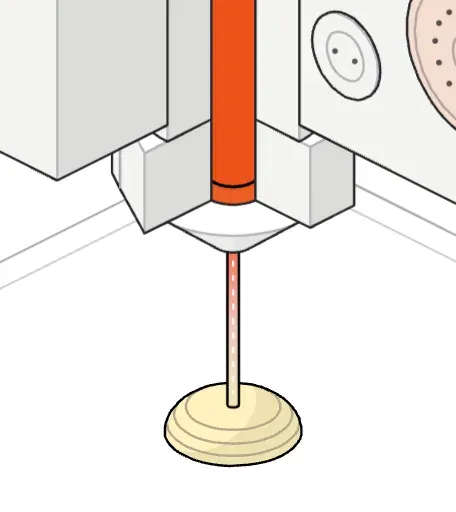 A brass 0.4 mm nozzle laying a thin strand.
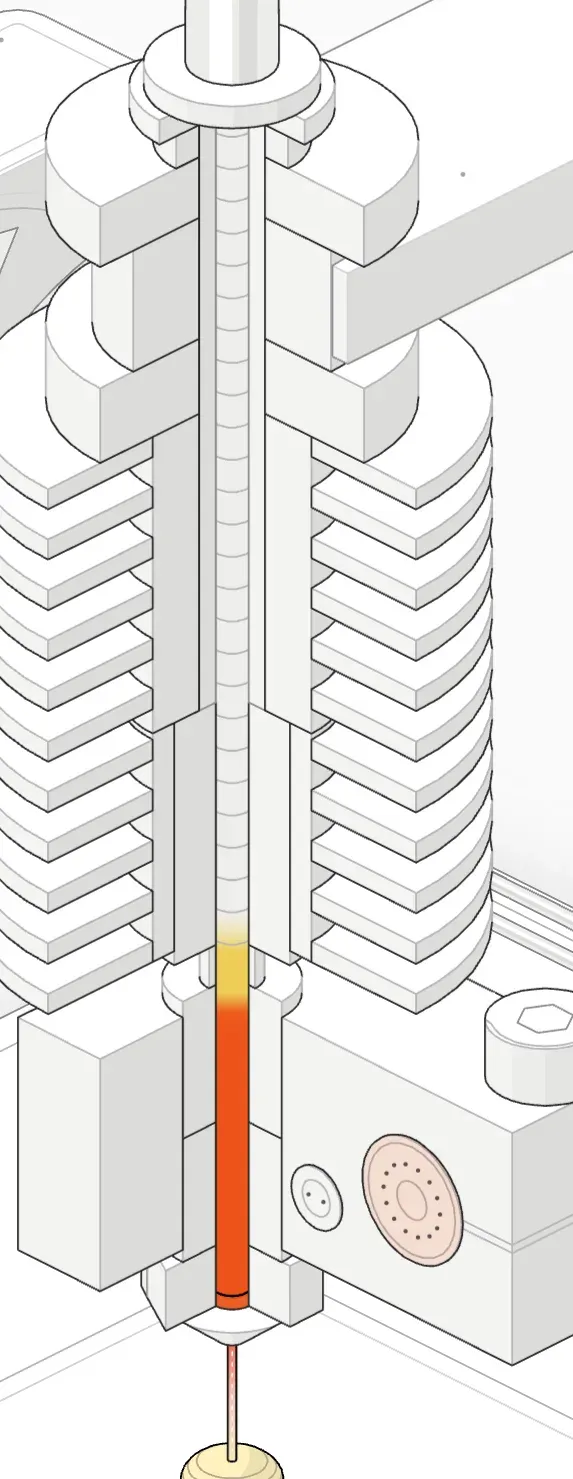 Solid filament above the heat break, molten filament in the heater block.
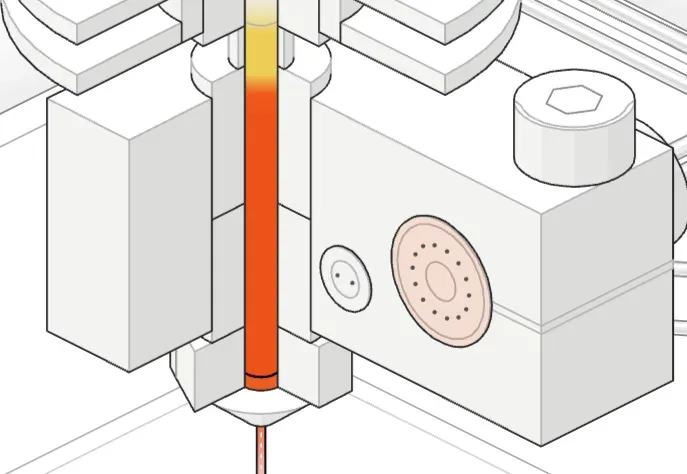 The heater block holds the heater cartridge and the thermistor.
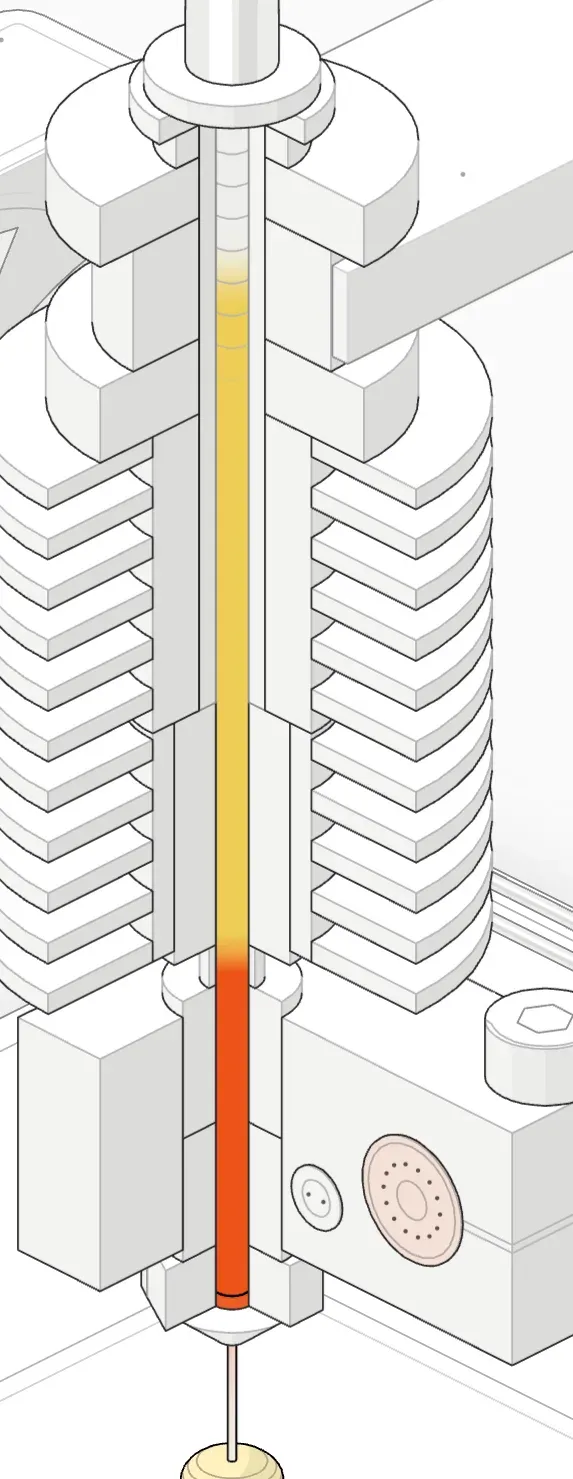 Fan off: heat creeps up the heatsink and the filament softens too high.
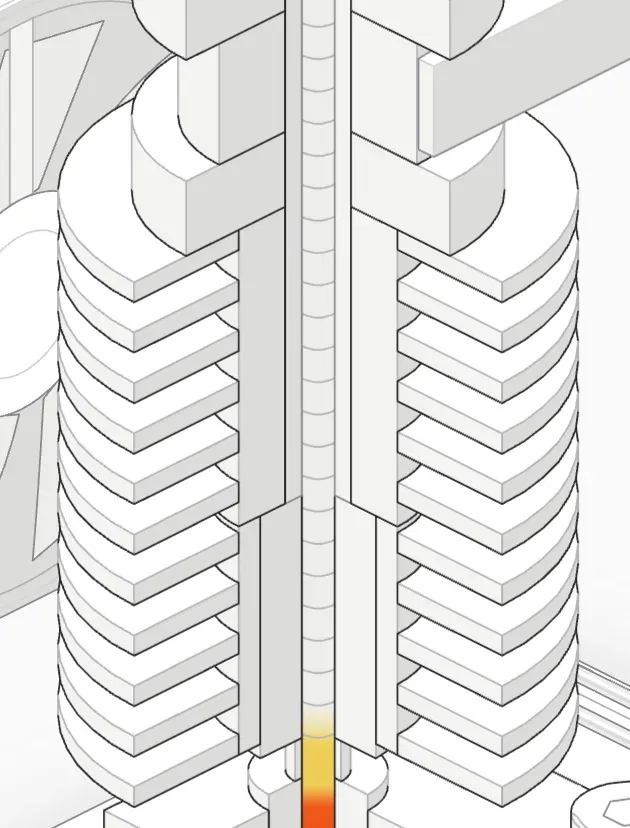 The finned heatsink keeps the top of the hotend cold.
Settings by material
| Material | Strings? | Nozzle | Retraction (direct / Bowden) | Notes |
|---|---|---|---|---|
| PLA | Low | 190–220 °C | 0.5–1 mm / 4–6 mm | Easiest to tune |
| Silk PLA | Medium | 200–225 °C | 0.8–1.5 mm / 5–6 mm | Strings more than plain PLA |
| PETG | High | 220–250 °C | 0.8–1.5 mm / 5–7 mm | Expect a few wisps; keep it dry |
| TPU | Medium | 210–235 °C | 0–0.5 mm / Bowden not recommended | Little or no retraction; print slowly |
| ABS / ASA | Low–medium | 230–260 °C | 0.5–1 mm / 4–6 mm | Needs an enclosure |
If you’ve changed slicers or printers, start from the manufacturer’s profile for that exact filament before tuning anything.
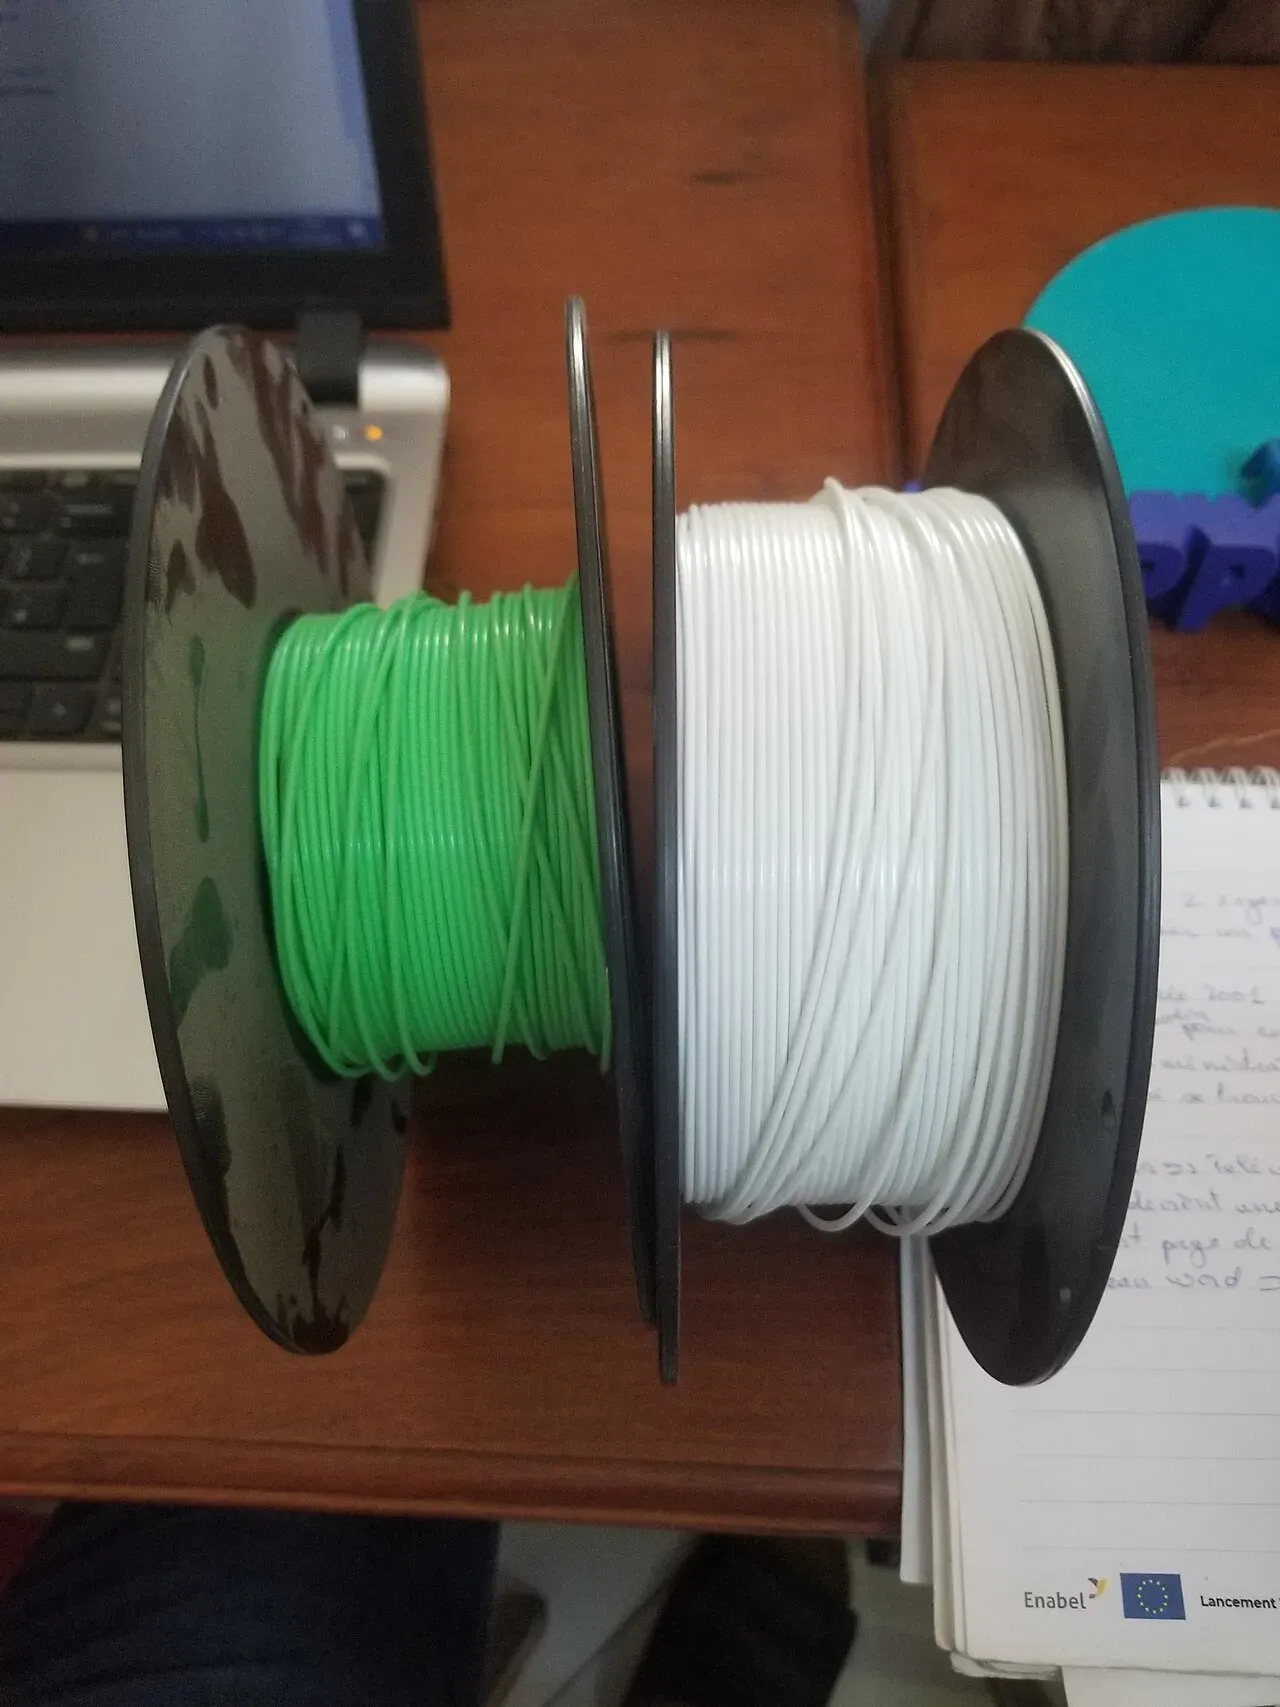 PLA: the beginner's filament.Photo: Richardspa ·CC0 ·Wikimedia Commons
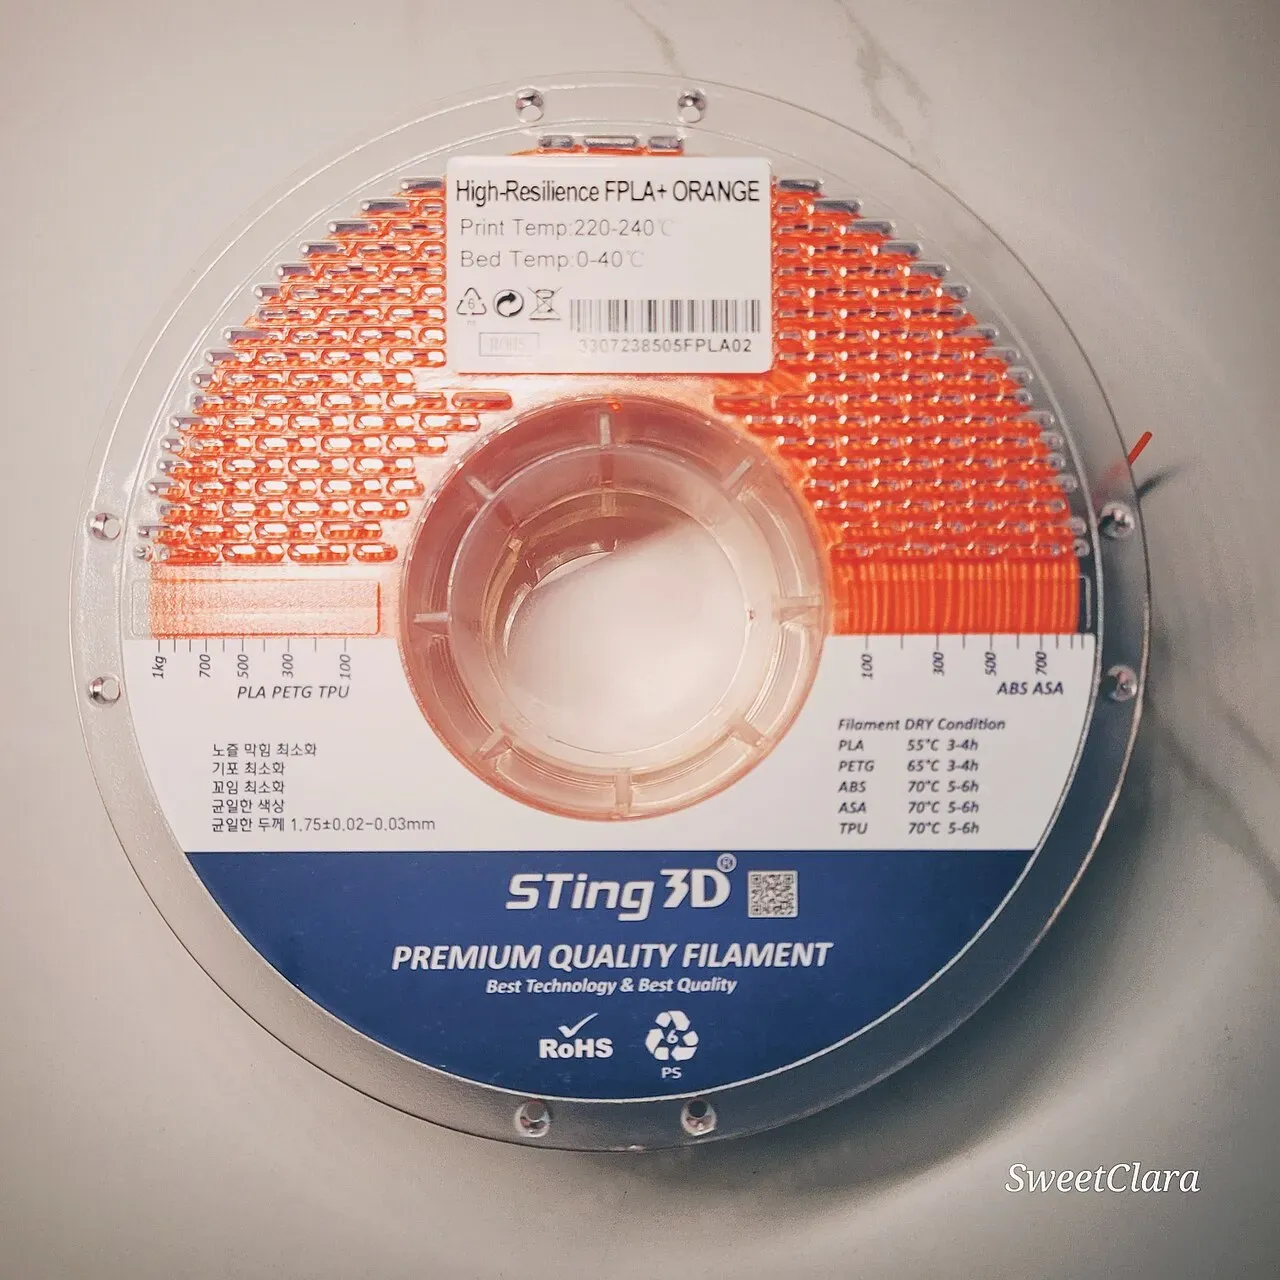 Flexible filament: label shows its print temperature.Photo: Sweetclara ·CC BY-SA 4.0 ·Wikimedia Commons
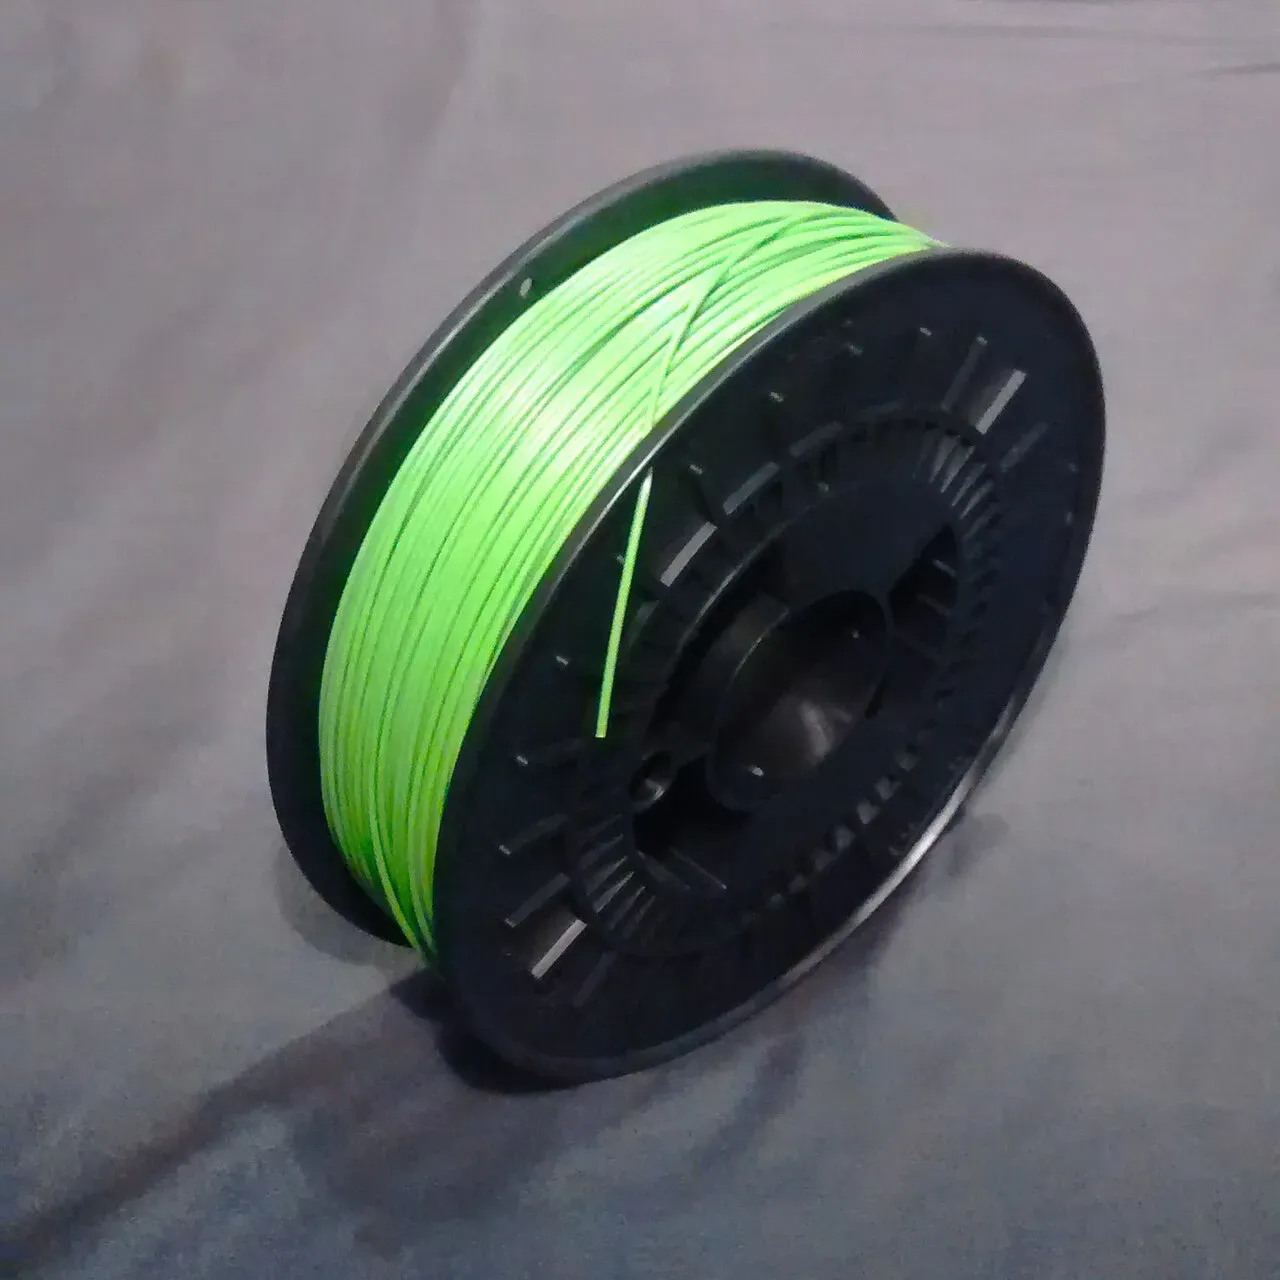 A spool of ABS.Photo: Tatár Lehel ·CC BY-SA 3.0 ·Wikimedia Commons
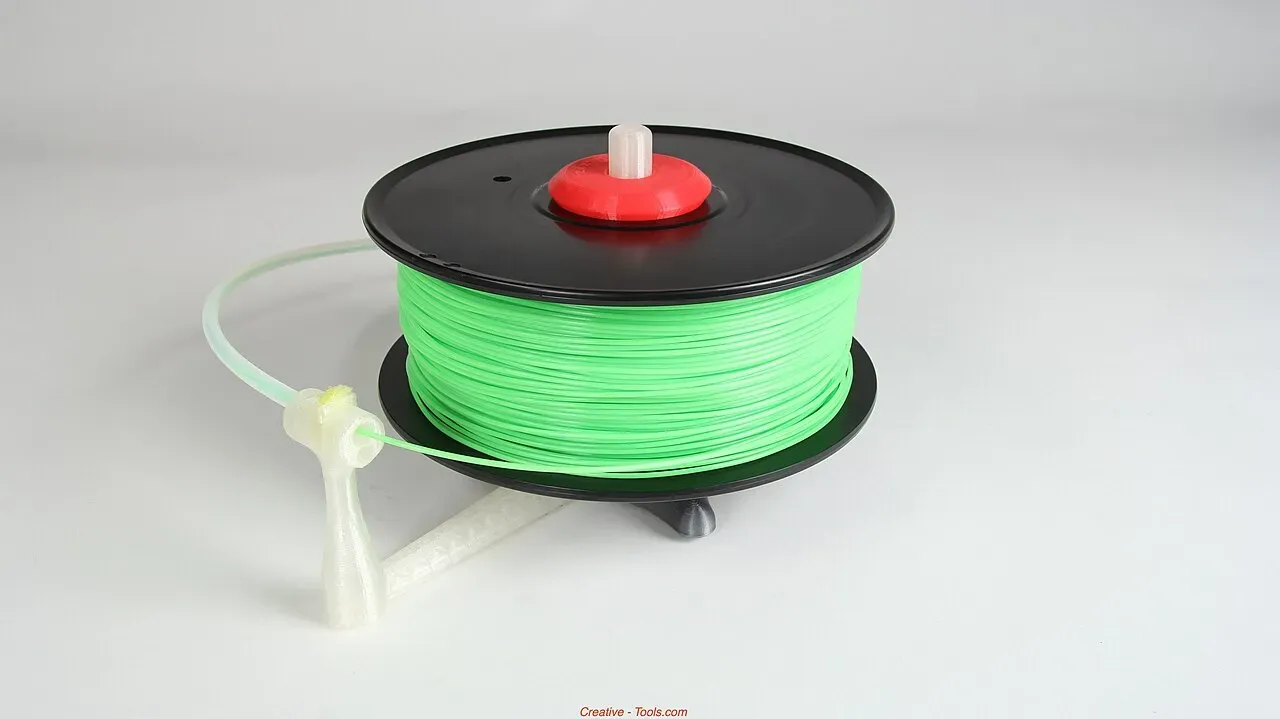 A simple spool holder lets the spool turn freely.Photo: Creative Tools ·CC BY 2.0 ·Wikimedia Commons
Temperature and retraction together
Temperature and retraction work as a pair. A cooler nozzle needs less retraction; a hot nozzle needs more. That’s why you change one setting at a time and re-test.
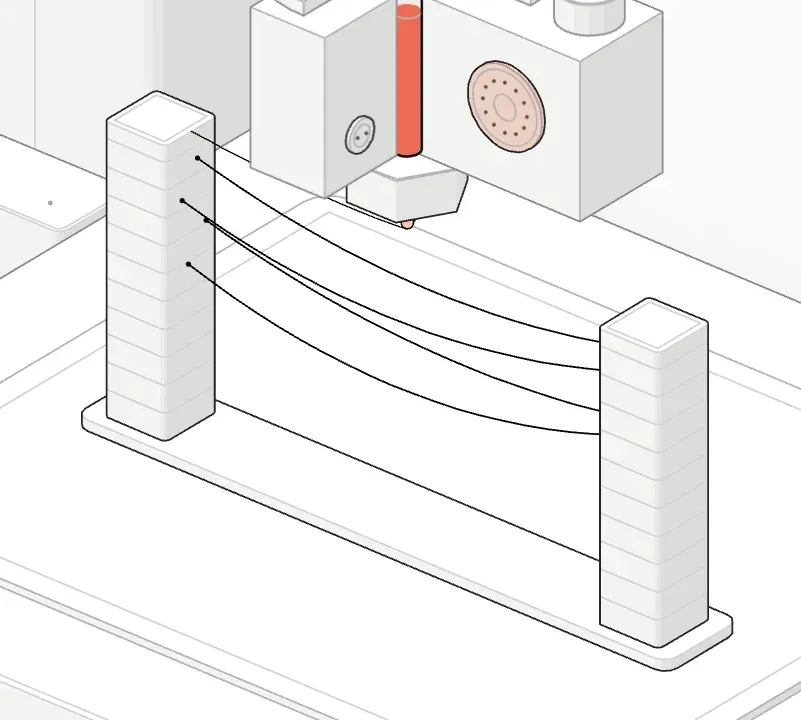 195 °C · 0.0 mm: some strings.
- 195 °C · 0.8 mm: few strings.
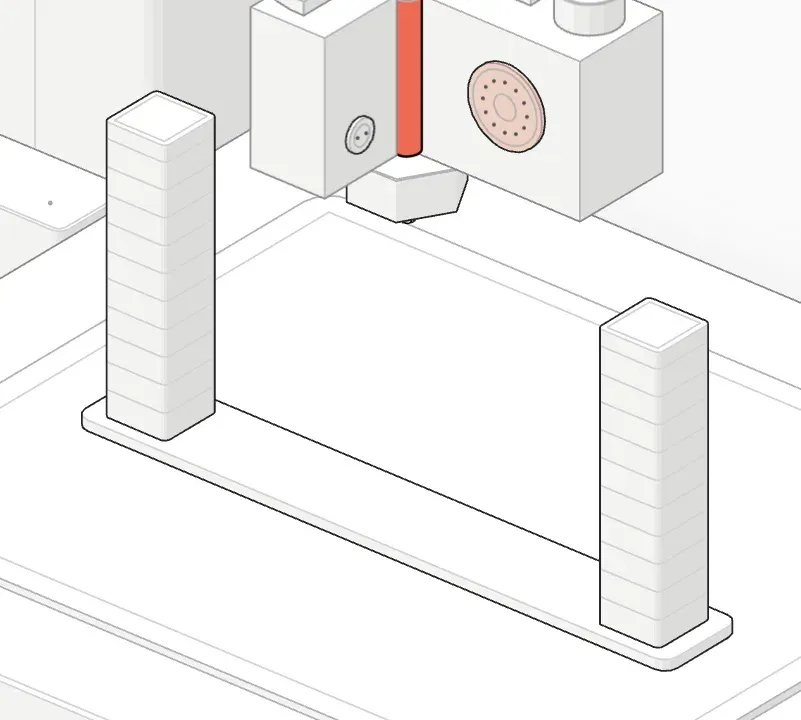 195 °C · 1.6 mm: no strings.
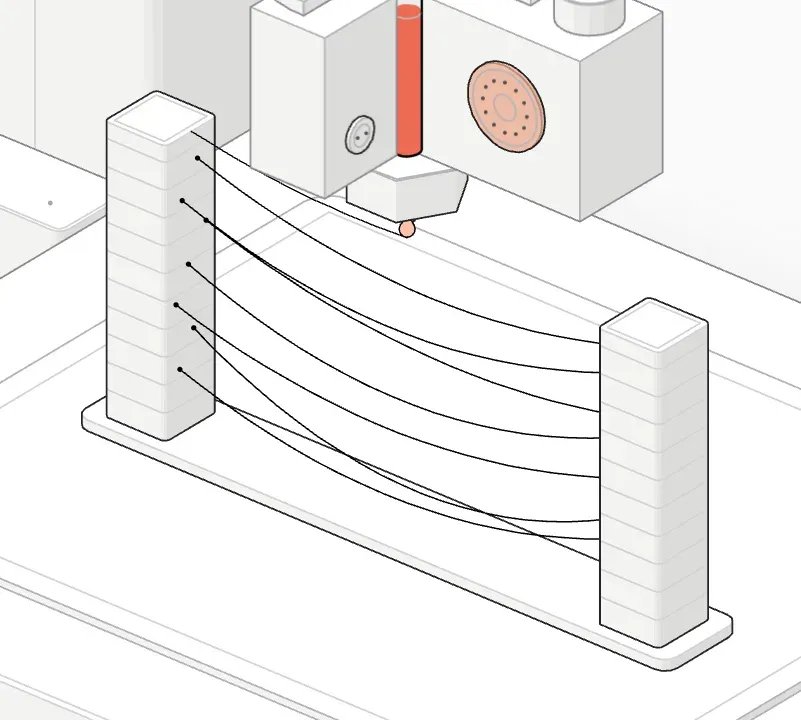 210 °C · 0.0 mm: many strings.
- 210 °C · 0.8 mm: few strings.
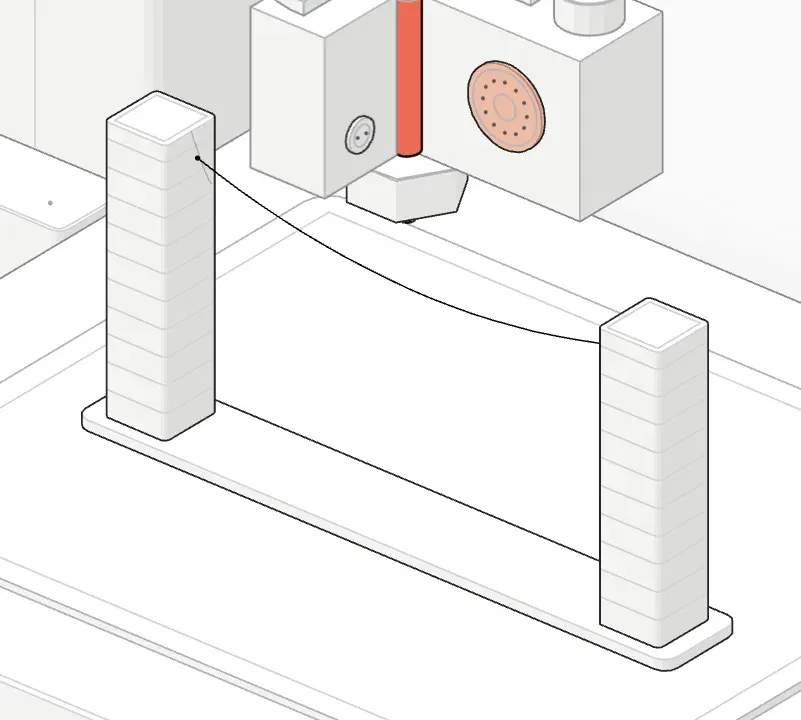 210 °C · 1.6 mm: few strings.
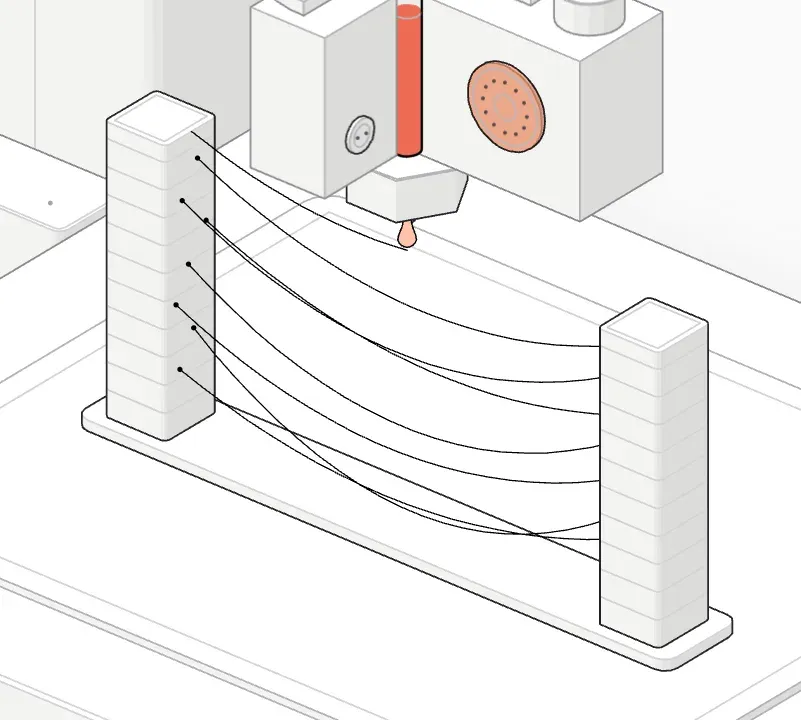 225 °C · 0.0 mm: many strings.
- 225 °C · 0.8 mm: many strings.
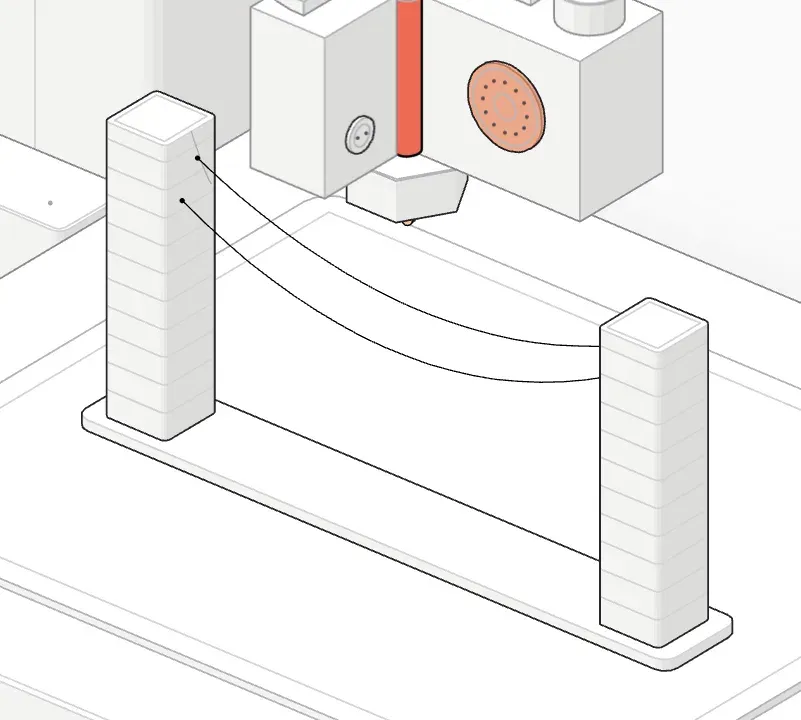 225 °C · 1.6 mm: few strings.
When stringing won’t go away
If you’ve worked through every step and still see strings:
- Try a fresh spool of the same material from a different brand. Some filaments just string more.
- Reset to the stock profile and change one setting at a time. Several half-tuned settings can fight each other.
- Check the extruder tension. Too loose and the gears slip on retraction; too tight and they flatten the filament.
- Look for a partial clog. Inconsistent extrusion together with stringing can mean debris in the nozzle. A cold pull or a new nozzle fixes it.
Cleaning up stringing that’s already there
A few light strings are easy to remove:
- Pass a heat gun or a hair dryer on high quickly over the print. Thin strings shrink and disappear before the part itself softens. Keep it moving.33It works because a string far thinner than a print line heats up in a fraction of a second, long before the solid part around it softens.
- Snip larger strings with flush cutters.
- Rub small hairs off with your fingers or a soft brush.
Your action plan
- Dry the filament.
- Print a temperature tower and pick the coolest clean section.
- Increase retraction distance in small steps.
- Keep retraction speed around 25–45 mm/s.
- Speed up travel and turn on avoid crossing walls.
- Turn on wipe; clean or replace the nozzle.
- Use the right profile for your material.
FAQ
Why does my PETG string so much more than PLA?
PETG stays soft and sticky over a wider temperature range, so it oozes more easily and stretches into strings instead of snapping. Dry it, print at the low end of its range, add a little retraction and accept a few wisps you can clean off with a heat gun.
Does more retraction always reduce stringing?
No. Past a point it stops helping and starts causing problems: grinding, under-extrusion after travel and, worst, molten plastic pulled into the heat break where it can jam. If 2 mm (direct drive) or 7 mm (Bowden) doesn’t fix it, look at temperature and moisture instead.
Can wet filament cause stringing?
Yes, and it’s the most common cause when stringing appears suddenly. The moisture turns to steam in the hotend and pushes plastic out. Popping sounds and a rough surface are the giveaways.
Does Z-hop reduce stringing?
Not usually. Z-hop lifts the nozzle during travel so it doesn’t drag across the part, but the nozzle still oozes, and the extra movement can make strings longer. Use it to stop the nozzle catching on prints, not to fix stringing.
What’s the difference between stringing and oozing?
Oozing is plastic leaking from the nozzle when it shouldn’t; stringing is what oozing leaves behind when the nozzle travels across a gap. Fix the ooze and the strings go away.
Why did my printer start stringing out of nowhere?
Usually a wet spool, a new spool from a different brand, or a profile change after a slicer update. Start with drying, then check that the filament profile and temperature match the spool.
Can I remove strings after printing?
Yes. A quick pass with a heat gun or hair dryer removes thin strings; flush cutters handle thicker ones. Fixing the cause is still better, because heavy stringing also leaves blobs on the part’s surface.
Related guides
To understand the parts involved (extruder, hotend and nozzle), read parts of a 3D printer explained. New to printing? Start with the complete beginner’s guide.